
Products and promotions may differ based on your selected region.
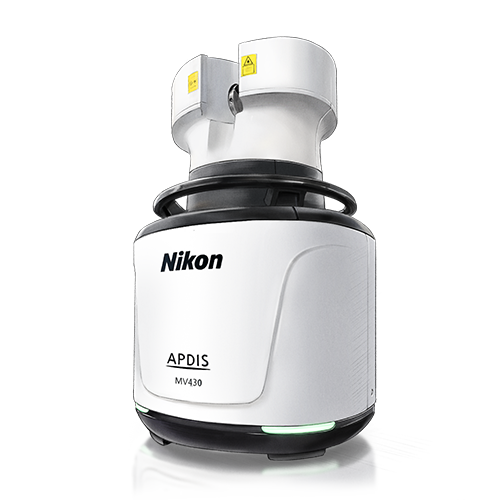
The ability to measure detail at a distance, without the need for handheld probes, targets or surface preparation, means that Nikon’s APDIS Laser Radar is ideally suited to automating repetitive inspection tasks covering a huge range of manufacturing, industrial and research applications, including those that involve hard to reach features and are complex, delicate or labor intensive.
Discover more about APDIS Laser Radar from the people who designed it – our engineering team.
See how the next generation of Laser Radar is revolutionizing industrial metrology.
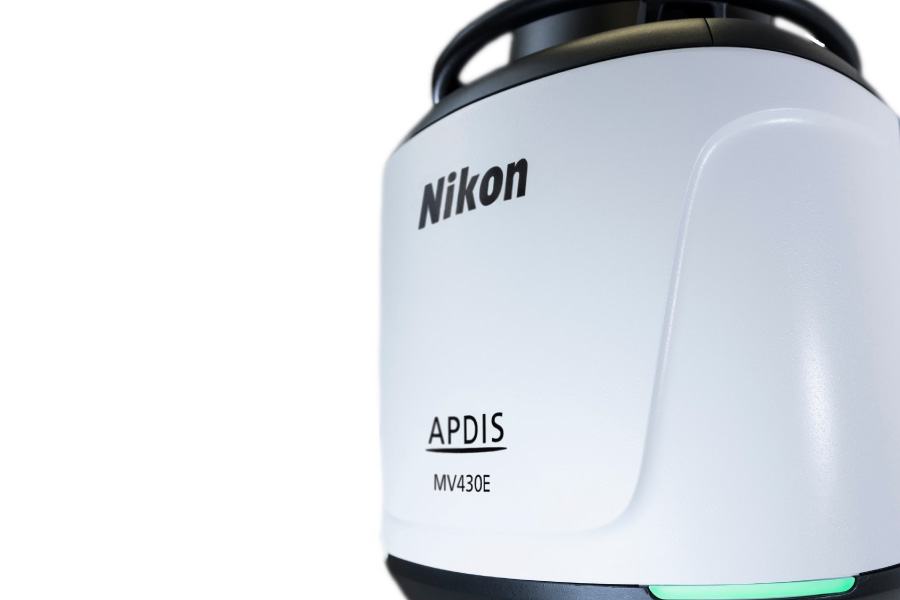
Fast and accurate automated measurements with minimal setup time provide the ultimate in measurement productivity.
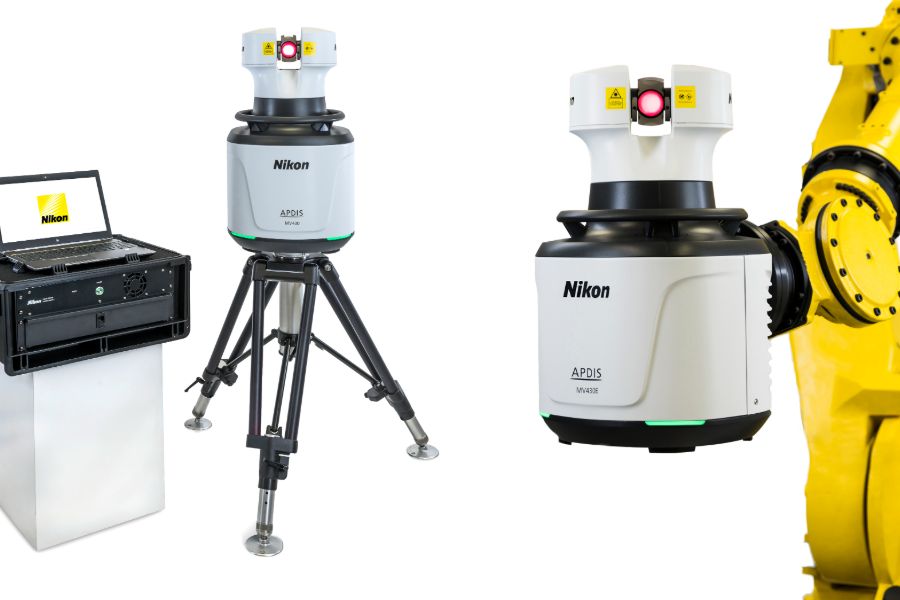
Portable and shop floor suitable, absolute and accurate measurements of parts can be performed in the production line or wherever they are required including directly in a production line.
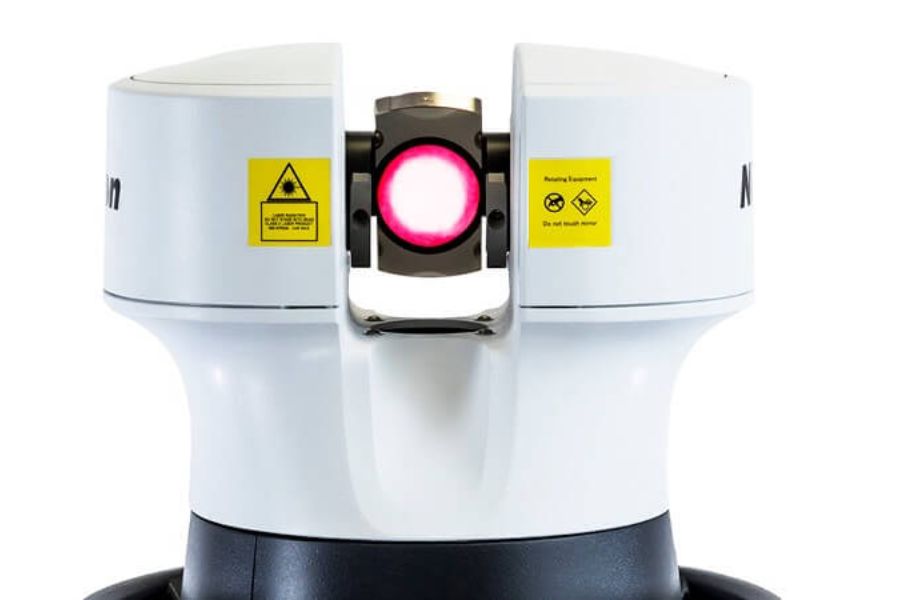
Using long-range, automated, laser-based technology keeps the part under investigation a safe distance from both the instrument and the operator.
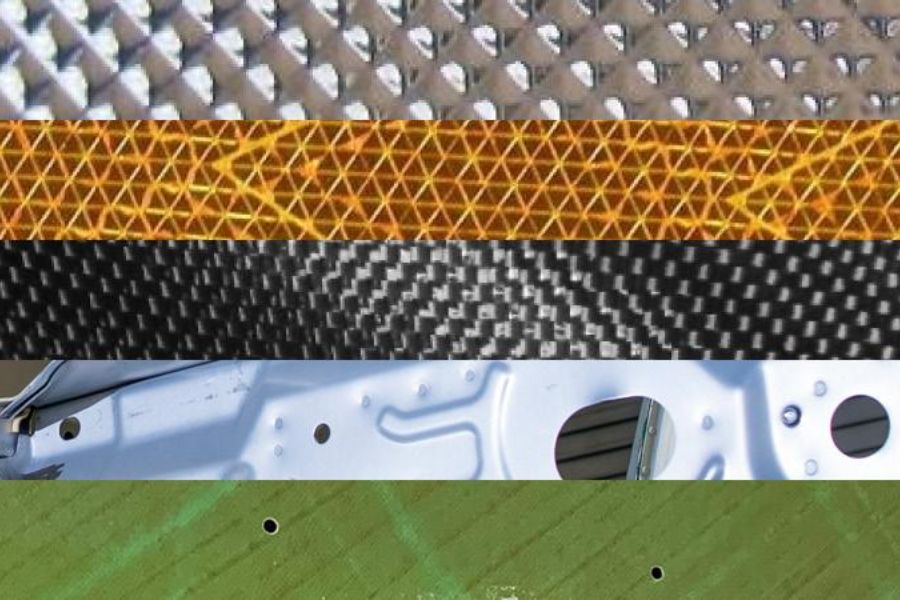
Heterodyne interferometry allows APDIS Laser Radar to measure almost any surface without the need for part preparation, targets or feature adapters.

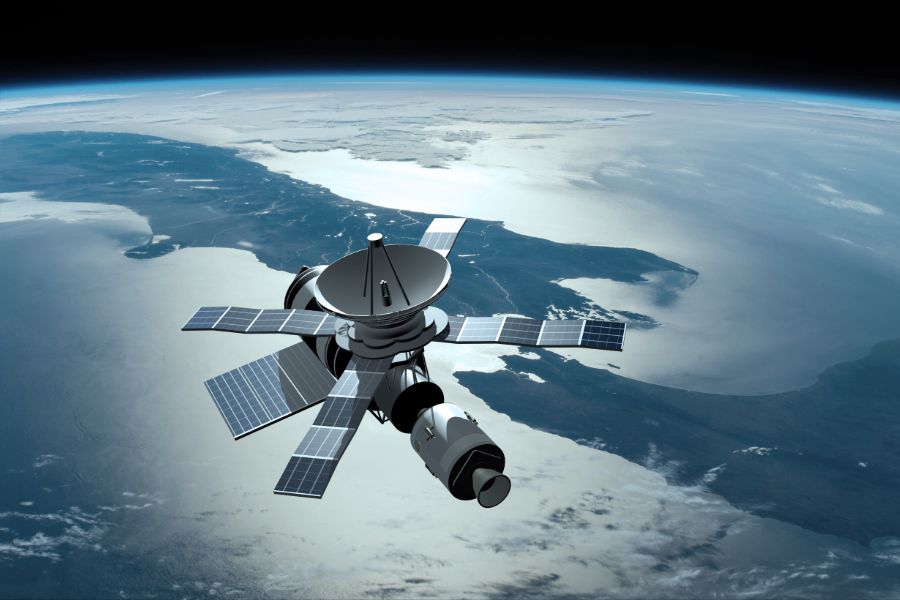


The APDIS MV430 and MV450 measurement systems are used for fast, automated, non-contact inspection of objects ranging from smaller components such as a car door to large assemblies such as a commercial aircraft. It achieves this through the application of unique, accurate, laser-based, non-contact measurement technology that overcomes the limitations of traditional monolithic or portable metrology systems. Repeatability is ensured by automated and non-contact measurement, independent of the user. System operation is simplified through the use of standard software interfaces such as Metrolog, Polyworks and Spatial Analyzer.
| MV430 | MV450 | MV430E | MV450E | |
| Range | 0.5m to 30m | 0.5m to 50m | 0.5m to 30m | 0.5m to 50m |
| Data Rate | 4000Hz | |||
| Scanning Speed* | 500pts/sec 2 sec/cm2 | 1000pts/sec 1 sec/cm2 |
||
| Feature Measurement | Standard Feature Scan | Enhanced Feature Scan** | ||
| Vibration Measurement | n/a | 2000Hz Max ; 1u00b5m/m sensitivity | ||
| Environmental | IP54 | |||
*Default settings – stacking 4, points spacing 0.1mm, line spacing 1mm. **Feature measurement up to twice as fast as standard variant. Exact speed depends on settings.
| Range | Azimuth | Elevation | |
| Working Limit | 0.5m - 30m / 50m | u00b1 180u00b0 | u00b1 45u00b0 |
| Accuracy (MPE) | 20u00b5m + 5u00b5m/m | 13.6u00b5m/m | |
| 2 Point Length Measurement Accuracy* MPE(u00b5m) = u221a(2(20 + 5RAve)2 + (13.6RAve)2) | |||||||
| Average Range (m) | 0.5 | 1 | 2 | 5 | 10 | 20 | 30 |
| MPE (u00b5m) | 33 | 40 | 57 | 115 | 216 | 420 | 625 |
| Typical (u00b5m) | 17 | 20 | 28 | 58 | 108 | 210 | 313 |
* Accuracy given as Maximum Permissible Error (MPE) in accordance with ASME B89.4.19 – 2006 verified in vertical orientation at 20°C. Typical accuracy shown is half MPE. All measurements taken in stable environment with ½” grade 25 or better tooling ball.
If you would like further details on this product or a more in-depth description, our expert team will provide you with additional information and, if required, arrange an on-site visit. Talk to us in detail about your project and our experts will advise you on the best inspection system to meet your requirements. Please fill out the form opposite and we will get in touch with you shortly.