 To assist with quality control in silicon wafer manufacturing companies, the Industrial Metrology Business Unit of Nikon Corporation (https://industry.nikon.com) offers a highly accurate solution for inspecting wafer ID codes rapidly and comprehensively after they have been laser inscribed onto the surface of a wafer. The system is based on the use of the company’s NEXIV VMZ-K3040 confocal video measuring system with dual 2D and 3D optics for measuring the string of characters that identifies each wafer.
The NEXIV is linked to an automatic wafer loader that transfers semiconductor wafers reliably from a FOUP (front opening unified pod) to the video measuring system and returns them afterwards, without the need for manual handling.
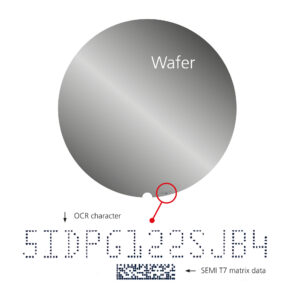
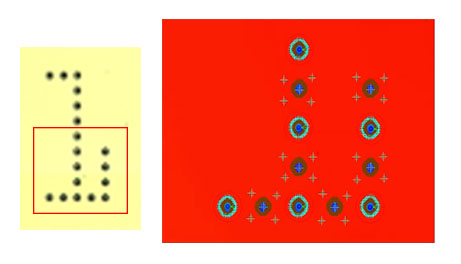
To avoid costly errors and waste, the ability to reliably read wafer identification (ID) codes at hundreds of processing steps in the FAB is critical to the overall success of the operation. The SEMI (Semiconductor Equipment and Materials International) OCR (optical character recognition) reader at every station must therefore be able to detect unerringly the unique characters in the serial code to ensure that it is the correct wafer. However, laser marks gradually wear out as the process proceeds and become progressively more indistinct and difficult for the OCR reader to distinguish. Nikon’s solution ensures that the laser marks on the bare wafer always have the optimum depth and dimensions so that the serial number (OCR character and SEMI T7 matrix data) can always be read, even after processing and shipment.
Evaluation of the quality of the laser ID marks is carried out immediately after the wafers have been inscribed. The automated video inspection routine performed by the confocal NEXIV is surprisingly extensive and accurate, due in part to the video measuring system’s ability to capture the true position of every feature. At the same time, the high throughput of the automated procedure is consistent with seamless integration on the factory floor. The high speed of operation enables real-time information on any deterioration in marking quality to be promptly shared so that timely maintenance of the laser marking tool can take place.

|
No |
Measurement point | Optics used |
|
Specified dot |
Character dot diameter |
Brightfield |
|
1 |
Character height | |
|
2 |
Character width | |
| 3 |
Character spacing |
|
| 4 |
Total line lengths |
|
| Specified dot | Dot depth |
Confocal |
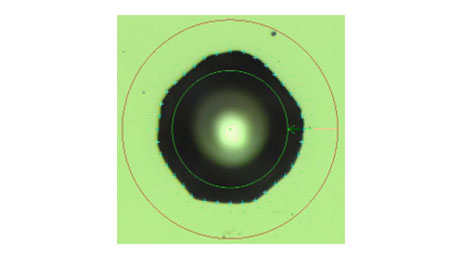
The Nikon inspection and reporting sequence for OCR characters starts with the use of a circular caliper with brightfield 2D optics to measure the laser mark and calculate its diameter and the coordinates of its center. Then the character height, width, spacing and total line length are measured. Using confocal 3D optics, the depth of the laser mark is determined. In the case of SEMI T7 Matrix data, a similar procedure is followed. The advantage of the NEXIV VMZ-K3040 confocal video measuring system is its ability to switch between the brightfield and confocal modes in a single inspection program, in contrast to other systems on the market that employ two separate machines for each mode. The benefits are superior accuracy, higher speed, and a seamless inspection process.
Goh Wei Chen, Integrated Solutions Manager at Nikon’s center in Singapore commented, “This quality control solution we have developed for the semiconductor manufacturing industry has already proved successful in foundries around the world. The high accuracy and throughput achieved are proving to be a compelling sales proposition for this crucial quality control function.” Wafer ID Code measurement application is yet another example of Nikon’s stated aim of raising the prevalence of real-time inspection in industrial production, with automatic feedback to the line control so that the metrology function drives the manufacturing process. The approach, known as Quality 4.0, ensures that all products at the end of the line are good, rather than using measurement simply as an arbiter of whether a part has passed, or failed and needs to be scrapped. Further details are available here.


