X-ray computed tomography (CT) technology provided by Nikon has enabled optical components production powerhouse Tochigi Nikon to unlock a game-changing solution which has transformed the world of precision plastic injection molding.
Japan-based Tochigi Nikon faced an industry-wide problem: manufacturing cylindrical plastic components such as camera lenses was a painstaking operation as these products require highly accurate circles in their production, as close to perfect as possible. Modifying the shape of the mold to achieve this has been labor-intensive and time-consuming, often requiring skilled technicians and multiple correction cycles.
Today, Tochigi Nikon has streamlined the correction process for the mold using Nikon’s CT technology, resulting in significant cost savings and efficiency gains in a remarkably short amount of time; Tochigi Nikon engineers adapted to the new paradigm in just three months.
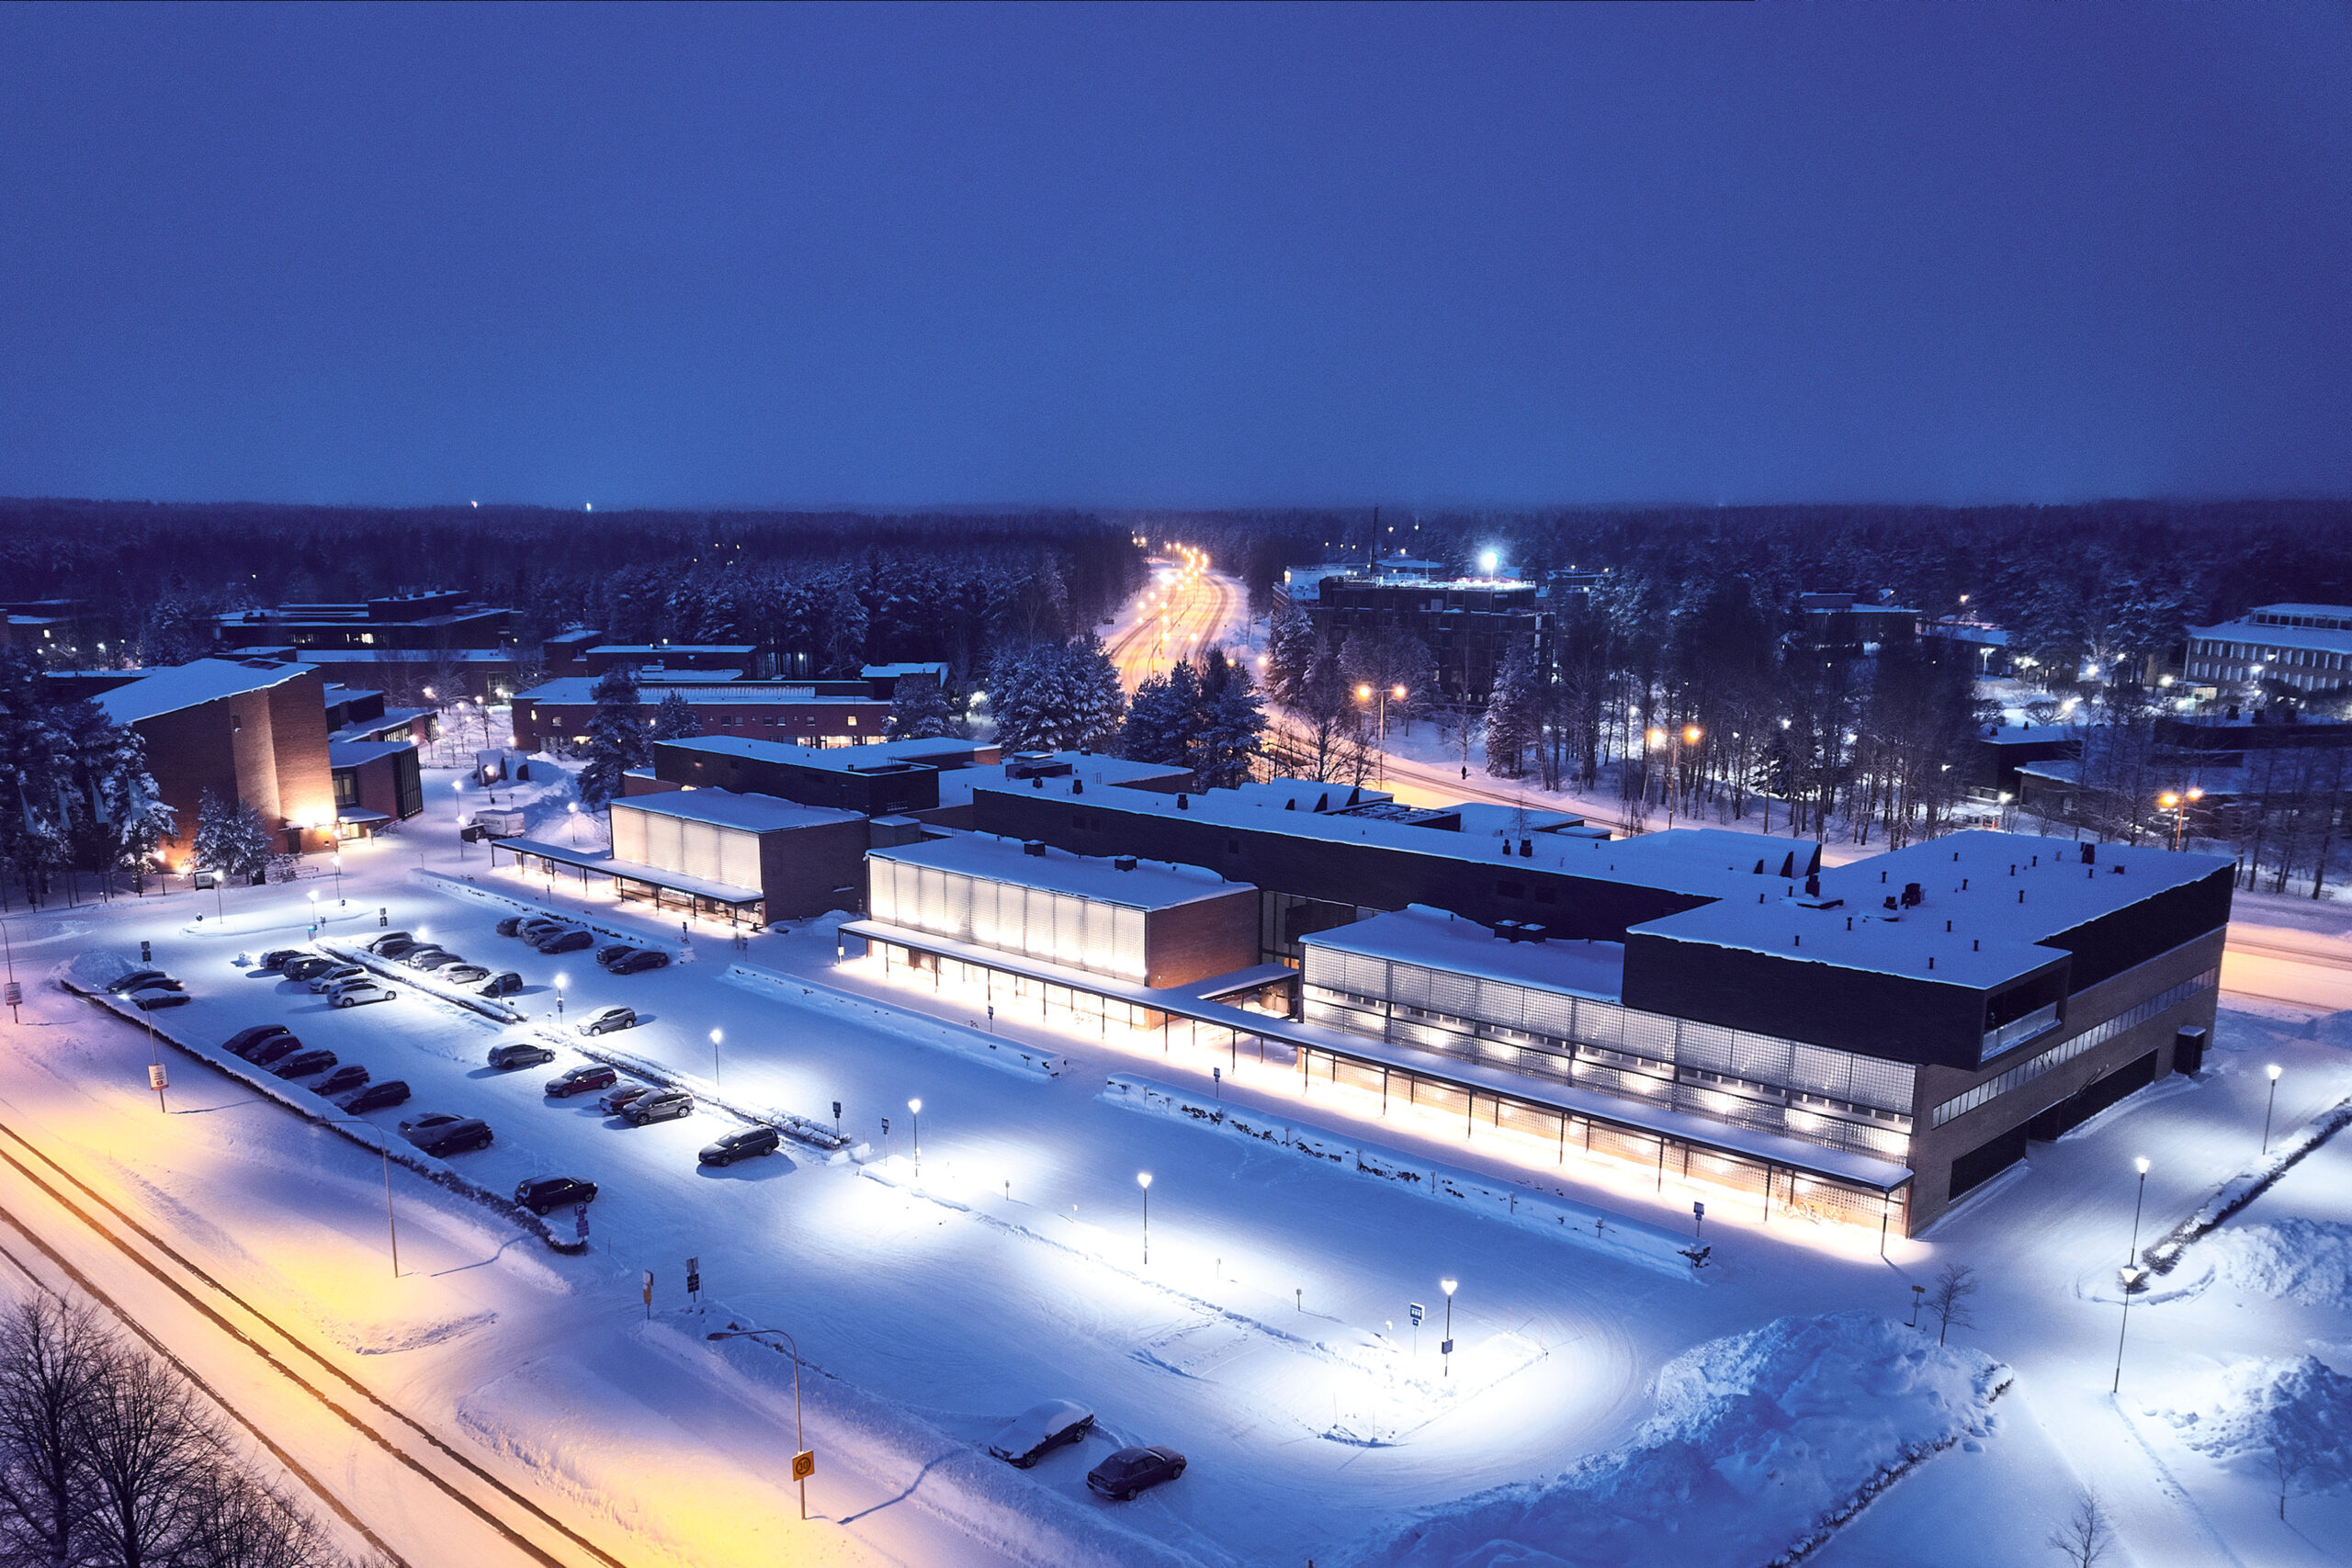
Tochigi Nikon, established in 1961 as a wholly-owned subsidiary of Nikon, produces optical components and modules within the global Nikon Group. With advanced production technology in precision lens processing, Tochigi Nikon has developed a wide range of optical lenses used in industries across the globe.
Within Tochigi Nikon, the 1st Production Engineering Department focuses on replacement lenses for mirrorless cameras, while the Engineering Sector is responsible for the mass production of resin injection molded parts, including those used in replacement lenses for mirrorless cameras.
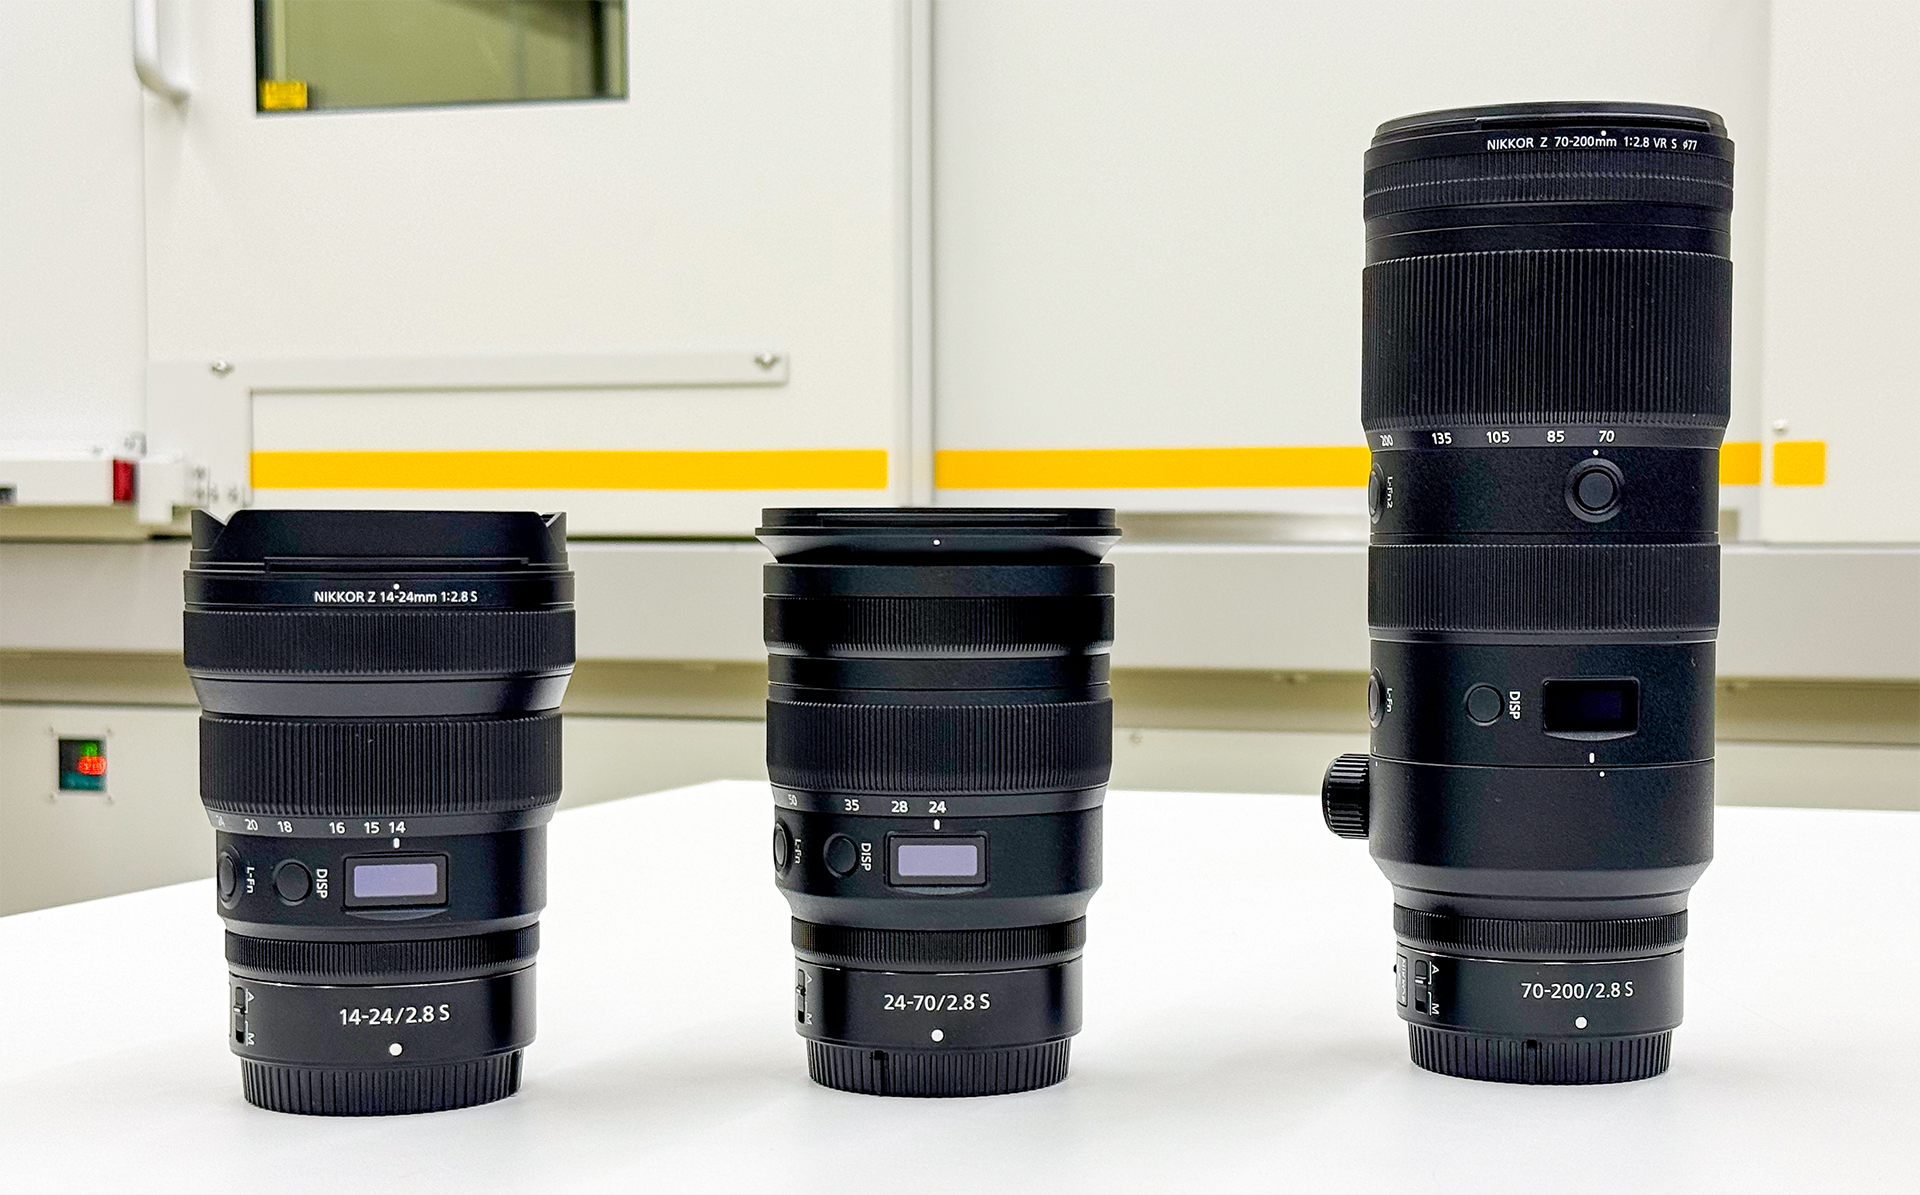
The resin injection molded parts of the replacement lens require a circle that must be kept as close to perfectly round as possible. However, industry limitations mean these parts are formed in a state that isn’t a perfect circle and requires further attention.
To address this issue, the shape of the mold is modified to correct the non-circular plastic component, bringing it closer to a perfect circular shape. This “mold correction” process is typically repeated two or three times, gradually improving the accuracy through time and effort.
Enhancing mold correction with Nikon’s CT imaging
But that wasn’t the only challenge. In recent years, resin injection molded parts have become more complex in shape due to their small size, weight reduction, and enhanced functionality.
Even measuring these parts with conventional CMM and image-measuring machines is not straightforward, as the measurement program and the creation of mold modification instructions increase the entire workload, making the process even more time-consuming and costly.
Tochigi Nikon, seeking a solution to these challenges, was introduced to Nikon’s MCT225 and immediately saw how it could help streamline the mold correction process for cost savings and efficiency gains.
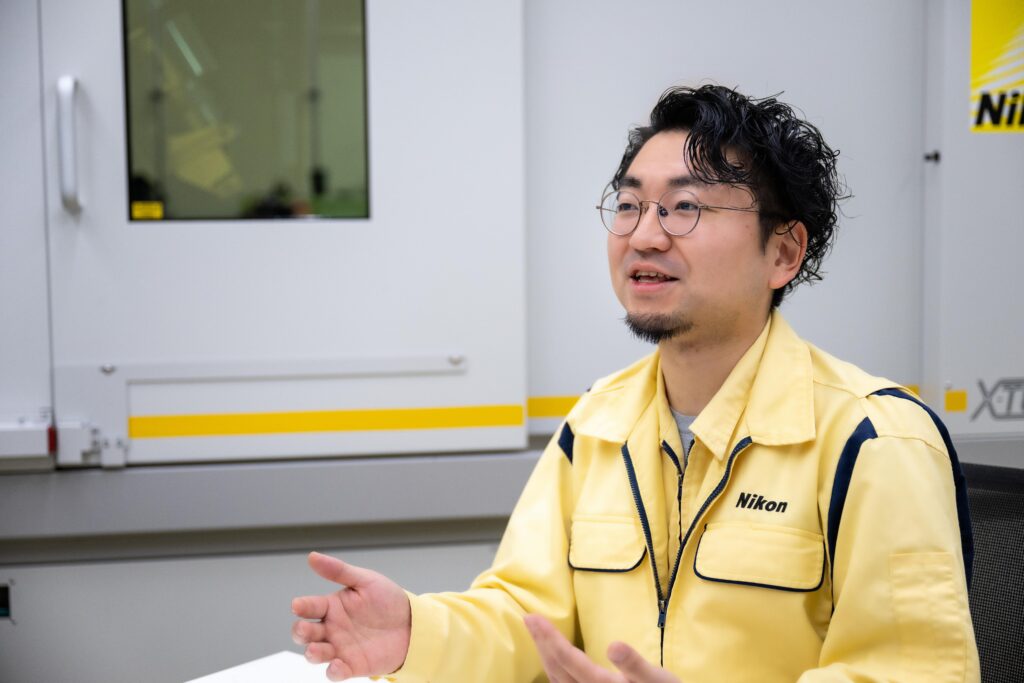
“One of the reasons we chose Nikon’s industrial X-ray CTs was that Nikon has the top share in the microfocus X-ray source class, which is the largest market in the world,” explains Tochigi Nikon Engineer Shota Miyamoto.
Nikon’s Measurement Computed Tomography (MCT) is a high-power microfocus X-ray source developed and manufactured by Nikon, offering high image quality and long operational life. Making full use of this, Nikon’s MCT225 offers highly accurate measurement capabilities, with an accuracy of 9+L/50μm when measuring a single coarse material sample.
One of its key advantages is the ability to efficiently measure both internal and external dimensions of products without any physical contact or restrictions, explains Miyamoto. This non-contact measurement approach complies with the VDI/VDE2630 standard set by the German Association of Technicians, ensuring reliable and precise dimensional measurements.
Automating mold measurement with Nikon’s MCT225
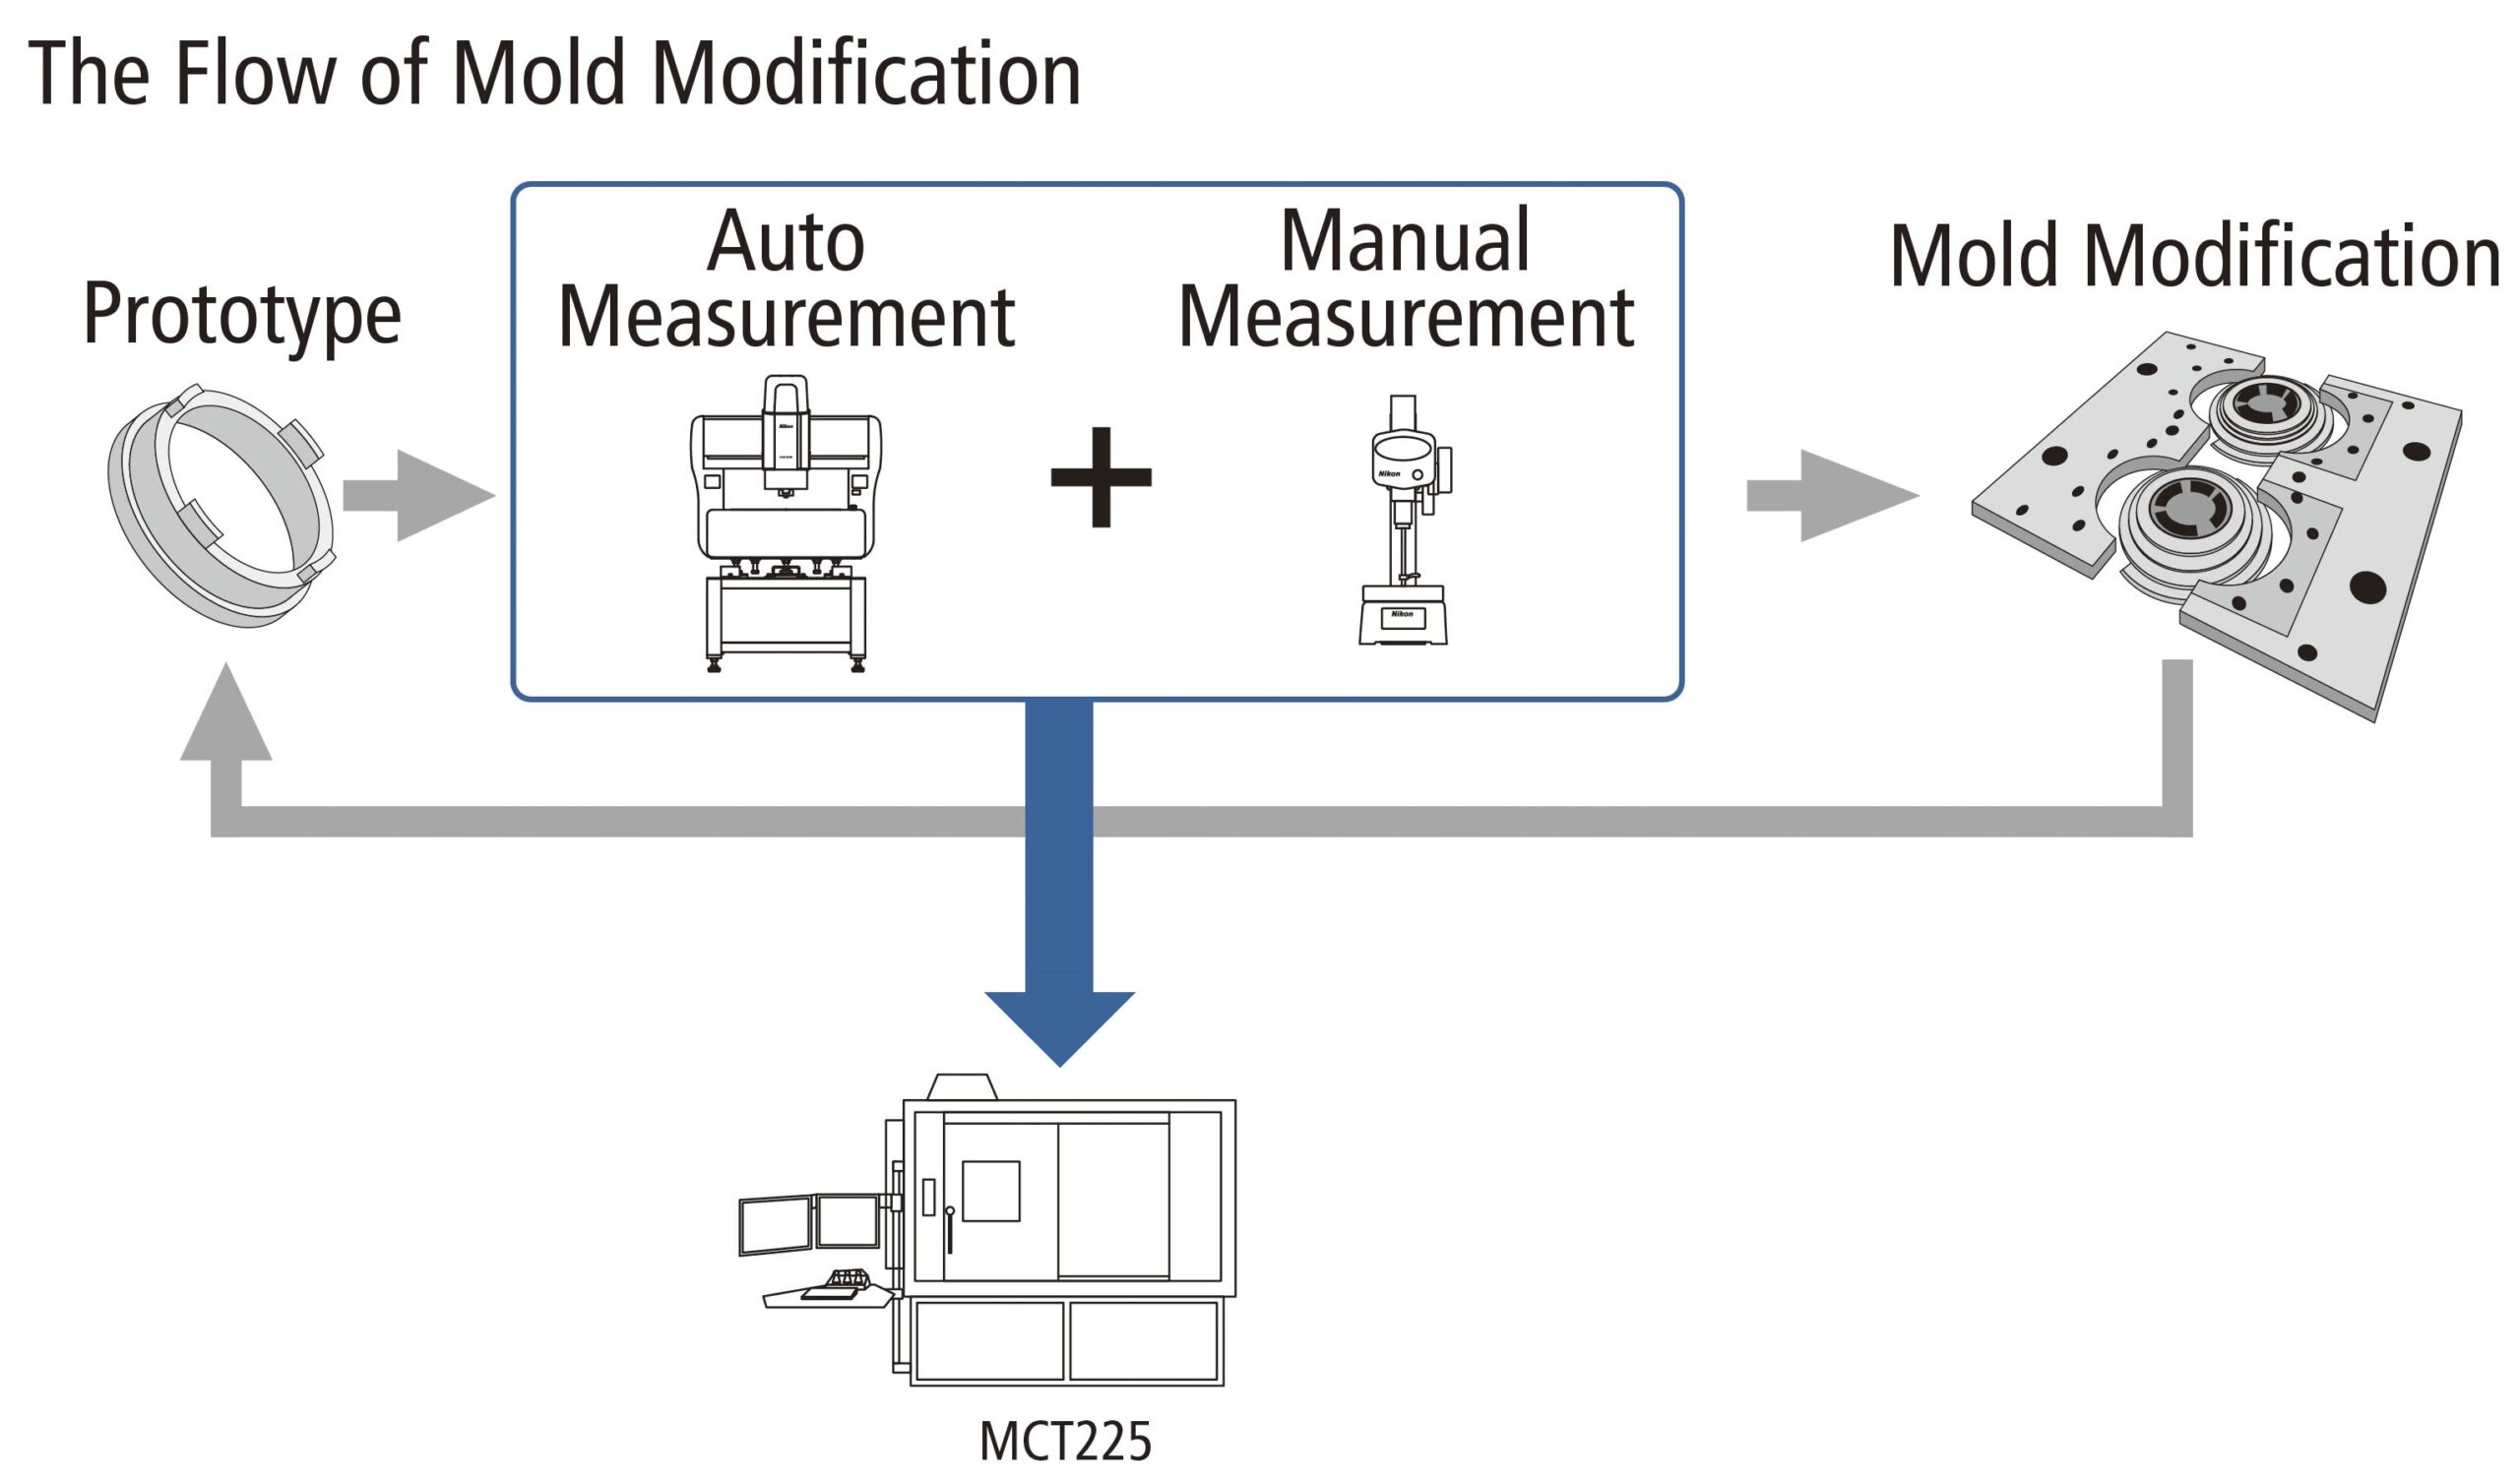
The purpose of mold compensation is to modify the dimensions of the parts produced from the mold to match the intended dimensions. In the past, after trial products were created, the mold correction flow involved manual measurements using digital micrometers, pin gauges, and other tools, in addition to automatic measurement results from CMM and image-measuring machines.
The mold was then corrected and by repeating the measurement and tool correction cycles, the accuracy of the parts was gradually increased.
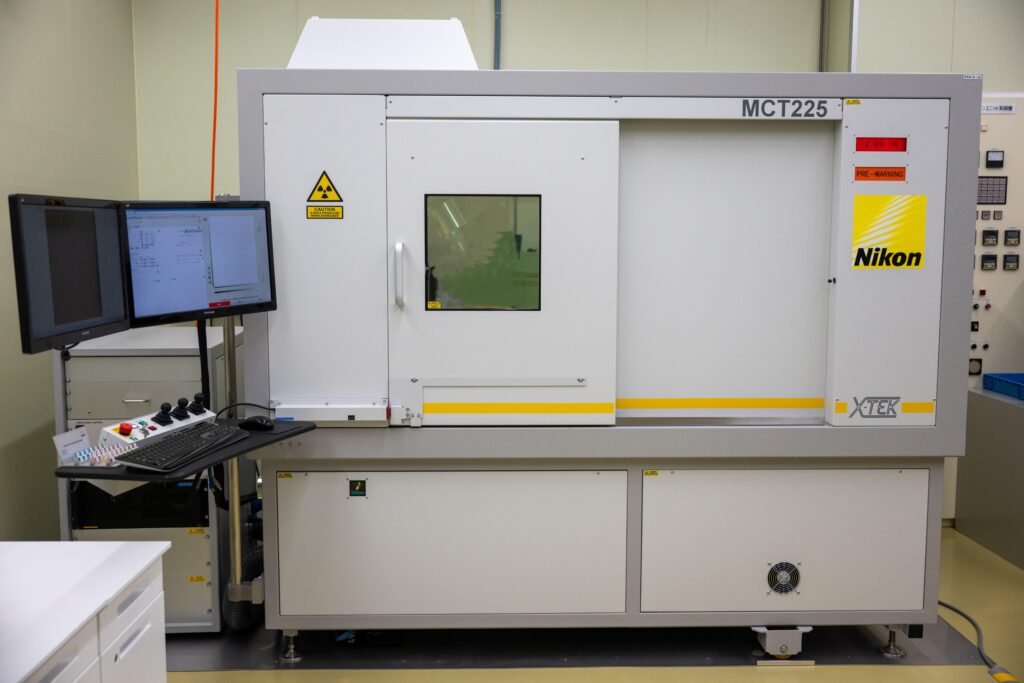
“With the use of MCT225, when creating a measurement program for molded parts, it is possible to create a measurement program with only CAD data,” explains Miyamoto. “In addition to the fact that there is no need to prepare the physical samples, I feel that a large solution is also that there is no need for precise jigs to set parts.
“In addition, it is no longer necessary to create a measurement program using multiple probe postures that require skill, or to rework the program while checking the measurement status, and the workload has been significantly reduced.”
Streamlining mold compensation workflows
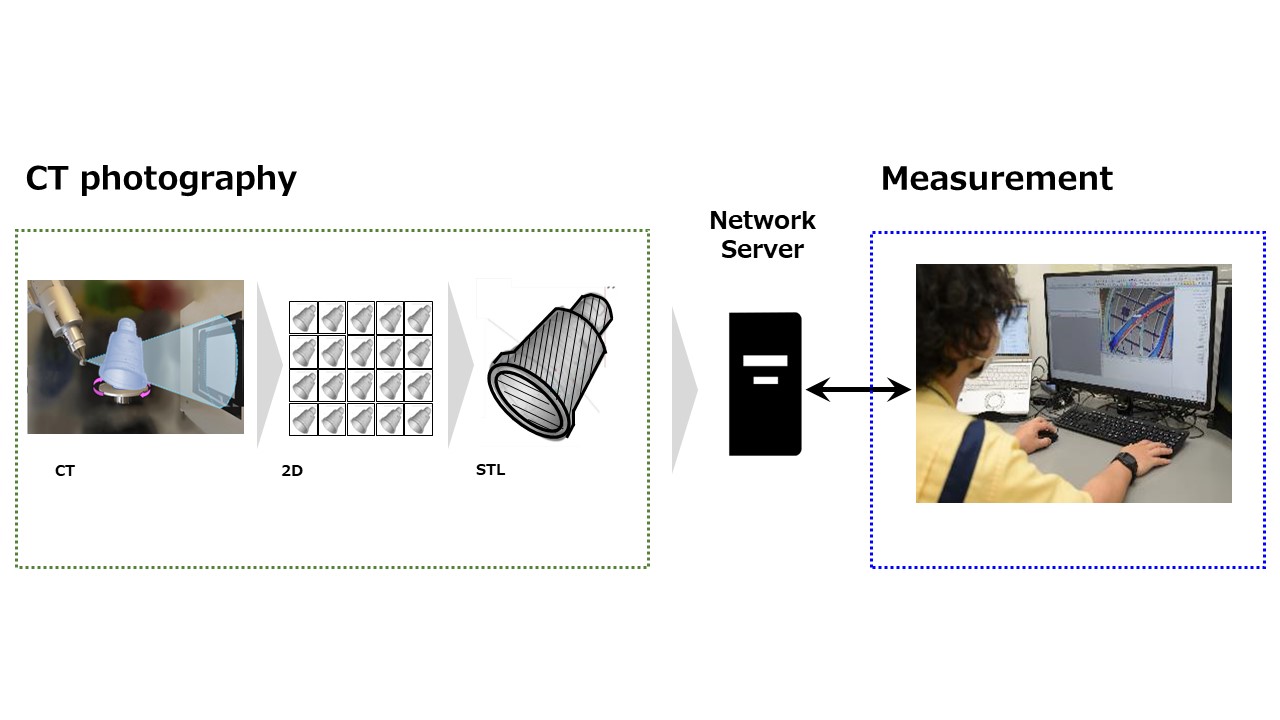
Data captured by the MCT225 is automatically converted to STL format through batch processing. The STL data and measurement programs are stored on a server. Workers are then simply required to read the recording conditions and place the parts, reducing the time required for the X-ray CT scan to just five minutes.
“We can now read STL data and measurement programs from the server and carry out measurements at our desk, which has significantly reduced the workload and time of the operators compared to the previous system,” says Miyamoto. “Tochigi Nikon has developed an in-house macro specializing in cylindrical measurement, which has reduced the measurement part program creation time and program modification time by up to 50 percent compared to the previous method.”
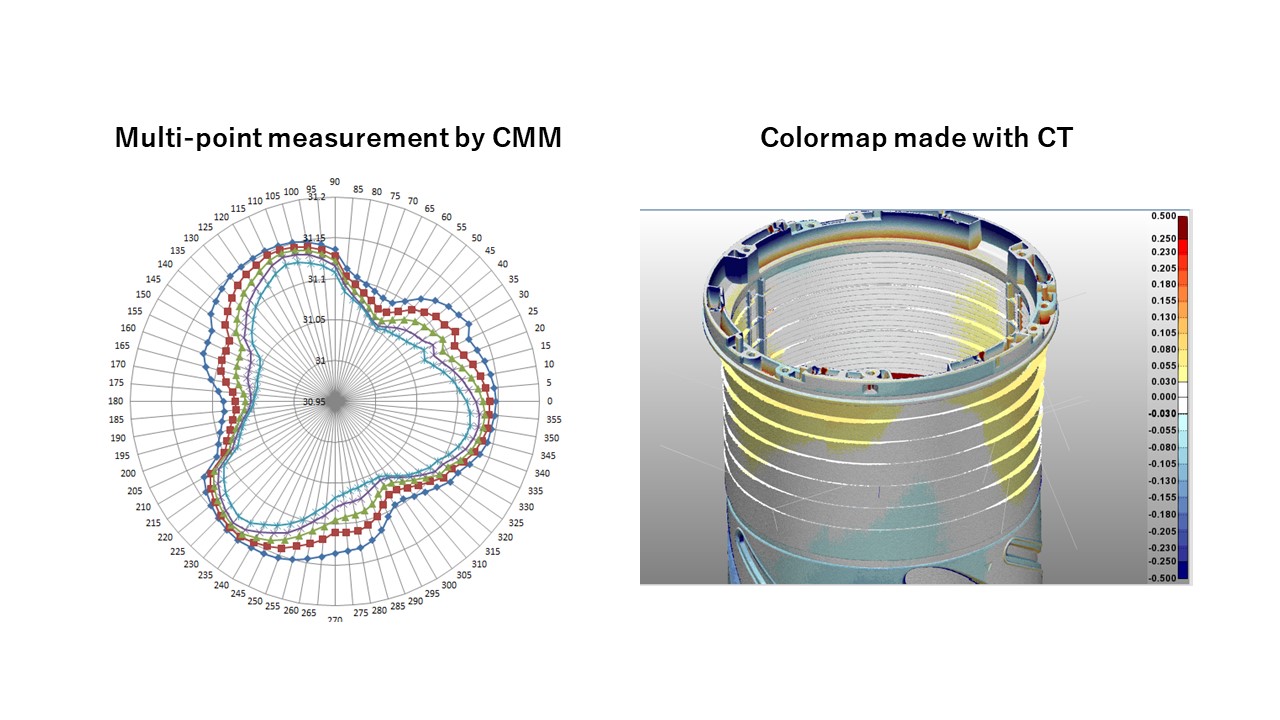
STL data obtained with the MCT225 can be used with 3D measurement software Polyworks Inspector to determine the amount of mold compensation from the 3D data visualized by a color map, greatly simplifying post-measurement analysis. Miyamoto says his team of engineers became able to perform measurement work in just three months thanks to the MCT225.
“In addition, by streamlining the creation of measurement programs and the preparation of die correction instructions for die correction, we have reduced the time required to complete die correction by up to eight weeks, which represents a 30 percent reduction.”
Nikon’s MCT225 brings innovation to the measurement process
The MCT225 enables the measurement of 3D data in any shape, even in confined spaces, without missing elements. This is very useful when measuring resin injection molded parts. For example, if a planar part – which is crucial in terms of lens functionality – is not centered, it becomes difficult to measure with a CMM.
“MCT225 converts the entire image into 3D space, and there are no shape restrictions for measurement, and the freedom of measurement is high, and missing data is zero,” says Miyamoto. “It can be shot without contact or restraint, without the need for a dedicated jig tool, and the shoot itself does not require specialist skills. It works with Microsoft Excel as well as traditional measurements. I feel that the MCT225 has brought significant innovation to the measurement process.”
In the fiscal year 2020 results, Tochigi Nikon achieved a cost reduction of around 80 percent, which came from several benefits including the effects of shorter measurement program creation time, shorter correction periods, multi-skilled employees, and reduced subcontracting costs.
“In the future, we would like to work on free-form surface processing with geometry correction by Volume Graphics,” says Miyamoto. “By reverse engineering CT measurement, geometry correction and die machining, we can increase the precision of parts by machining free-form surfaces and improving efficiency through the effective use of 3D.”
The future of plastic injection mold manufacturing is poised for significant transformation, driven by a shift away from conventional CMMs and image-measuring machines toward more advanced and measurable X-ray CT technology. As manufacturers like Tochigi Nikon embrace this transformative approach, they are well-positioned to unlock remarkable productivity gains, bolstering their competitive edge in an increasingly demanding global marketplace.
