Products and promotions may differ based on your selected region.
X-ray and CT Inspection Services
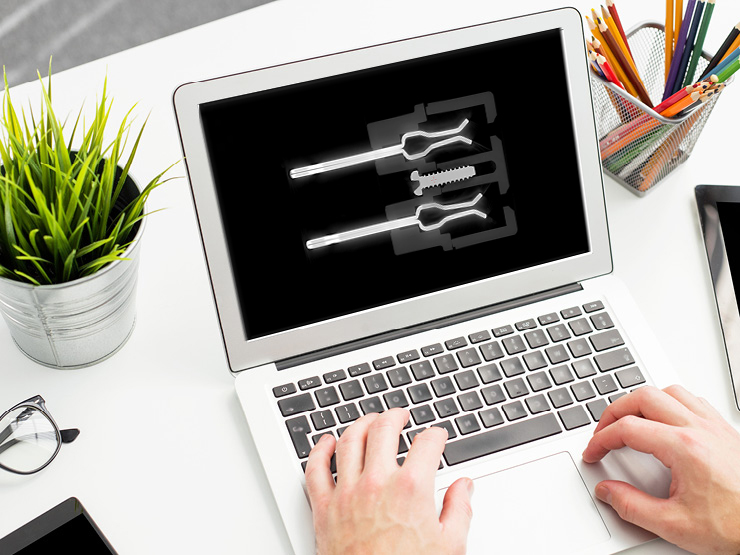
Illuminate hidden secrets, defects, or inconsistencies with our market-leading, non-destructive X-ray inspection services. We can handle one-off or regular batch scanning, from the newest lithium-ion battery to 65-million-year-old dinosaur eggs, and small parts to large assemblies. Get fast, precise and flexible X-ray inspections from experts with over 35 years of experience.
Comprehensive, 2D and 3D X-ray Inspection Services
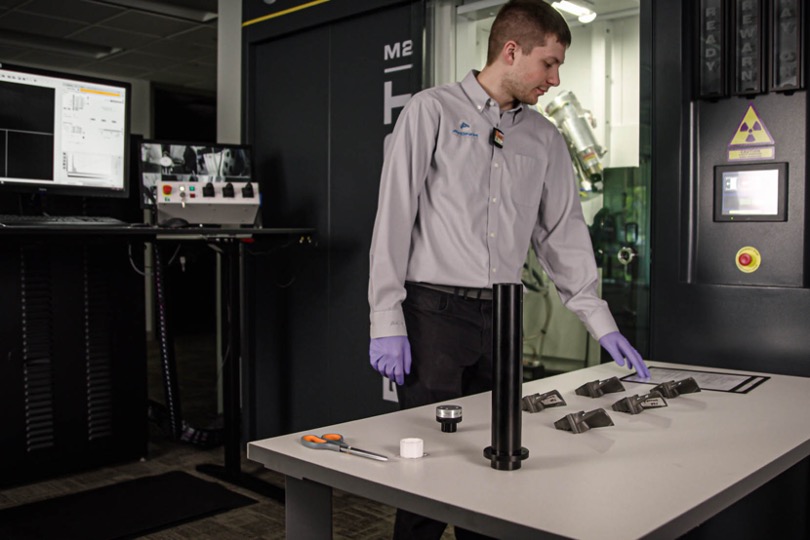
Send us your parts for scanning and benefit from our competitive contracts, quick and tailored service, and custom reports. Our fully equipped X-ray inspection laboratories and expert team are at your disposal. Our 130-450 kV Computed Tomography (CT) systems and software will reveal the intelligence you need. You can focus on your business while we provide precise and insightful material analysis, assembly inspection, quality assurance, and CT metrology.
Whatever you need scanning, analyzing or inspecting, we can help. Tell us what you need in the form below and one of our expert team will be in touch.
Tel: +1 (763) 325-8726
Key Benefits
How We Can Help
Non-destructive testing (NDT) inspects a part’s interior without having to cut, disassemble or damage the object. With our inspection services, you get access to the latest technology in our Nikon X-ray and CT Systems, helping you inspect all dimensions of your parts without damage. Typical NDT applications:
- Revealing hidden details in critical items.
- Verifying component placement.
- Identifying the existence of key internal features.
- Quantifying voids and porosities.
- Detecting shrinkage.
- Discovering cracks.
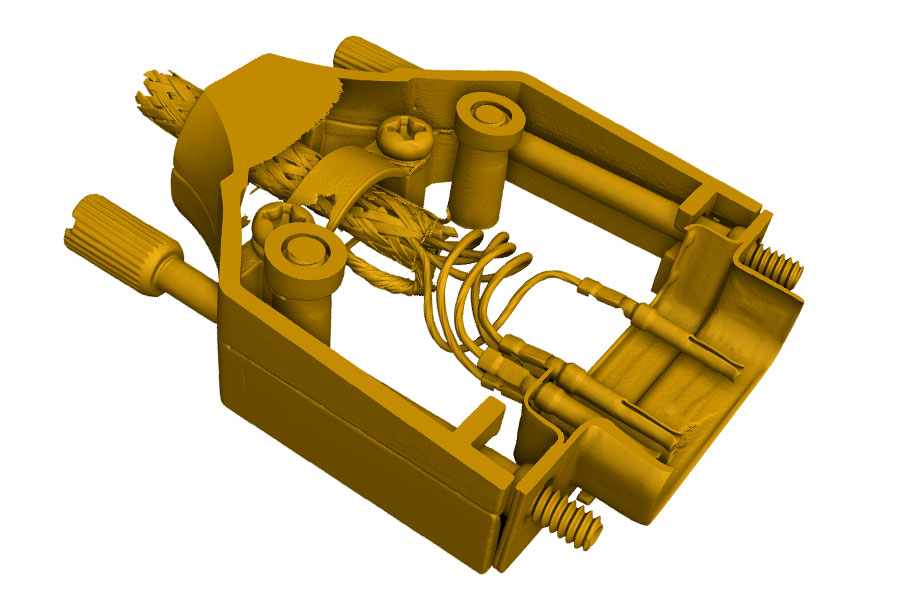
We can help you accurately measure any feature of your sample – internally or externally. Our X-ray CT systems use precision metrology-grade components, and we closely monitor quality so you can be confident that our measurements are accurate and repeatable. Typical metrology applications:
- Measuring internal passageways.
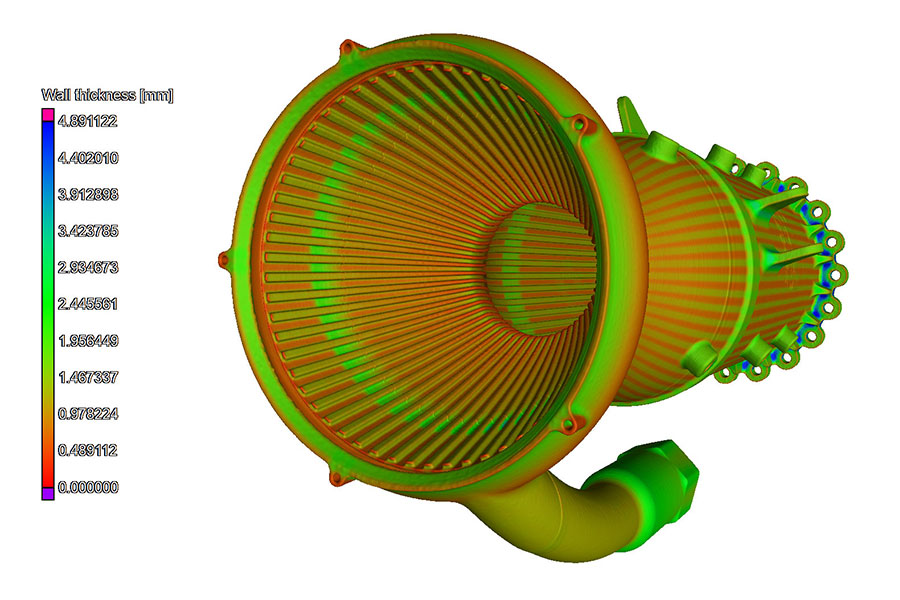
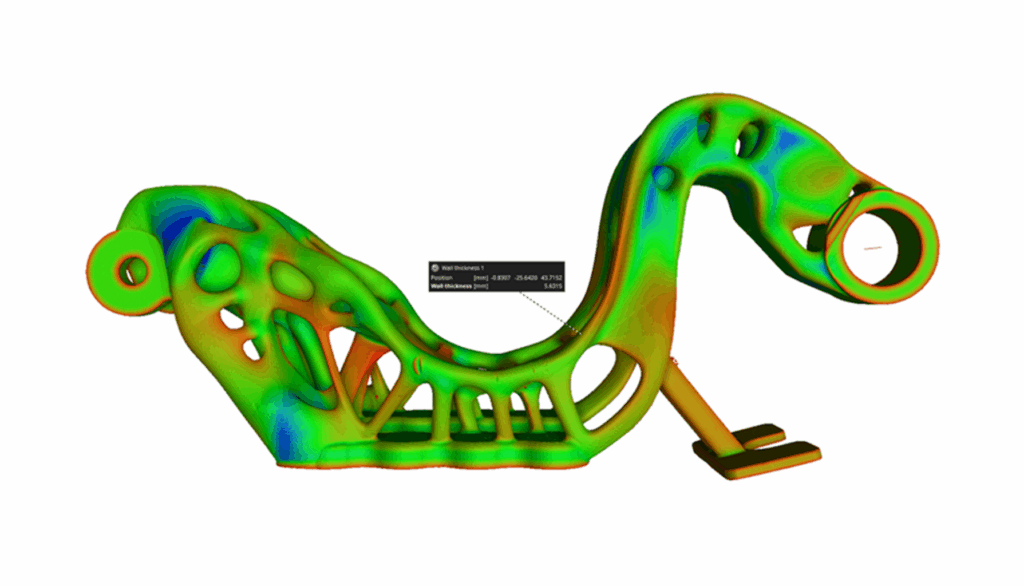
- Analyzing wall thickness.
- Checking machining consistency.
- Testing the accuracy of 3D printing and additive manufacturing.
- Comparing CAD to the real-life item.
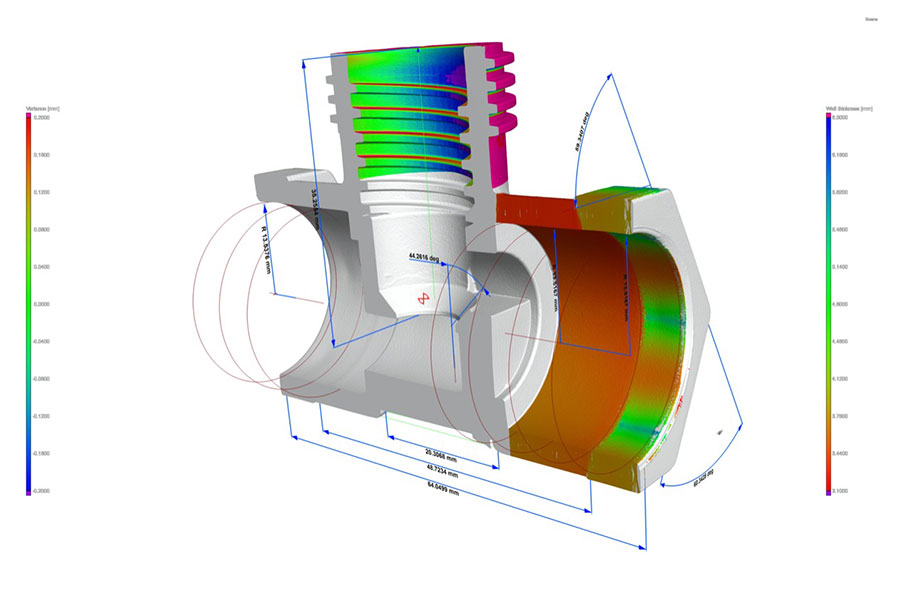
Our X-ray inspection services are ideal for verifying that your parts are manufactured correctly and to your standards, helping to ensure your product performs as intended. Quality assurance is especially important for applications such as:
- Jet turbine blades in aerospace applications.
- Critical engine components in rocket propulsion.
- Mechanisms within implantable medical devices or surgical tools.
- Guidance components for precision munitions.
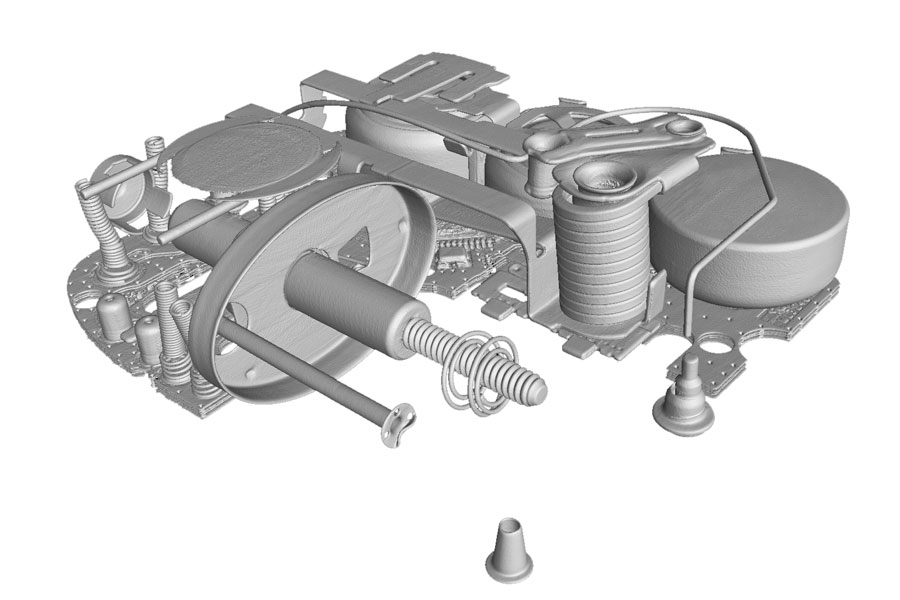
X-ray Computed Tomography (CT) offers a unique capability to convert a 3D scan of your component into an STL file. We will produce a compatible file of your part’s external and internal details. Scan to CAD service is helpful for:
- Comparing the accuracy of the final manufactured part to the intended design.
- Identifying tolerances and deviations from the actual design.
- Record keeping.
- Recovering lost or unavailable product design.
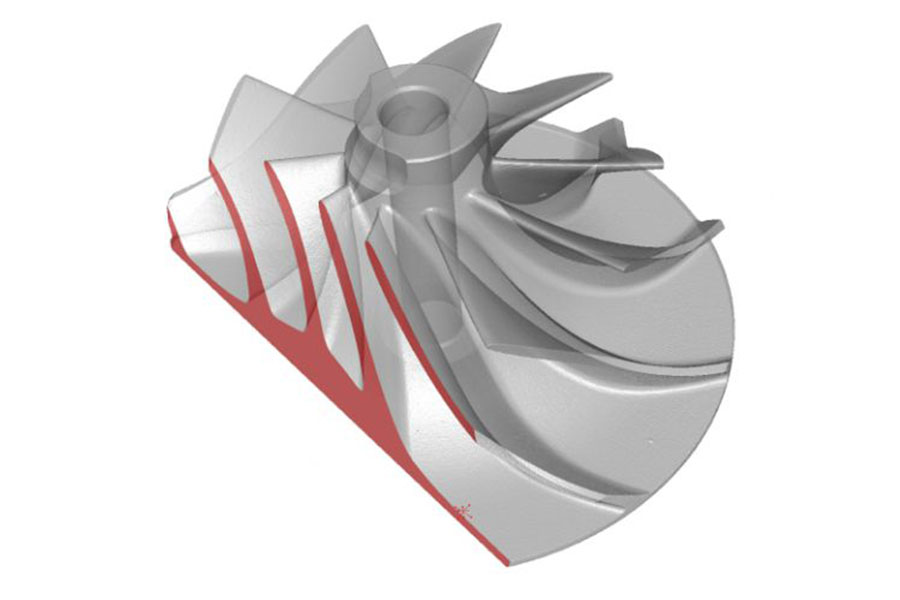
3D CT scanning is one of the most efficient ways to capture dimensional data of a range of samples and help with various reverse engineering needs. Typical reverse engineering uses:
- Applying for patent protection of engineering studies.
- Developing accessories for newly released products.
- Recreating CAD files for competitive design improvements.
- Replacing legacy components.
We can provide µConform/NonConform determinations on your components. We have the experience and qualifications to determine the right approach based on your customer-provided inspection criteria or an existing published inspection standard, such as AWS D20.1, SAE AMS 2175 or similar. You can use µConform for:
- Quality departments that need extra throughput at busy times.
- Critical projects requiring Level 3 oversight.
- Unique projects for companies without certified staff.
Disassembling a failed product may disrupt or destroy the evidence needed to determine the root cause. We quickly visualize the internal components without affecting the product and help you find a solution to the failure. Failure analysis applications can include:
- Discovering breaks in electrical wiring.
- Finding evidence in melted components.
- Providing internal views of legal evidence.
- Identifying cracks in internal structures or components.
- Uncovering missing or incorrect assemblies.
Our Process
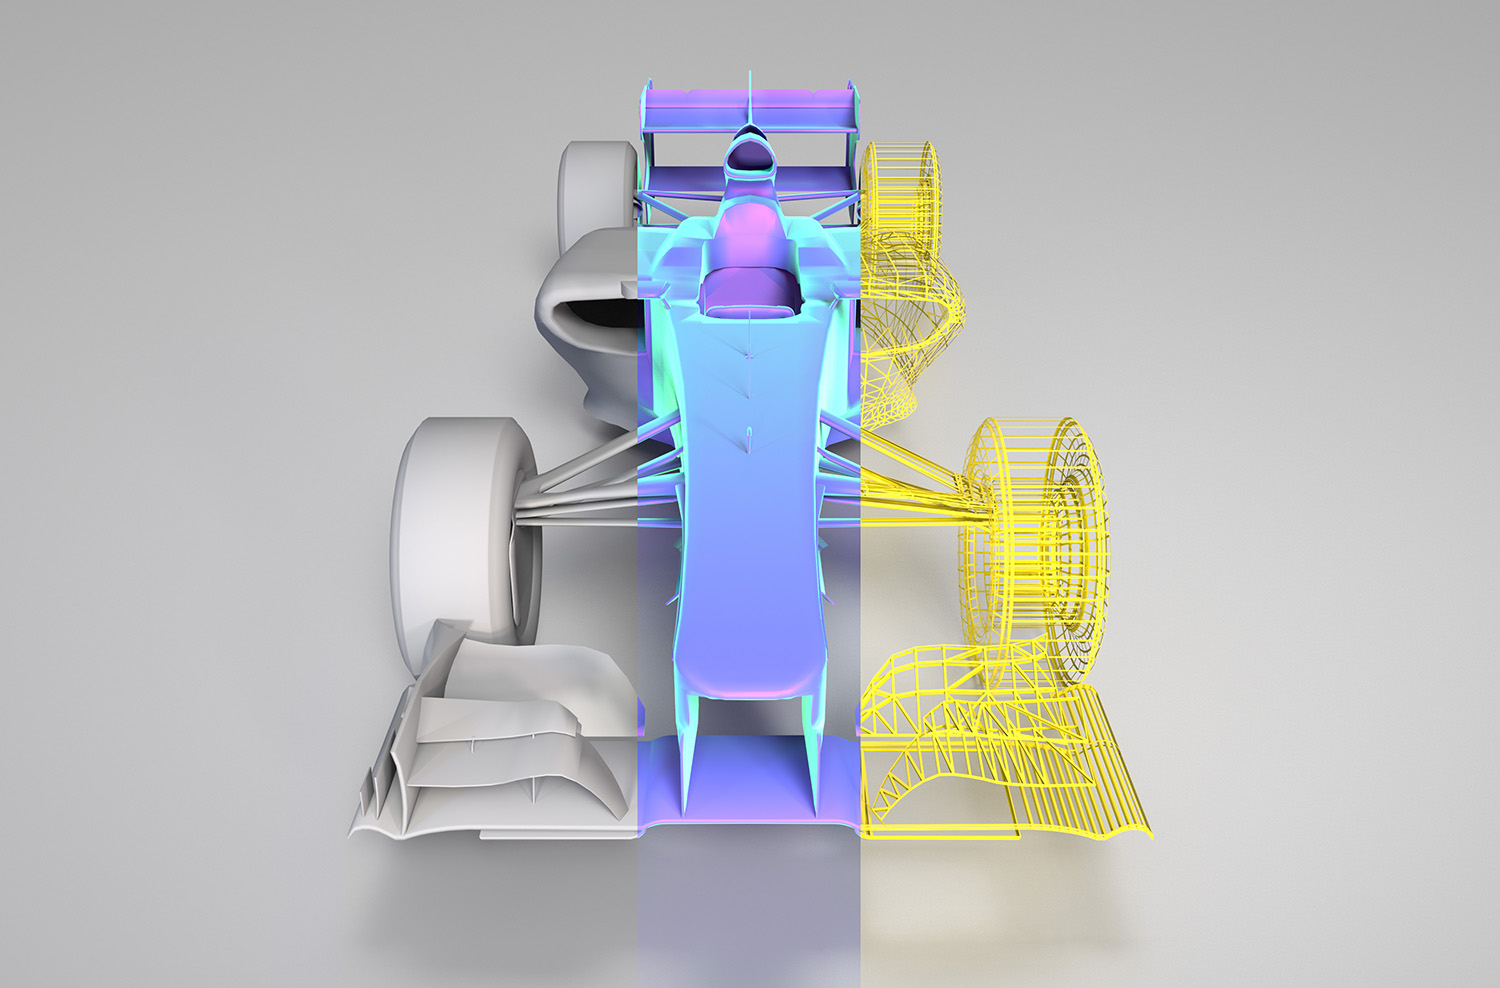
01 Scope
Based on your industrial CT scanning needs and expectations, we will propose the most appropriate approach and agree on the deliverables.
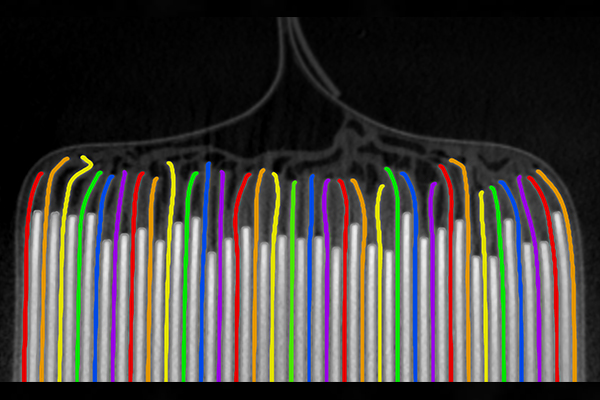
02 Scan
We scan your component using advanced, proprietary X-ray inspection systems and transformative software for greater clarity.
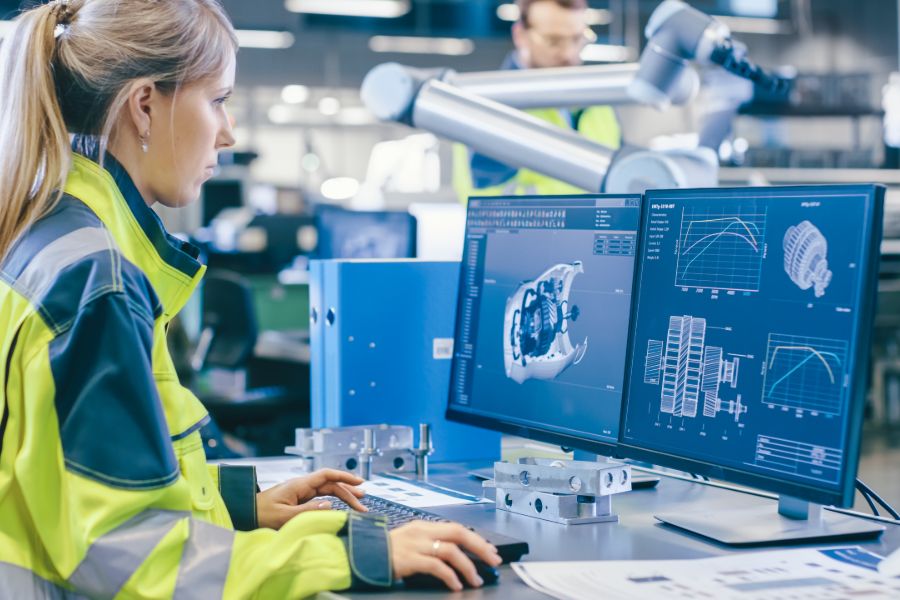
03 Analyze
Choose to have your results in easy-to-interpret reports with images (tiff or jpeg), avi or complete data sets.
04 Review
Our team is available with knowledgeable data support, consultancy, or even training for independent X-ray inspection.
Industry Applications
Aerospace & Defense

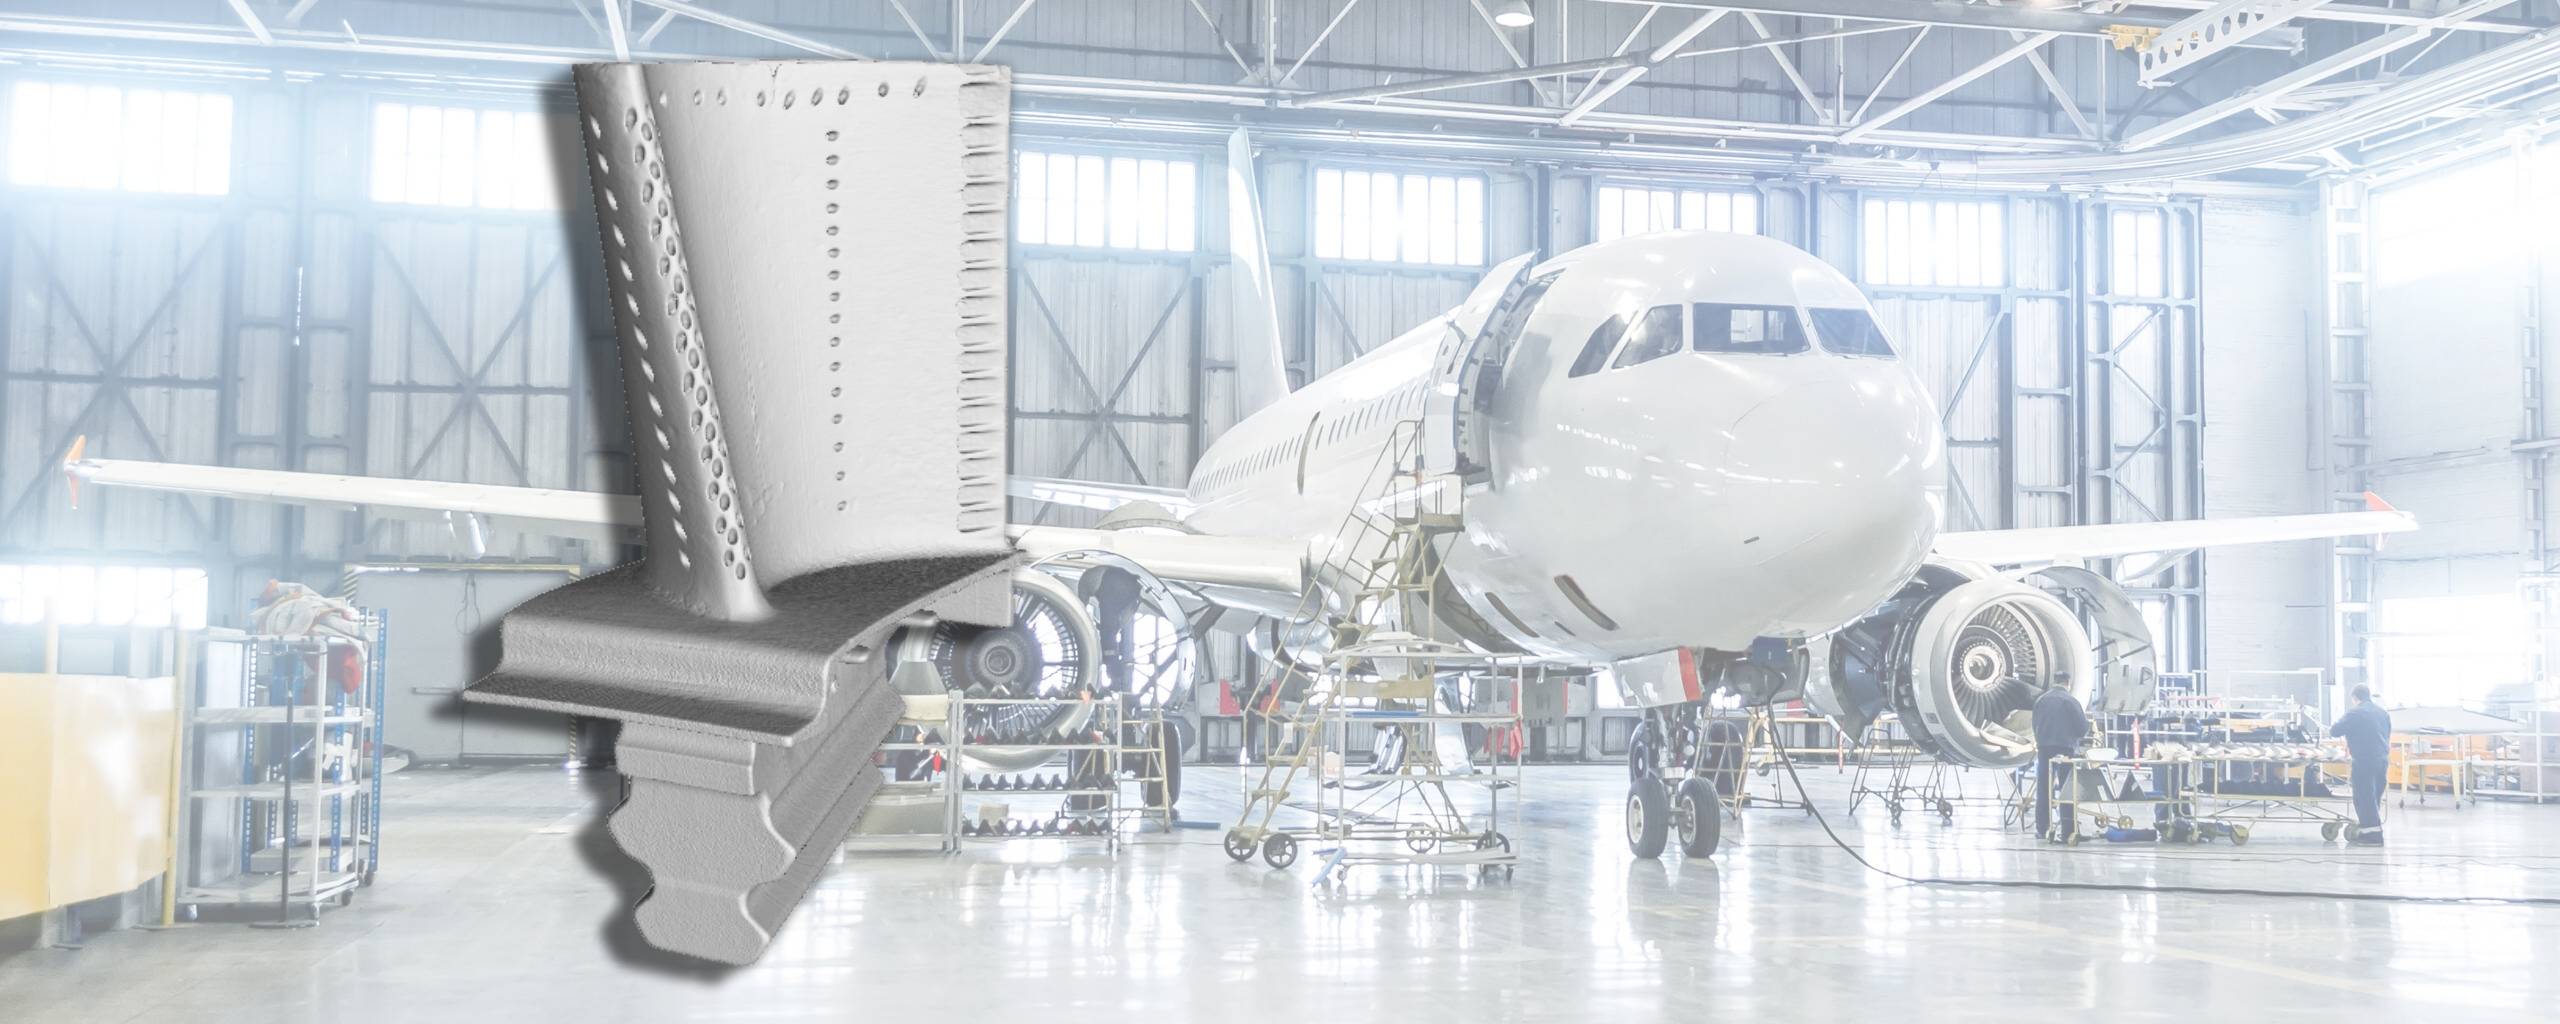
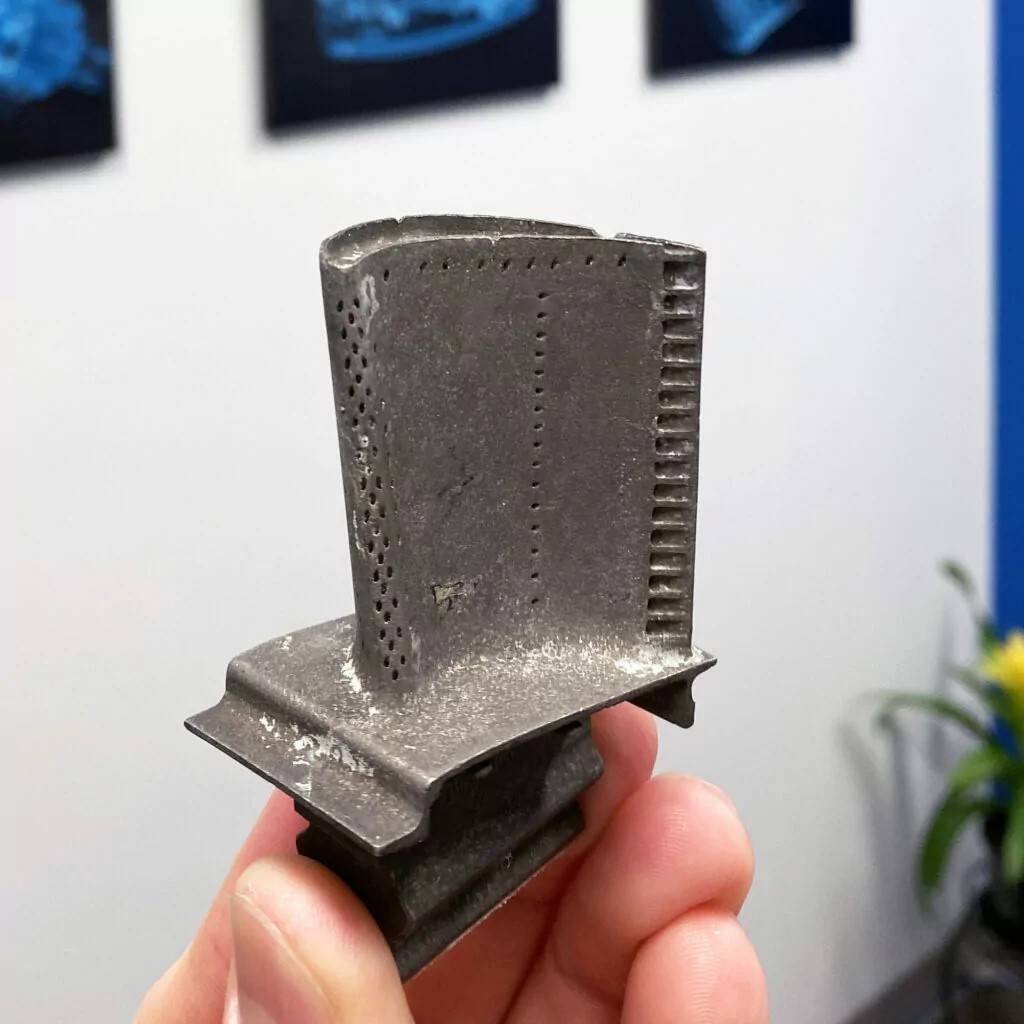
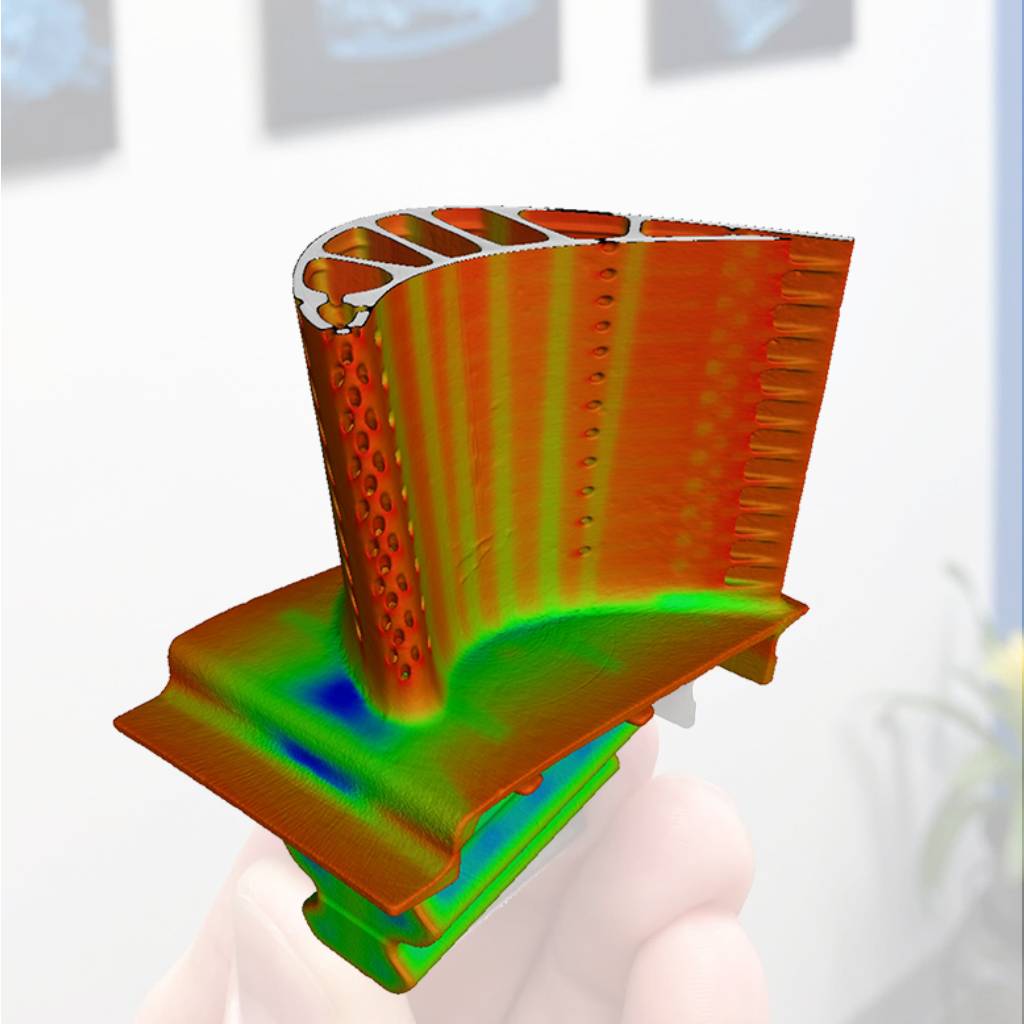
We have over 35 years of experience developing X-ray CT technology for and collaborating with aerospace companies worldwide. As such, X-ray CT has become the industry standard for failure analysis, defect detection, and metrology. From avionics to casting and turbine blades to sensors, we can deliver precise data for you to develop reliable, quality components. Scan image: 3D CT industrial scan of a jet engine turbine blade.
Automotive & Motorsport
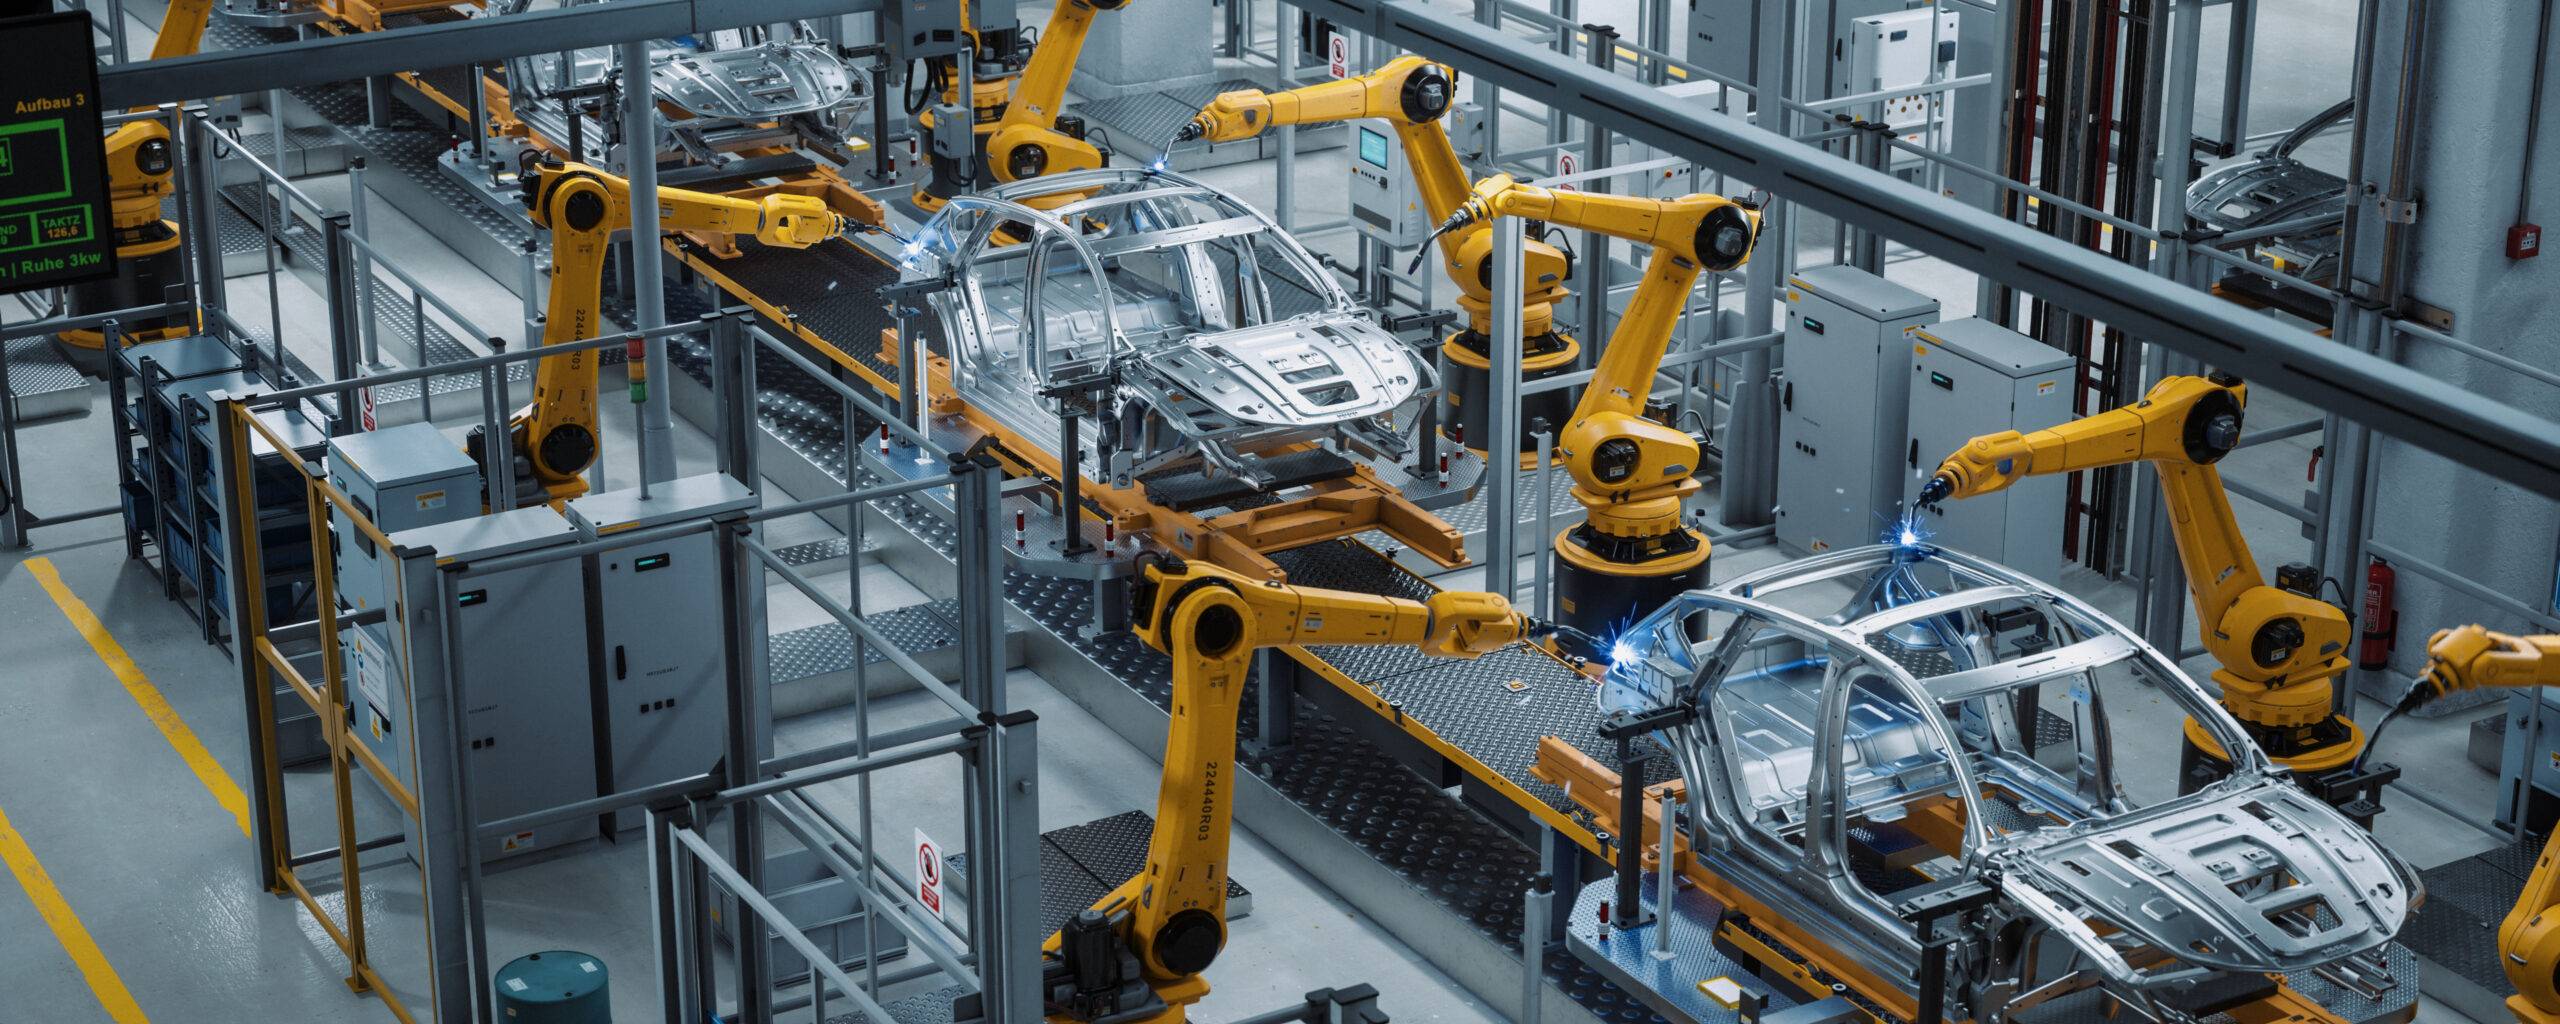
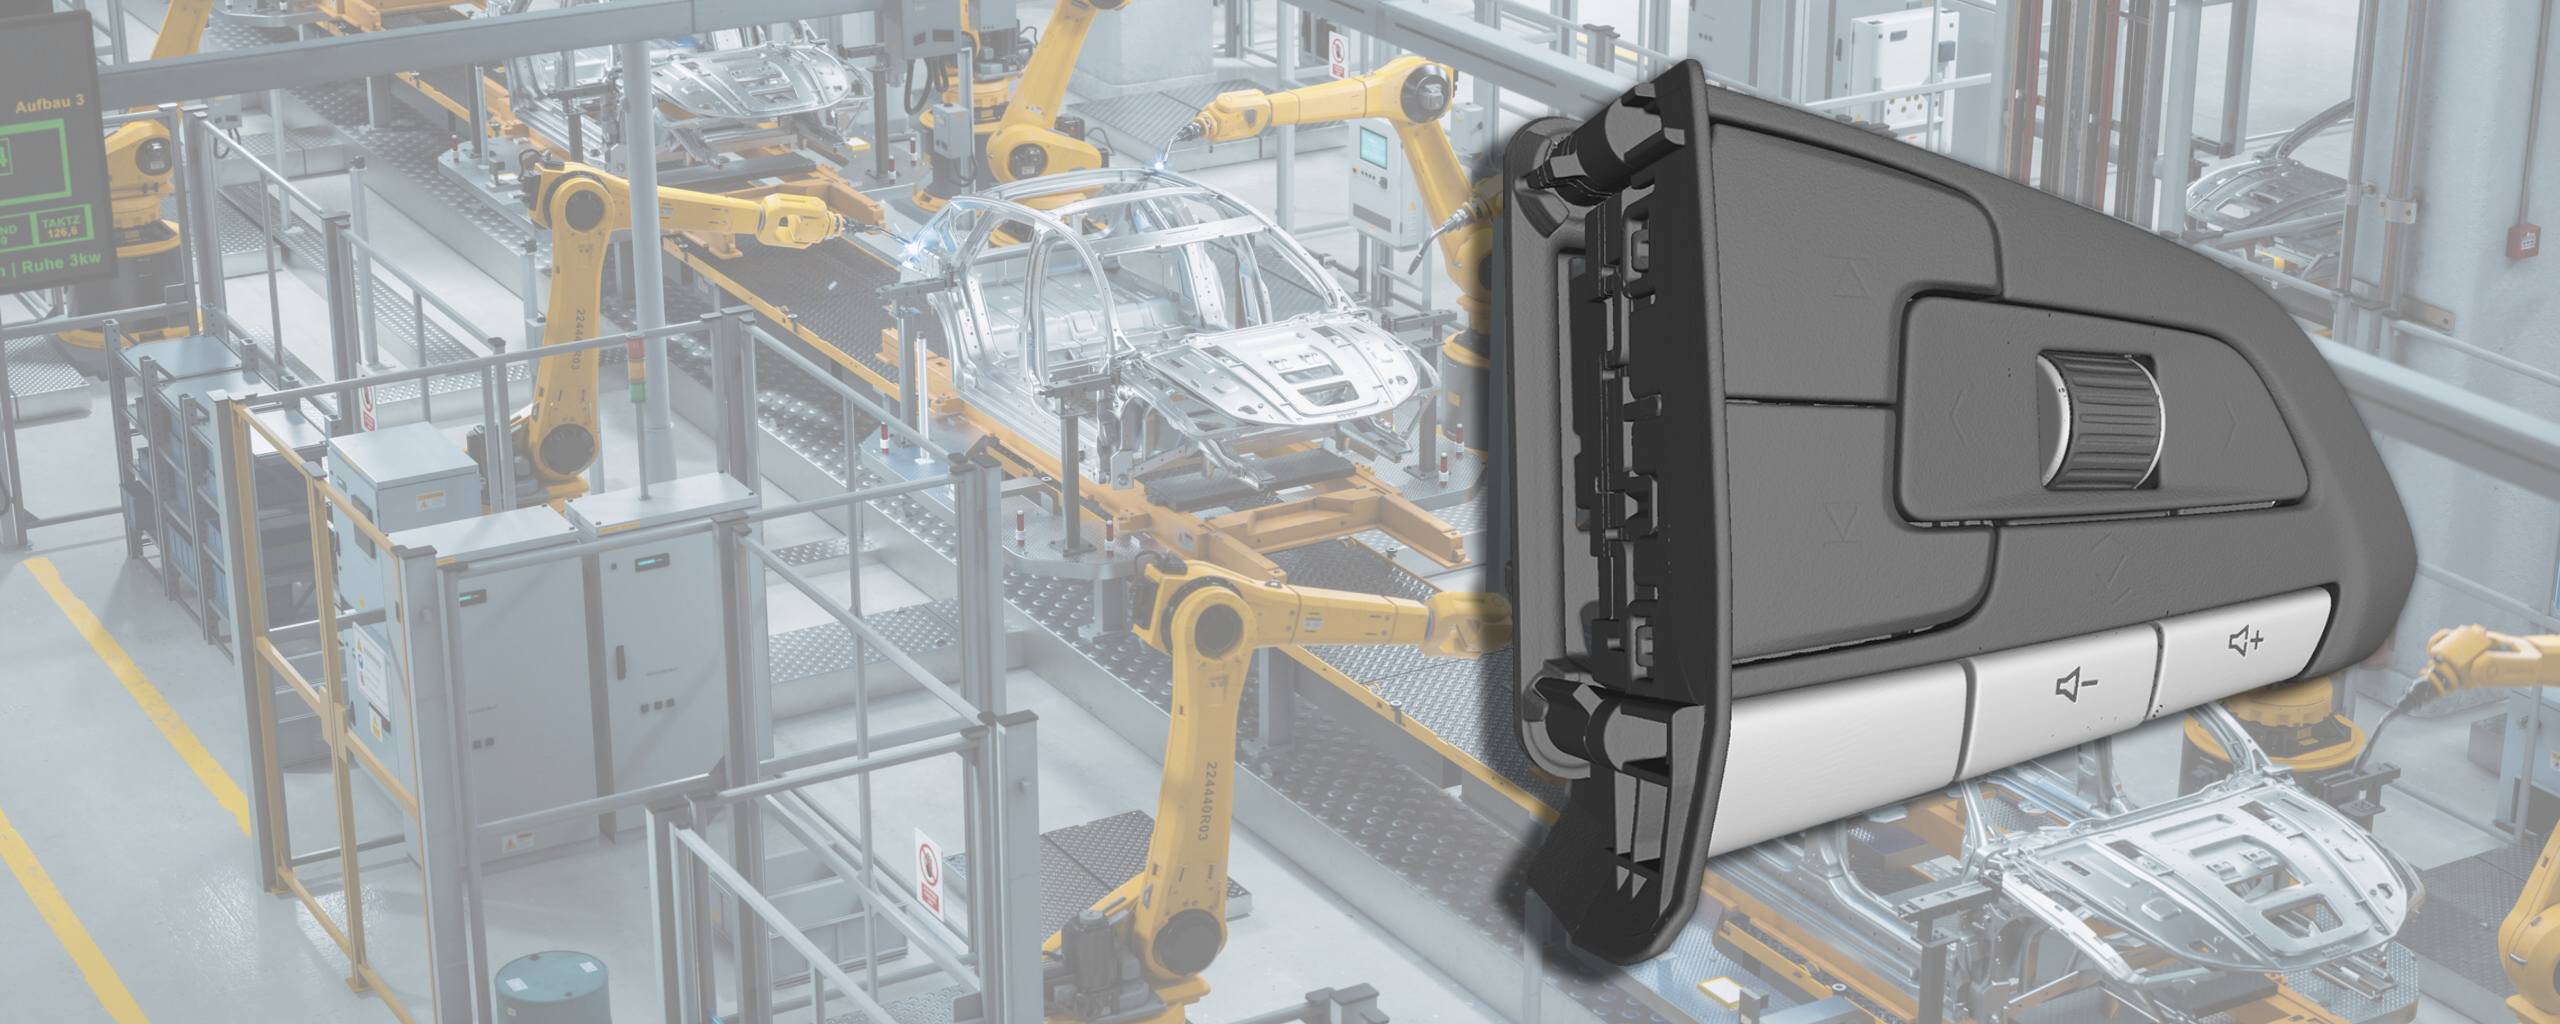
Since 1986, Nikon has been a trusted partner to automotive innovators, providing X-ray CT imaging to gain meaningful insights. Our expertise spans traditional needs like analyzing crankcases, cylinder heads, composites, connectors, brake discs, steering wheels, tires, filters, fuel tanks, and piping, and Nikon also addresses emerging requirements from the burgeoning EV industry and motorsports like Formula 1. Scan image: 3D CT industrial scan of a car steering wheel’s media controller.
Li-ion Batteries
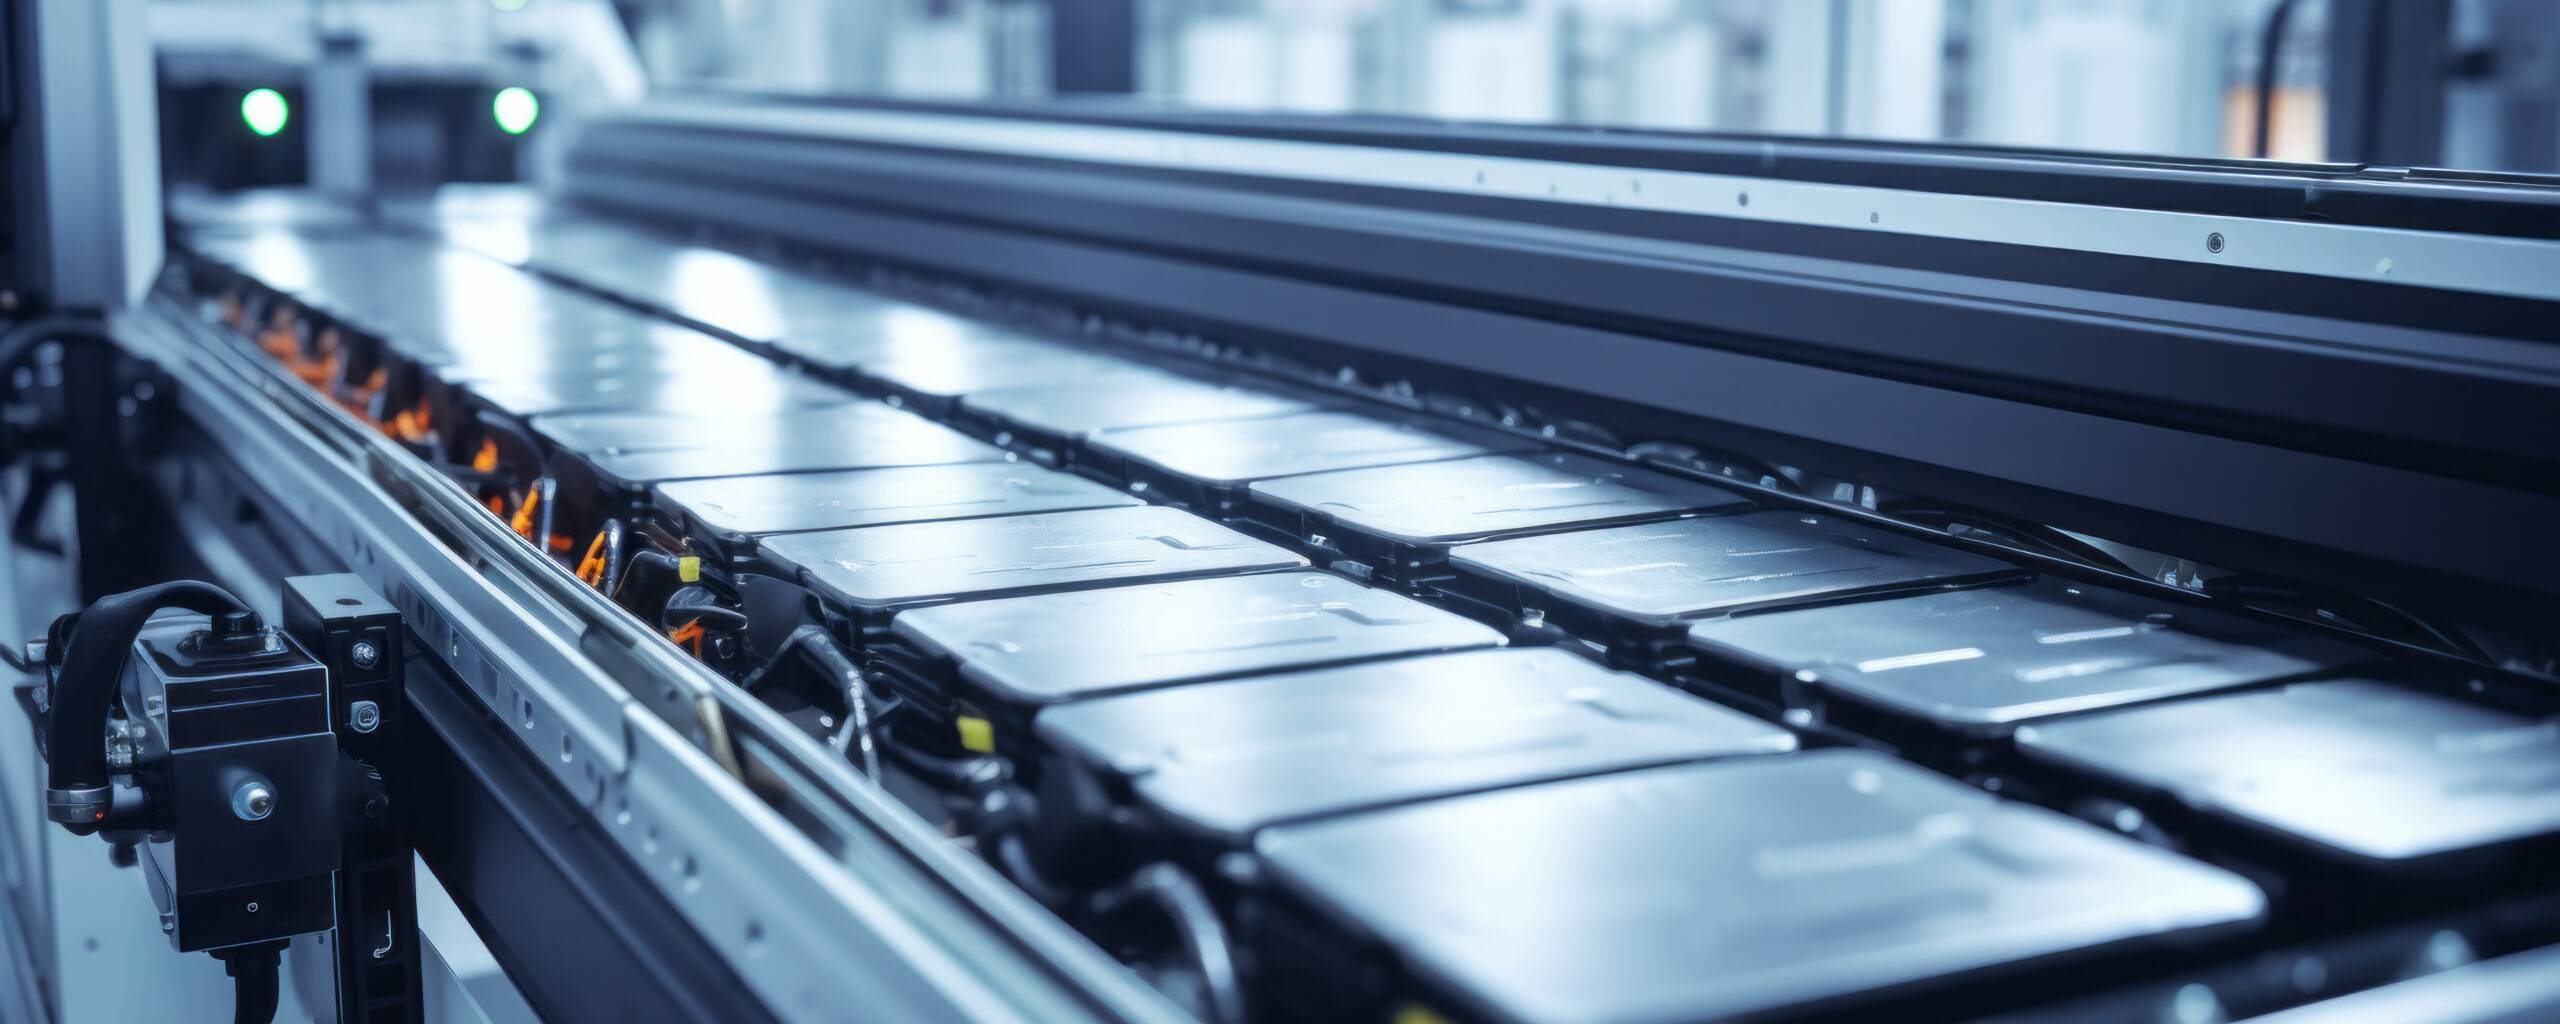
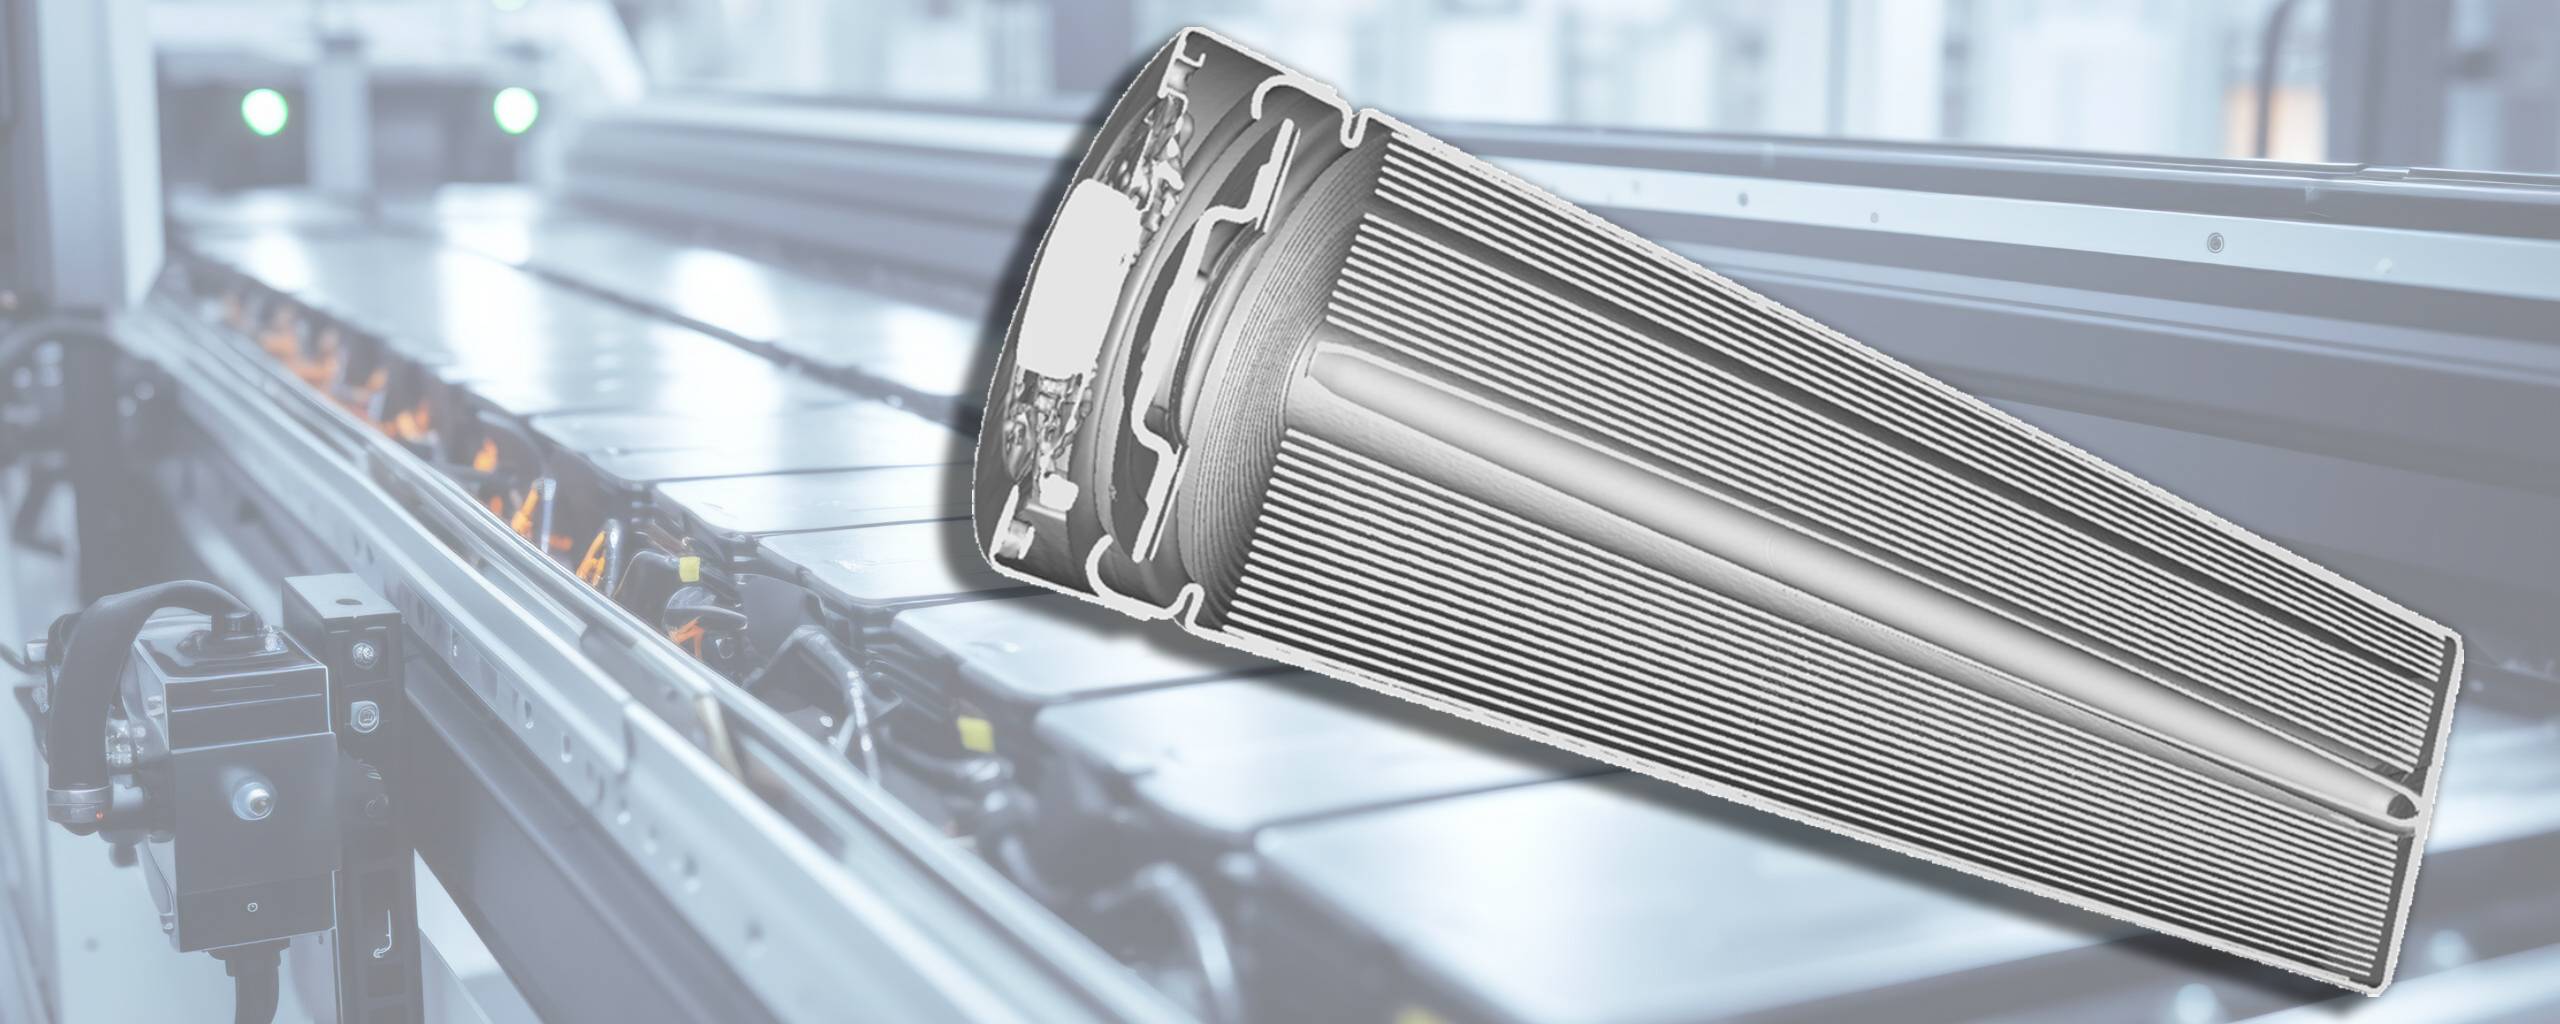
Nikon has transformed non-destructive testing for battery makers through pioneering X-ray systems and intelligent software. Our lithium-ion cell analysis unlocks meaningful insights from LiB.Overhang Analysis examination to AI-powered defect detection. Leveraging proprietary reconstruction algorithms, state-of-the-art X-ray hardware, and AI innovations, we provide faster, accurate battery data. Scan image: 3D CT industrial scan of a lithium-ion battery cell.
Medical & Pharmaceuticals

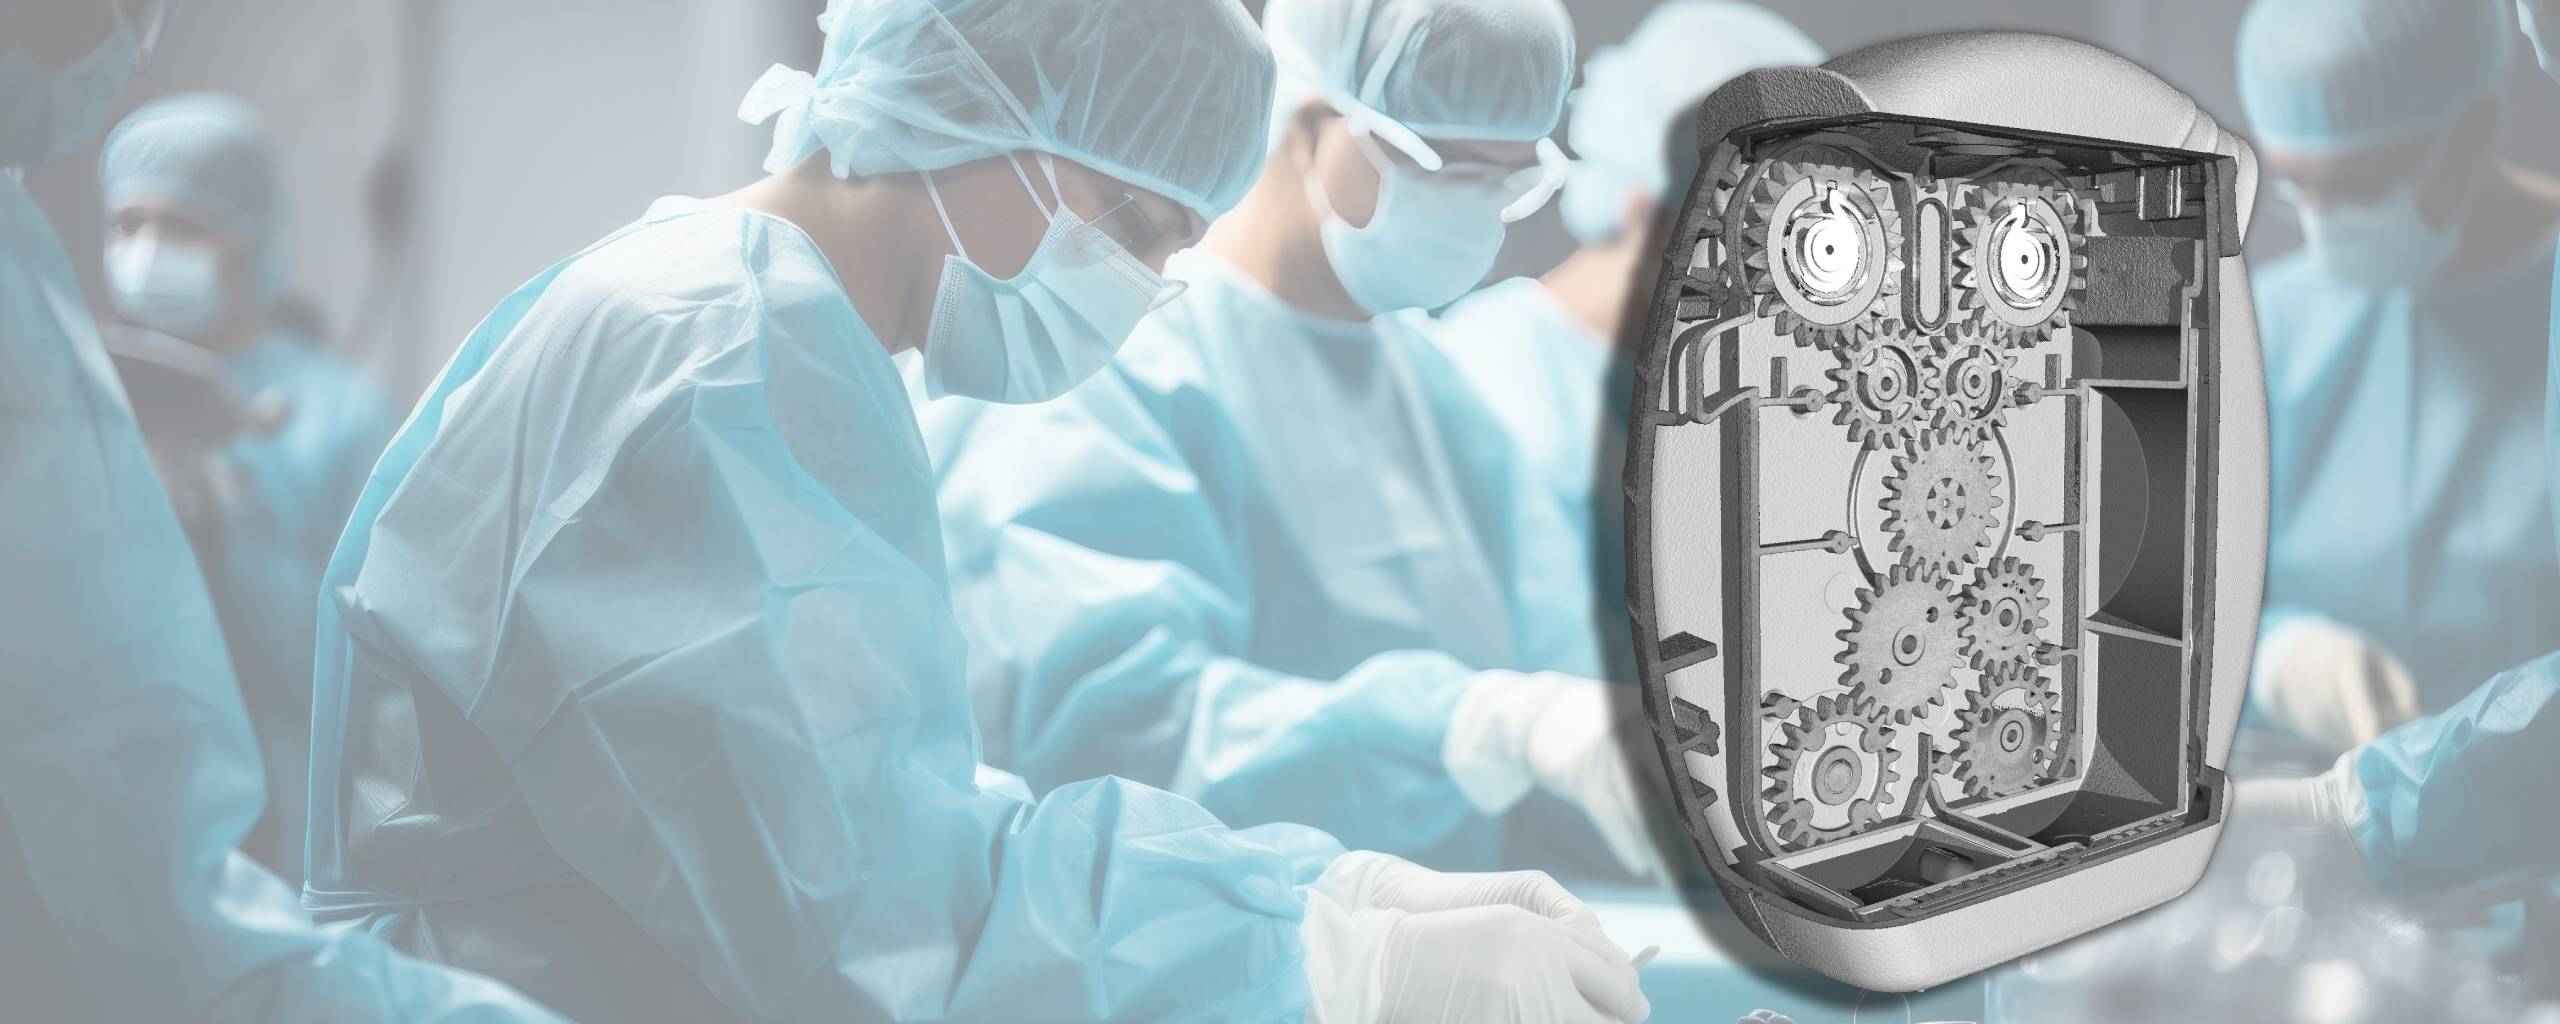
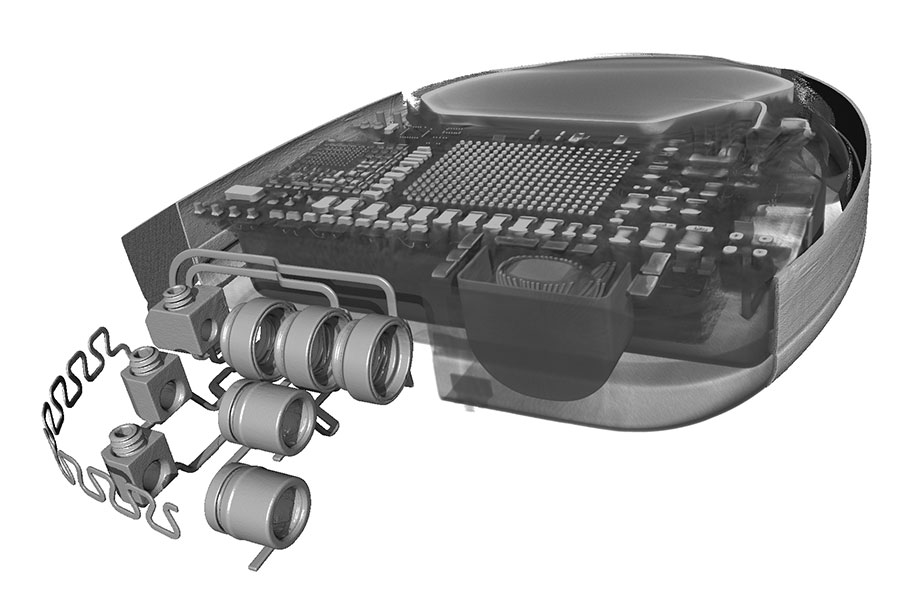
X-ray CT inspection guarantees accessibility to all medical application areas, from simple to intricate devices. We can inspect additively manufactured parts, polymers, or porous materials sensitively and efficiently. Gain fundamental insight to ensure reliable and repeatable performances for implants, stents, pacemakers and more. Scan image: 3D CT industrial scan of an inhaler to treat asthma.
Academic Research

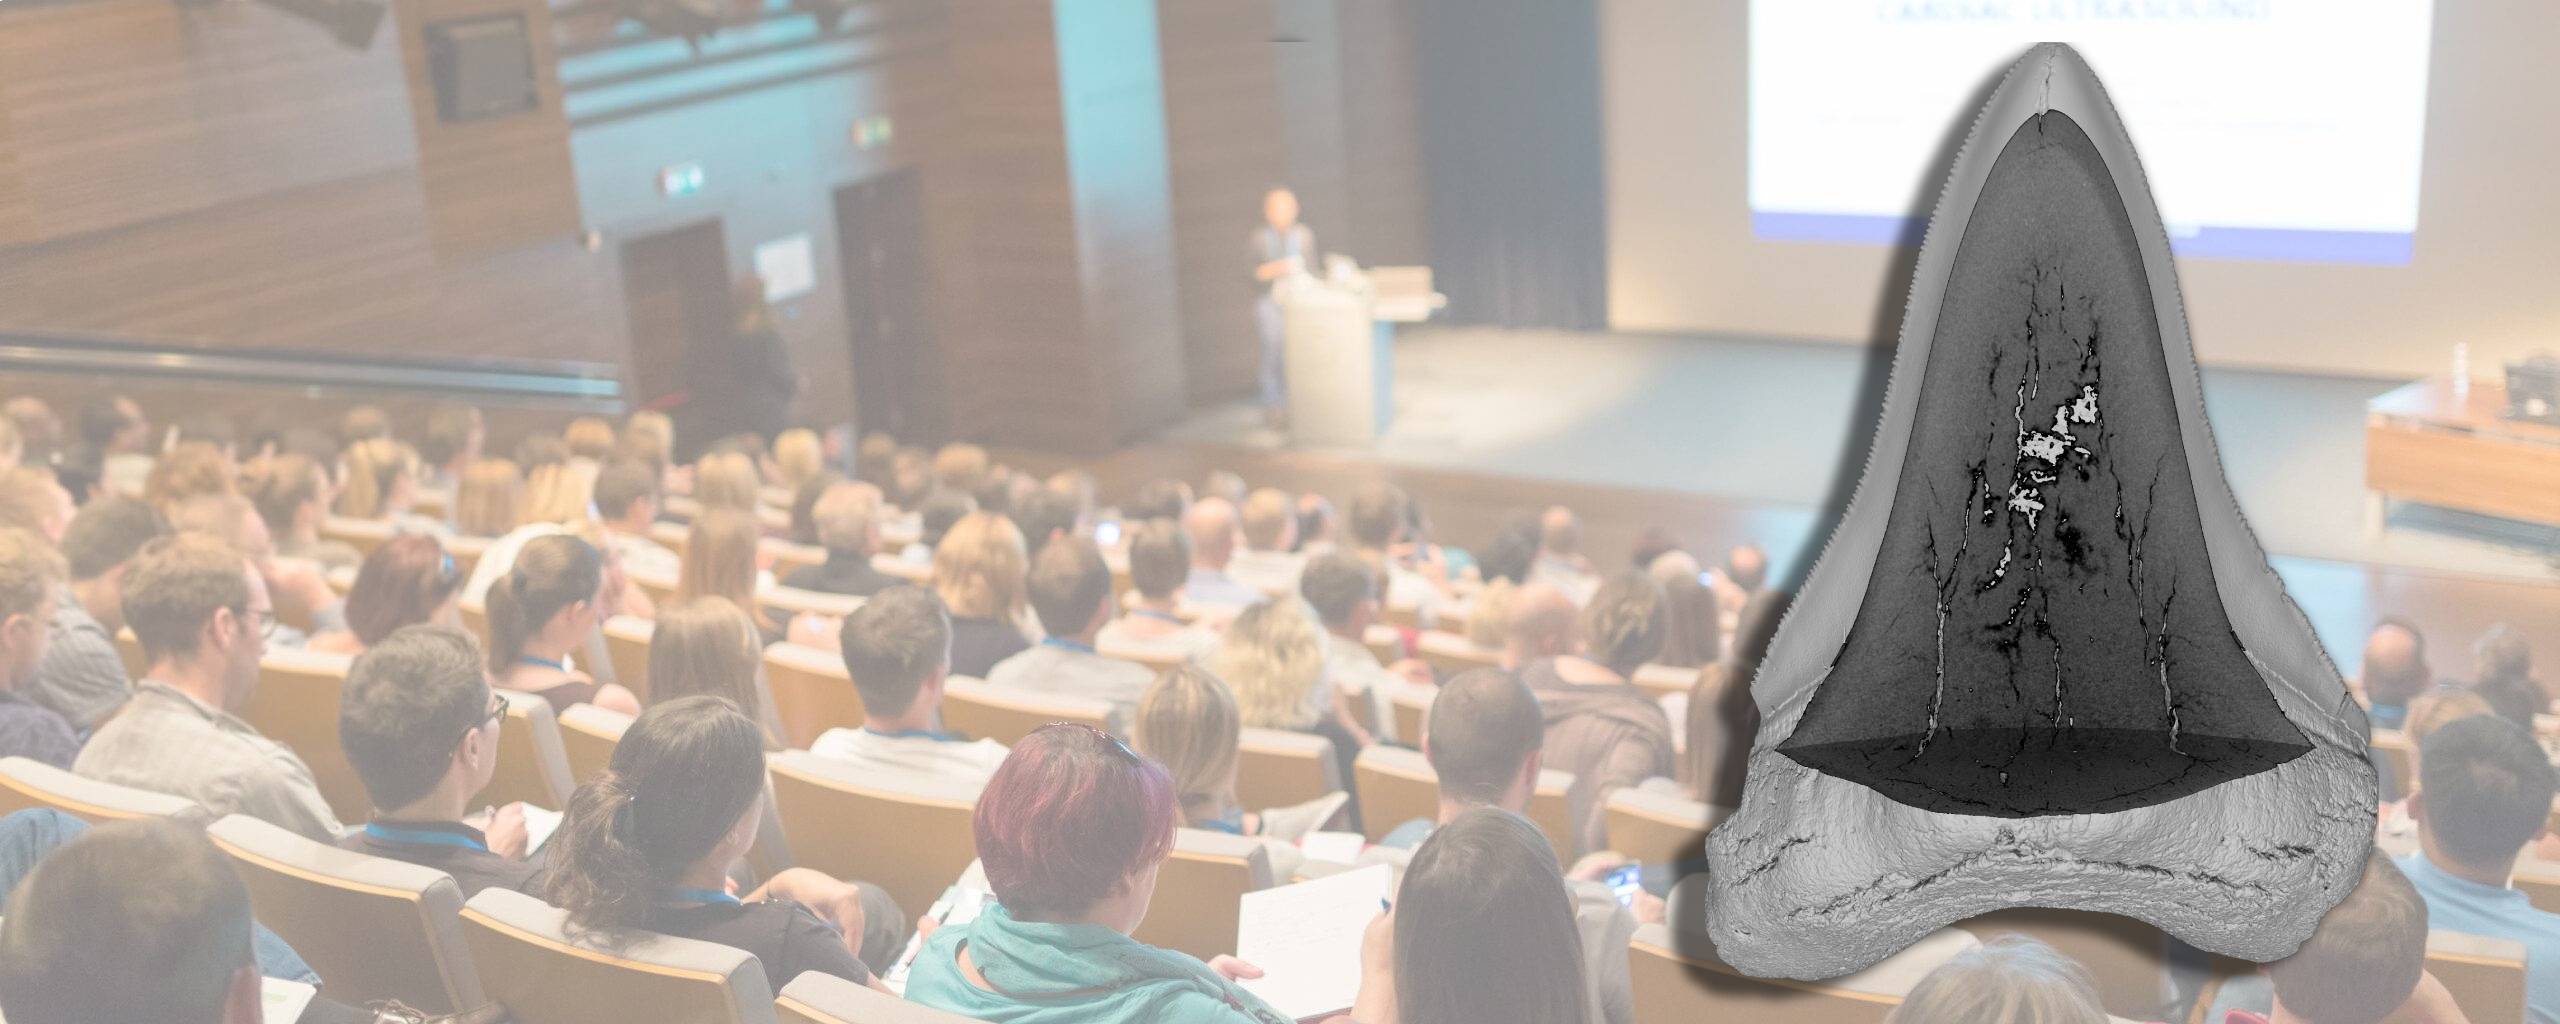
Nikon’s leading X-ray CT non-destructive testing allows academics to peer further into the past and innovate for the future. We have helped to reveal the secrets within a 65-million-year-old dinosaur egg, test prototype ceramics for aerospace parts, and analyze elements in innovative alloys. Scan image: 3D CT industrial scan of a shark’s tooth.
Additive & Castings
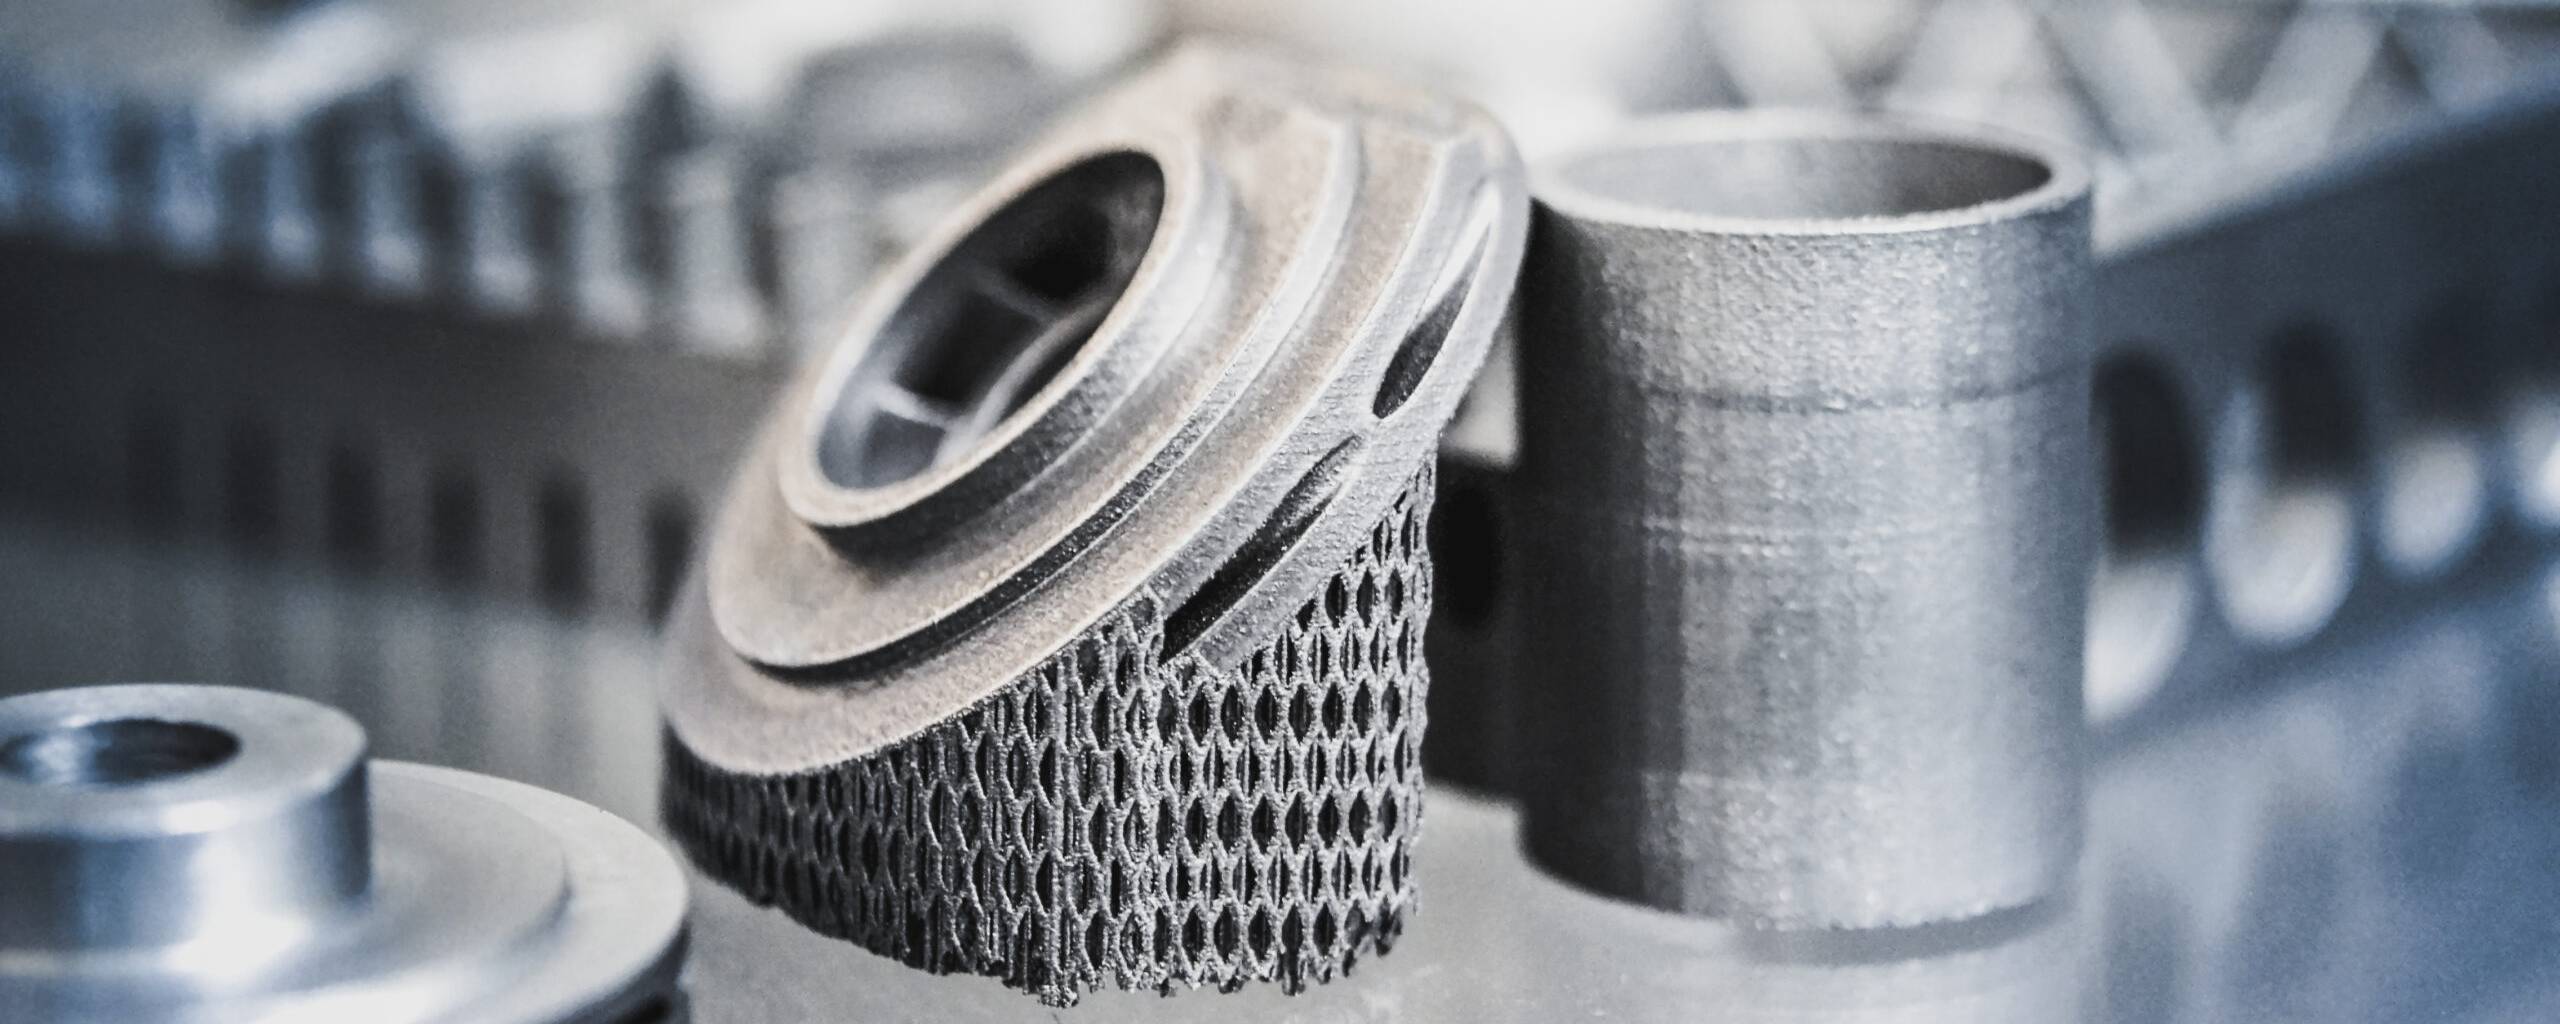
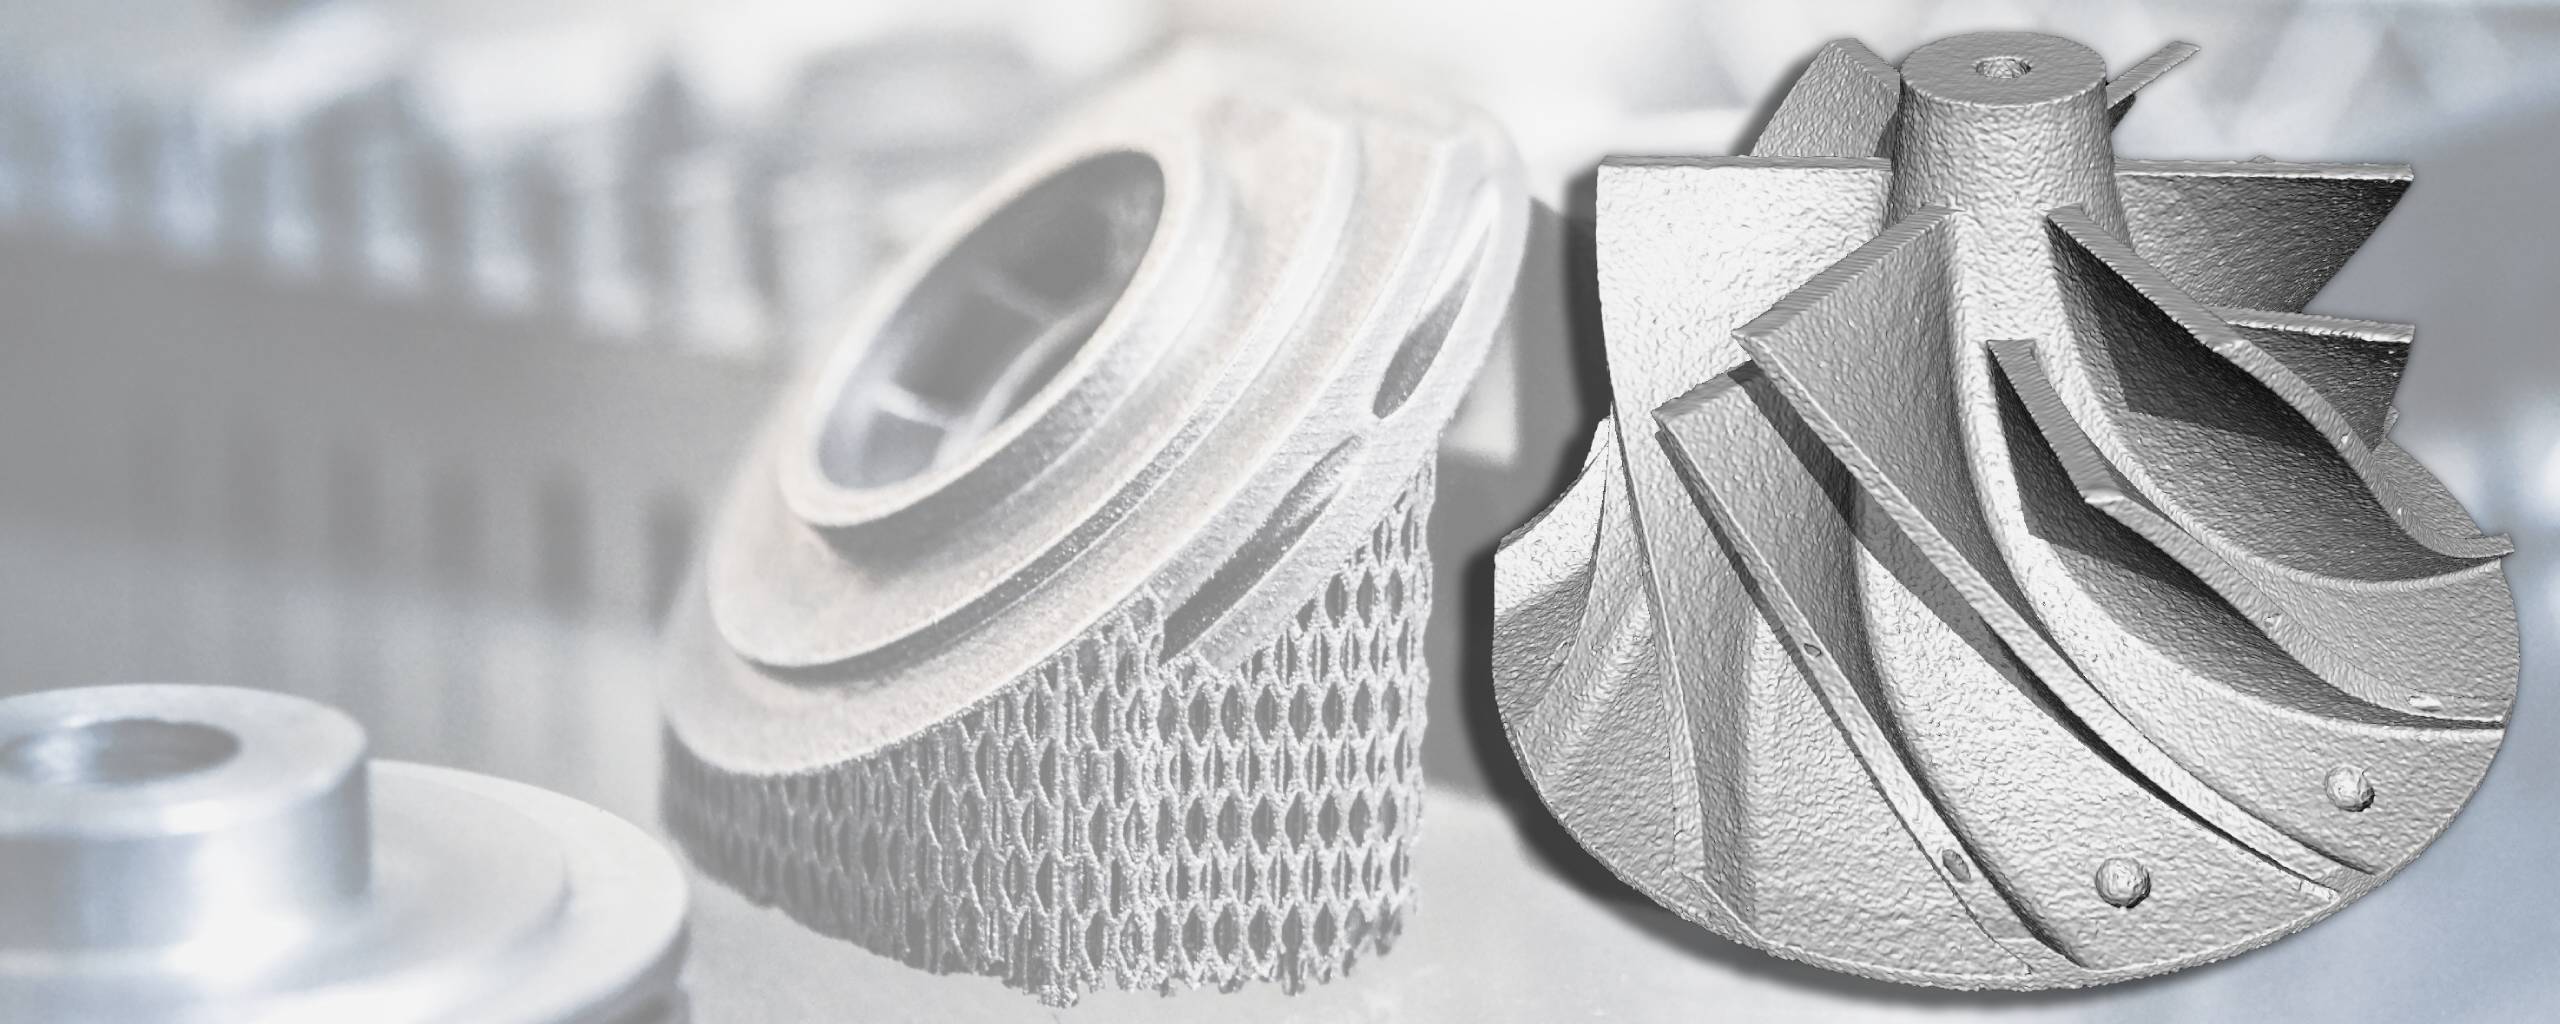
Nikon inspection services reveal a wealth of data. We can measure the internals of an additively manufactured part or spot a crack propagating in a dense metal casting. X-ray CT inspection simultaneously provides metrology and quality assurance for engineering components, highlighting porosity, shrinkage, and foreign materials. Scan image: 3D CT industrial scan of an additive-manufactured turbine compressor.
Electronics
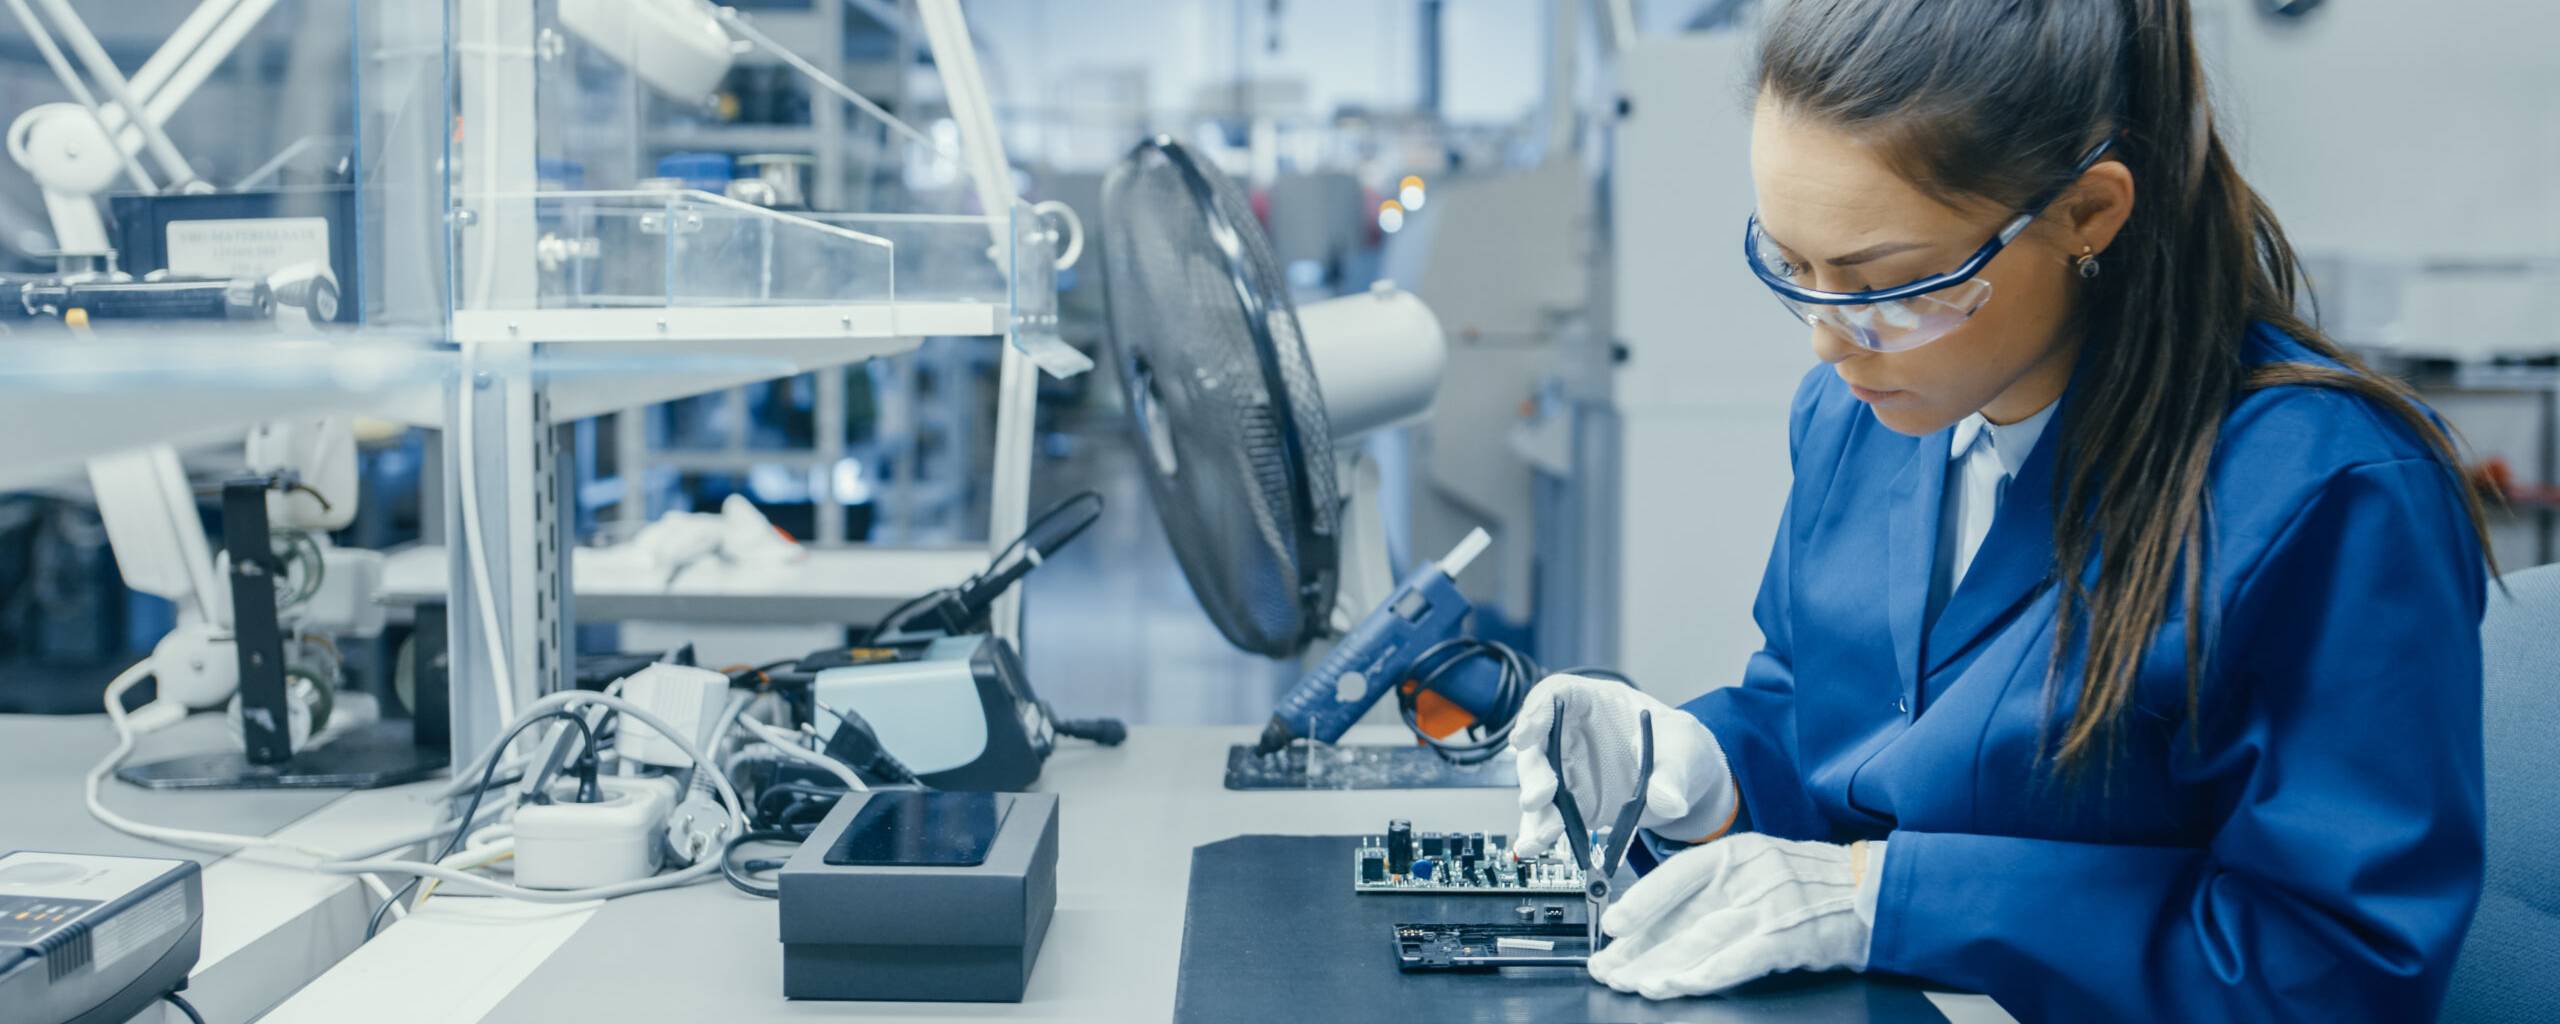
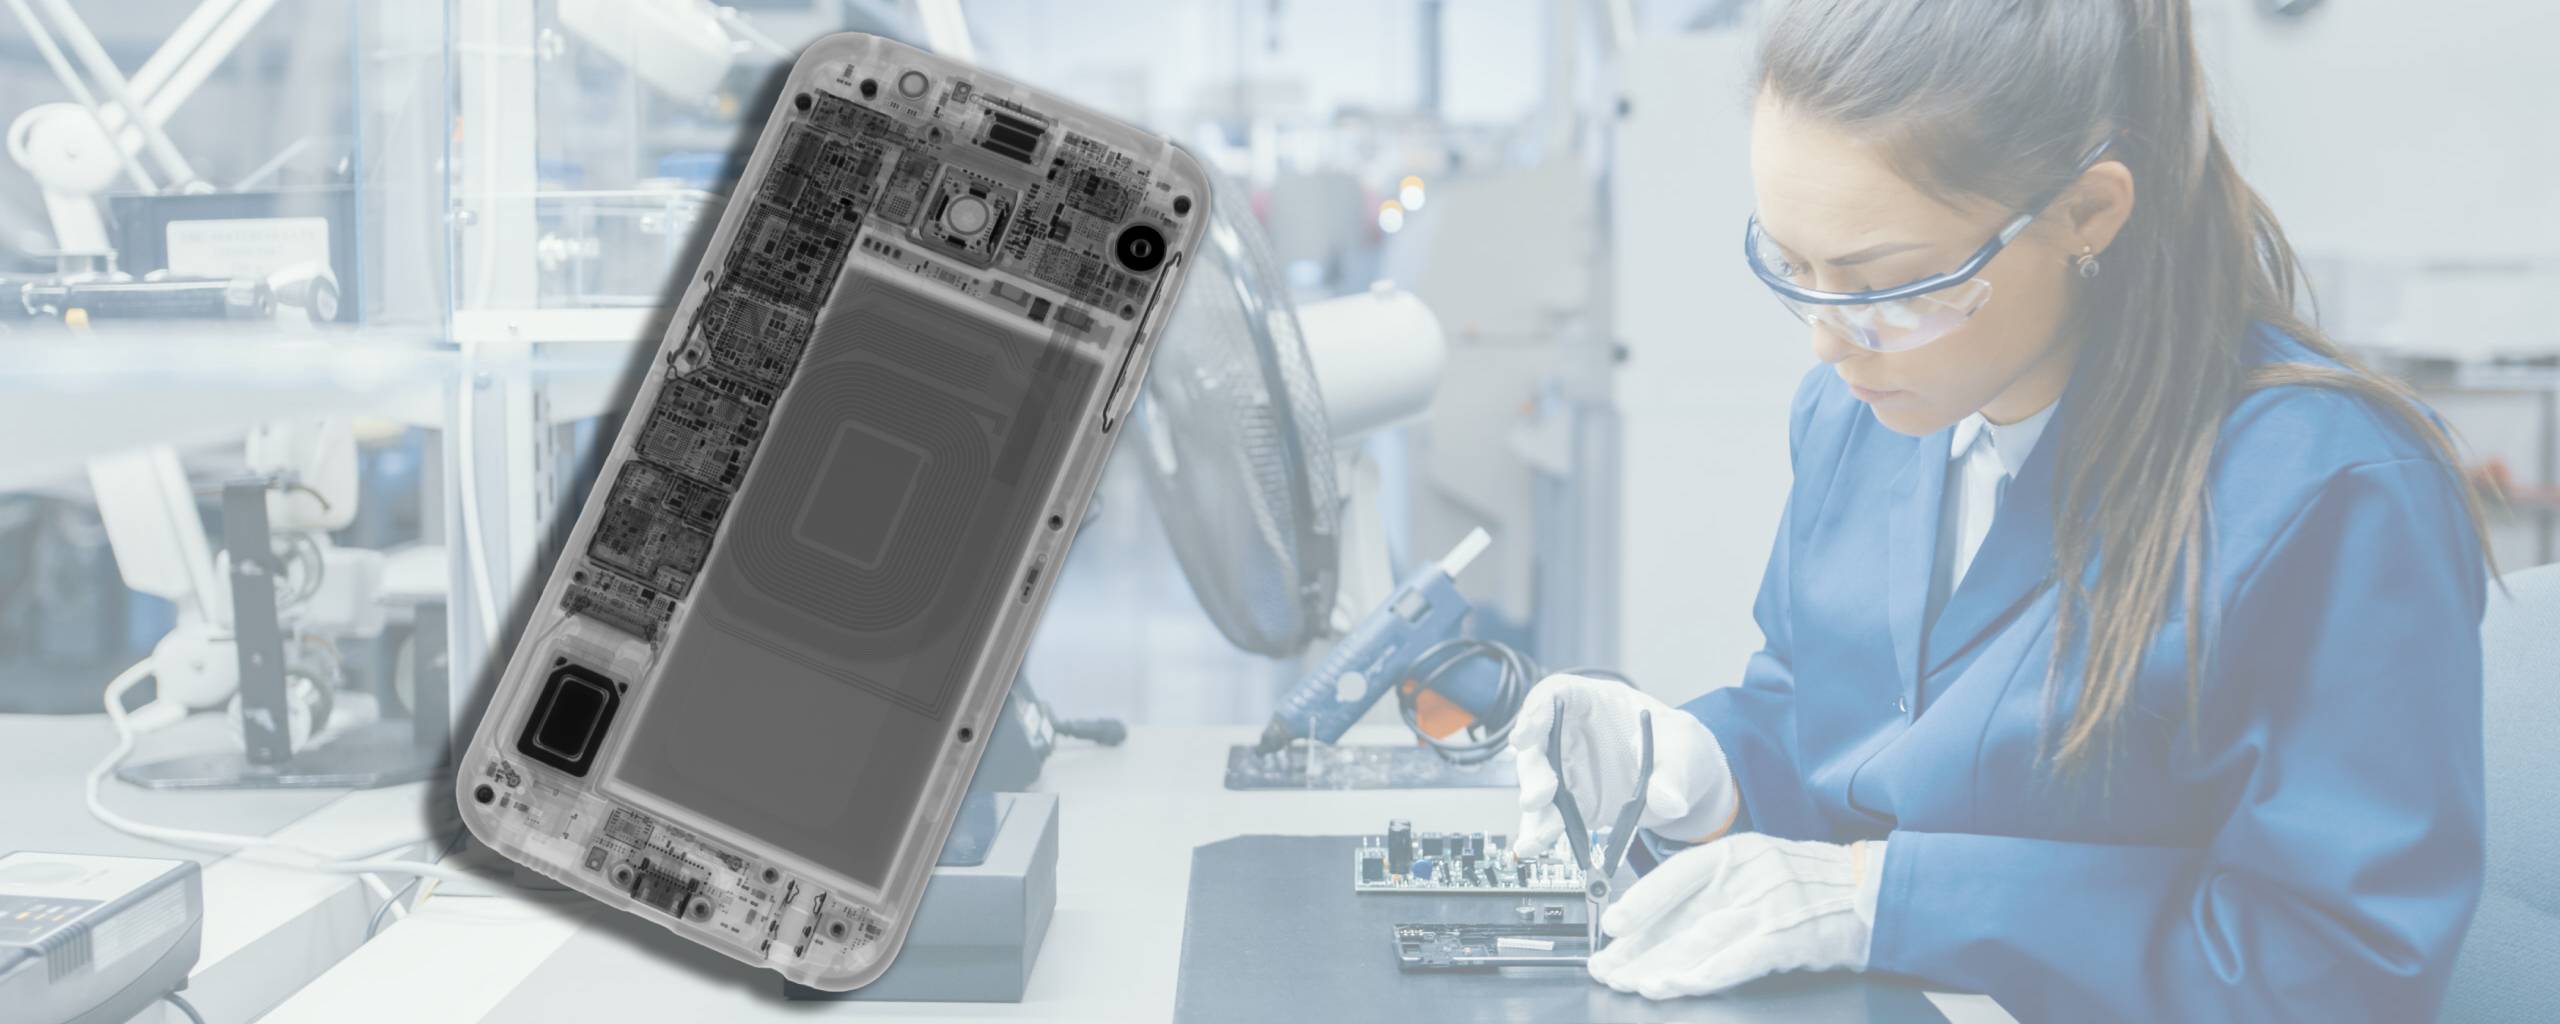
X-ray CT inspection is ideal for examining probe cards, BGAs, solder joints, microchips (ICs), or even double-sided printed circuit board assemblies (PCBAs). We can investigate miniature and complex electronic assemblies with a high voxel resolution and without obstruction with our proprietary Tilted CT process. Scan image: 2D digital radiography image of a cell phone.
FAQs
A fast and convenient service for engineers, scientists, and quality control personnel to gain access to X-ray CT technology to help inspect the internal features of their parts. Send us your parts, we scan them, and then provide the data you need to help solve your problems or complete your project.
DR provides a flat, 2D radiograph, similar to a traditional medical X-ray. DR is great for fast, routine inspections as well as real-time evaluation. CT builds on DR by capturing hundreds or thousands of DR radiographs around an axis of rotation and then compiling them into a 3D volumetric reconstruction. CT scans provide data easier to visualize and interpret and offer much more advanced inspection capabilities, especially on complex objects.
The types of parts vary greatly depending on the physical size of the system and the power of the X-ray source. We have a wide range of systems and have inspected objects varying in size from small to very large.
X-ray CT scan resolution depends on many factors, including part size, X-ray source, detector, technique, and area of interest. That being said, the sample size is often the most significant determining factor in scan resolution. Generally speaking, the smaller the part, the higher the resolution we can achieve. We’ve scanned very small samples in the 1 to 10-micron range and large samples in the 100 to 200-micron resolution range. A discussion with our technicians about your sample and needs can usually give a good idea of what resolution to expect.
The resolution does not equal defect detectability. Ideally, you want your scan resolution to be three times better than the defect size you are trying to find. For example, if you are seeking a 15-micron defect, your scan resolution should be 5 microns or better. There are exceptions to this, but this is a good starting point for establishing expectations.
Typical deliverables for our X-ray CT Inspection Services include the full CT reconstruction exported into a packaged MyVGL format, which allows you to open and manipulate the scan data on any computer without downloading additional software. Also included are images, videos, and advanced analysis reports specific to the project and customer’s needs. Additionally, we offer an optional web meeting to review the data and guide you through the software.
Other Services Available
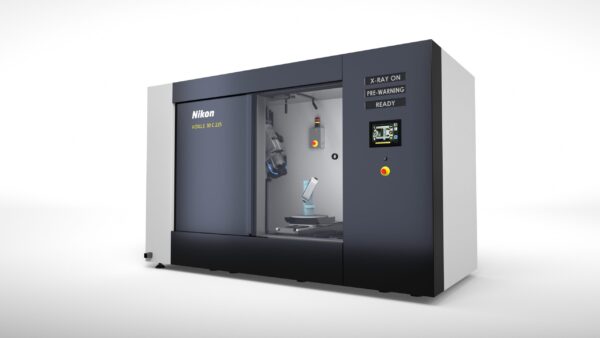
Explore Our X-ray CT Products
Contact us today to take control of your X-ray inspection or learn more about Nikon computed tomography (CT) systems. We will tell you about our comprehensive selection, including large envelope, helical, high-flux rotation, 2D, 3D and more.
Request Your Inspection
Whatever you need scanning, analyzing or inspecting, we can help. Click the button below and fill in the form to tell us what you need. One of our expert team members will then be in touch.
