Nikon’s X-ray computed tomography (CT) technology has enabled digital camera lens brand heavyweight Tamron to gain unprecedented insights into the intricacies of their industry-leading components.
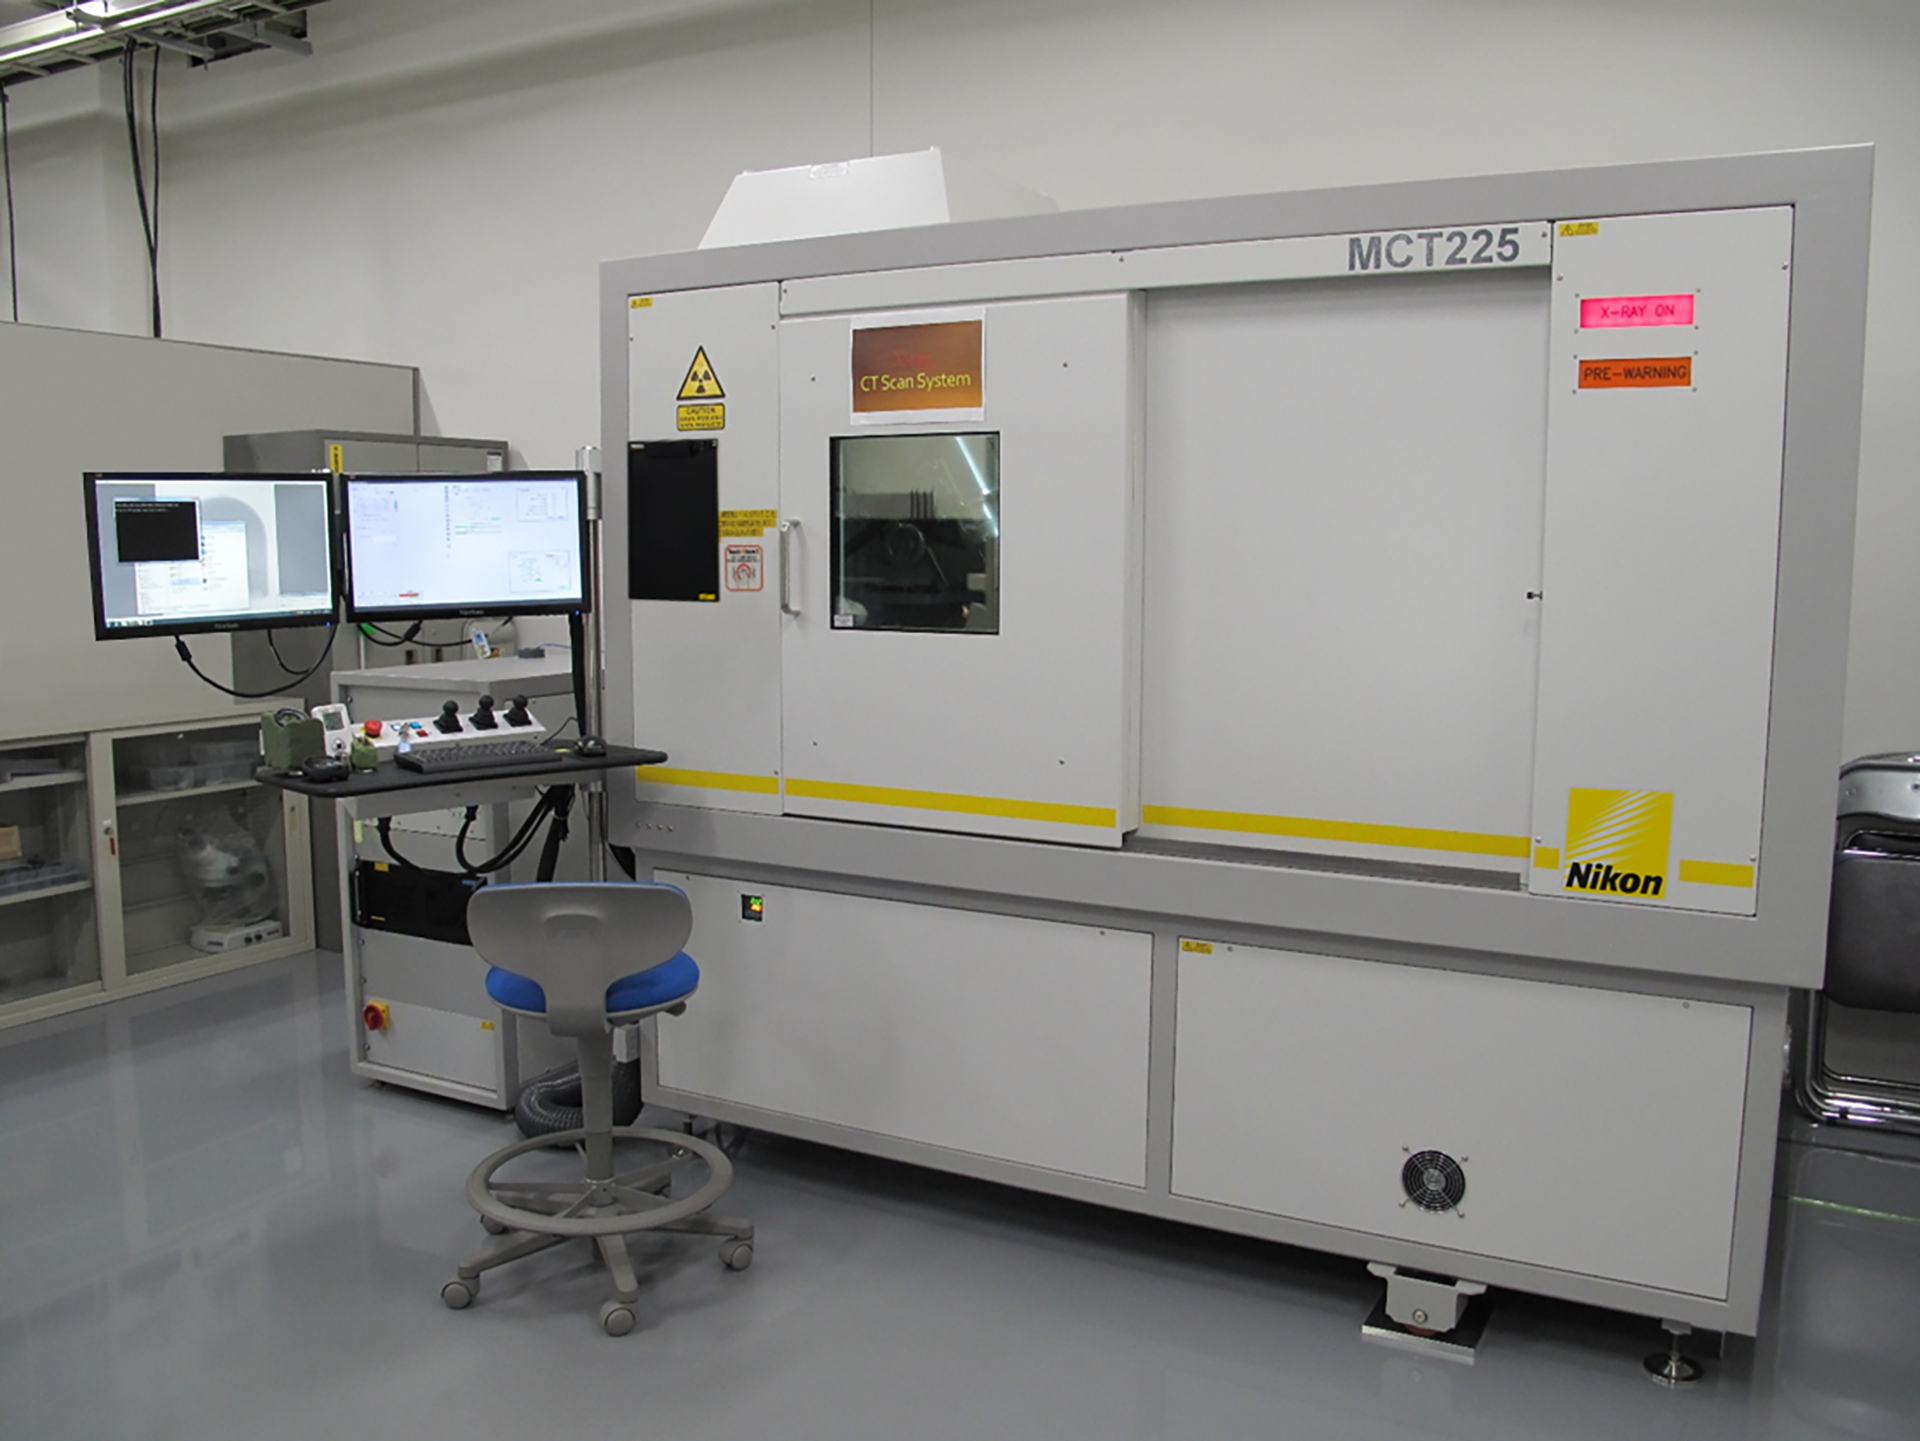
Japan-based Tamron faced challenges in accurately analyzing the deformation of plastic molded lens components. Nikon’s MCT225 system solved this by allowing the company to create 3D models from CT scans, which can be directly compared to CAD models and analysis results using VGSTUDIO MAX software.
This brought in a wave of benefits, eliminated the need for aligning multiple measurement points, and enabled the observation of fiber orientation in Tamron’s fiber-reinforced plastics, a crucial development that improved analysis accuracy.
Headquartered in Saitama City, Tamron has continuously pursued advanced optical technology, combining creativity and technical strength to develop and provide high-quality products trusted by users worldwide.
Tamron has a history of over seven decades. It was established in 1950 under the name Taisei Optical Equipment Manufacturing and initially provided technology for polishing lenses for cameras and binoculars.
As their expertise grew, Tamron ventured into manufacturing interchangeable lenses for SLR cameras. In 1958, they registered their trademark brand, and in 1970, the company officially changed its name to Tamron.
Over the years, Tamron evolved into a comprehensive optical equipment manufacturer, operating a globally integrated business structure encompassing research and development, planning, design, production, sales and support. Their product range expanded to include branded interchangeable lenses for digital SLR cameras catering to general consumers, OEM products, and optical components serving various industrial fields.
MCT225 provides insights into finished product quality
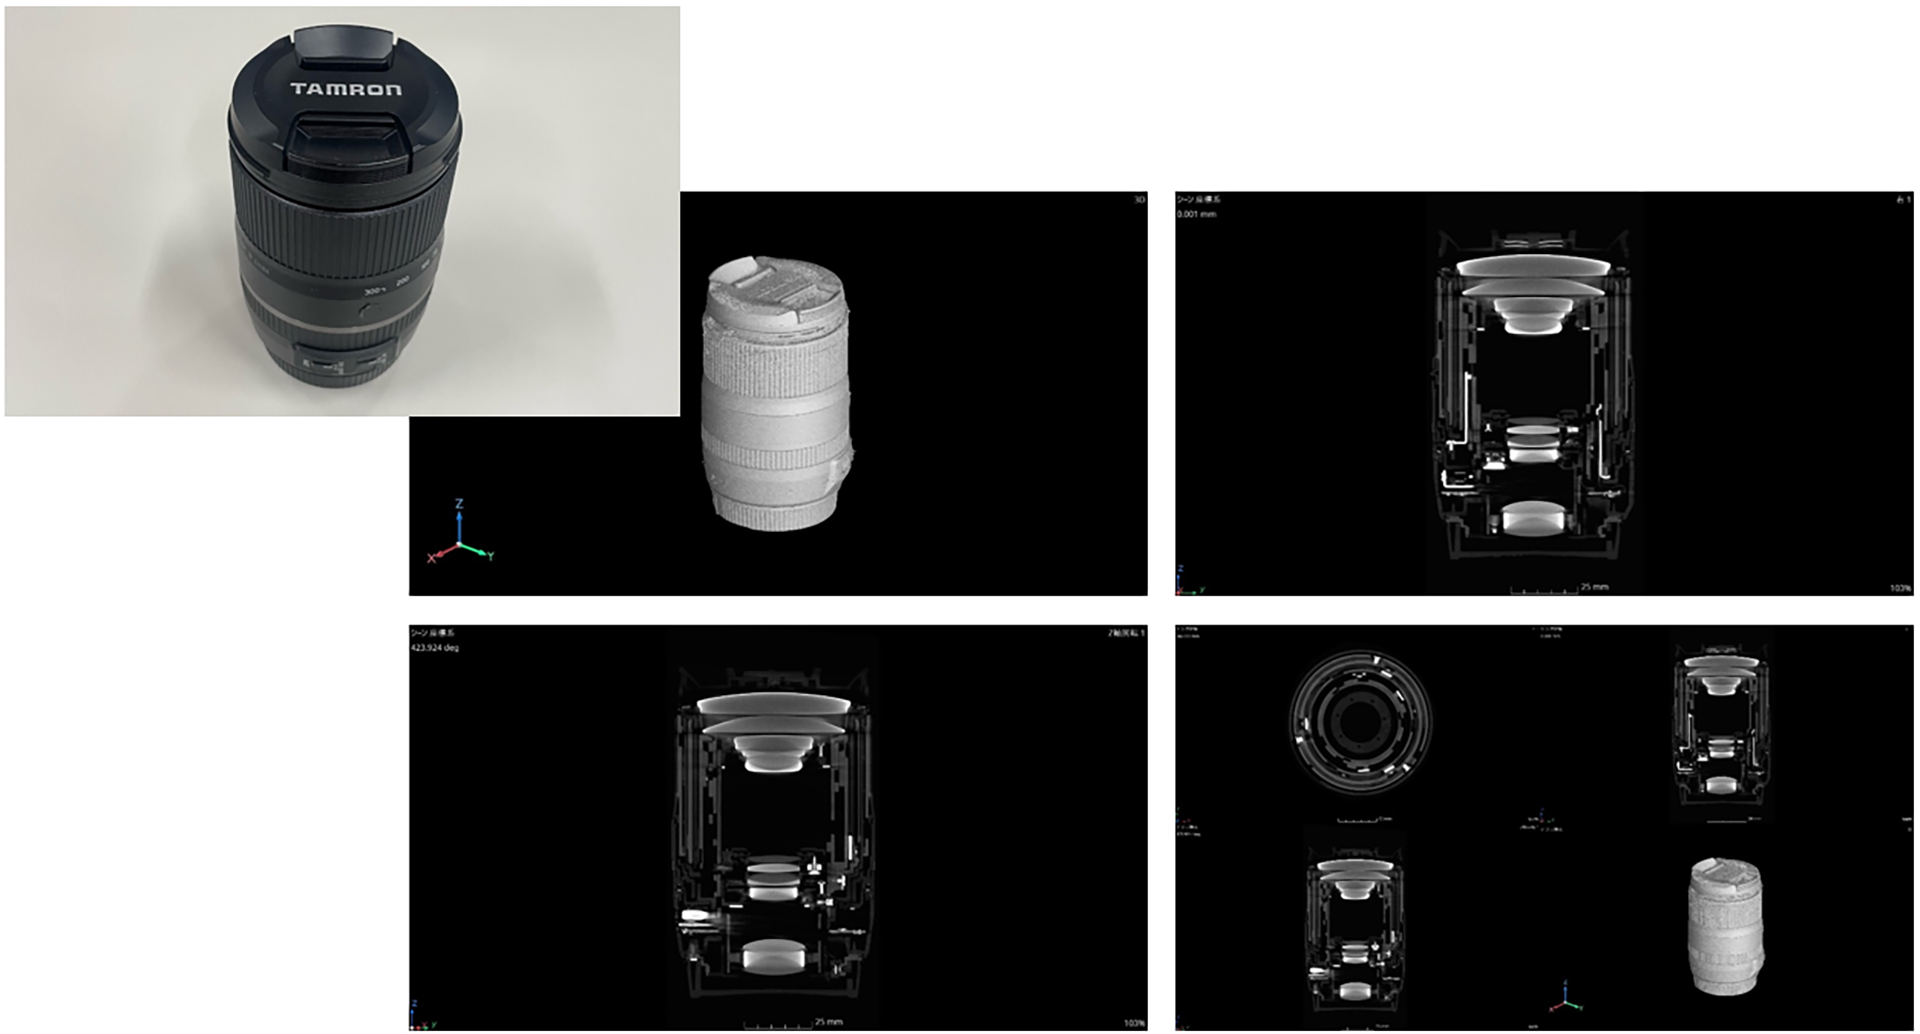
In April 2014, Tamron adopted Nikon’s MCT225 X-ray CT metrology system, along with two reconditioned computers. This initial setup allowed Tamron to image and evaluate the quality of plastic molded parts and critical mechanical components of their lens units. Tamron could assess the finished product quality by comparing the design specifications with the actual measurements obtained through CT imaging using VGSTUDIO MAX software.
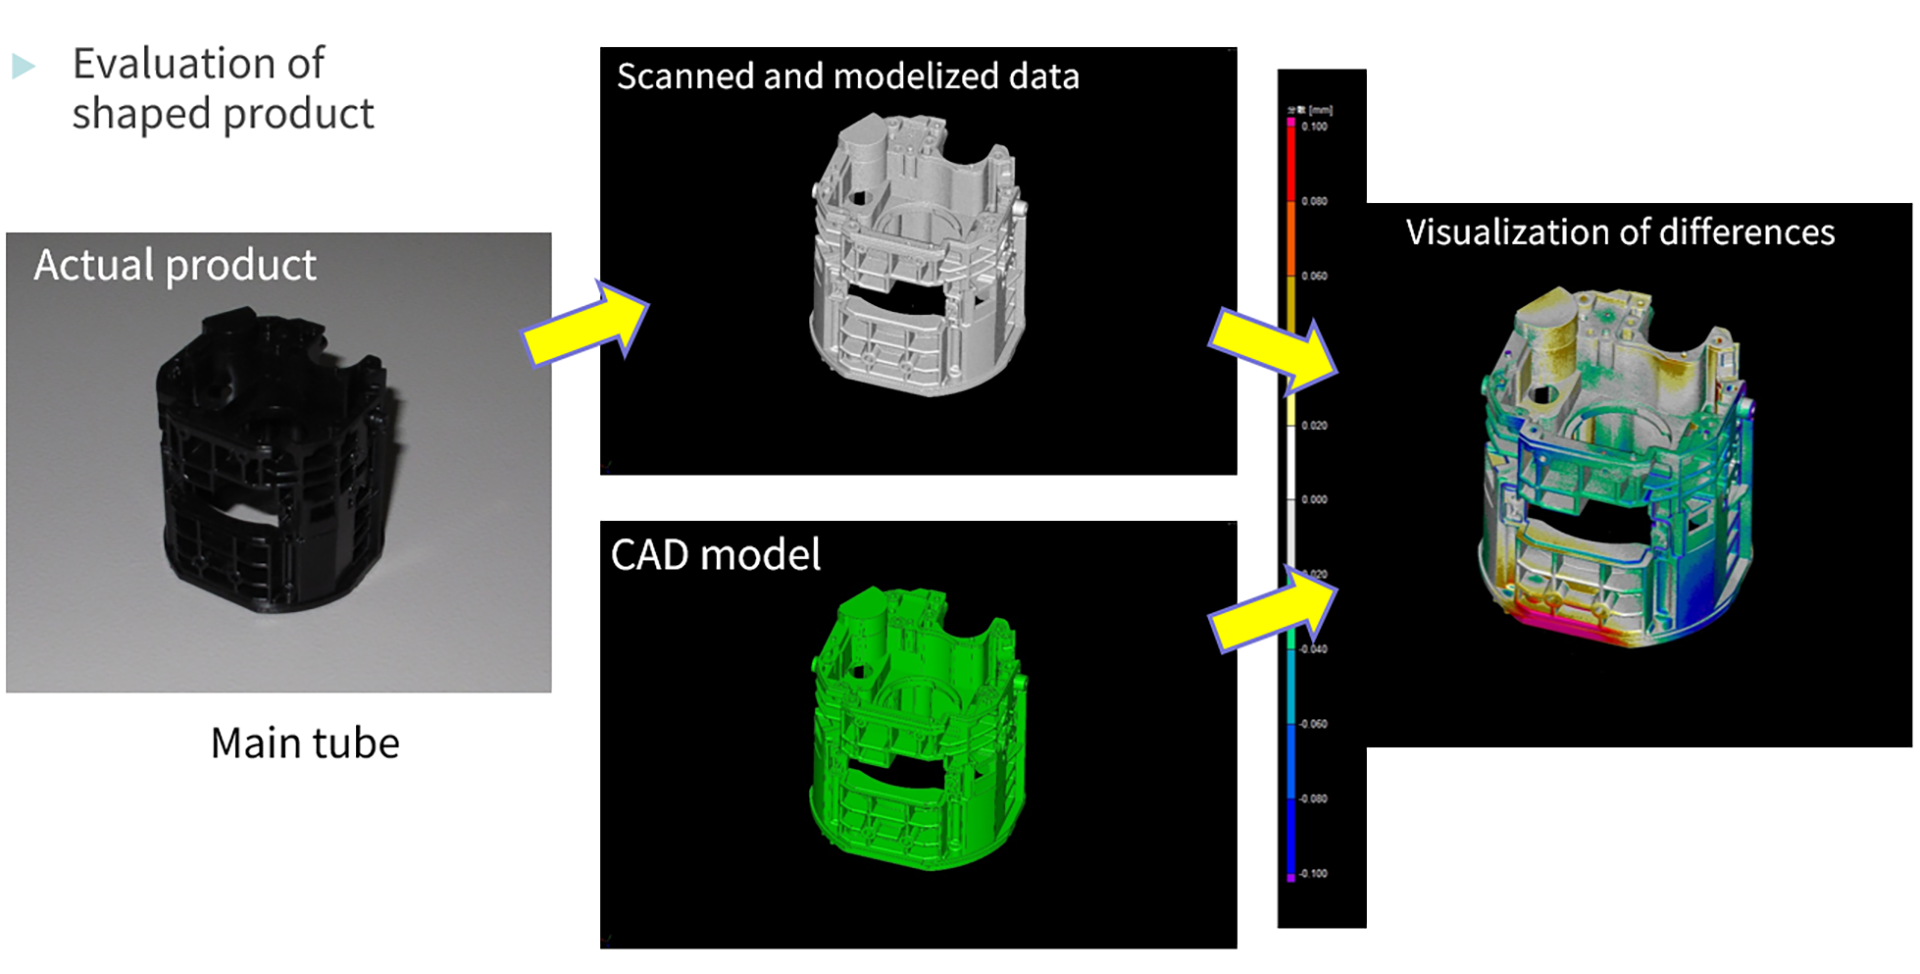
Over time, the MCT225 system proved invaluable, leading Tamron to expand its capabilities in October 2023 by adding a second MCT225 unit and an additional reconditioned computer.
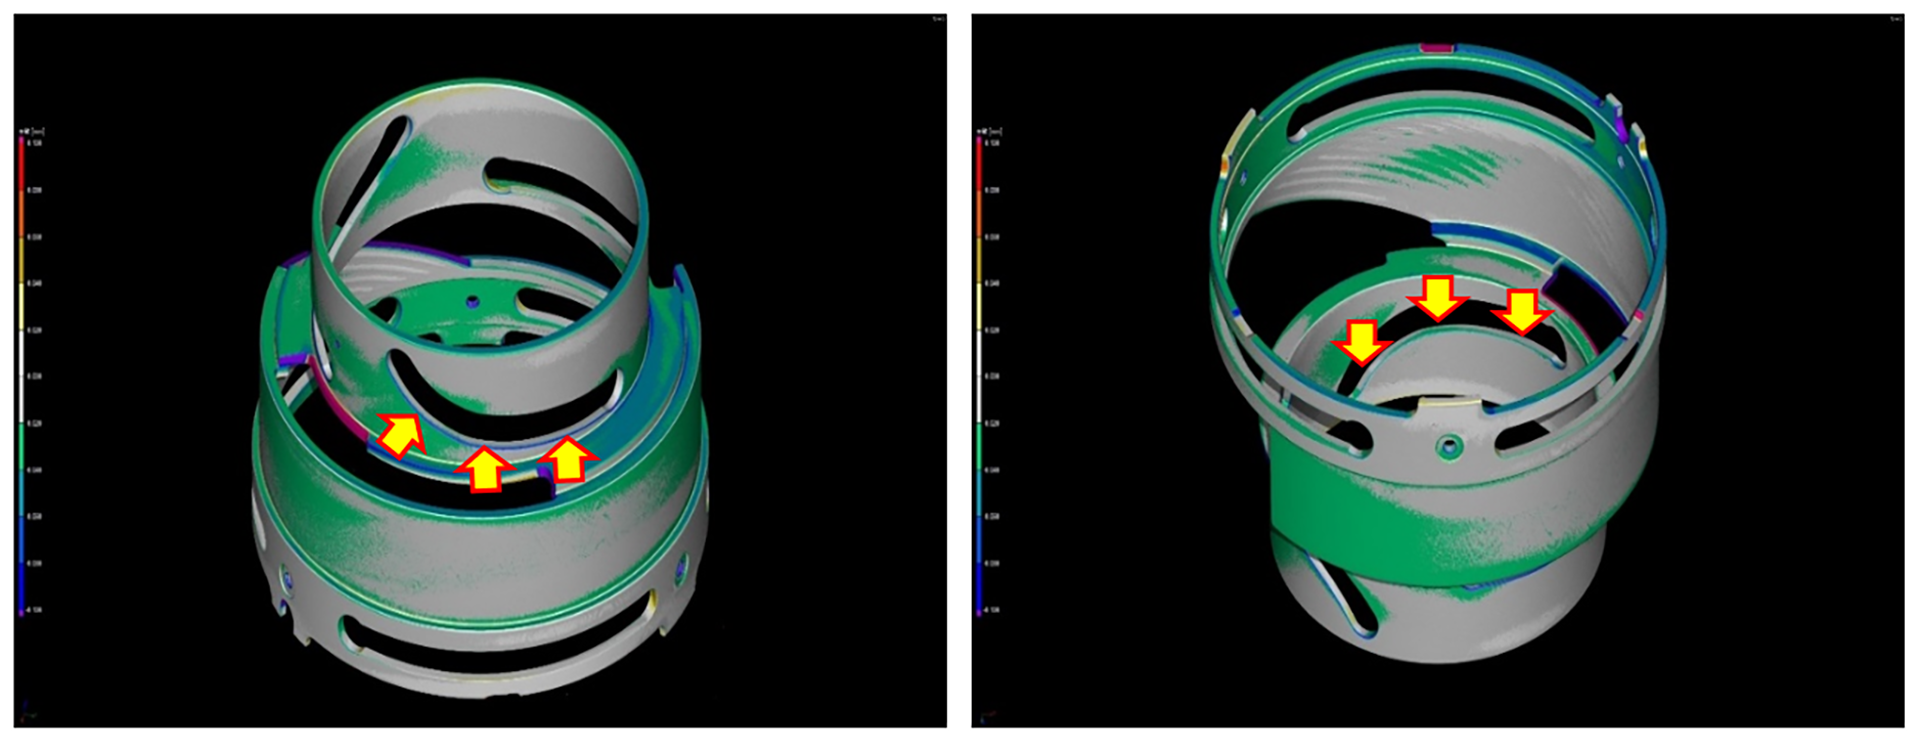
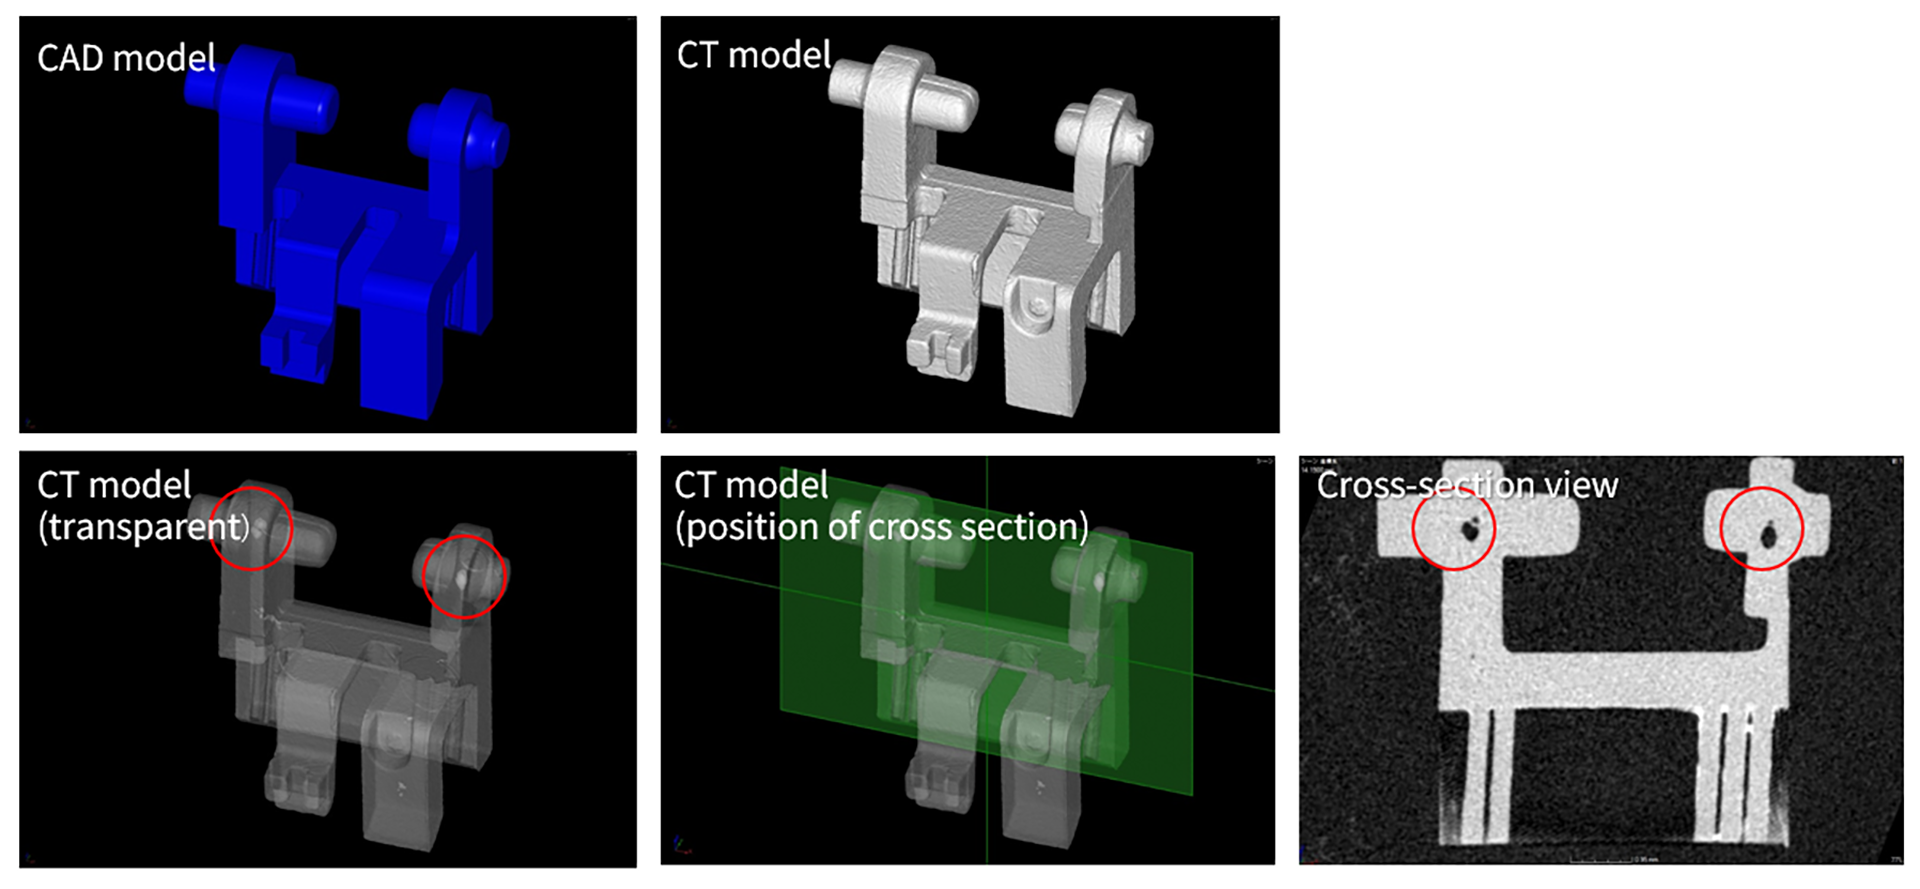
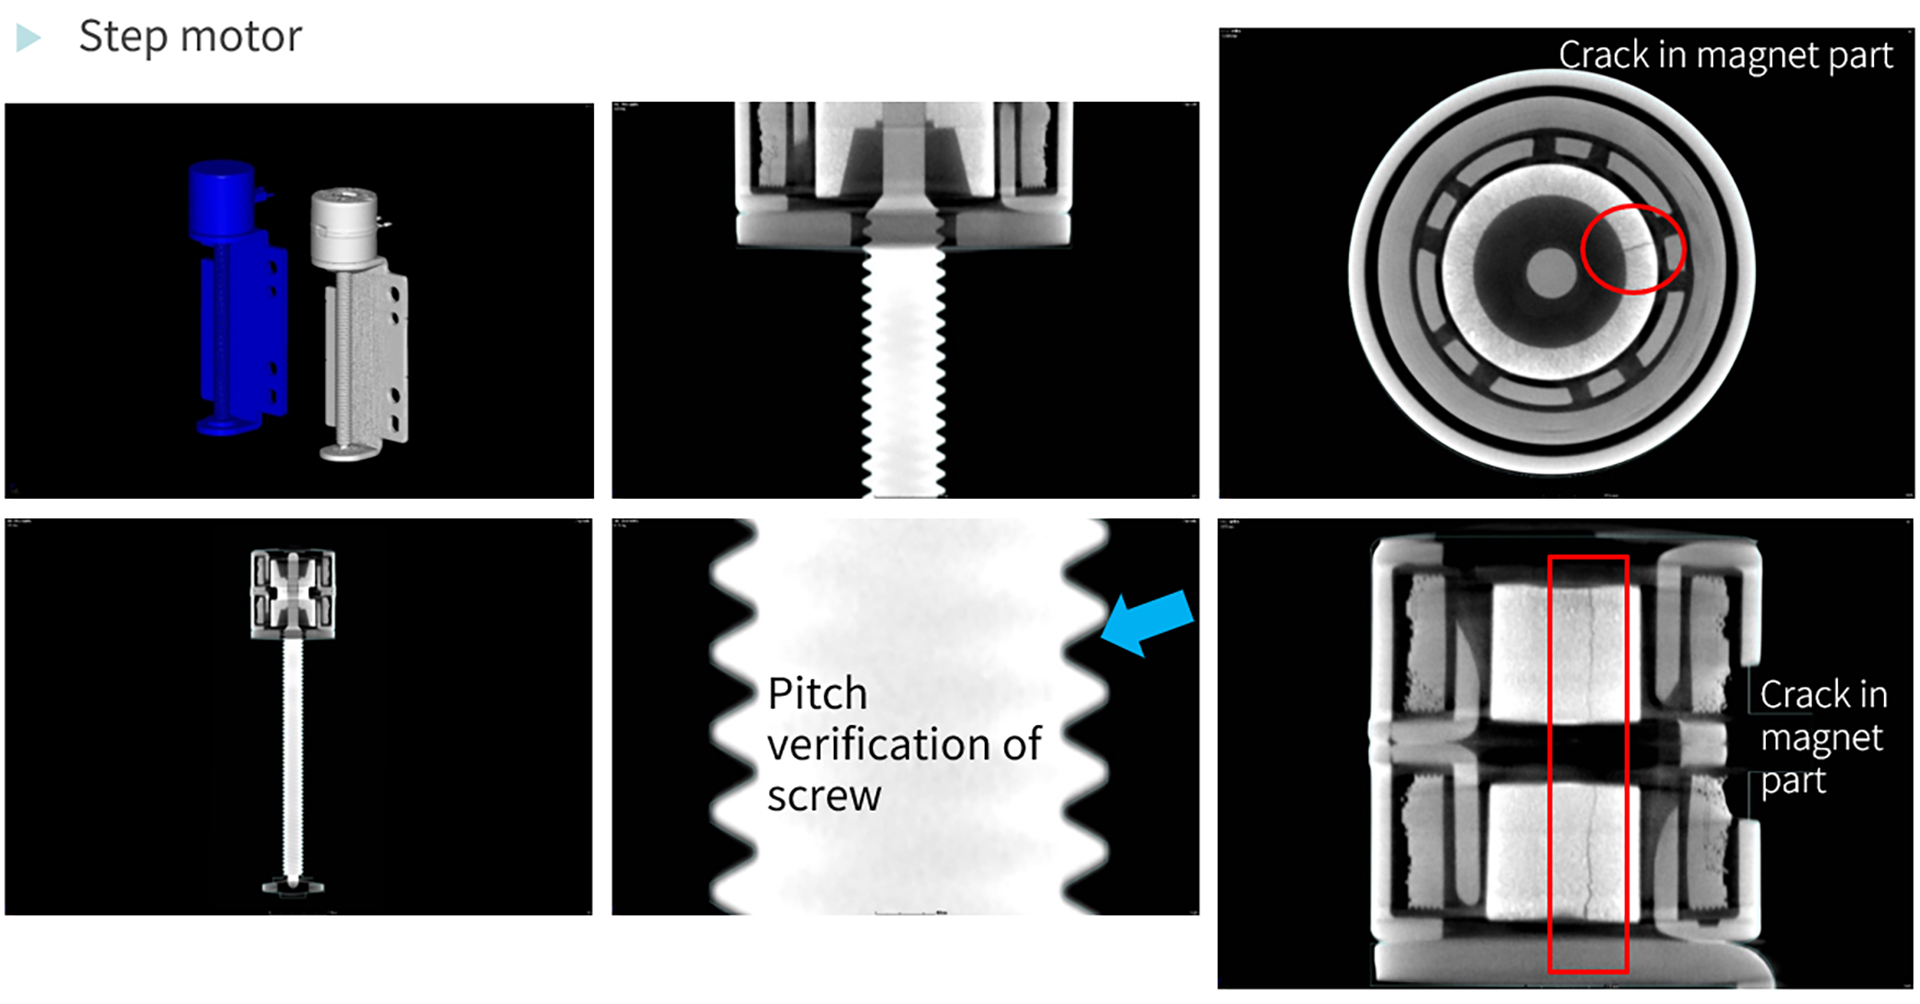
The insights gained from these evaluations were then fed back into the flow analysis results, enabling Tamron to continuously improve the accuracy of their analysis processes. Beyond evaluating finished product quality, the MCT225 systems also facilitated assessing variability in molded products, detecting voids and cracks, observing fiber orientation in reinforced plastics, investigating defects in assembly states, analyzing competitor products and examining defects in electronic substrates.
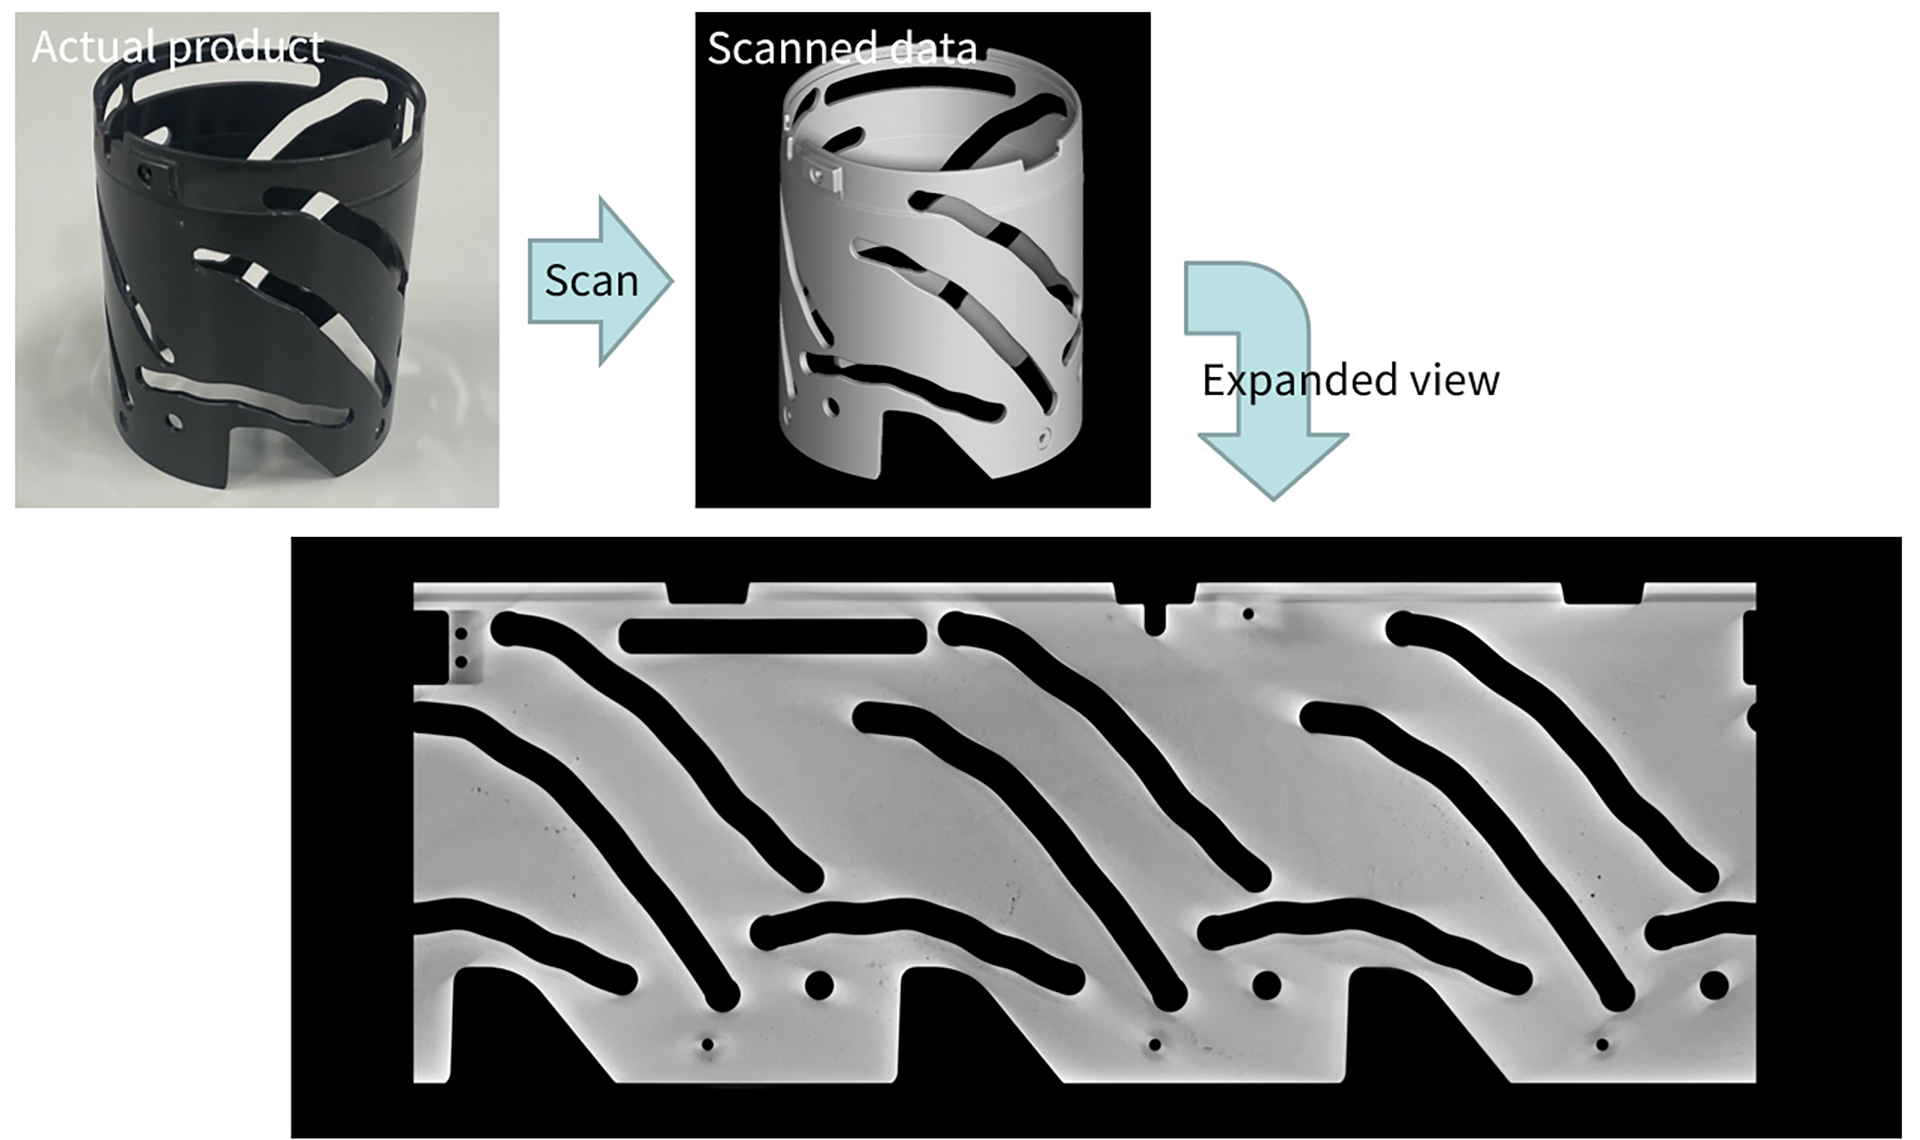
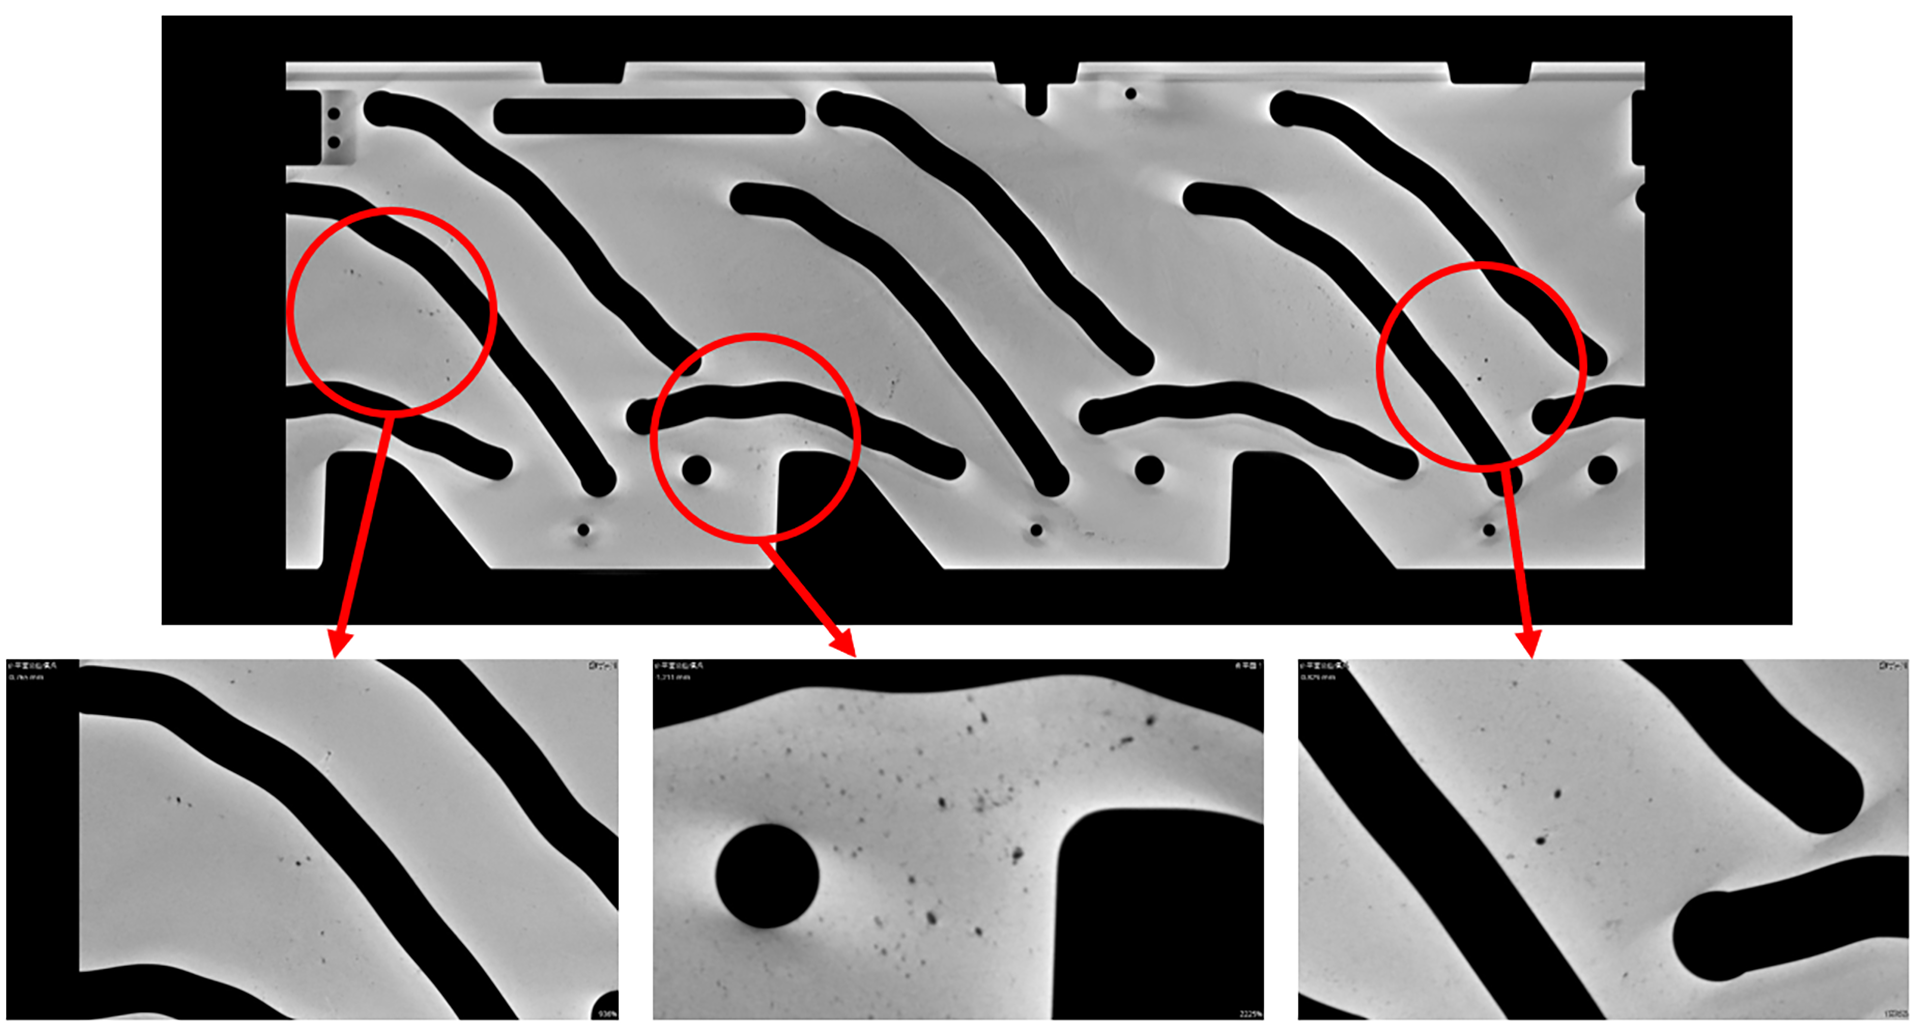
“We find both the system and the software of MCT225 very user-friendly,” says Tamron’s spokesperson. “The response to helping us with regular maintenance or troubleshooting has always been quick. I also feel reassured by having the option to hire Nikon’s measurement room when the system cannot be used for a certain period of time, such as during maintenance or in case of an urgent problem.”
Marking the milestone of a decade with MCT225
Around 2021, Tamron’s Manufacturing Division began utilizing PolyWorks, a 3D measurement software, to measure molded products. The following year, in 2022, they further expanded their capabilities by leveraging the geometry correction function of VGSTUDIO MAX to correct molds.
These cutting-edge tools and software have found widespread application across multiple divisions within the company. The Research and Development Division, the Product Design Division, the Mold Manufacturing Division, and the Quality Assurance Division have all incorporated these technologies into their workflows, a testament to Tamron’s commitment to technological development.
It has been a decade since Tamron acquired its first MCT225 system, a milestone that marked the beginning of a transformative journey. This system has played a pivotal role in supporting the company’s technological development — Tamron even incorporated them into visitor tours to demonstrate its innovative approach to manufacturing and quality control.
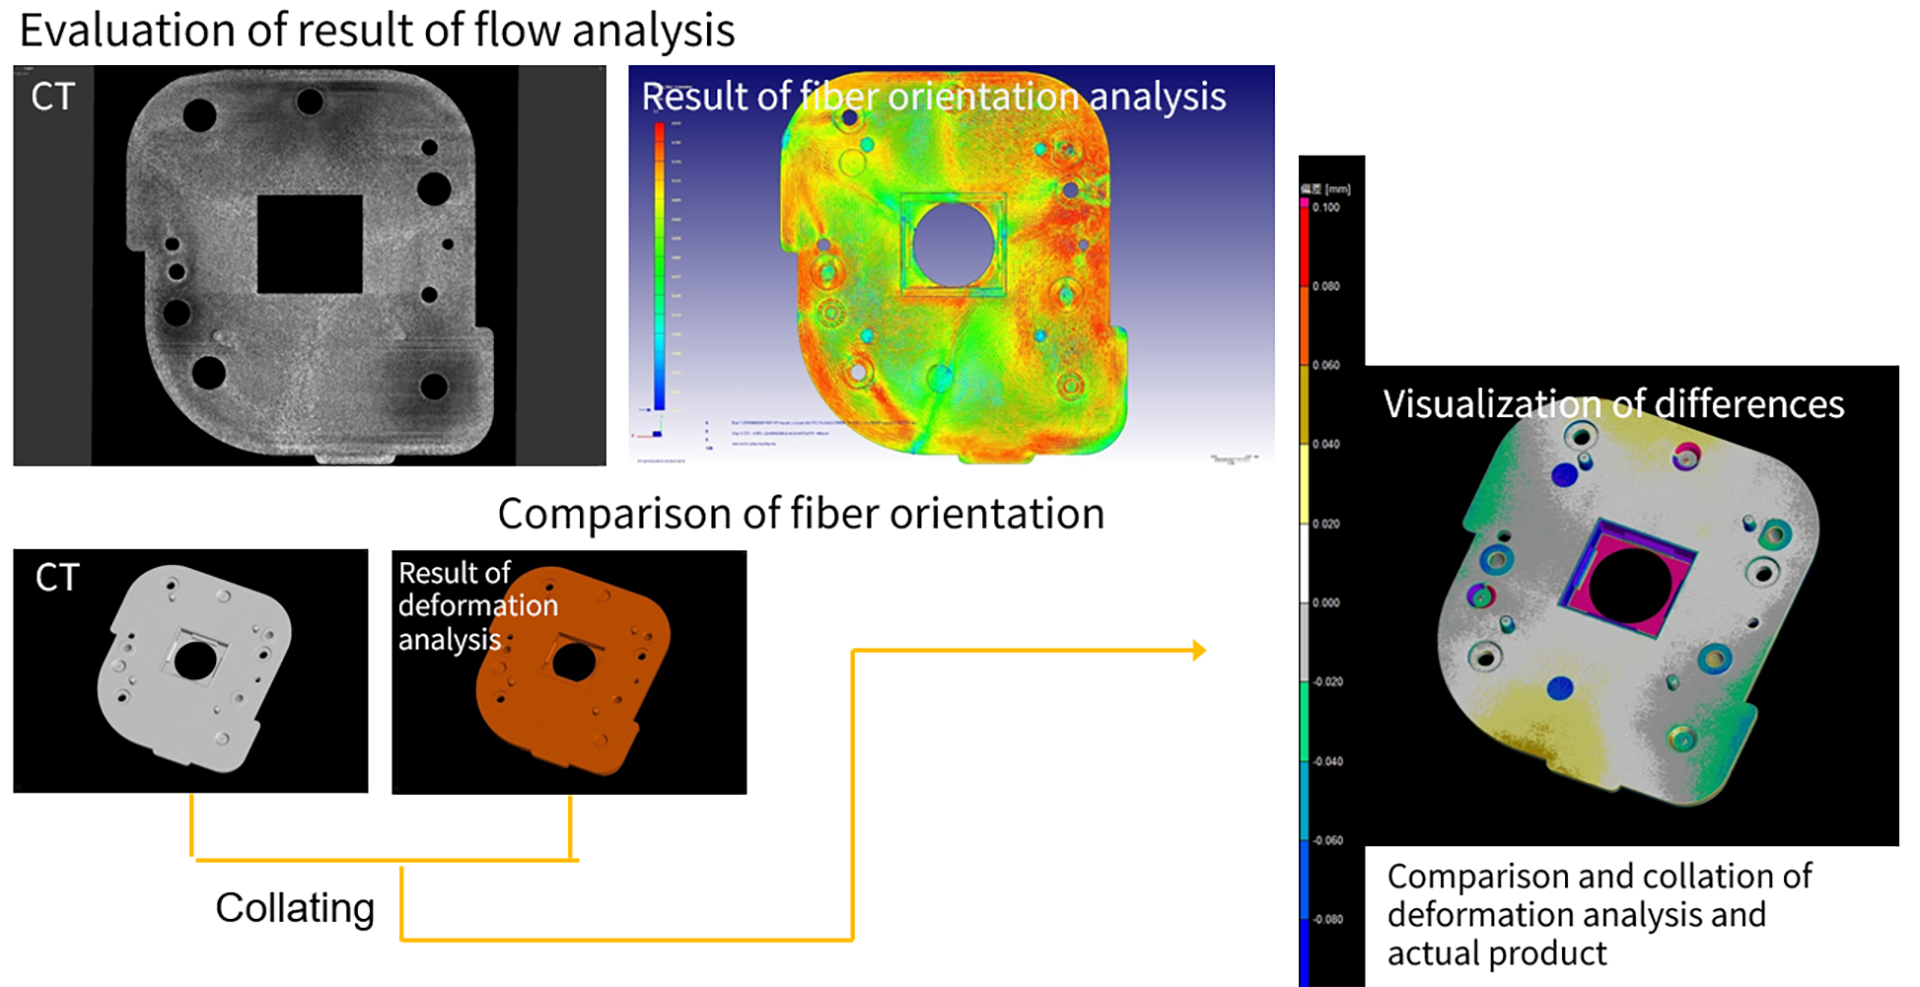
“Before adopting the MCT225, we were searching for a way to three-dimensionally evaluate the deformation of plastic molded parts, which are mechanical components of lens units, in a manner similar to flow analysis,” explains Tamron’s spokesperson. “To reduce the number of corrections to the molds, it was necessary to improve the predictive accuracy of flow analysis, but the results from point measurements with contact measurement devices and three-dimensional analysis were not very compatible.”
To accurately evaluate the deformation of plastic molded parts, Tamron created 3D models through CT scans. They compared these 3D models to CAD and 3D analysis results using VGSTUDIO MAX software. This approach eliminated the need to measure multiple points and align with contact measurement devices. Instead, directly comparing the actual item and analysis at the model level dramatically increased verification efficiency. Additionally, since Tamron uses filler-reinforced plastics, observing fiber orientation through CT scans enhanced analysis accuracy.
Tamron also adopted techniques to reduce artifacts, a type of imaging noise, by using metal filters during imaging.
Nikon’s technologies prove popular across Tamron
“Initially, we mainly used the equipment for imaging of lens units and molded products used in the Development Division for evaluation purposes, but soon, we started receiving inquiries from other divisions, and the usage within the company quickly increased,” says Tamron’s spokesperson.
In 2017, Tamron added another license for VGSTUDIO MAX; in 2019, the company introduced a PolyWorks unit for helical scanning and Manufacturing Division use.
“In 2021, Nikon and Volume Graphics jointly provided consulting support for a measurement man-hours reduction project in the Manufacturing Division using the MCT225 macro function and VGSTUDIO MAX’s geometry correction, and for CAE implementation using assembly imaging data, achieving certain results in each case,” explains Tamron’s spokesperson. “This was a major deciding factor for introducing the second unit.”
Nikon’s proposal enabled Tamron to overcome challenges in evaluating molded products to improve flow analysis accuracy.
MCT225 workshops train over 100 Tamron employees
The MCT225 system is now widely used by divisions within Tamron for assembly evaluation and detecting defects in molded components. Since June 2017, MCT225 workshops have trained over 100 employees across divisions to master its operation.
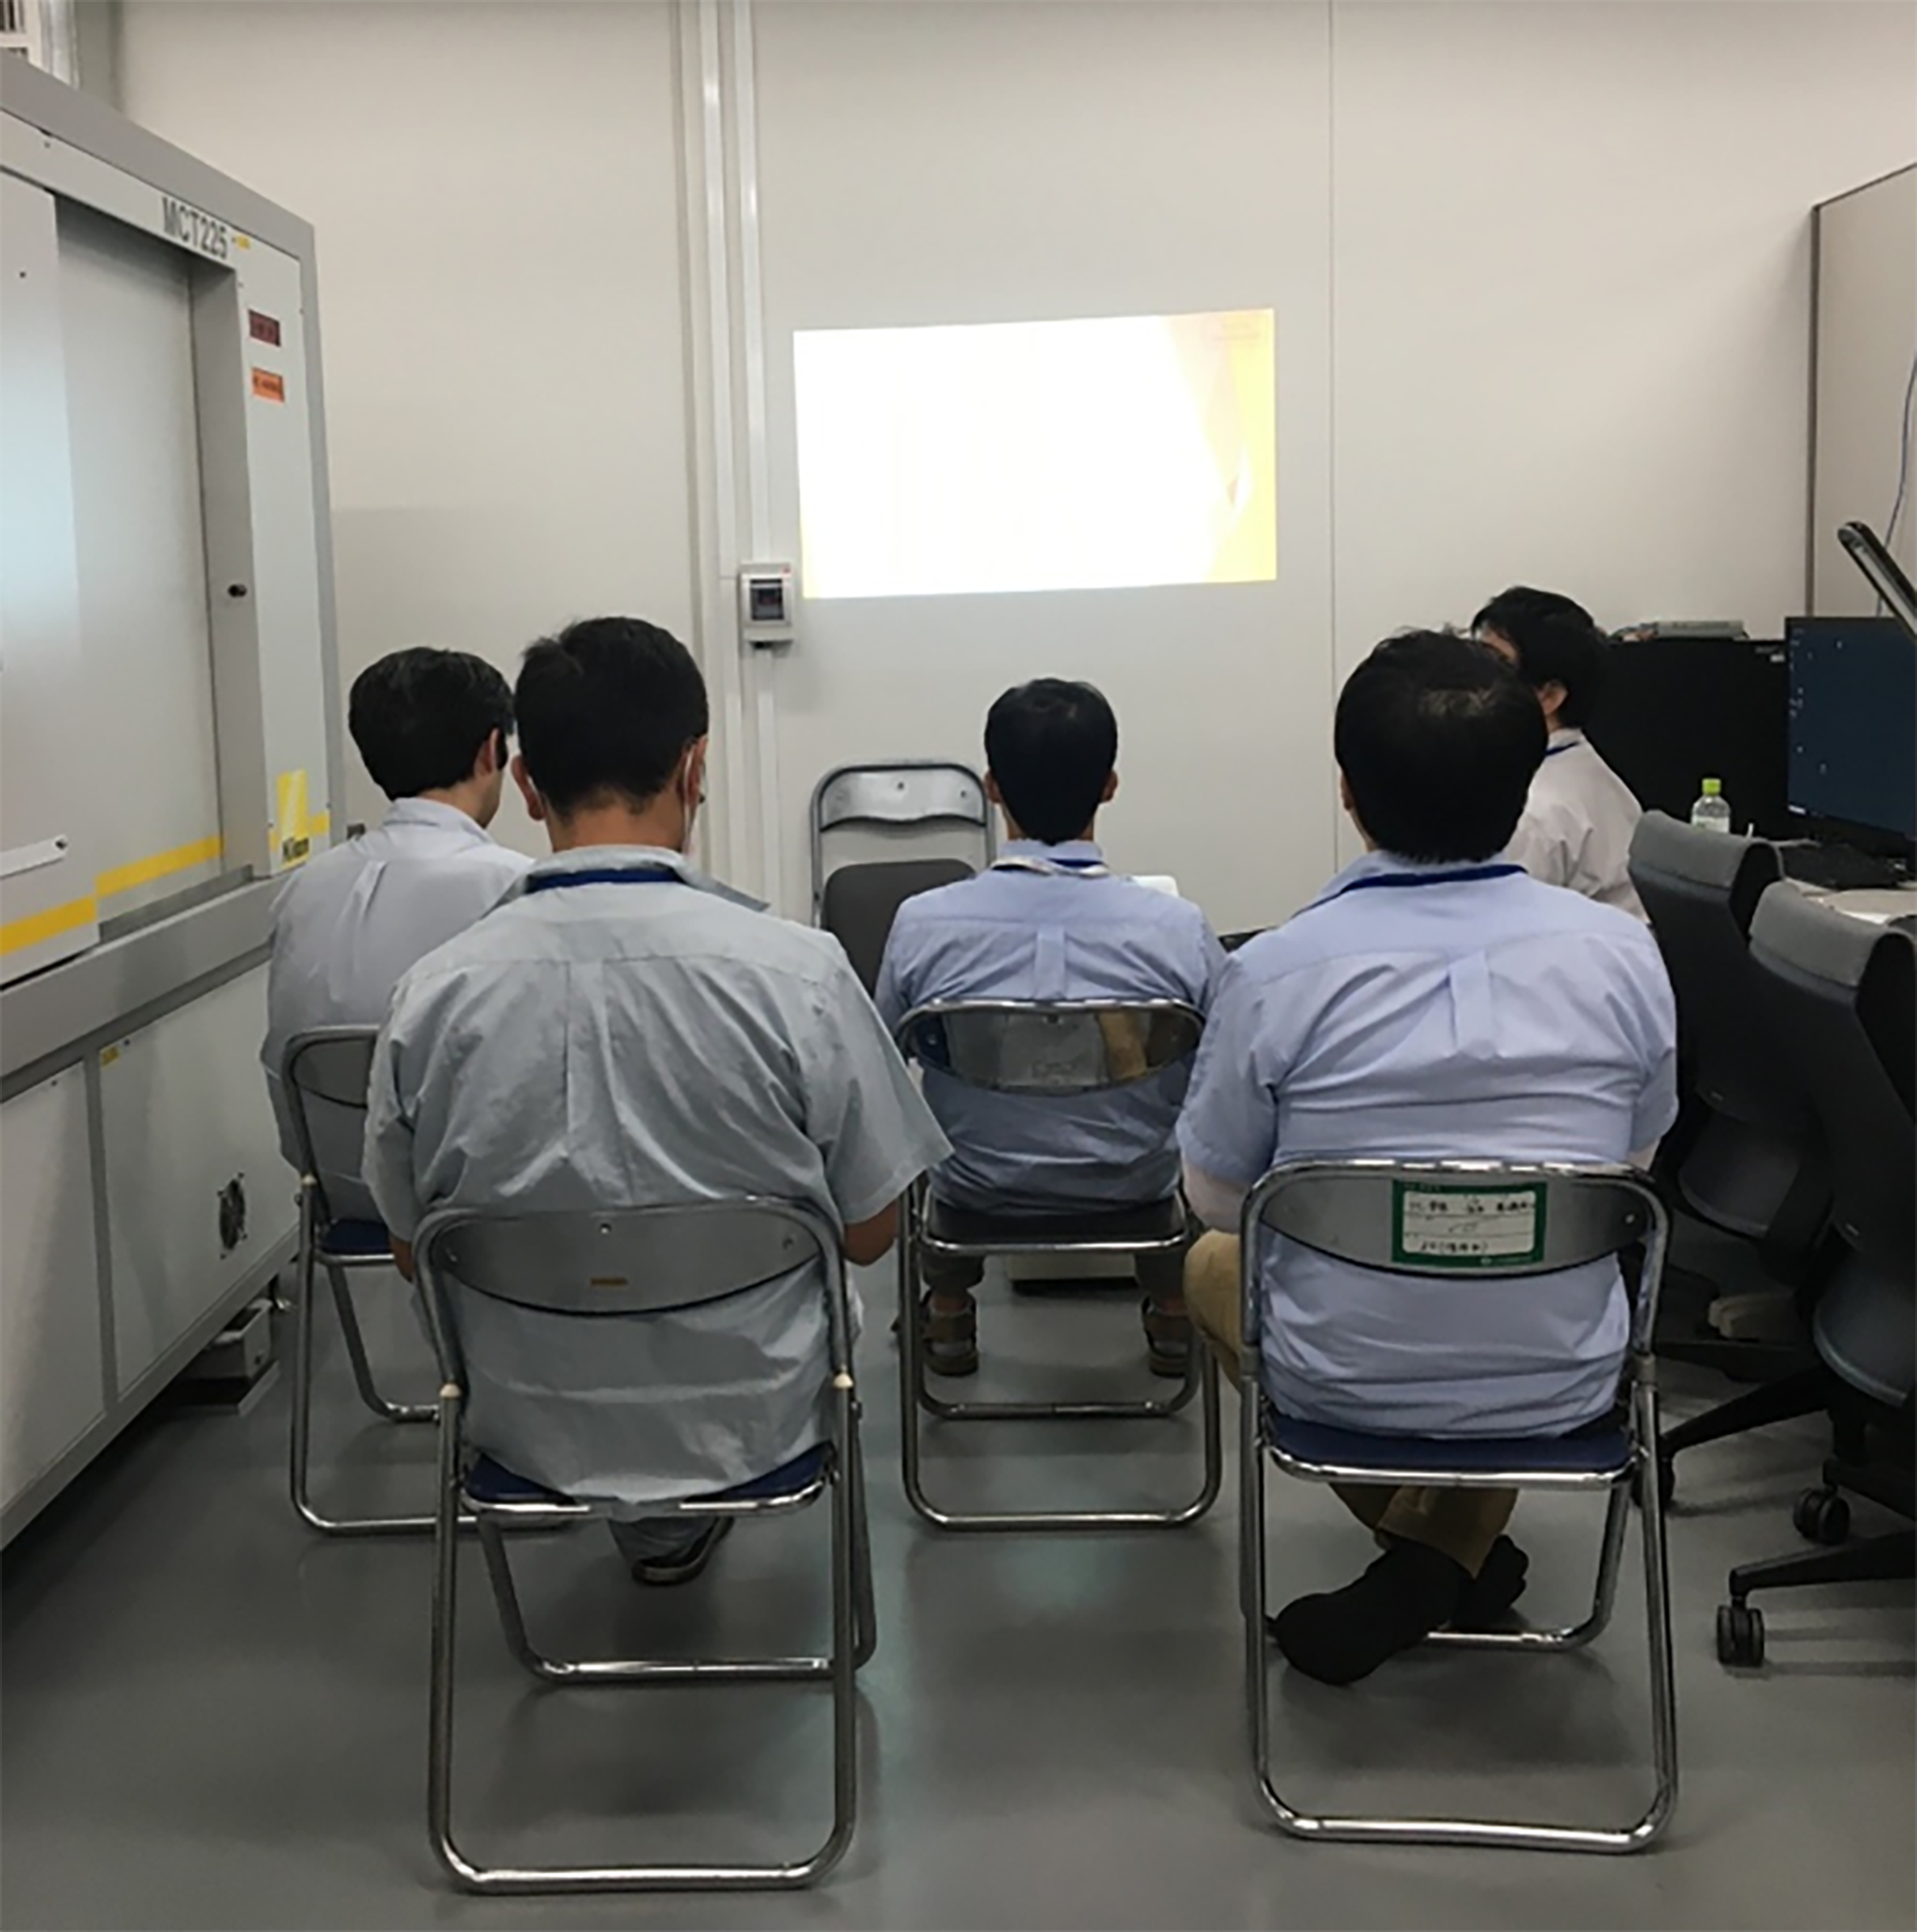
“Our accomplishments in improving operational efficiency were recognized, and in 2018, the Research and Development Division received the President’s Award for Operational Efficiency Improvement through the Development of CT Scanner Utilization Techniques,” says Tamron’s spokesperson.
“In 2023, thanks also to Nikon’s consulting, we received the President’s Award for the second time for achieving Accuracy Improvement and Man-Hour Reduction through CT Utilization and Automatic Correction Software Creation in the Manufacturing Division.”
While Nikon’s MCT225’s advanced technology and capabilities were undoubtedly compelling factors, Tamron’s decision to adopt the system was also influenced by practical and budgetary considerations.
“Compared to other products, the MCT225 was very reasonably priced for its performance, ” explains Tamron’s spokesperson. “Also, the physical distance to the support location from our company was close, which also gave us a sense of security in organizational terms.
“Not only was the product appealing, but the salesperson’s personality was also a key deciding factor, as the division head at the time has mentioned. Ultimately, choosing Nikon has led to success.”
The decision to choose Nikon’s MCT225 has proven to be a triumph for Tamron. Since its implementation, the system has been widely adopted across various divisions within the company, with over 100 employees now proficient in its operation. This widespread adoption underscores the transformative impact the MCT225 has had on Tamron’s workflows and processes.


