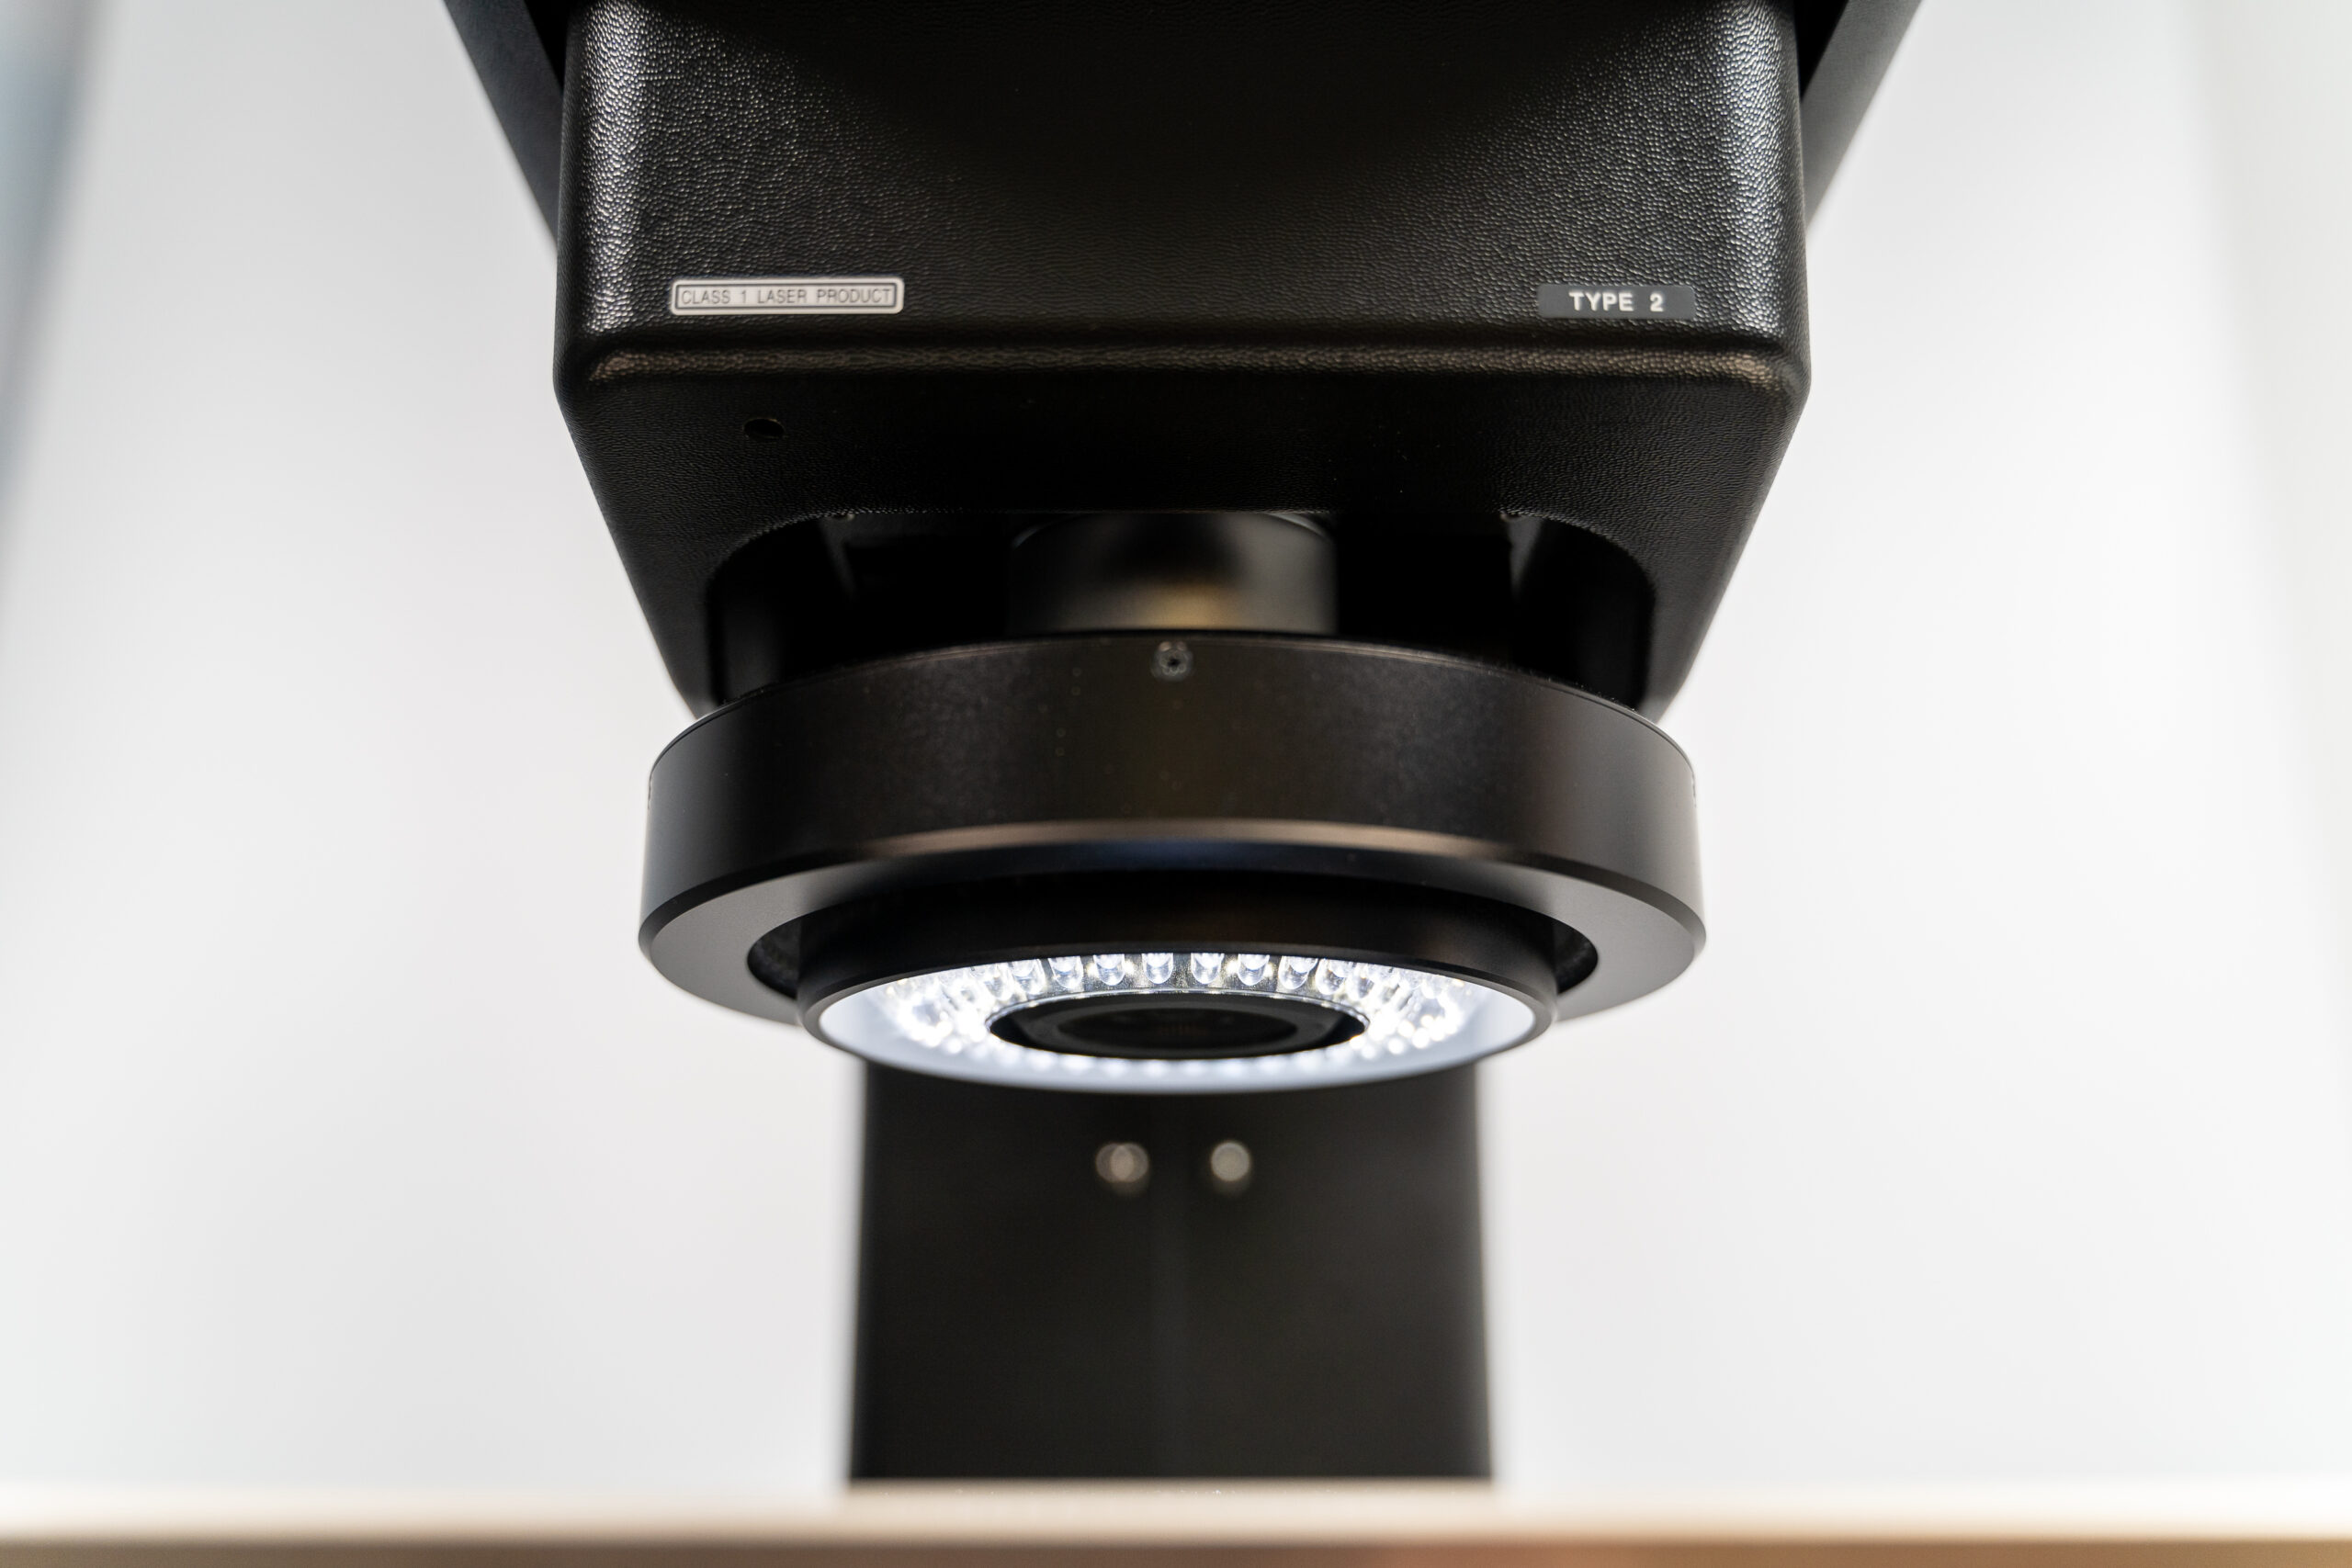
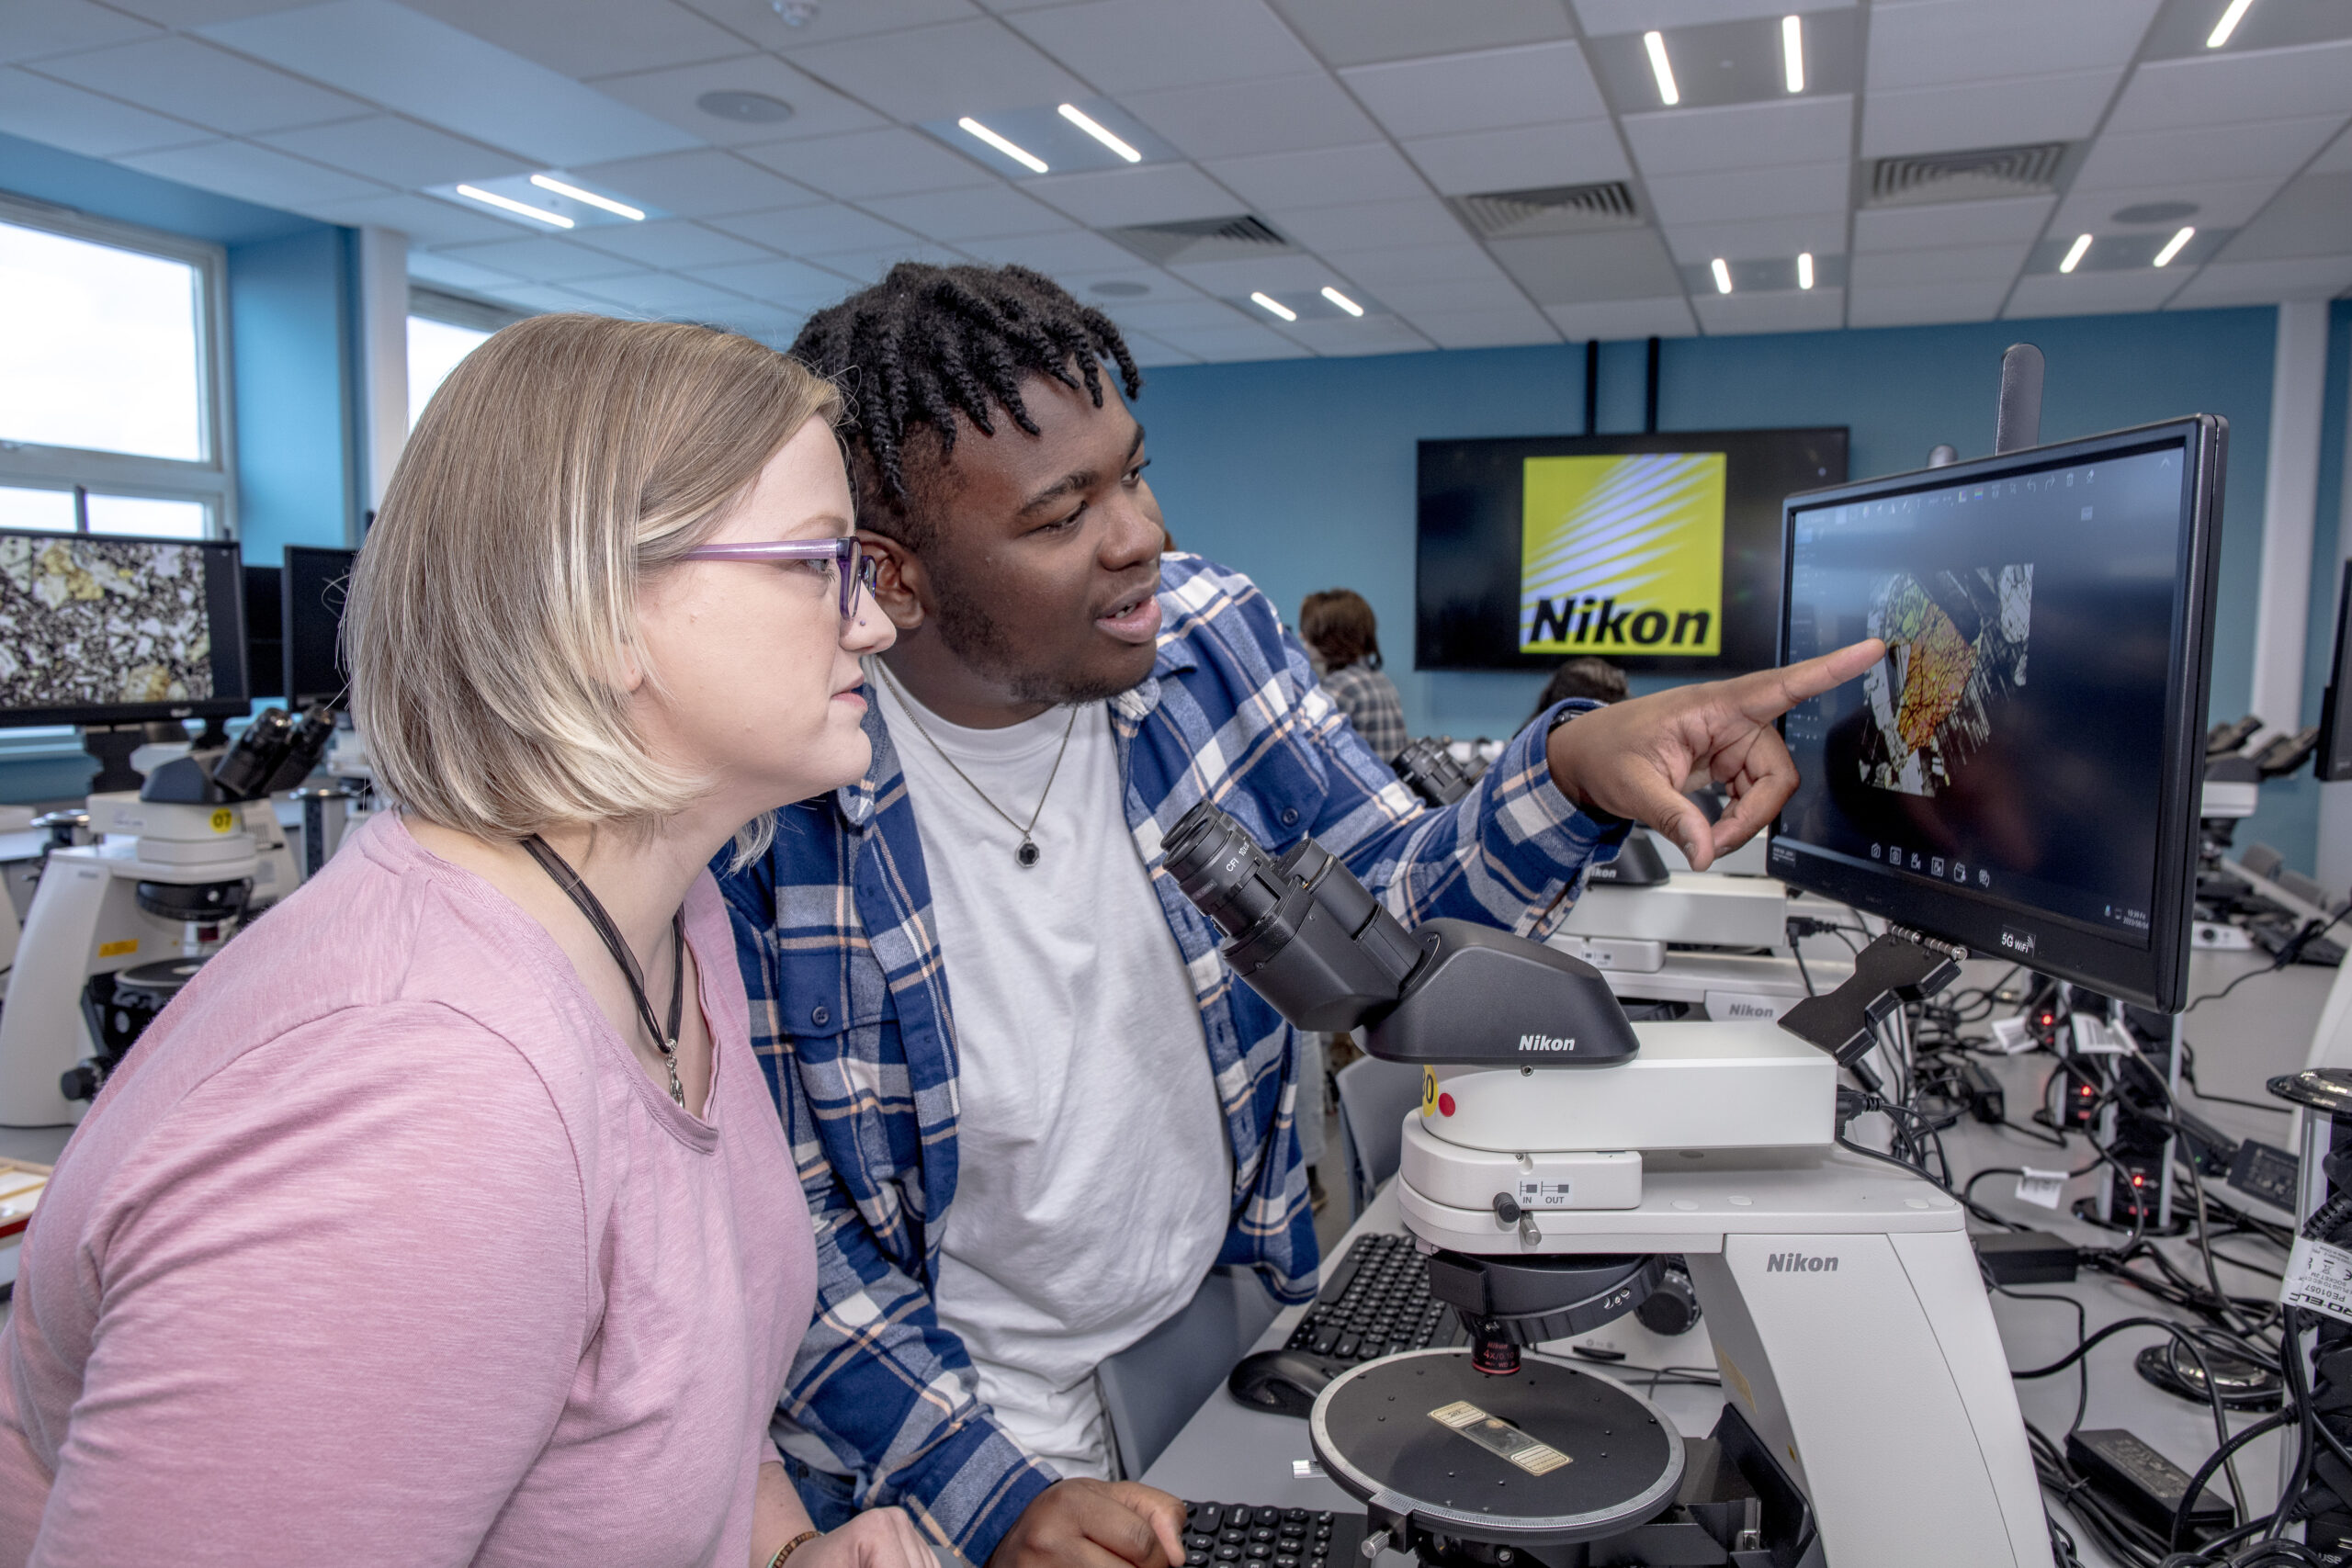
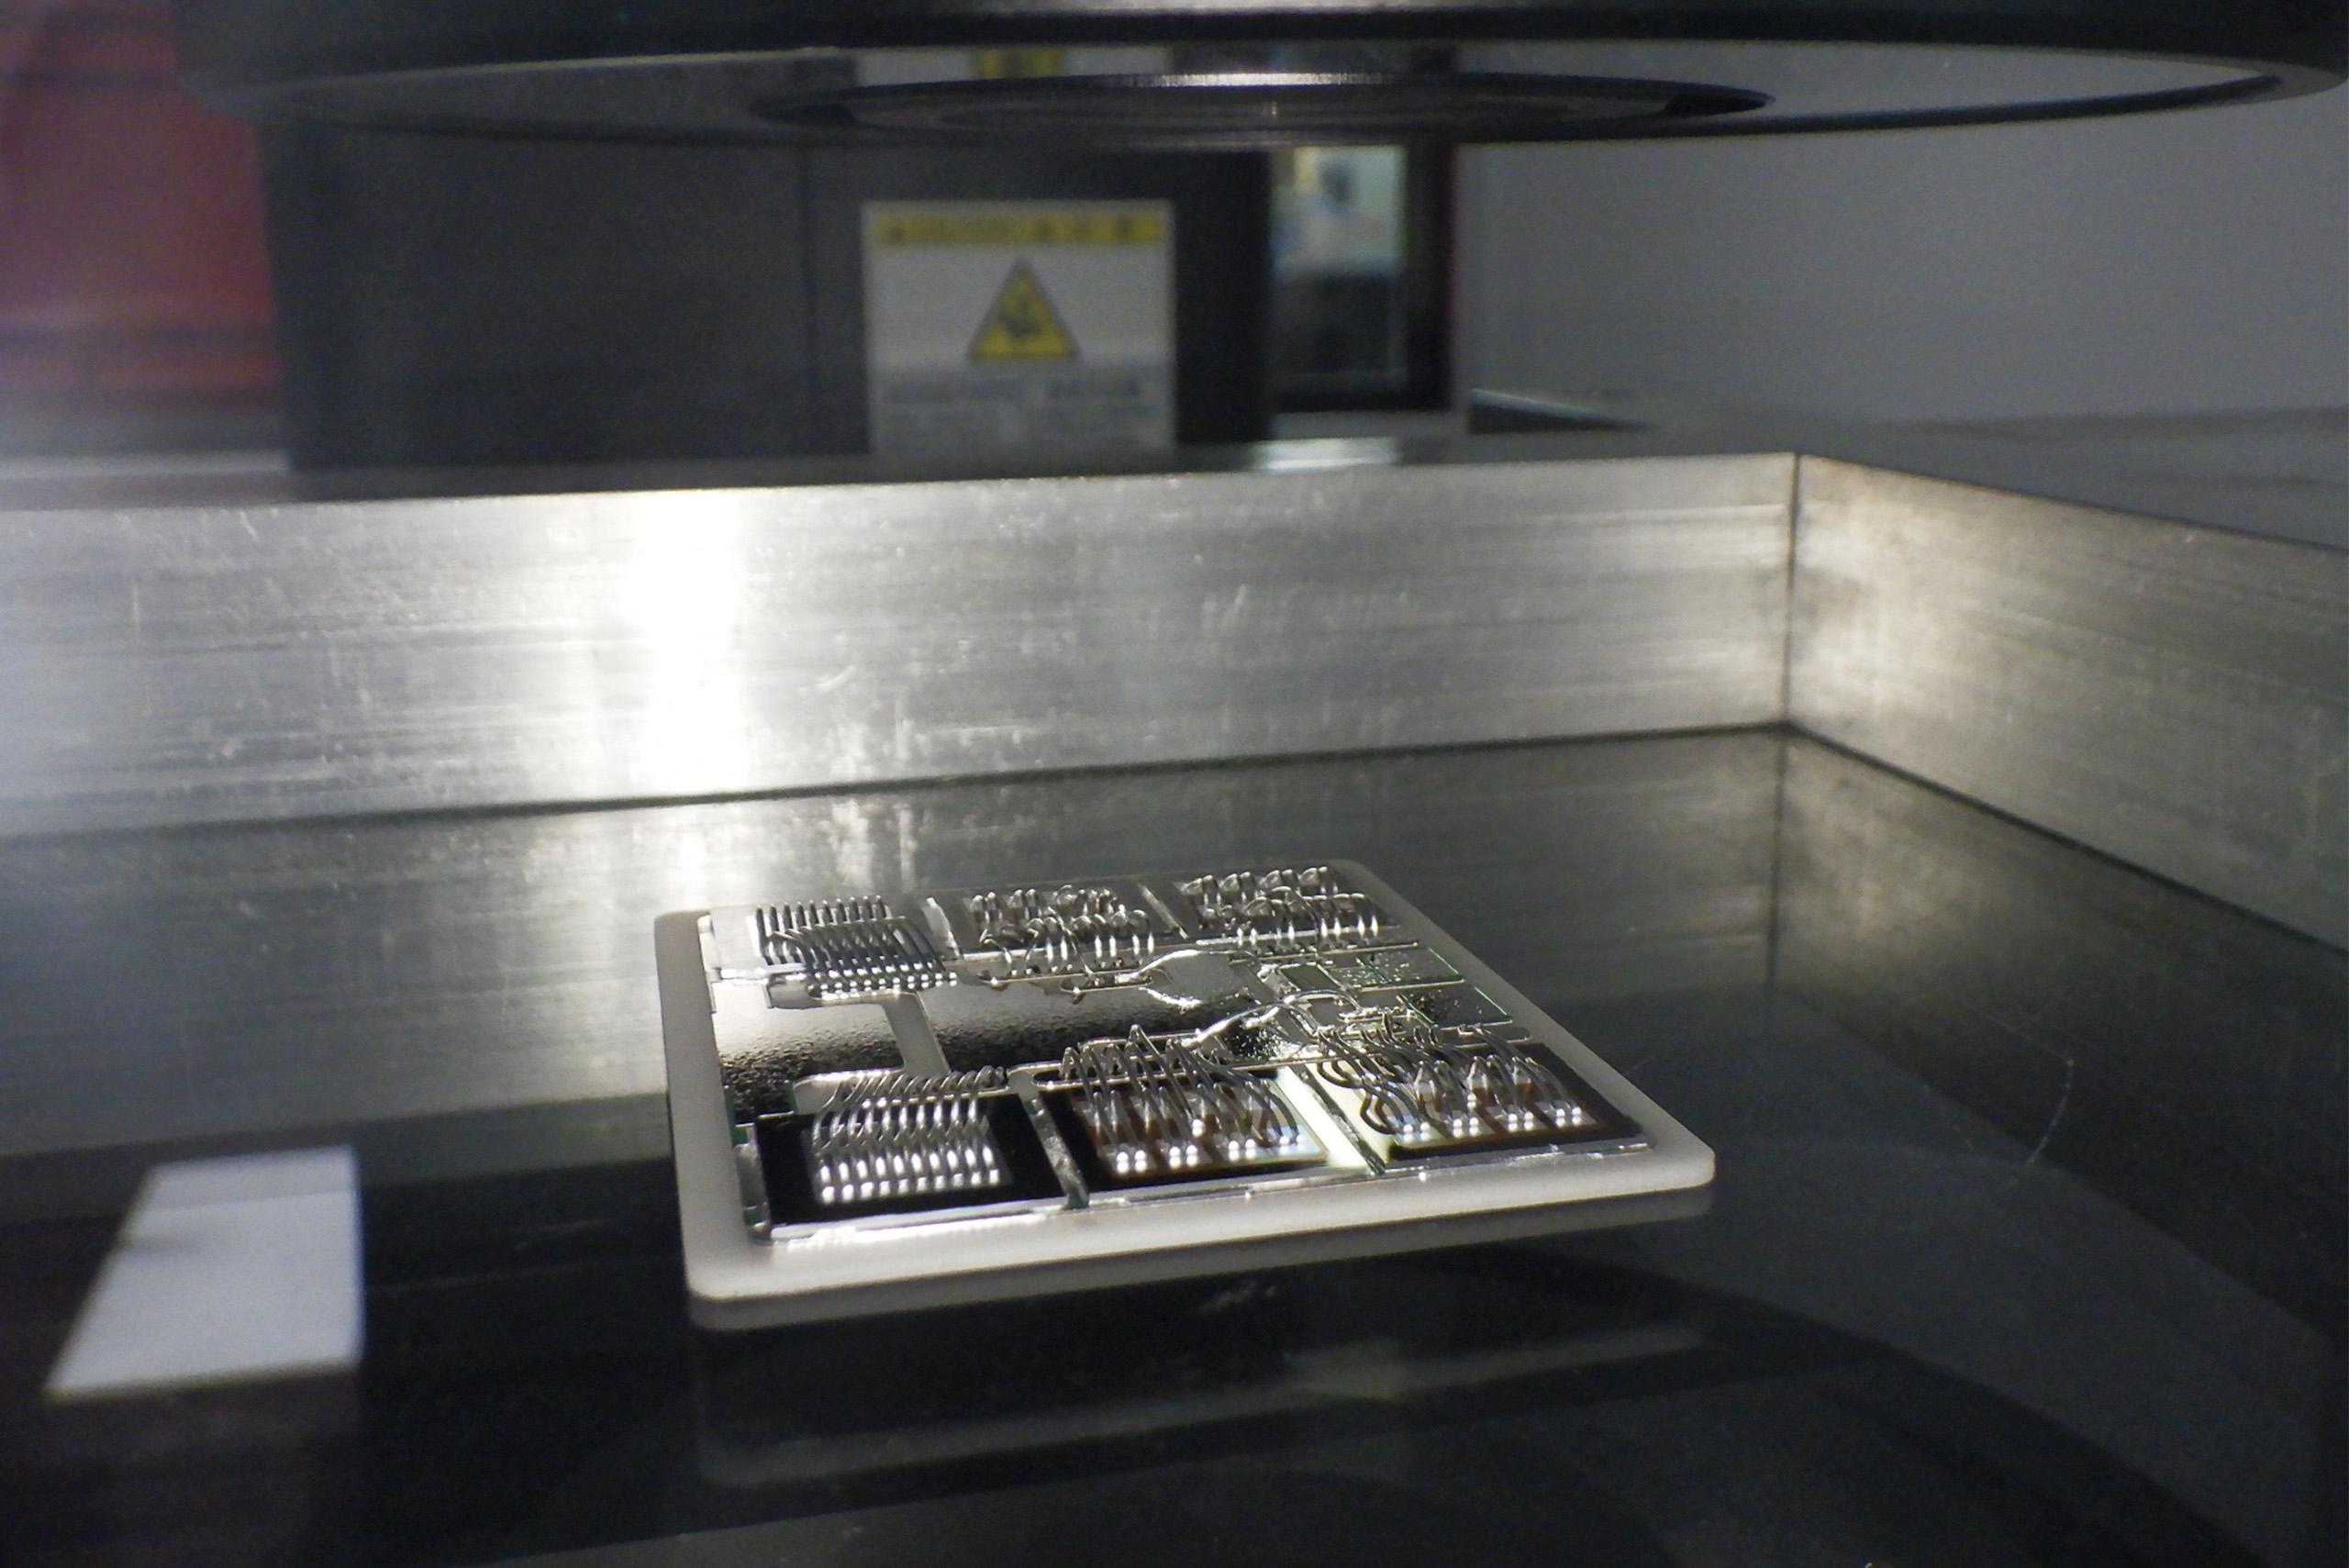
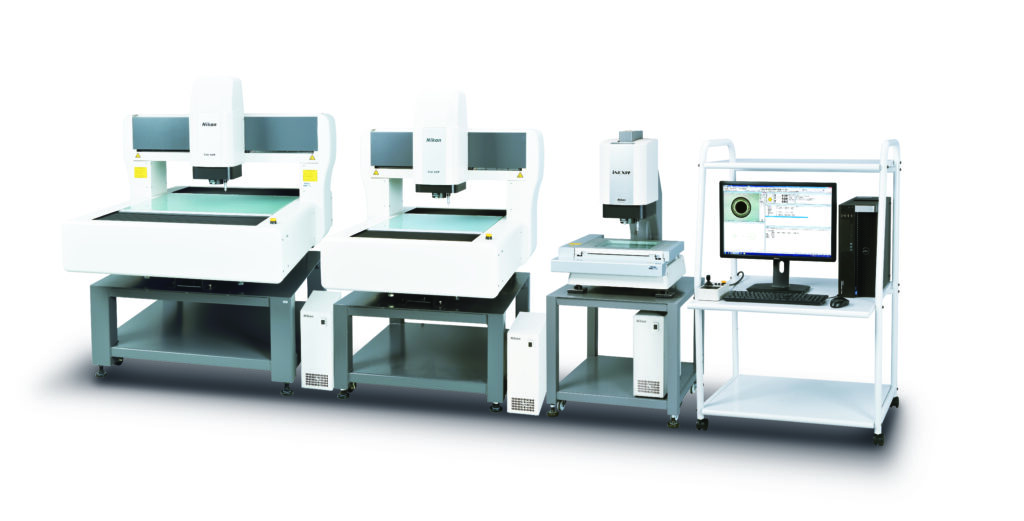
Following the opening of a new Production Measurement Technology department in 2020, Landesberufsschule Neunkirchen is now one of the most modern vocational schools in Austria offering metrology courses. We have recently enhanced the education and training activities with a loaned, Nikon iNEXIV VMA-2520 automated, multi-sensor system for 3D inspection and quality control. The instrument is essentially a non-contact, optical CMM (coordinate measuring machine), and has a touch probe for all-round functionality.
Tobias Schlederer, the lecturer in charge of the new department at the state-run school for metalworking professions, commented, “Our measuring rooms were re-equipped from scratch with modern metrology devices for the new apprenticeship course. Previously, we operated a CMM with a touch-trigger probe, which was also used by other departments in the school, but a machine with a vision sensor was not available to us.”
Optoteam in Vienna, 70 kilometres north of the school, noticed the situation and stepped in to help. As an official reseller in Austria for products manufactured by the Industrial Metrology Business Unit of Nikon Corporation, they installed the VMA-2520 and instructed staff at the school how to use its full range of functions, a process that Mr Schlederer said they completed to his utmost satisfaction. Optoteam continues to provide what he describes as excellent advice and support to the school, including supplying extra information when needed and answering queries.
Mr Schlederer explained, “The reason we were keen to have a machine like this in our facility is that it gives us the opportunity to offer students hands-on training with an automated optical measuring device. The most important requirements were ease of operation to achieve rapid learning success, durability, high precision and speed. The Nikon equipment provides all these advantages.”
He added that the advanced metrology tools available at the Neunkirchen facility encourage manufacturing companies to enrol their staff for upskilling. A Production Measurement Technology apprenticeship lasts four years and takes the form of dual training, both in a company and at the school, for completion of formal theoretical and practical coursework over 40 weeks.
With the Nikon measuring machine, students can gain hands-on experience and learn how to inspect using a CMM with automated optical sensing followed by image processing. They really appreciate how the Nikon equipment compresses time-consuming tactile or manual optical measurements into an automated cycle lasting a few seconds. Students understand illumination, edge detection and process flow much better now. During the practical lessons, students can complete quality control of various metal or plastic components, as well as non-contact inspection to measure small rubber and elastic parts without distorting them.
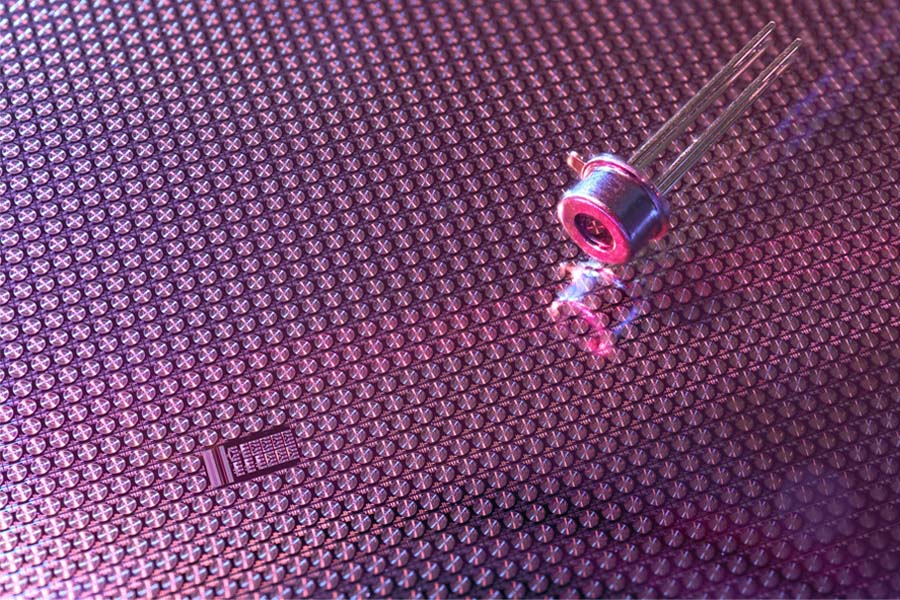
Mr Schlederer concluded, “Due to the exceptional image clarity generated by the VMA-2520, we are using it for measuring and to show details of small components, such as the tip of a surface temperature probe. Previously, this was impossible for us to do.
“As an educational institution, we would like to express our sincere thanks to Nikon and Optoteam for providing the measuring machine and comprehensive support. Only through this type of partnership is it possible for us to offer excellent training to the metrology technicians of the future in Austria.”
