Roush Yates Engines achieves rapid non-contact inspection with iNEXIV VMA-4540
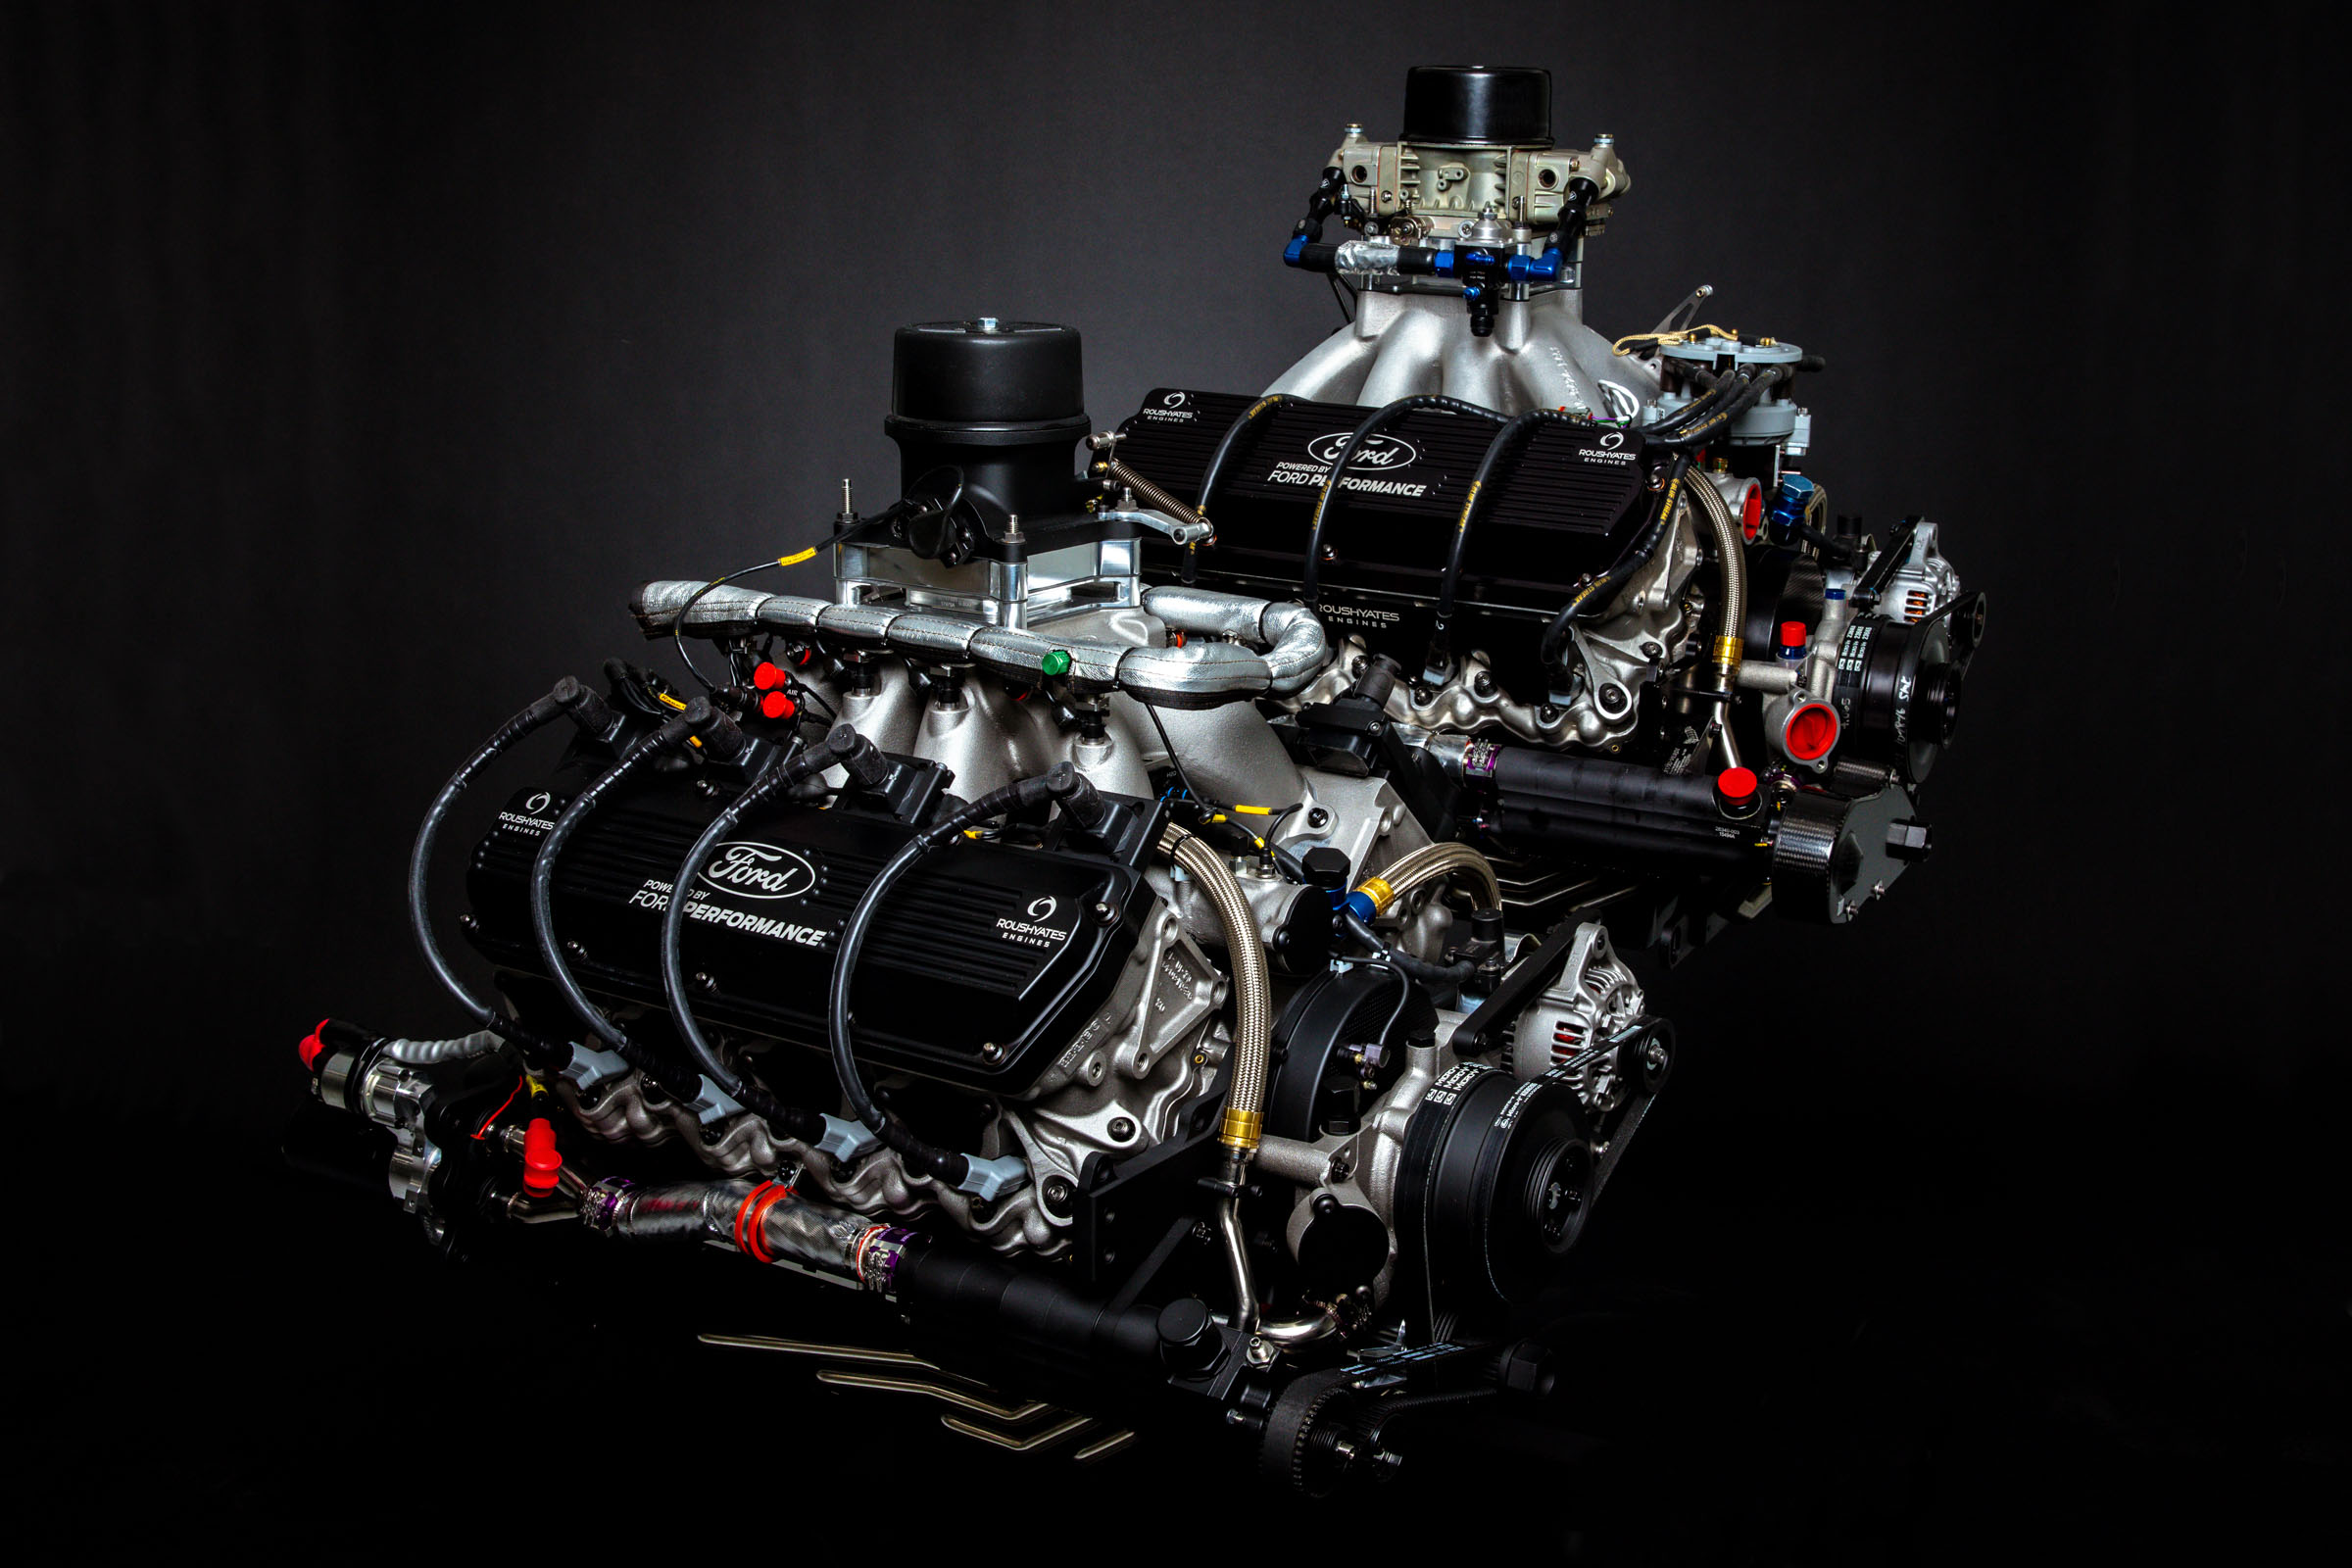
In 2003, Jack Roush and Robert Yates partnered with Ford Motor Company as the exclusive Ford Engine builder for NASCAR. Now led by President and CEO Doug Yates, the company Roush Yates Engines was founded in Mooresville, North Carolina. Achieving 23 Championships, 356 combined wins and 324 poles in the NASCAR, IMSA and FIA, the partnership has been a vast success.
From the outset, Roush Yates Engines (RYE) has gone from success to success, creating history with countless achievements and records broken along the way. For Roush Yates Engines, speed is the bottom line and by 2013, Team Penske, running Roush Yates Engines set a new speed record of 222.971 mph at Daytona International Speed-way with the twin-turbo Ford EcoBoost V6 race engine.
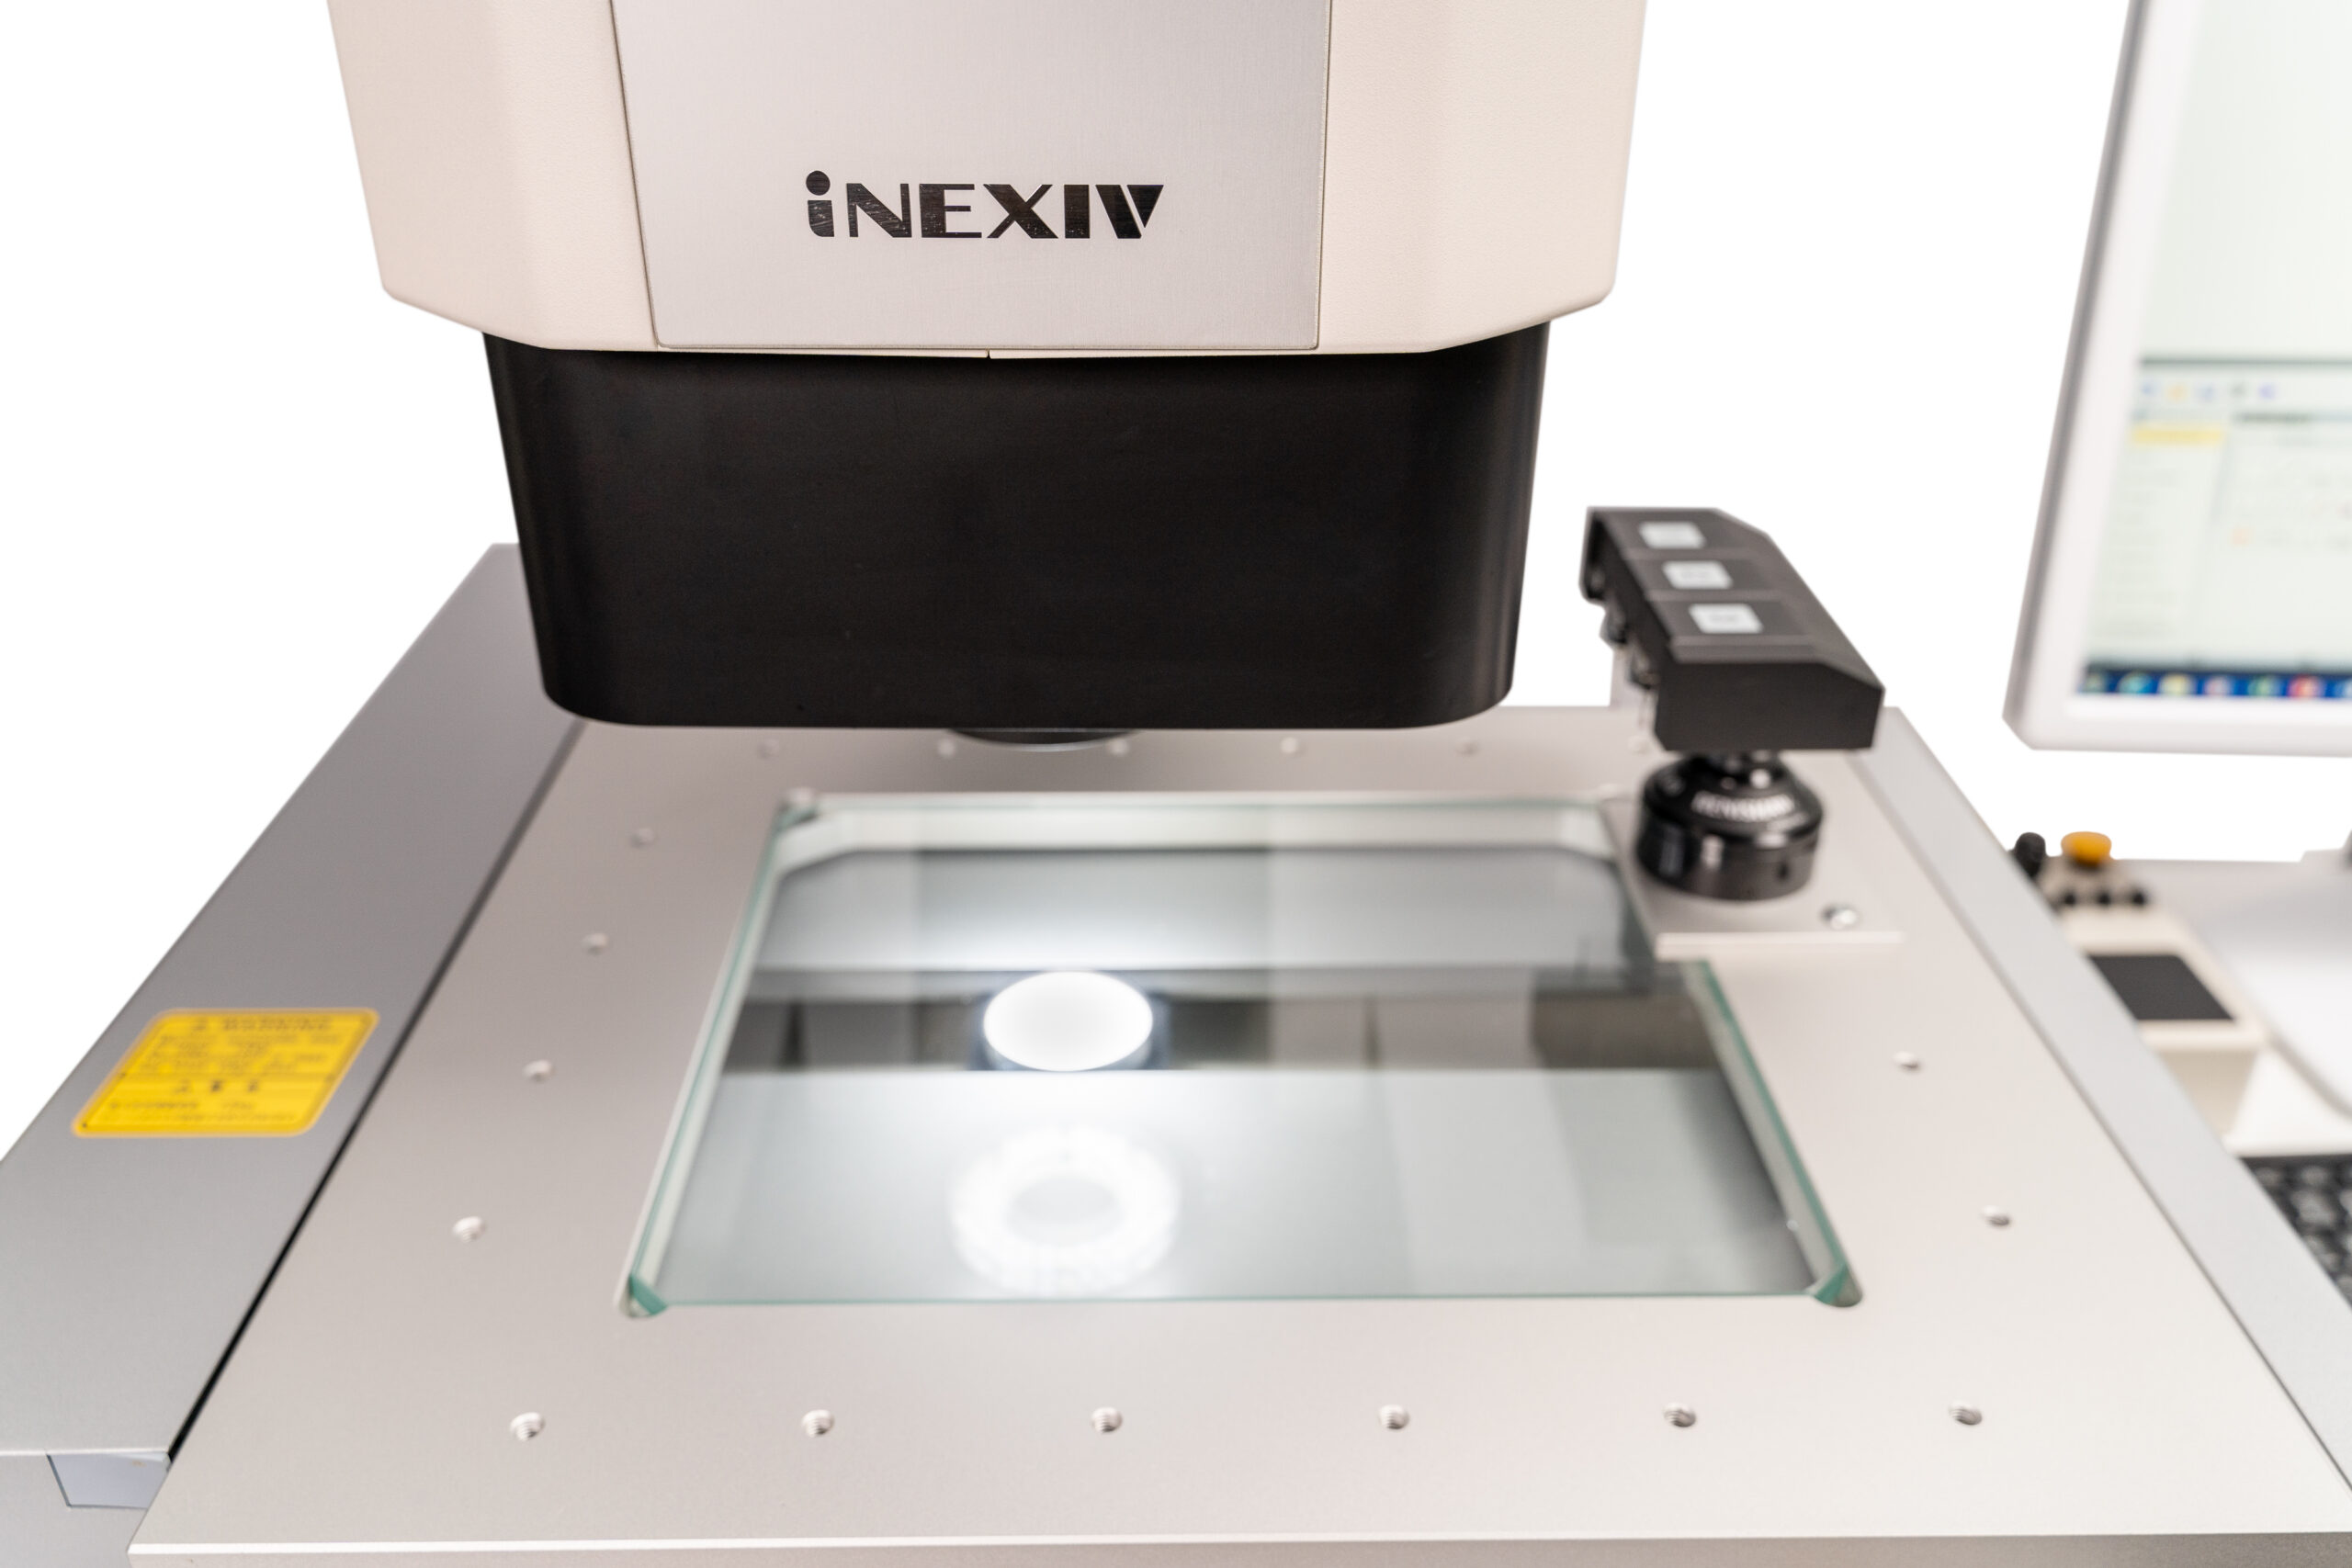
Since its inception in 2003, Roush Yates Engines has dominated NASCAR particularly, with many historic moments. With a commitment to partnering with the best-in-class companies, in 2018 Nikon Metrology and Roush Yates Engines announced a new partnership program. Roush Yates Engines utilises a whole range of Nikon Metrology software and measurement systems for its quality assurance purposes. The iNEXIV VMA-4540 vision system in particular has proven to be a valuable, and easy-to-use system which is integral to the Quality department today.
Ahead of the curve
A company obsessed with speed understands its importance, not just on the race track, but in developing the latest technological innovations. In such a highly competitive environment, it is vital to meet the tight schedules to have the latest equipment on the track and functioning perfectly ahead of rivals.
A combination of factors, including labor intensive programming and potential workflow bottlenecks with CMMs prompted Roush Yates Engines to research a better, more robust non-contact measurement system. Previous methods encountered more and more issues which could compromise engine quality. Manual micro-scopes took a lot of time to obtain and consolidate accurate and repeatable data with confidence, and complex radii and tapered outer diameters proved difficult to characterize with touch probing systems. For a CMM to access important features, additional com-plex fixturing was required, but not readily available. Ultimately, a non-contact measurement system that could provide radii, taper and other measurements necessary to alleviate workflow bottle-necks and increase accuracy and repeatability, using fewer fixtures would reduce overall costs.
To address the issues outlined, and meet the new requirements, Roush Yates Engines selected the industry leading Nikon iNEXIV VMA-4540 inspection system combined with CMM-Manager soft-ware. The system was installed in March 2018, and has been used almost daily for a wide variety of purposes.
Jennifer LaFever – Director of Quality, NASCAR Production for Roush Yates Engines explains that it was very easy to get up and running, and start programming during the first week with the trainer, and alone the following week. She continues to say that the CMM-Man-ager layout is very user friendly and less intimidating to new programmers, as well as the vision interface being very intuitive and easy to learn. Even colleagues outside of the Quality department have been trained, so they can take quick measurements and high-resolution photos of defect, failure or feature.
The training was personalized to our needs so we were able to get exactly what we needed out of the training. There were some training materials reviewed at the beginning that were generic information about the software, but everything after that was tailored to our specific needs. We wrote programs on our actual parts with the trainer, and those programs were operational to start running parts after the training was complete.
Jennifer LaFever – Director of Quality, NASCAR Production for Roush Yates Engines.
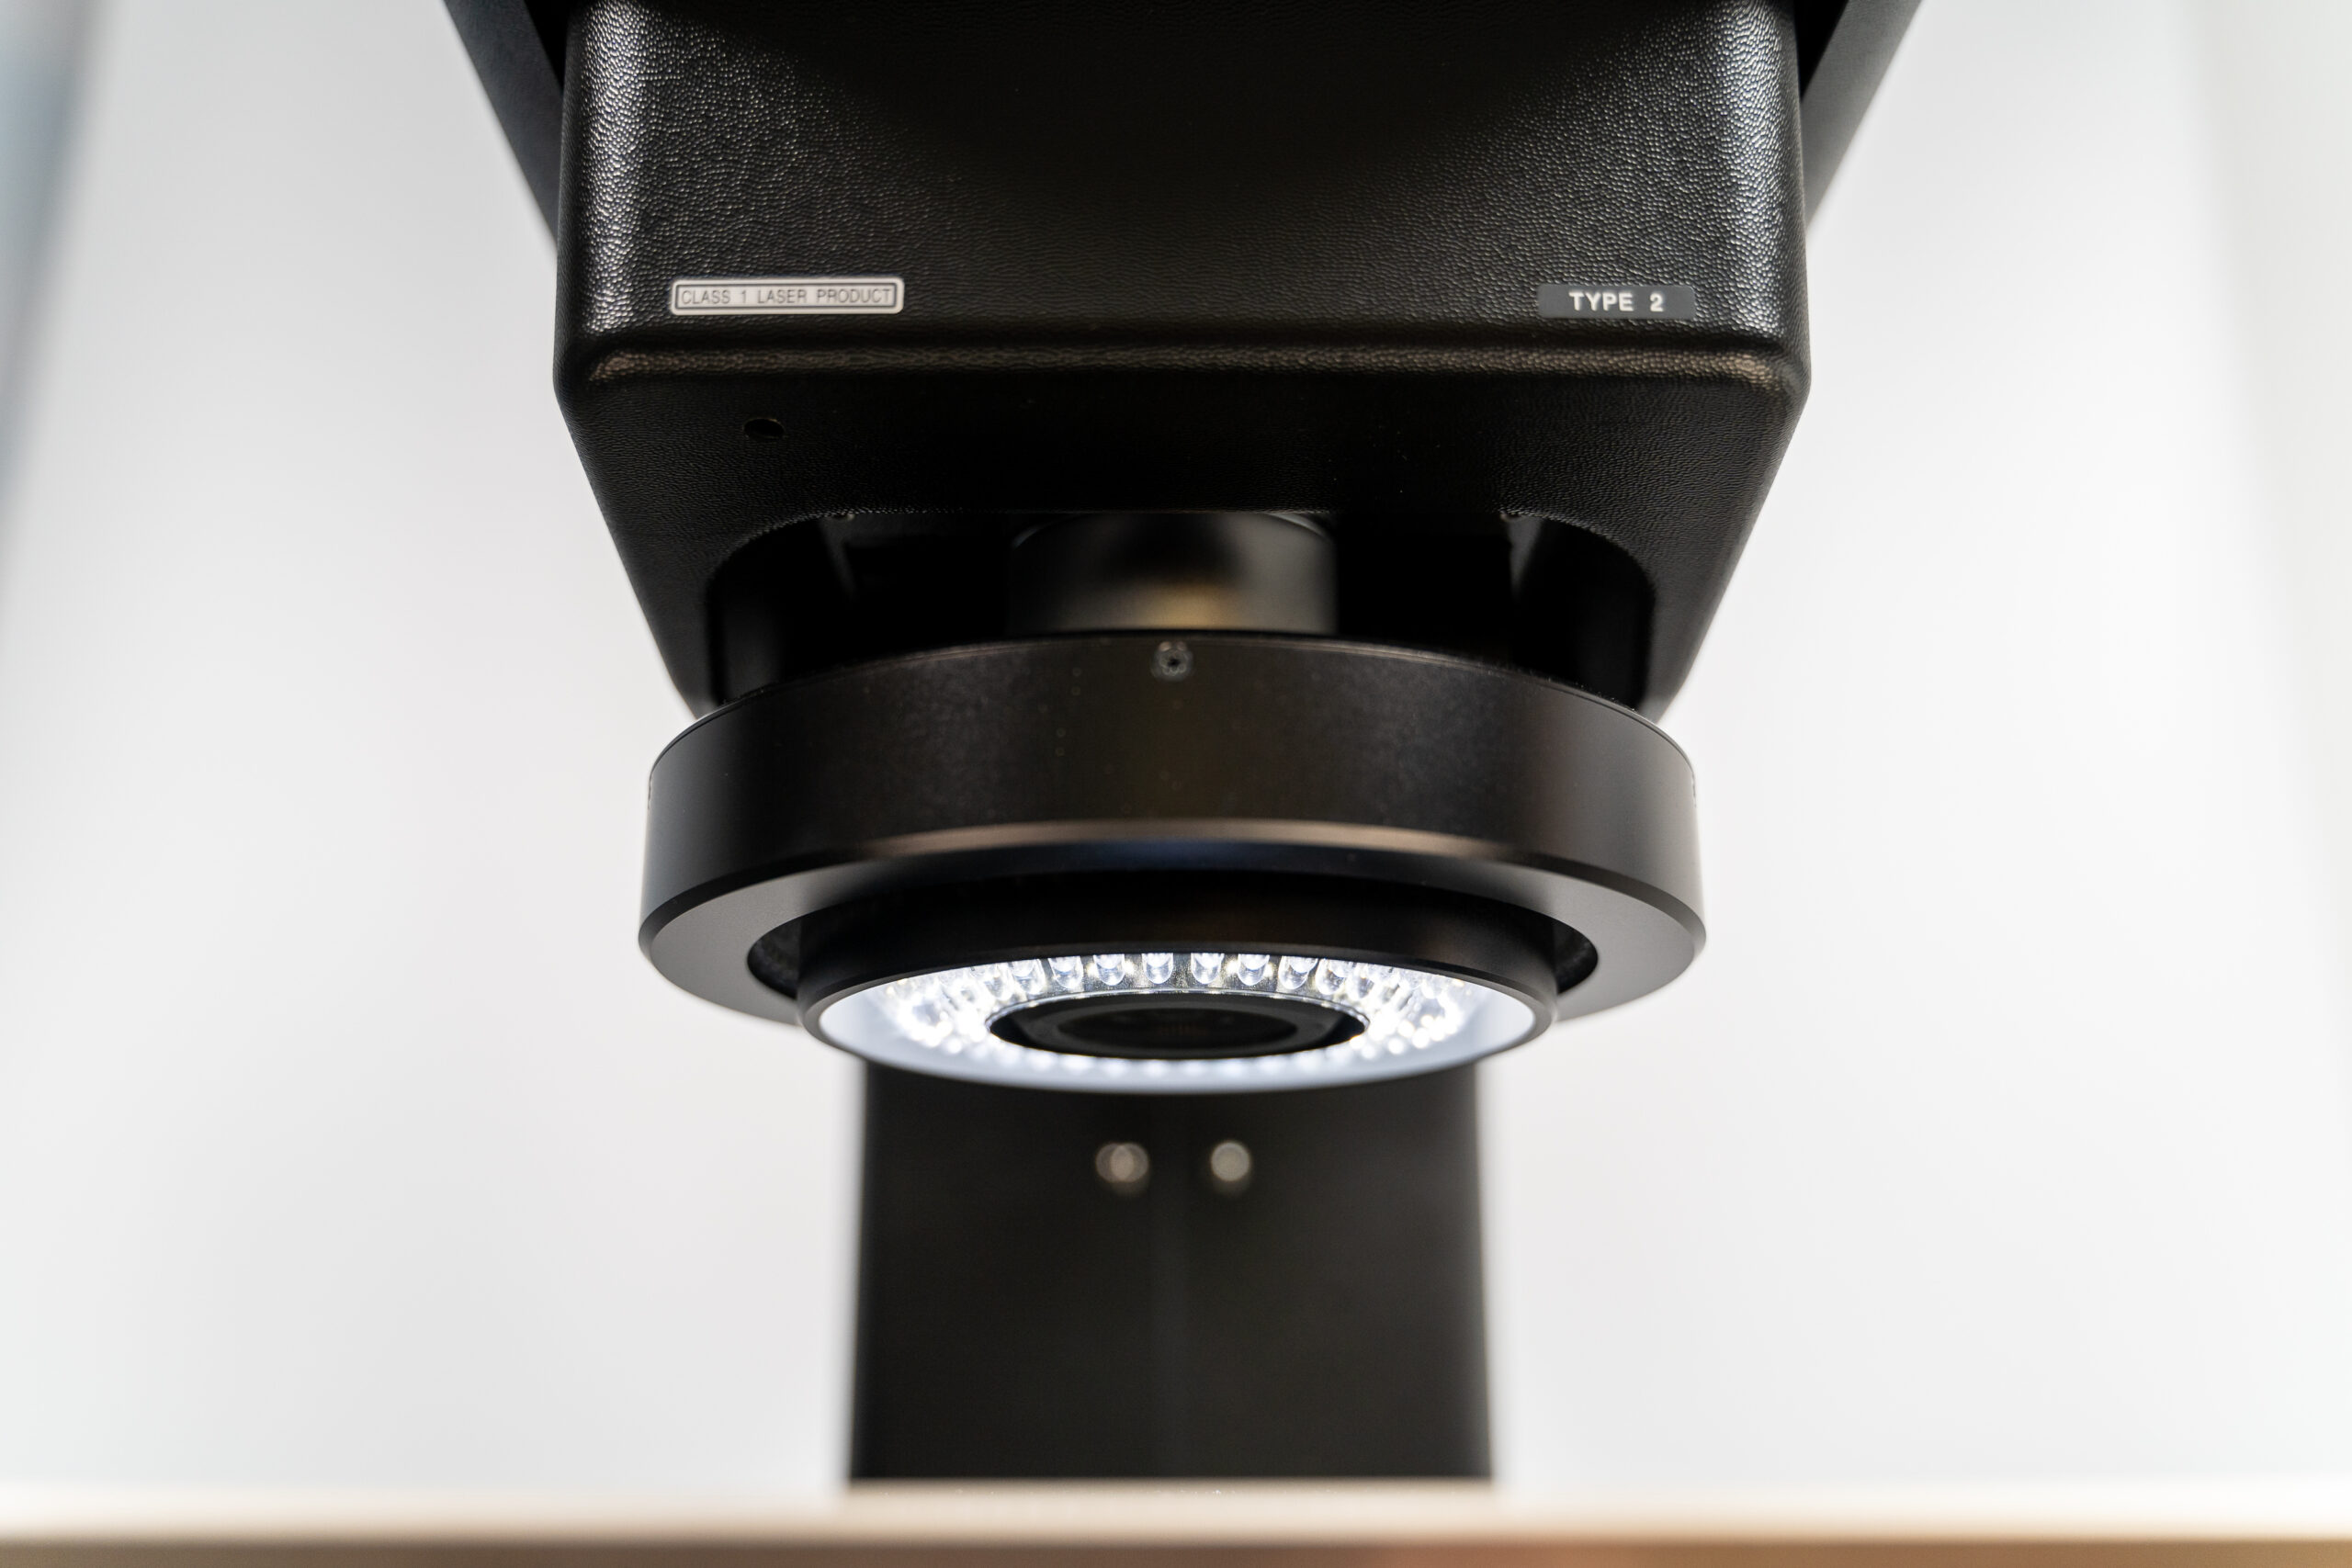
The new iNEXIV VMA-4540 is currently being used to measure any and all NASCAR engine components as necessary. This includes gaskets, clips, o-rings, radii on rollers, oil holes and rocker cups – around 50 individual parts, totalling around 50,000 parts per year. To deal with this workload, the speed and accuracy of the vision system is irreplaceable. A major benefit of the system is that it can access features of these small and fragile parts without contact for more reliable results without causing damage.
Fast evaluation facilitates faster answers
For Roush Yates Engines, information is key. Races are happening every week and the information is needed very quickly so that improvements and enhancements can be ready and available on the track. The sooner these tweaks and changes have been made, the better opportunity teams have of getting the competitive edge and winning races.
Alexander Morothy – Quality Control Technician & Vision Programmer, Roush Yates Engines has worked with the iNEXIV VMA-4540 regularly over the past year and is very impressed with the speed and accuracy of the system.
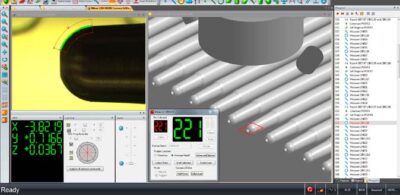
The vision system has had a major impact in evaluating a multitude of data points much faster than before. This means they can provide quicker answers for the Production and Engineering departments to respond to and address concerns and implement improvements. An example of this is pin checking small holes. The Quality department is able to check very small holes on 100 pieces in 12 to 14 minutes, whilst simultaneously performing other inspection steps. This would previously take 20 to 30 minutes before any other steps could be performed. This represents a 50% reduction in inspection time and an enormous 97% reduction in labor time.
This system is extremely fast at measuring parts and gathering data. The greatest benefit to
the speed is through CMM-Manager, programming new parts is extremely fast. With the touch probe, simultaneously programming vision and touch is easy and accurate.”
Alexander Morothy – Quality Control Technician & Vision Programmer, Roush Yates Engines.
Alexander Morothy explains that linear measurements, programming and measuring longer parts is very simple with the alignment process and data reporting with CMM-Manager. Colleagues in the Quality department can measure multiple unrelated features along the length of a part and then report the measurements between features in an organized manner. The VMA-4540 can travel the length of the stage in approximately 3 seconds, so larger parts can be measured very quickly. Previously it would take 2 minutes to manually check 8 dimensions on each gasket individually. However, with the vision system, up to 5 gaskets can be on the stage, and all measured within 2 to 3 minutes. This increases the overall efficiency and throughput, consequently reducing inspection time by around 80%.
Ensuring the latest innovations are on track ahead of competition
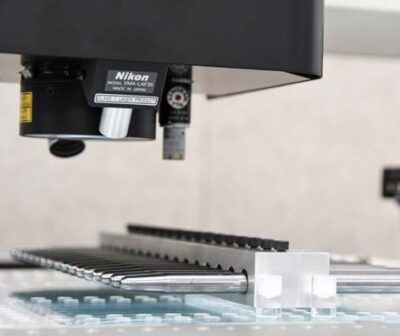
With some major reductions in inspection and labor time, the iNEXIV VMA 4540 has already demonstrated its value to Roush Yates Engines. The CMM-Manager software is also a crucial enabler of the vision system as it makes programming easy for both beginners and experienced programmers. The speed of the software too also makes programming new parts extremely fast. With touch probe, simultaneously programming vision and touch is easy and accurate.
By reducing the potential for workflow bottlenecks, the Quality department is increasingly efficient in obtaining the most accurate results possible, in a short space of time. The fast and accurate, highly repeatable measurements enable a shorter communication and feedback loop between the Quality department and Production & Engineering. This efficiency of teamwork is vital for bringing the latest innovations to fruition, quicker. Roush Yates Engines is winning both on and off the track, with fast production facilitating faster performances on the track.
