Products and promotions may differ based on your selected region.
NEXIV VMF-K Series
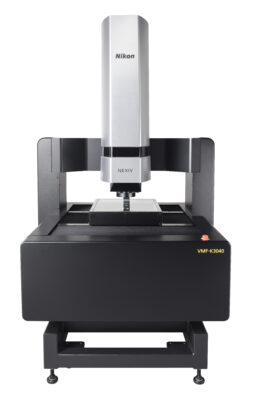
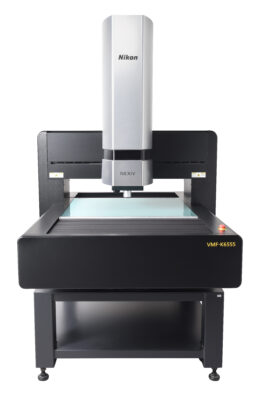
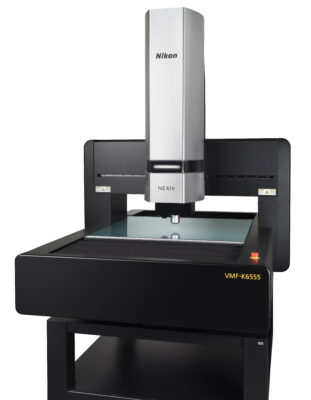
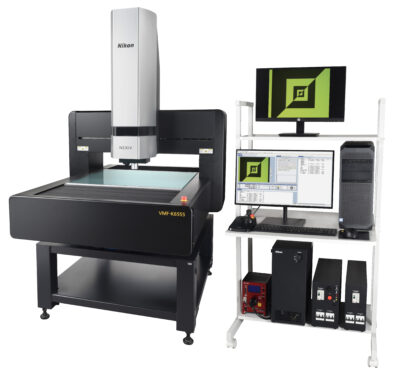
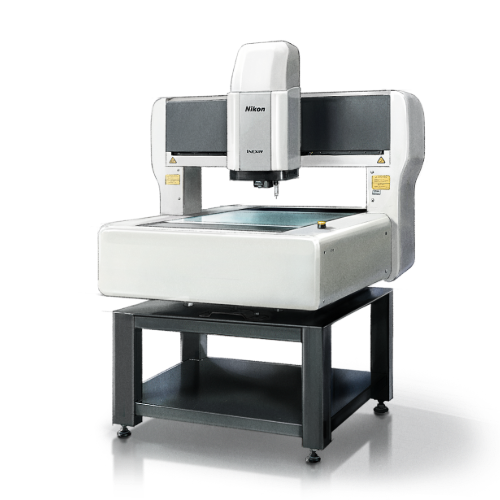
Nikon’s NEXIV VMF-K Series transforms optical measurement, combining high-speed 2D and 3D capabilities with exceptional accuracy. Its advanced confocal system boosts throughput for diverse samples, supporting miniaturisation in semiconductor and precision engineering industries.
Next-Level ThroughputQualityMeasurements
Nikon’s NEXIV VMF-K Series enhances traditional measurement systems by employing an advanced confocal optical system. Designed to improve measurement speed, the VMF-K Series allows users to analyse various materials and components with unprecedented efficiency and precision.
The NEXIV VMF-K Series addresses the challenges posed by complex sample geometries — including high-contrast surfaces and transparent materials — enabling users to capture detailed measurements that were previously challenging to obtain. The system’s integrated 2D and 3D measurement capabilities dramatically reduce inspection times compared to traditional methods, allowing for significantly faster and more comprehensive quality control processes.

Enhanced Optical Measurement Capabilities
The NEXIV VMF-K Series significantly improves optical measurement capabilities, enabling precise 2D and 3D inspections of diverse samples. Its confocal system ensures accurate measurements of high-contrast and transparent materials, enhancing surface and height analyses. This system allows for reliable inspection of complex geometries and fine structures, which is particularly beneficial in semiconductor and miniaturised component manufacturing.
Product Highlights
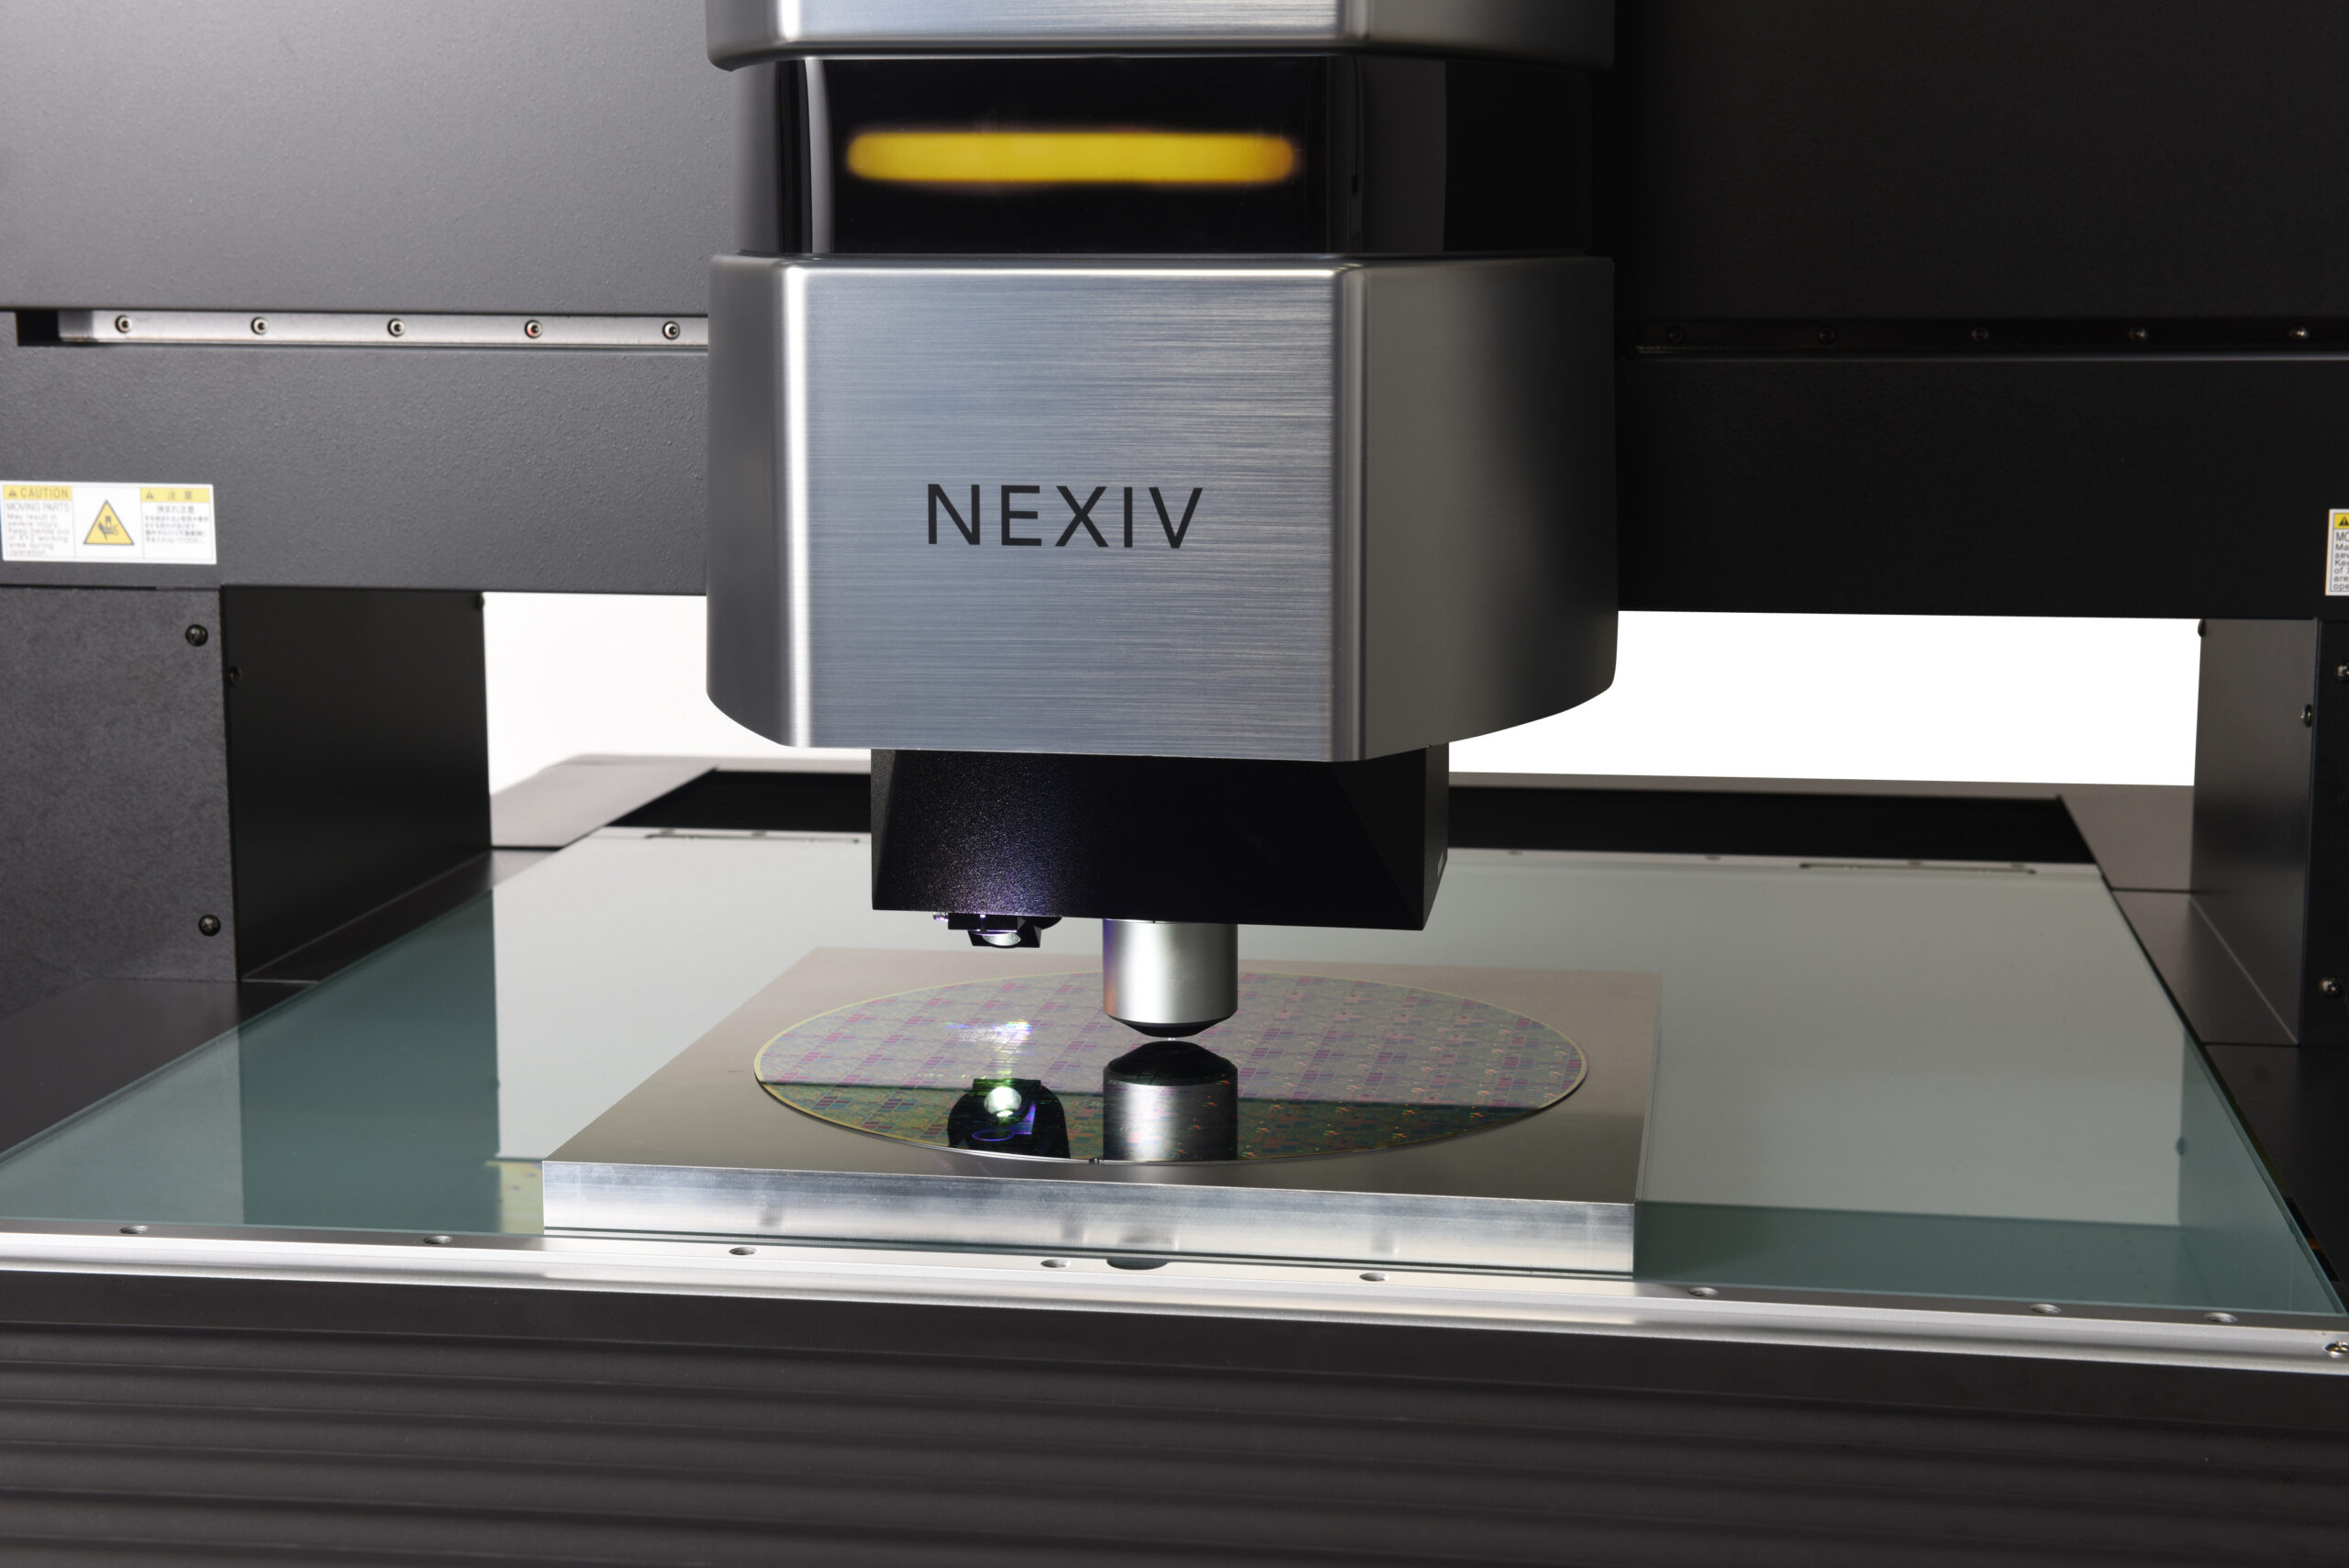
High-Speed Measurement
The NEXIV VMF-K Series combines 2D and height measurements in one device, achieving 1.5 times higher throughput than previous models. Its confocal optical system enables simultaneous 2D and height measurements within the field of view, significantly reducing measurement time without compromising precision.
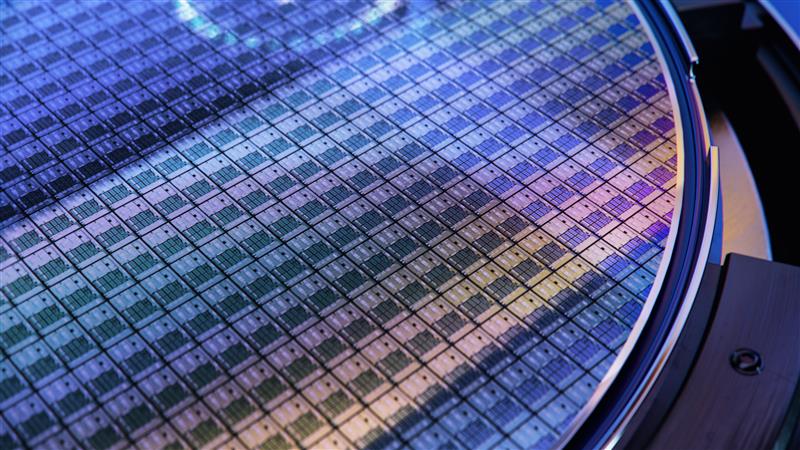
Versatility Across Multiple Applications
Nikon’s NEXIV VMF-K Series excels in measuring various semiconductor components, including probe cards and bonding wires. This versatility makes it an essential tool for comprehensive semiconductor inspection and quality assurance, streamlining operations by consolidating multiple measurement tasks into one efficient system.
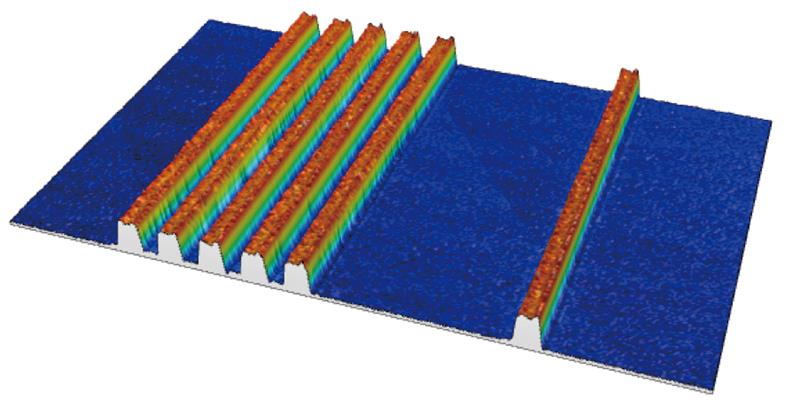
Advanced Support for Semiconductors
Nikon’s NEXIV VMF-K Series standard lineup includes a 45x objective lens to support wafer-level packaging (WLP) measurements. This high-magnification capability allows for precise inspection of ultra-fine structures, which is crucial for maintaining quality control as semiconductor components become smaller.
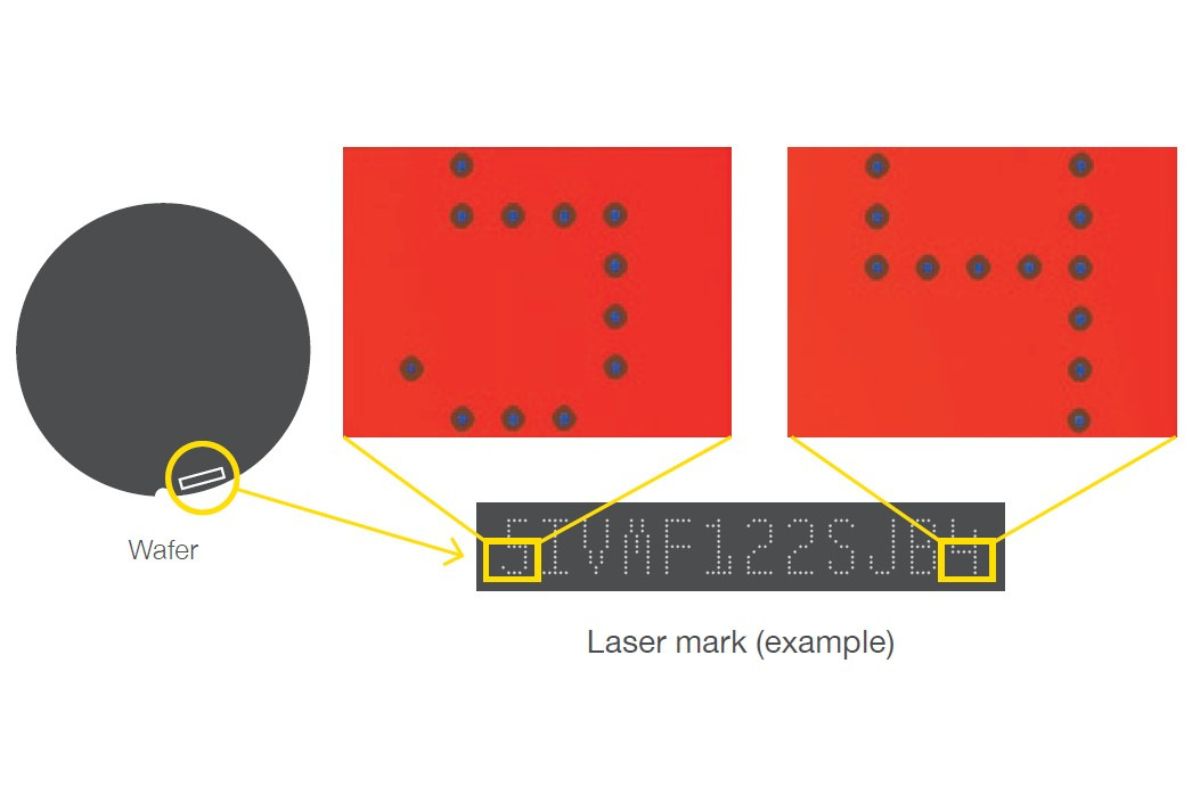
Long-Dimension Measurement Capability
Nikon’s NEXIV VMF-K Series accurately measures long dimensions that exceed the field of view size while maintaining precision. This feature is essential for semiconductor device measurement, which requires long-dimension positional precision and coordinate system measurement.
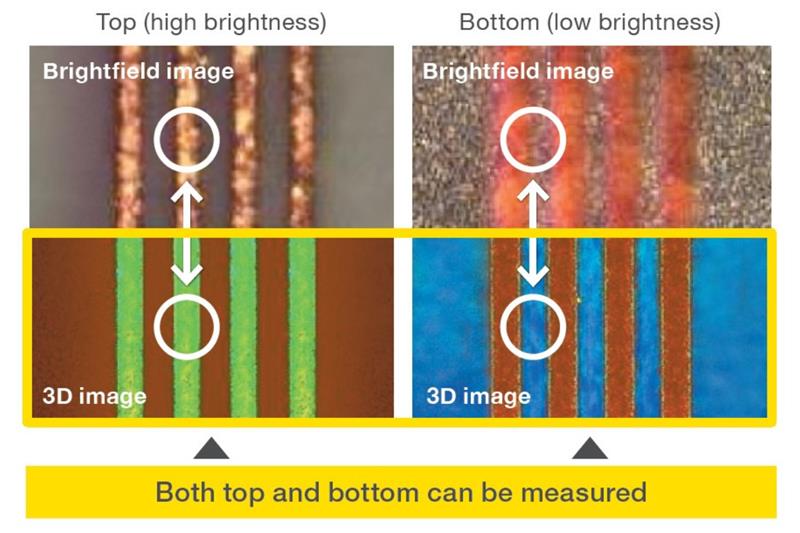
Stable Measurement of High-Contrast Items
Using its advanced confocal optical system, Nikon’s NEXIV VMF-K Series provides stable measurements of high-contrast samples. This ensures clear and accurate images, even for samples with significant variations in brightness or reflectivity.
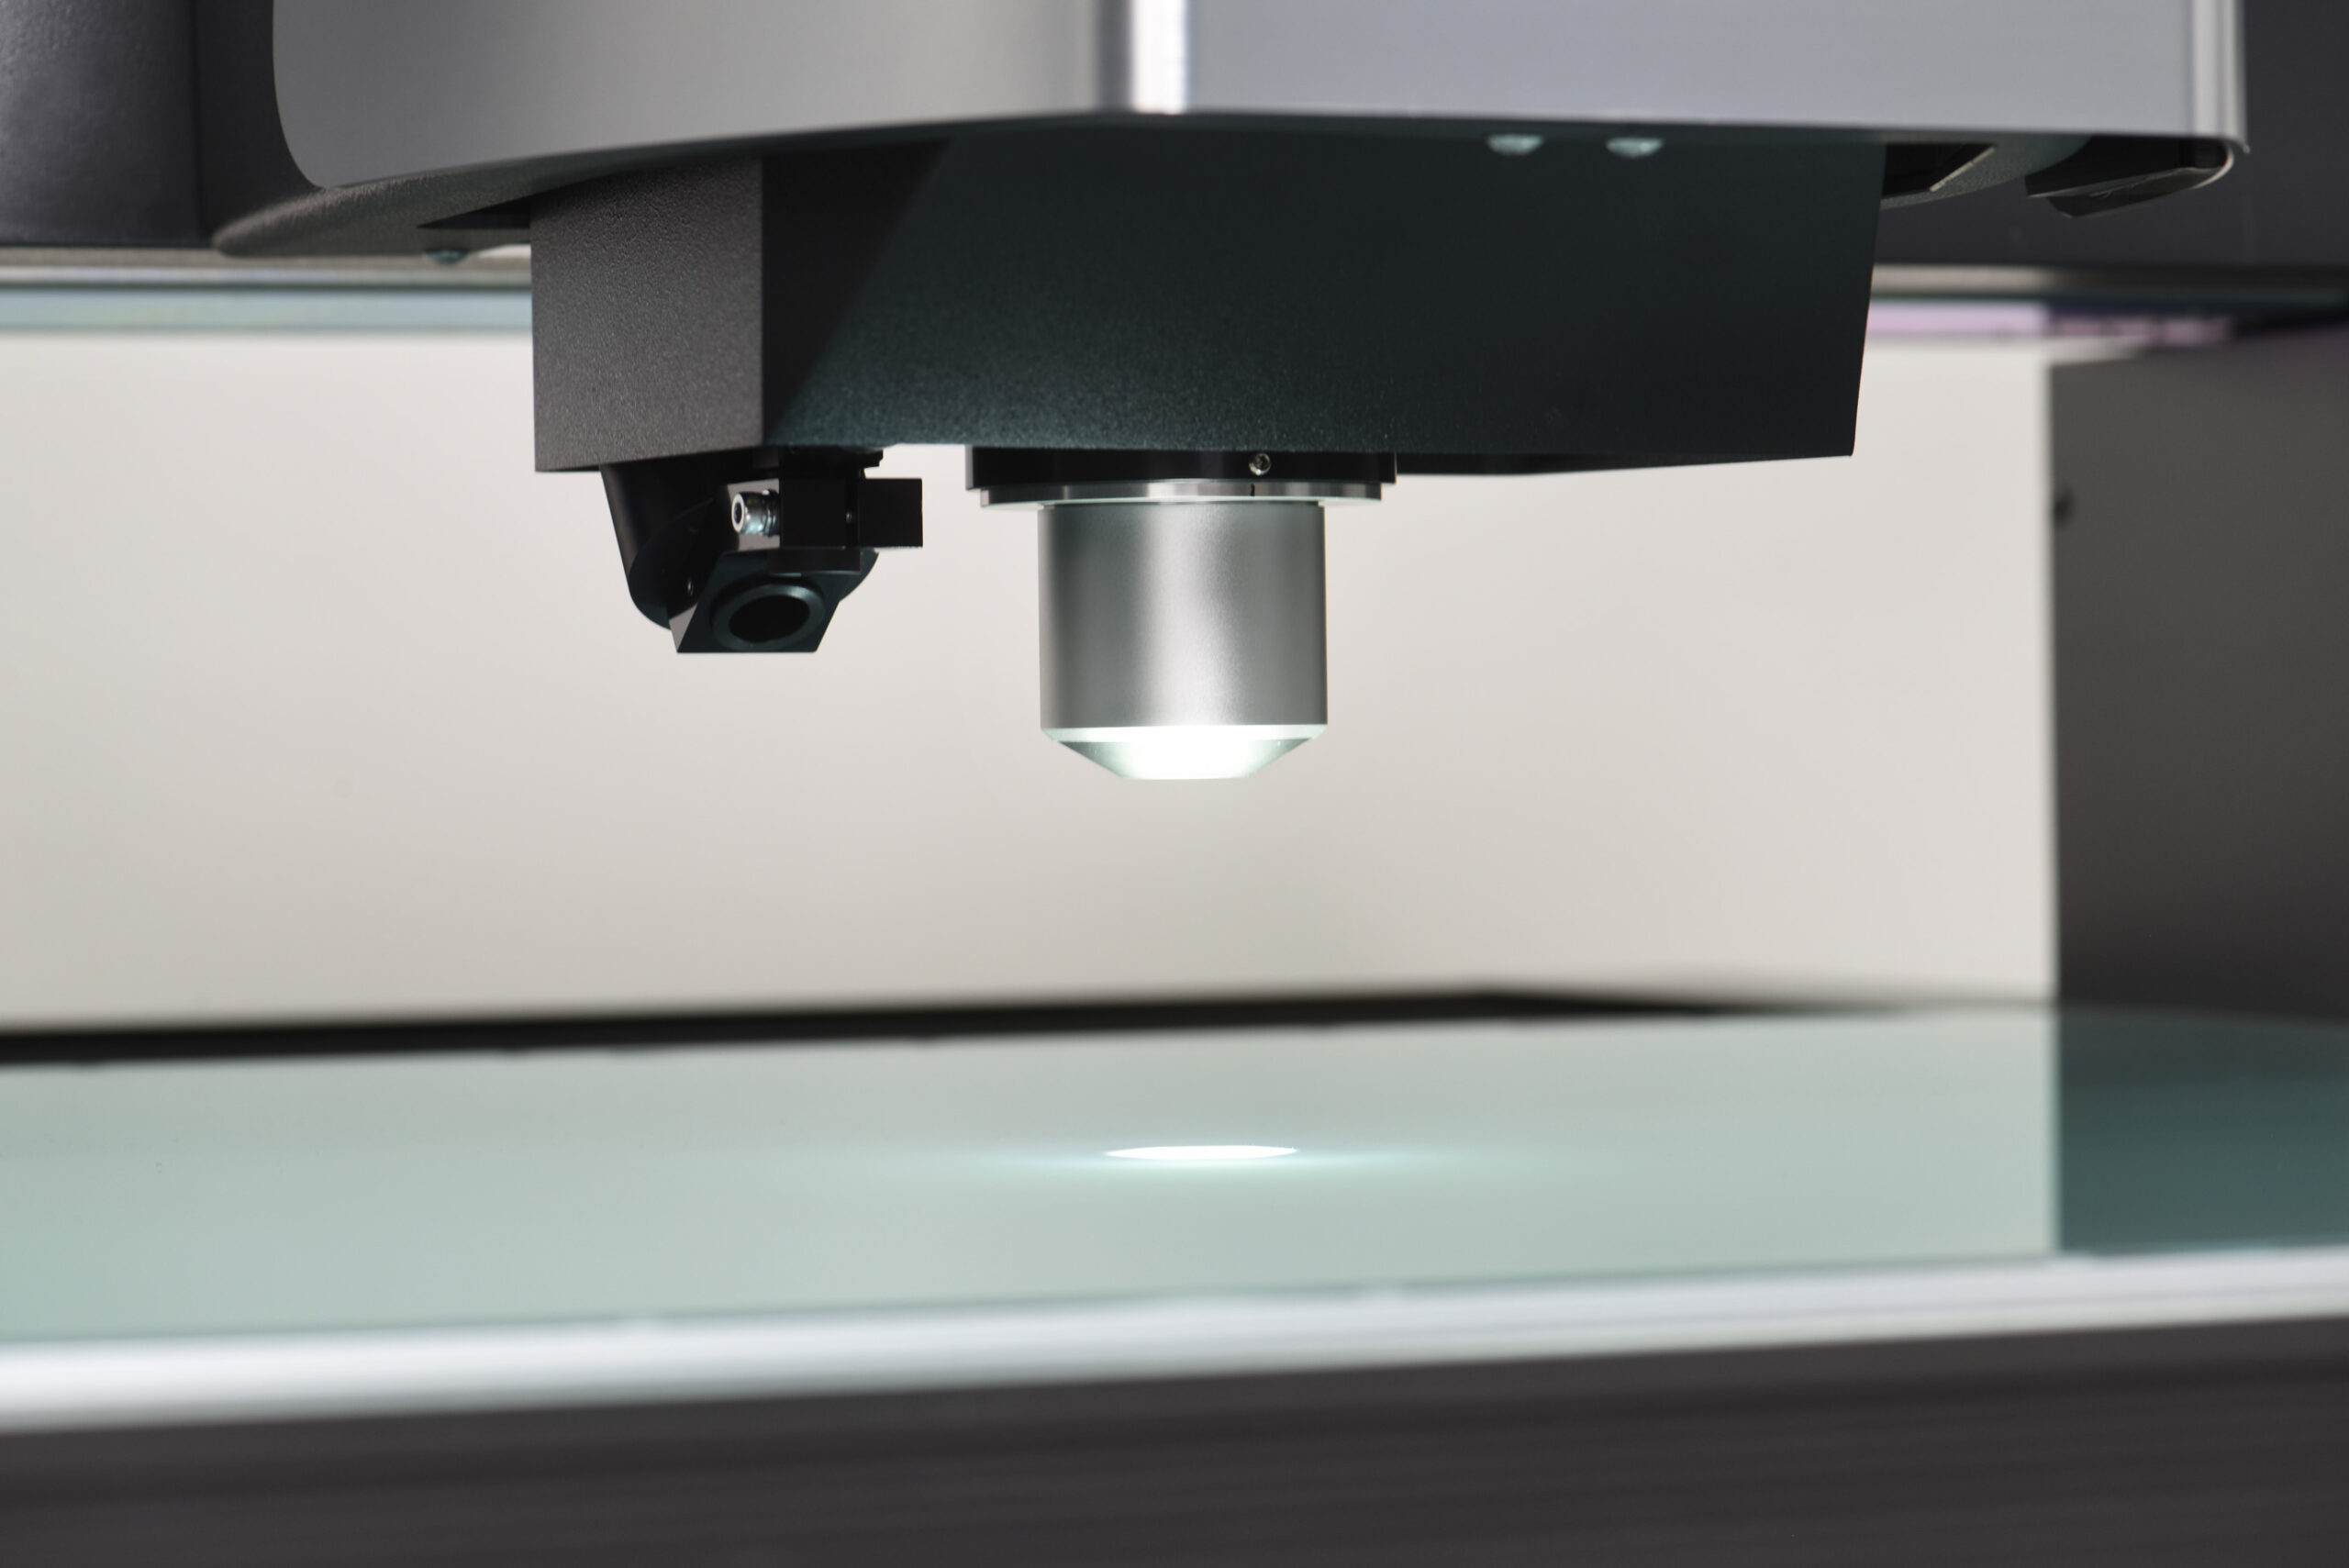
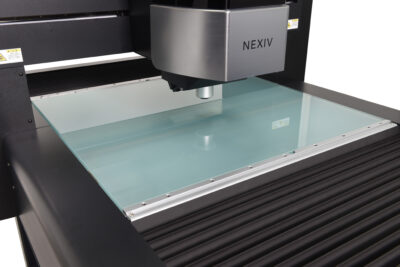
Measurement of Highly Transparent and Thin Samples
Nikon’s NEXIV VMF-K Series accurately measures highly transparent and thin samples, addressing a common challenge in optical measurement systems. This capability extends its applicability to measuring transparent and thin samples, such as metal surface films and semiconductor resists, enhancing its versatility across various measurements.
NEXIV VMF-K Series Models
The NEXIV VMF-K Series combines 2D and 3D optical measurements with 1.5 times higher throughput for probe cards. It has a 45x objective lens and LED confocal light source (30,000-hour lifespan) and supports wafer-level packaging and long-dimension measurements. SEMI S2/S8 compliant, it excels in semiconductor and precision engineering applications.
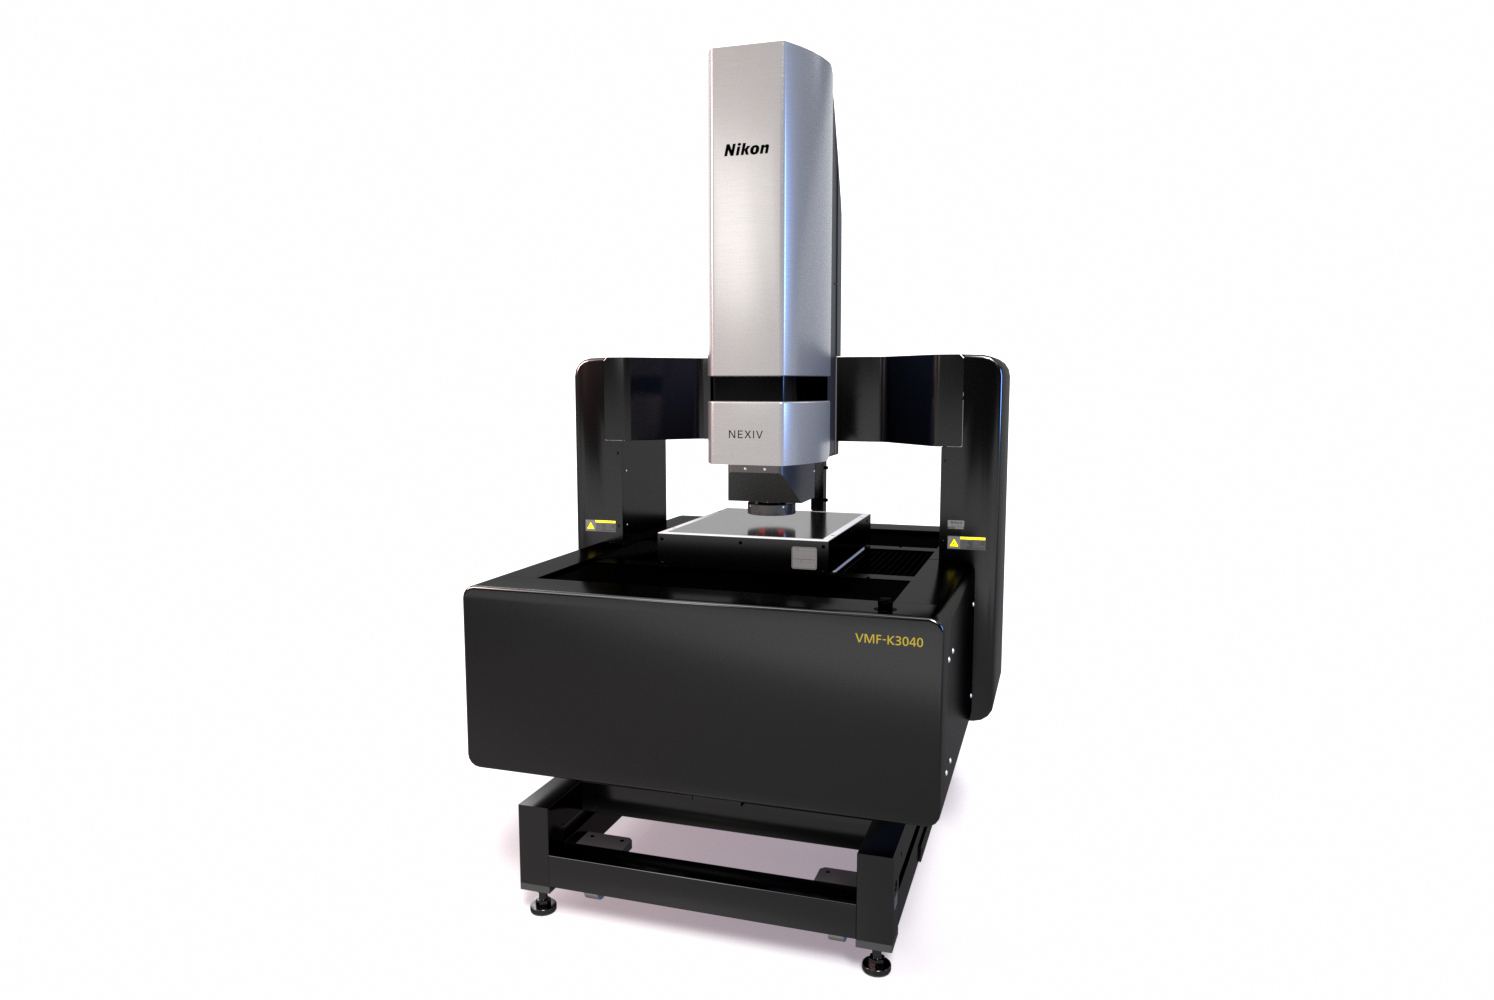
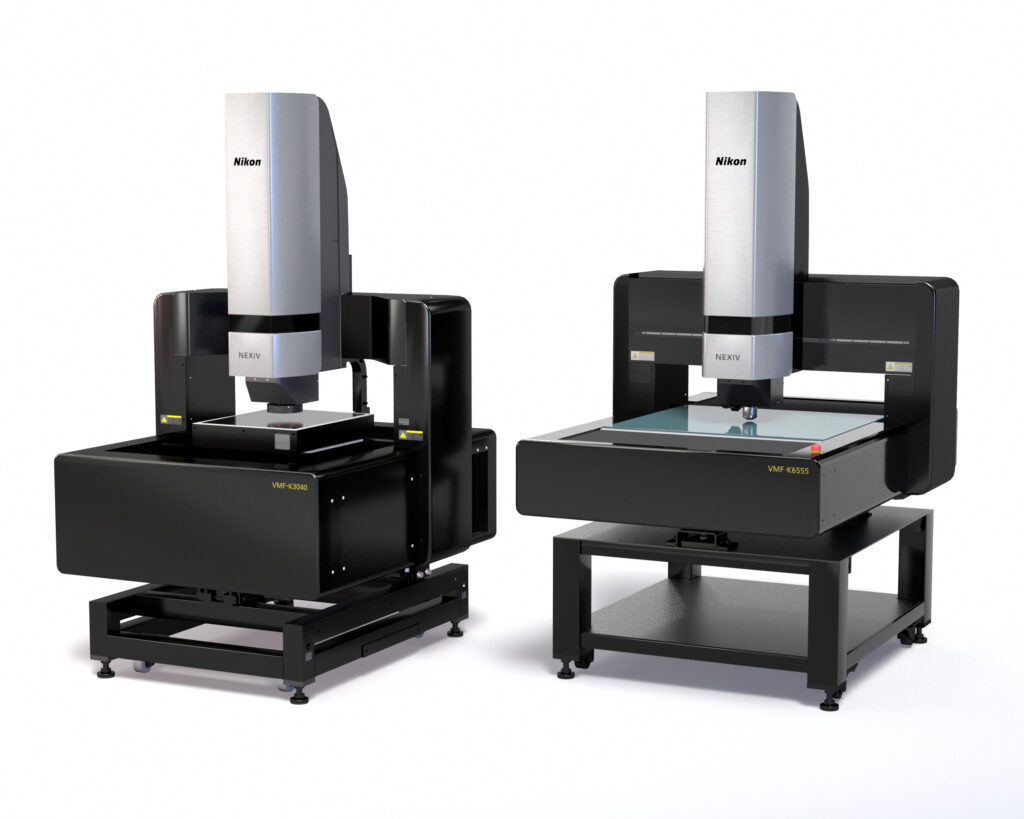
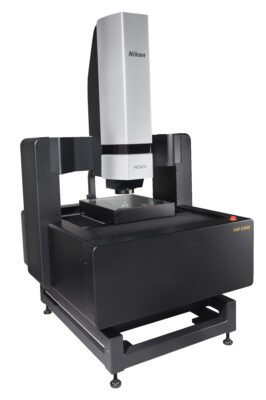
NEXIV VMF-K3040
Strokes (XYZ): 300×400×150 mm
| VMF-K3040 / VMF-K6555 | |||||||
| Measuring head | Standard head (Type-S) | High-magnification head (Type-H) | 45× High-magnification head | ||||
| Optical magnification | Magnification | 1.5× | 3.0× | 7.5× | 15× | 30× | 45× |
| Working distance | 24 mm | 24 mm | 5 mm | 20 mm | 5 mm | 5 mm | |
| Confocal optics (height measurement) | Maximum scan height | 1 mm | |||||
| Field of view | 7.80×5.82 mm | 3.90×2.91 mm | 1.56×1.17 mm | 0.78×0.58 mm | 0.39×0.29 mm | 0.26×0.19 mm |
|
| Height measurement repeatability (2σ) | 0.6 μm | 0.35 μm | 0.25 μm | 0.25 μm | 0.2 μm | 0.2 μm | |
| Height resolution | 0.025 μm | 0.01 μm | |||||
| Light source | Green LED | ||||||
| Bright Field Optics (two-dimensional measurement) | Magnification method | Motorised 5-step zoom | |||||
| Field of view | 7.81×5.86~ 0.52×0.39 mm | 3.91×2.93~ 0.26×0.20 mm | 1.56×1.17~ 0.10×0.078 mm | 1.27×0.95~ 0.099×0.074 mm | 0.63×0.47~ 0.049×0.037 mm | 0.63×0.47~ 0.049×0.037 mm |
|
| Illumination | Diascopic, coaxial episcopic and ring | Diascopic, coaxial episcopic | |||||
| Light source | White LED | ||||||
| Autofocus | TTL Laser AF, Image AF | ||||||
| Main body | Power source | AC 100V-240V ±10%, 50/60 Hz | |||||
| Power consumption | 5.5A-3A | ||||||
| Safety standard | SEMI S2/S8 compliance *1 | ||||||
| Model | VMF-K3040 | VMF-K6555 | |||||
| Main Body | XYZ strokes | 300×400×150 mm | 650×550×150 mm | ||||
| Accuracy guaranteed loading capacity | 20 kg | 30 kg | |||||
| Maximum permissible error (L: Length in mm) | EUX,MPE EUY,MPE 1.2 + 4L/1000 μm | ||||||
| EUXY,MPE 2.0 + 4L/1000 μm | |||||||
| EUZ,MPE 1 + L/1000 μm | |||||||
| Minimum readout | 0.01 μm | ||||||
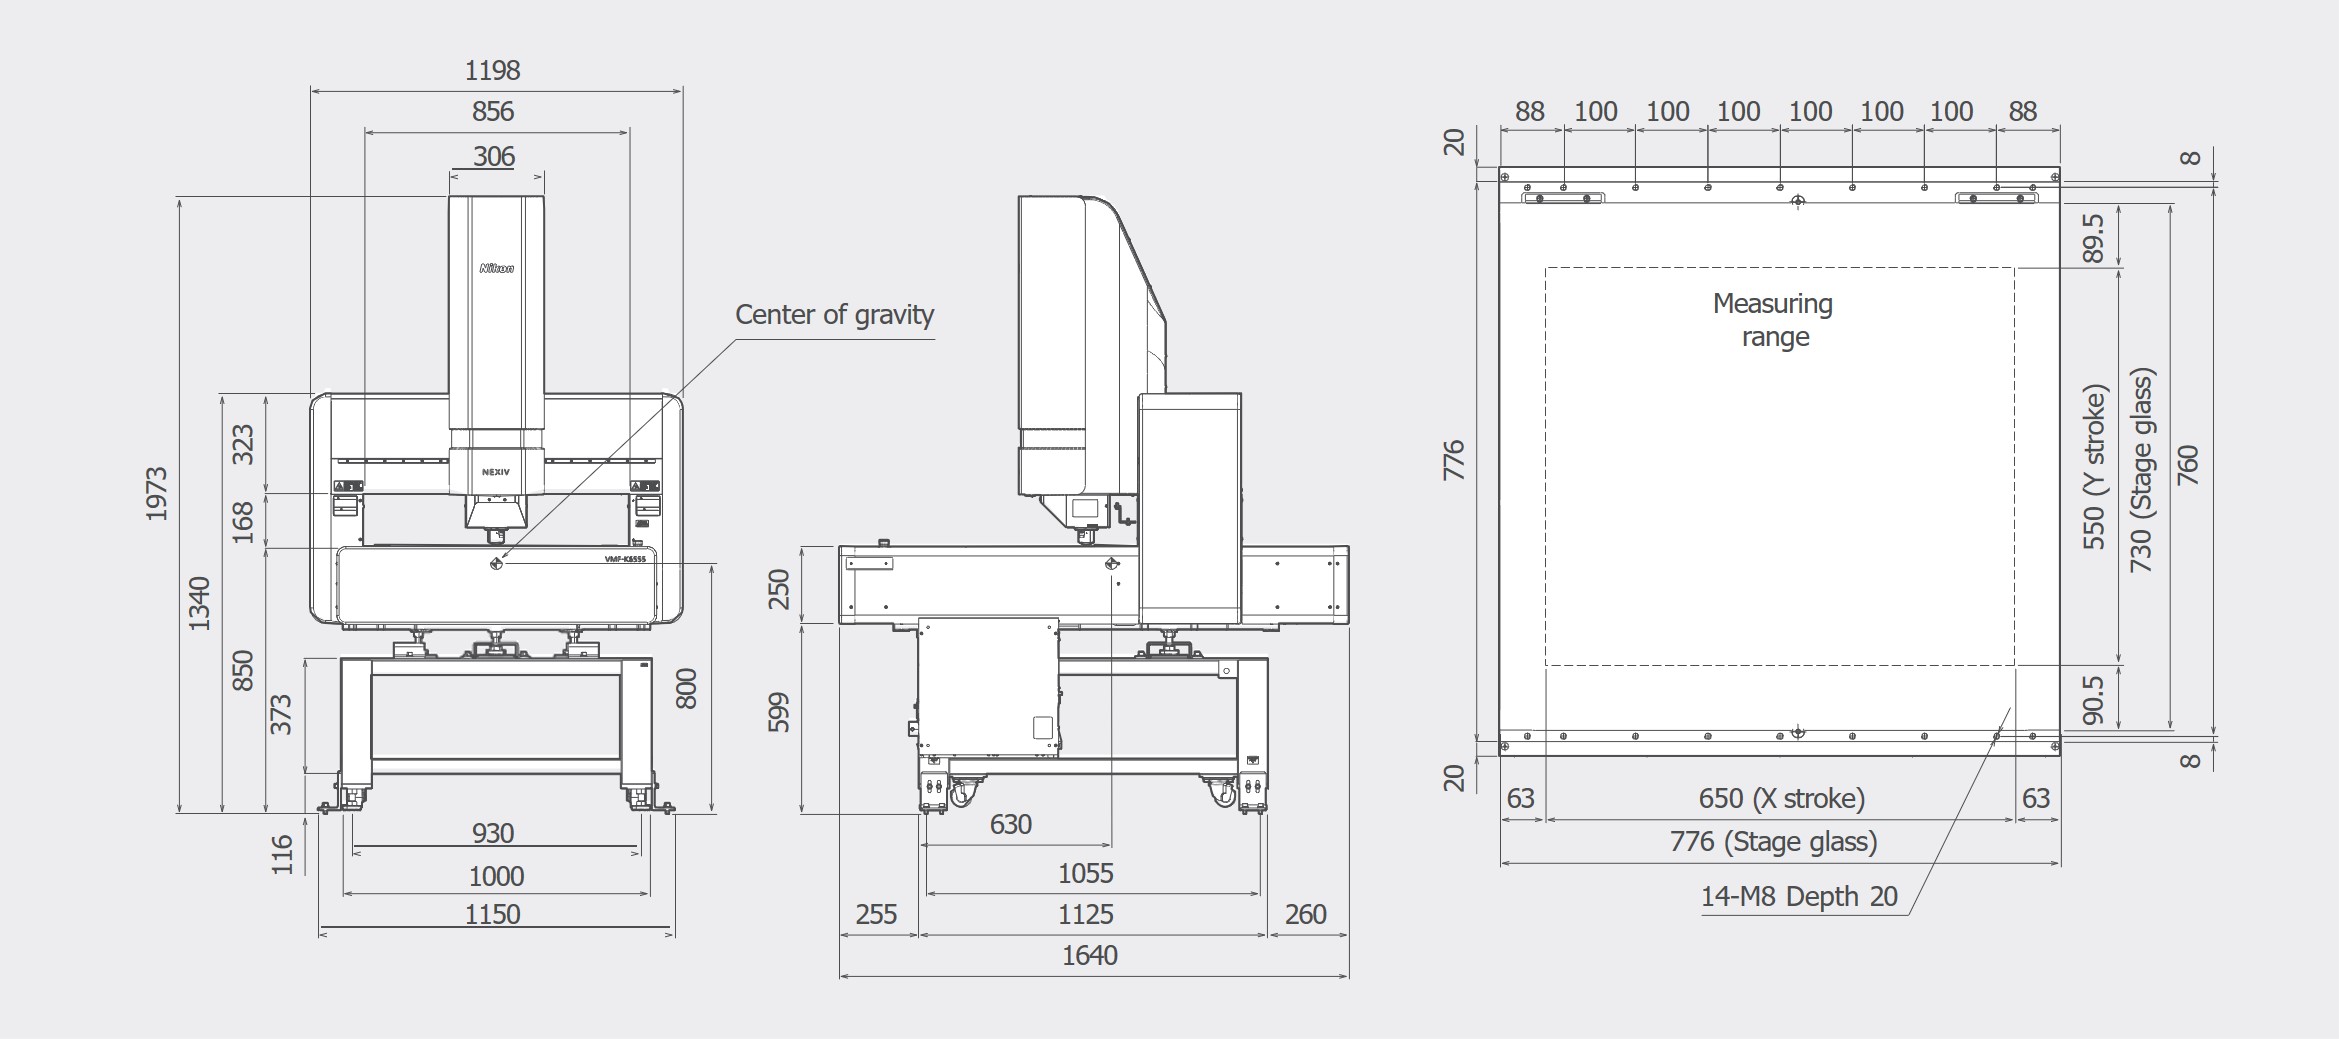
| Dimensions (WxDxH) and weight | Main body and table | 1146×1247×1973 mm / approx. 800 kg | 1198×1640×1973 mm / approx. 800 kg | ||||
| Controller | 190×450×440 mm / approx. 14 kg | ||||||
| Recommended installation dimensions (WxD) *2 | 3150×3000 mm | 3200×3300 mm | |||||
| Minimum installation dimensions (WxD) | 2500×1600 mm | 2500×1900 mm | |||||
*1: If installed according to SEMI guidelines, VMF-K will be compliant with SEMI S2/S8.
*2: Includes our recommended maintenance space.
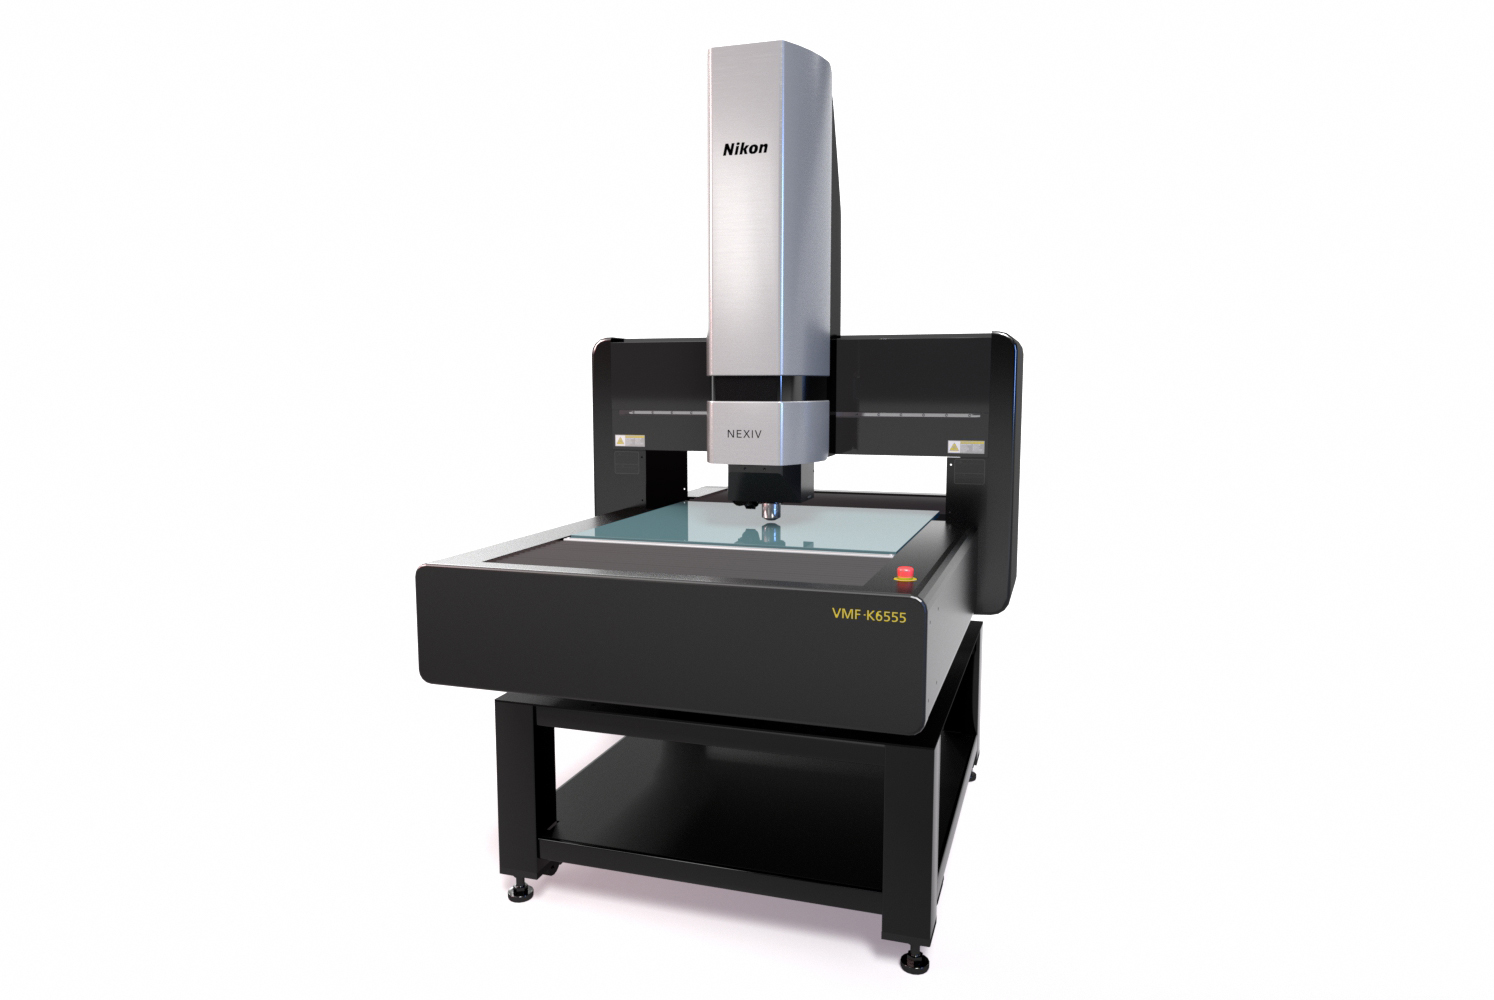
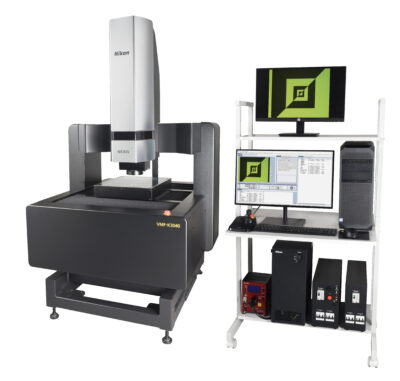
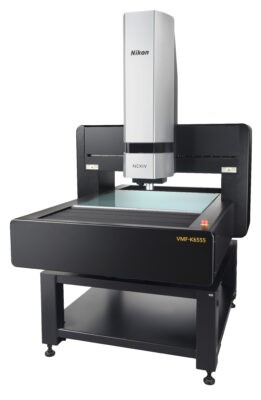
NEXIV VMF-K6555
Strokes (XYZ): 650×550×150 mm
| VMF-K3040 / VMF-K6555 | |||||||
| Measuring head | Standard head (Type-S) | High-magnification head (Type-H) | 45× High-magnification head | ||||
| Optical magnification | Magnification | 1.5× | 3.0× | 7.5× | 15× | 30× | 45× |
| Working distance | 24 mm | 24 mm | 5 mm | 20 mm | 5 mm | 5 mm | |
| Confocal optics (height measurement) | Maximum scan height | 1 mm | |||||
| Field of view | 7.80×5.82 mm | 3.90×2.91 mm | 1.56×1.17 mm | 0.78×0.58 mm | 0.39×0.29 mm | 0.26×0.19 mm |
|
| Height measurement repeatability (2σ) | 0.6 μm | 0.35 μm | 0.25 μm | 0.25 μm | 0.2 μm | 0.2 μm | |
| Height resolution | 0.025 μm | 0.01 μm | |||||
| Light source | Green LED | ||||||
| Bright Field Optics (two-dimensional measurement) | Magnification method | Motorised 5-step zoom | |||||
| Field of view | 7.81×5.86~ 0.52×0.39 mm | 3.91×2.93~ 0.26×0.20 mm | 1.56×1.17~ 0.10×0.078 mm | 1.27×0.95~ 0.099×0.074 mm | 0.63×0.47~ 0.049×0.037 mm | 0.63×0.47~ 0.049×0.037 mm |
|
| Illumination | Diascopic, coaxial episcopic and ring | Diascopic, coaxial episcopic | |||||
| Light source | White LED | ||||||
| Autofocus | TTL Laser AF, Image AF | ||||||
| Main body | Power source | AC 100V-240V ±10%, 50/60 Hz | |||||
| Power consumption | 5.5A-3A | ||||||
| Safety standard | SEMI S2/S8 compliance *1 | ||||||
| Model | VMF-K3040 | VMF-K6555 | |||||
| Main Body | XYZ strokes | 300×400×150 mm | 650×550×150 mm | ||||
| Accuracy guaranteed loading capacity | 20 kg | 30 kg | |||||
| Maximum permissible error (L: Length in mm) | EUX,MPE EUY,MPE 1.2 + 4L/1000 μm | ||||||
| EUXY,MPE 2.0 + 4L/1000 μm | |||||||
| EUZ,MPE 1 + L/1000 μm | |||||||
| Minimum readout | 0.01 μm | ||||||
| Dimensions (WxDxH) and weight | Main body and table | 1146×1247×1973 mm / approx. 800 kg | 1198×1640×1973 mm / approx. 800 kg | ||||
| Controller | 190×450×440 mm / approx. 14 kg | ||||||
| Recommended installation dimensions (WxD) *2 | 3150×3000 mm | 3200×3300 mm | |||||
| Minimum installation dimensions (WxD) | 2500×1600 mm | 2500×1900 mm | |||||
*1: If installed according to SEMI guidelines, VMF-K will be compliant with SEMI S2/S8.
*2: Includes our recommended maintenance space.
Innovation and Quality in Every Environment
The NEXIV VMF-K Series provides advanced optical measurement for diverse industries. Its confocal system offers precise 2D and 3D measurements for various components, handling high-contrast and transparent samples. With enhanced throughput and high magnification, it supports miniaturisation and complex geometries in modern manufacturing, particularly in the semiconductor and electronics industries.
Industry Applications

Advanced Packaging
The NEXIV VMF-K Series combines simultaneous 2D and height analysis within a single field of view, making it ideal for advanced packaging processes. The newly standardised 45x objective lens enables precise measurement of features below 2μm, directly addressing the challenges posed by increasingly complex semiconductor device architectures.
Probe Card Inspection
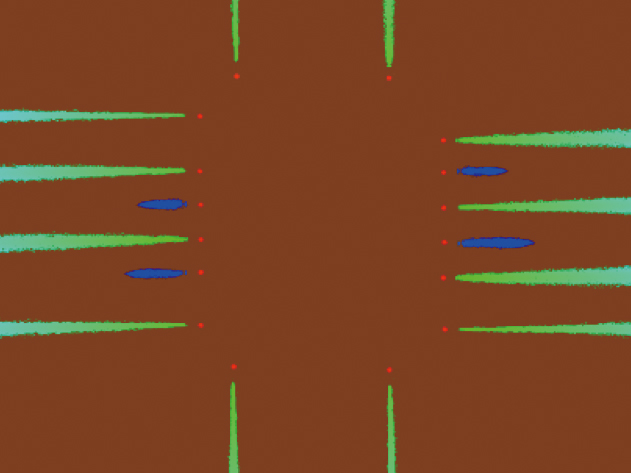
The NEXIV VMF-K Series delivers a 1.5x improvement in probe card measurement throughput compared to its predecessor. This speed enhancement combines with the system’s ability to maintain stable measurements beyond the field of view, streamlining inspection processes while ensuring comprehensive probe card evaluation accuracy.

Wafer Inspection
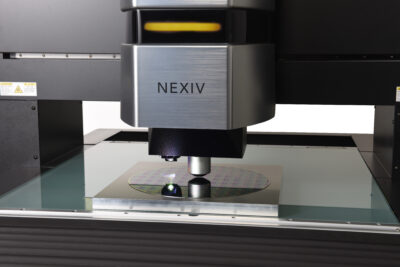
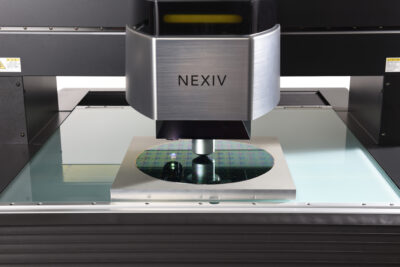
The NEXIV VMF-K Series utilises advanced confocal optics to ensure precise inspection of surfaces with varying reflectivity, making it ideal for semiconductor wafer analysis. Its standardised 45x objective lens captures the finest wafer features, while the simultaneous 2D and height measurement capability maximises inspection efficiency within each field of view.
Substrate Production
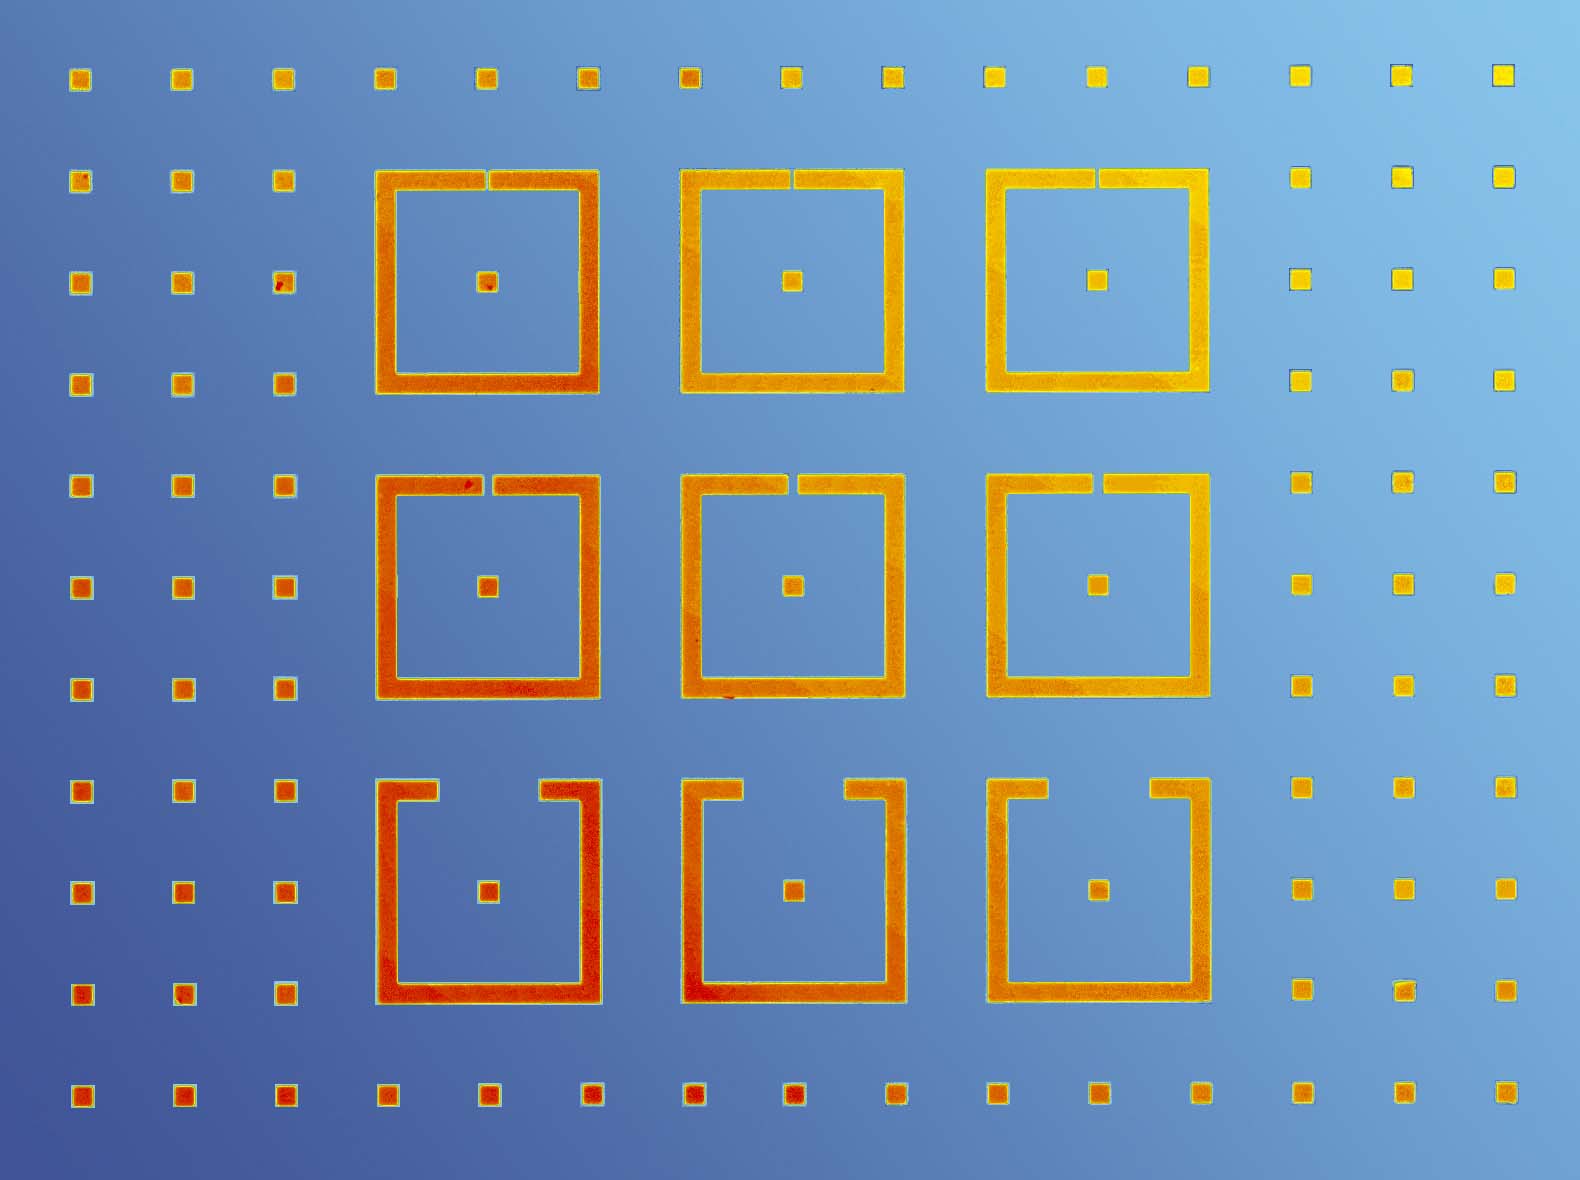
Optimised for substrate inspection workflows, the NEXIV VMF-K Series achieves stable measurements across challenging materials, including high-contrast and transparent samples. Building on proven confocal technology, the system delivers 1.5x faster scanning speeds than the previous generation while maintaining the precision needed for modern substrate production standards.
FAQs
Nikon’s NEXIV VMF-K Series is particularly practical for the semiconductor industry, especially for measuring probe cards and supporting advanced semiconductor measurement demands. It’s also suitable for measuring high-brightness contrast and transparent samples with unstable light reflection. The system supports wafer-level packaging (WLP) measurements and can measure long dimensions beyond the field of view.
Nikon’s VMF-K Series has an improved scanning speed for height measurement, achieving a throughput improvement of approximately 1.5 times compared to other models. In addition, a high-magnification 45x objective lens has been added to the lineup to meet the need for measuring finer dimensions.
Key features include improved measurement throughput, a confocal light source changed from xenon to LED for a longer lifespan (3,000 hours to 30,000 hours), a standardised 45x model lineup for advanced semiconductor measurements, compliance with SEMI S2/S8 standards, improved maintainability, and a new exterior design. The system combines 2D measurement using bright-field images with simultaneous height measurement using a confocal optical system.
Nikon’s NEXIV VMF-K Series uses a confocal optical system that allows stable measurement of samples with high brightness contrast and transparent samples with unstable light reflection. It enables precise and stable measurement of long dimensions beyond the field of view. The system maintains the primary performance of the VMZ-K Series while offering these improvements.
Nikon’s NEXIV VMF-K Series offers several usability improvements. One person can remove the headcover, whereas the VMZ-K Series requires two people. It’s equipped with an LED on the front of the measurement head to display the machine’s status. The system is also compatible with floor anchors from the VMZ-S Series for installation stability. Additionally, it includes a function to convert the calliper size of teaching files created with VMZ-K to match the camera’s pixel count in VMF-K, ensuring upward compatibility.
| VMF-K3040 / VMF-K6555 | |||||||
| Measuring head | Standard head (Type-S) | High-magnification head (Type-H) | 45× High-magnification head | ||||
| Optical magnification | Magnification | 1.5× | 3.0× | 7.5× | 15× | 30× | 45× |
| Working distance | 24 mm | 24 mm | 5 mm | 20 mm | 5 mm | 5 mm | |
| Confocal optics (height measurement) | Maximum scan height | 1 mm | |||||
| Field of view | 7.80×5.82 mm | 3.90×2.91 mm | 1.56×1.17 mm | 0.78×0.58 mm | 0.39×0.29 mm | 0.26×0.19 mm |
|
| Height measurement repeatability (2σ) | 0.6 μm | 0.35 μm | 0.25 μm | 0.25 μm | 0.2 μm | 0.2 μm | |
| Height resolution | 0.025 μm | 0.01 μm | |||||
| Light source | Green LED | ||||||
| Bright Field Optics (two-dimensional measurement) | Magnification method | Motorised 5-step zoom | |||||
| Field of view | 7.81×5.86~ 0.52×0.39 mm | 3.91×2.93~ 0.26×0.20 mm | 1.56×1.17~ 0.10×0.078 mm | 1.27×0.95~ 0.099×0.074 mm | 0.63×0.47~ 0.049×0.037 mm | 0.63×0.47~ 0.049×0.037 mm |
|
| Illumination | Diascopic, coaxial episcopic and ring | Diascopic, coaxial episcopic | |||||
| Light source | White LED | ||||||
| Autofocus | TTL Laser AF, Image AF | ||||||
| Main body | Power source | AC 100V-240V ±10%, 50/60 Hz | |||||
| Power consumption | 5.5A-3A | ||||||
| Safety standard | SEMI S2/S8 compliance *1 | ||||||
| Model | VMF-K3040 | VMF-K6555 | |||||
| Main Body | XYZ strokes | 300×400×150 mm | 650×550×150 mm | ||||
| Accuracy guaranteed loading capacity | 20 kg | 30 kg | |||||
| Maximum permissible error (L: Length in mm) | EUX,MPE EUY,MPE 1.2 + 4L/1000 μm | ||||||
| EUXY,MPE 2.0 + 4L/1000 μm | |||||||
| EUZ,MPE 1 + L/1000 μm | |||||||
| Minimum readout | 0.01 μm | ||||||
| Dimensions (WxDxH) and weight | Main body and table | 1146×1247×1973 mm / approx. 800 kg | 1198×1640×1973 mm / approx. 800 kg | ||||
| Controller | 190×450×440 mm / approx. 14 kg | ||||||
| Recommended installation dimensions (WxD) *2 | 3150×3000 mm | 3200×3300 mm | |||||
| Minimum installation dimensions (WxD) | 2500×1600 mm | 2500×1900 mm | |||||
*1: If installed according to SEMI guidelines, VMF-K will be compliant with SEMI S2/S8.
*2: Includes our recommended maintenance space.
Related Products
NEXIV VMZ-H3030
NEXIV VMZ-S Series
Nikon's NEXIV VMZ-S series of video measuring systems delivers high accuracy, speed and usability for inspection applications down to the micro level.
Speak To Us About This Product
If you would like further details on this product or a more in-depth description, our expert team will provide you with additional information and, if required, arrange an on-site visit.
Talk to us in detail about your project and our experts will advise you on the best inspection system to meet your requirements.
Please fill out the form opposite and we will get in touch with you shortly.
