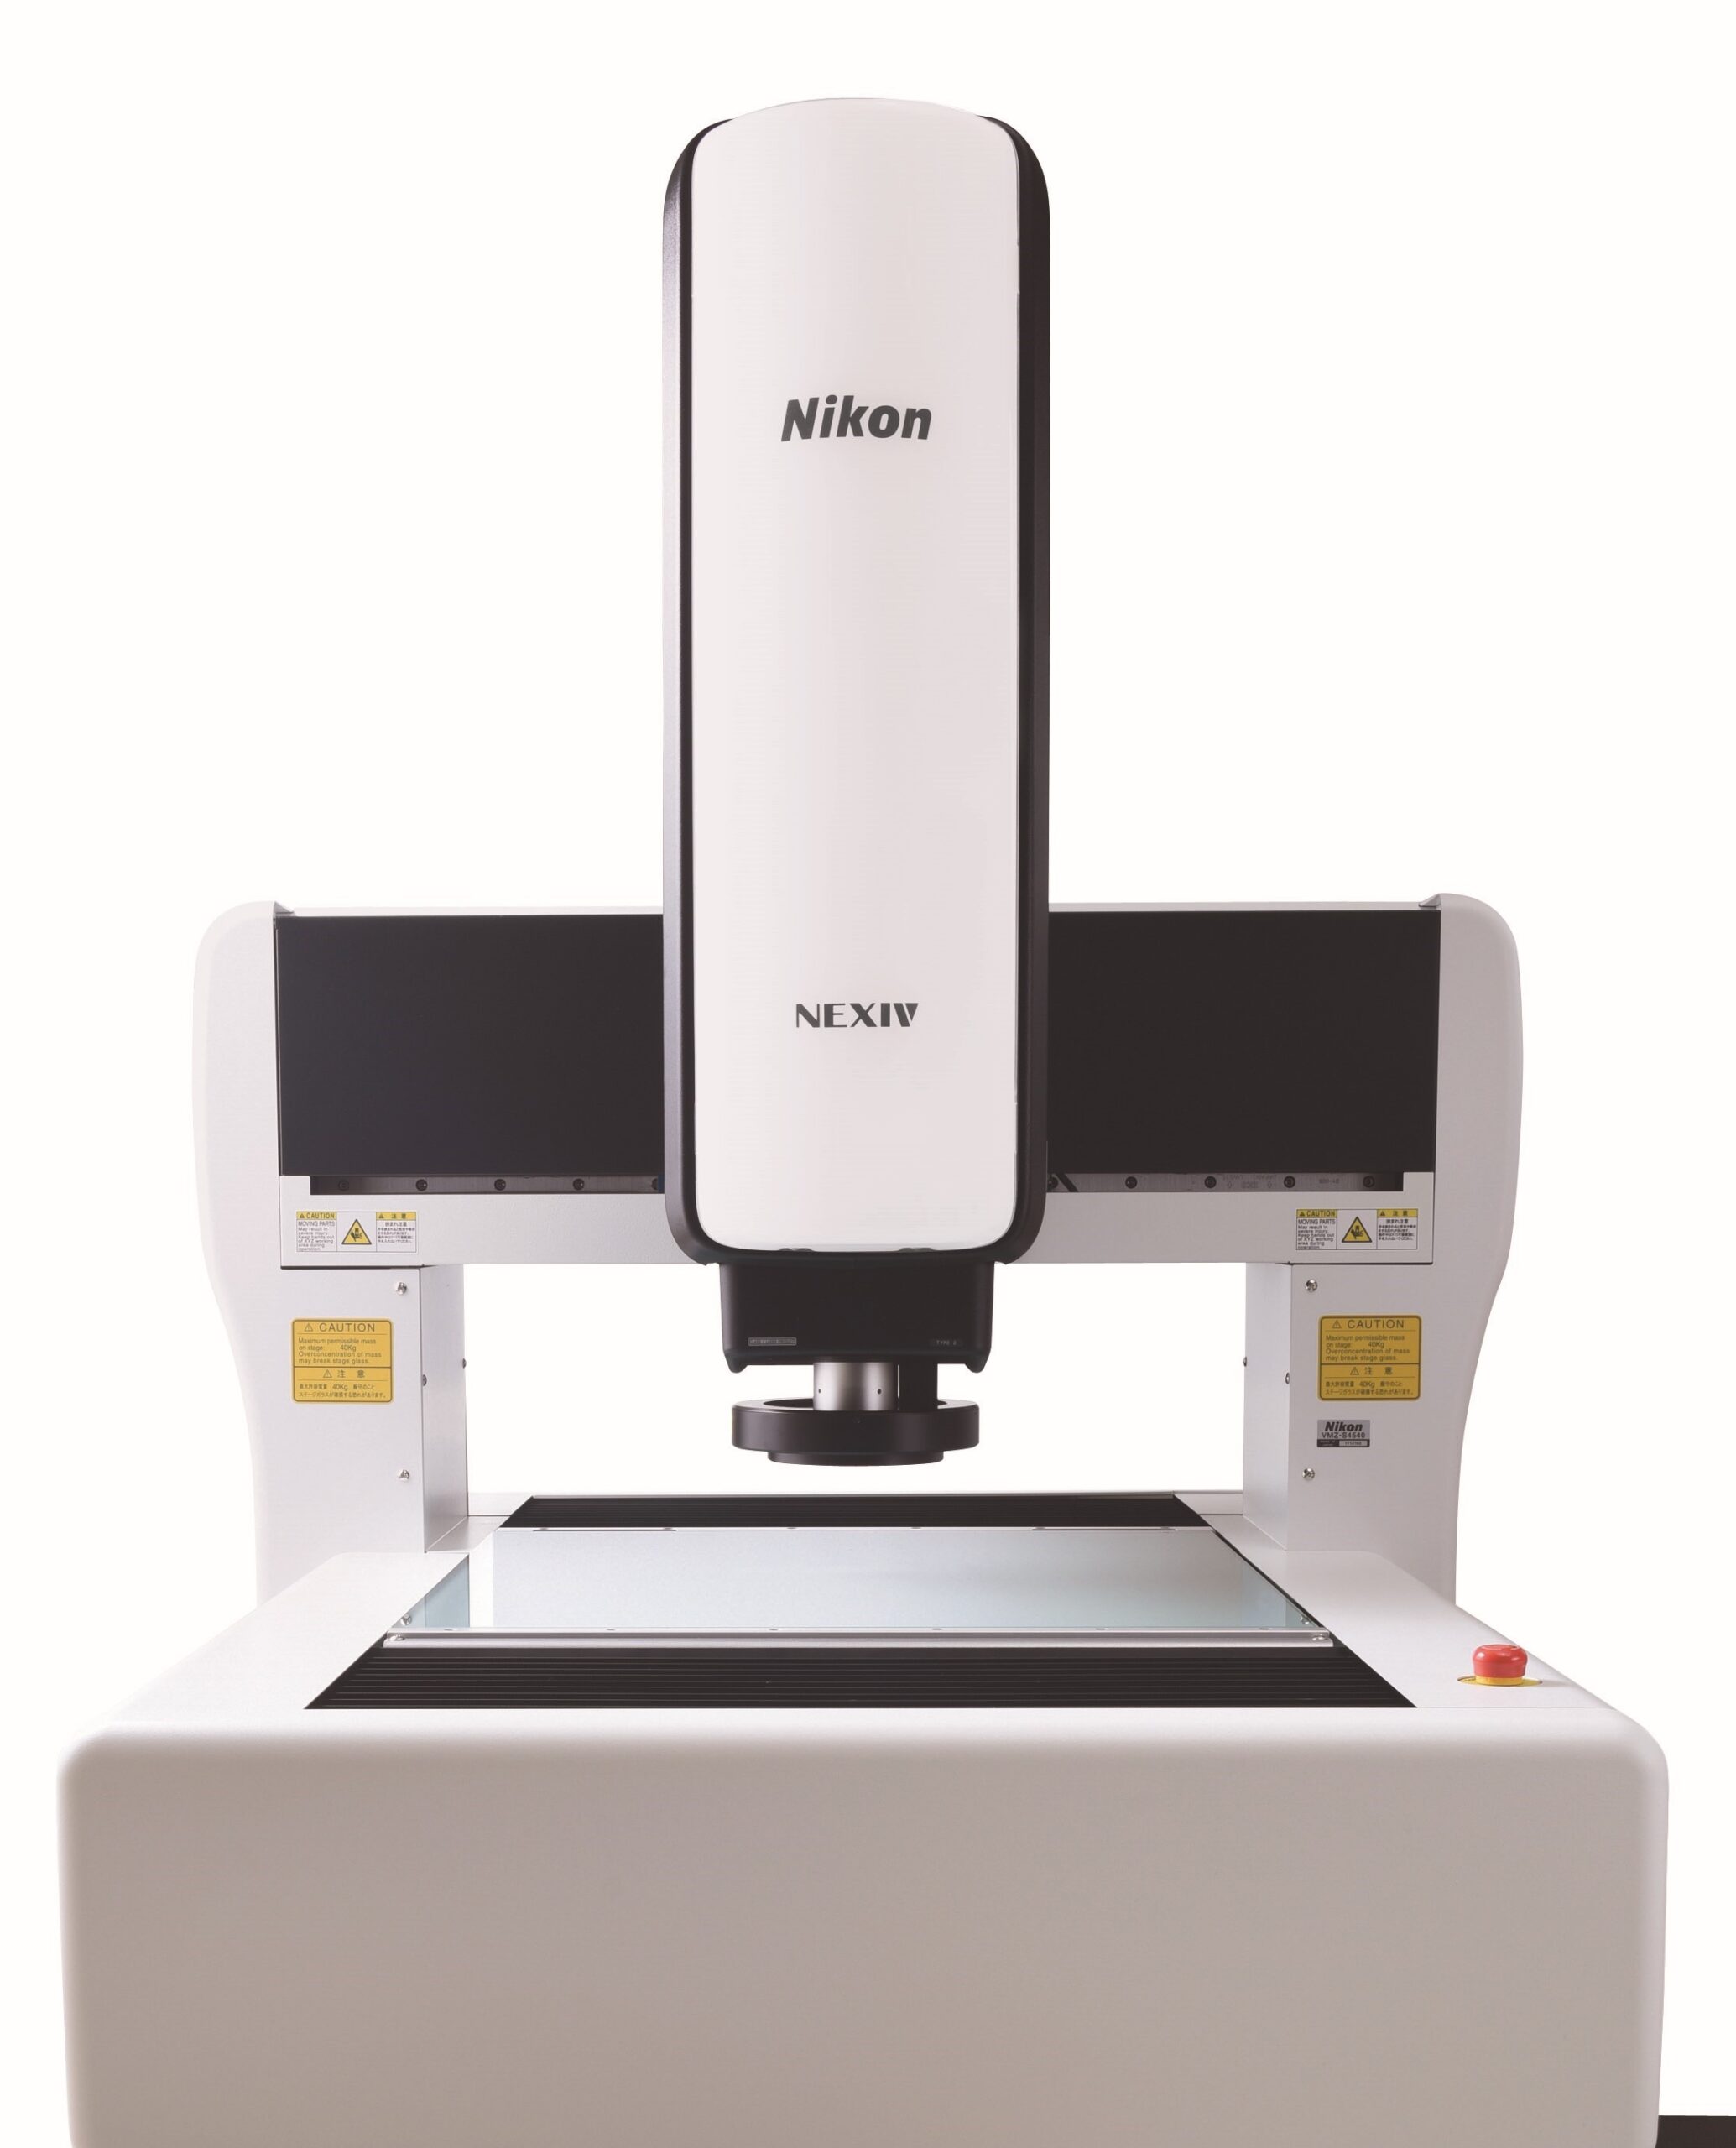
TOKYO – Nikon Corporation (Nikon) is pleased to announce the release of the “NEXIV” CNC Video Measuring System model range, “VMZ-S4540” and “VMZ-S6555” suitable for inline, automated dimensional measurement.
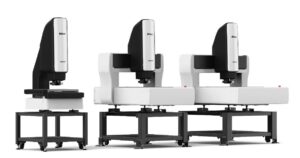 Nikon Metrology’s NEXIV VMZ-S Family
The CNC video measurement system “NEXIV” can automatically measure the dimensions of components using Nikon’s world renowned optical and image processing technology. By analyzing the captured image and detecting feature edges with high speed, both accurately and repeatably, it is possible to quickly measure components with complex features.
With the demand for measuring smaller components with higher performance, and with the increase in the number of electronic components installed for automobiles, there is a need for video measuring systems to measure more components at higher speeds in the automated production line.
The “NEXIV VMZ-S” series has increased throughput, while maintaining and enhancing the performance of the previous model, the “NEXIV VMZ-R” series. In November 2020, Nikon released the first in the lineup of new VMZ-S systems, the “VMZ-S3020″, which is part of the fourth generation of the “NEXIV” series. The “VMZ-S4540” and “VMZ-S6555” now join this lineup, and are suitable for medium and large components or for loading multiple components.
Now the full lineup of “NEXIV VMZ-S” series is available, it is possible to select the most suitable machine according to customer’s applications and installation environment. In addition, by utilizing “Remote Control SDK” software (optional), multiple “NEXIV” systems can be integrated into the production line and systems can be operated remotely.
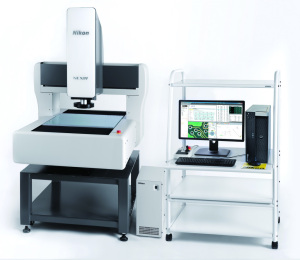 The NEW NEXIV VMZ-S6555 model
Key Features
1. Improvement of Throughput
The NEXIV systems obtains the highest level of measurement accuracy using an exceptional stage equipped with high-precision linear encoders. The “NEXIV VMZ-S” series is capable of capturing and processing images at higher speeds than its predecessor the “NEXIV VMZ-R” series. This has made it possible to reduce the measurement cycle times without any compromise in accuracy or reproducibility.
2. High Quality Images and Accurate Measurement Data
Nikon has designed optical systems to deliver high quality images and accurate measurement data within the field of view. With a movable ring light and an 8-segment illumination, it is possible to capture edges of complex shapes. In addition, a high-speed laser, scanning at 1000 points/sec can acquire the cross-sectional shape over a surface and evaluate the relative heights. This meets the measurement needs across a wide variety of samples.
3. Advanced Usability
The measurement software environment of “AutoMeasure” realizes high accuracy, high speed, and delivers simple measurement functions. A library of valuable tools are available to use in a user-friendly GUI. For simple components, a support function will automate part of the measurement programming process.
The joystick unit used to move the stage and measurement head has also been redesigned for even greater ease of use.
4. Control Multiple “NEXIV” Systems Remotely using “Remote Control SDK”
Up to 10 “NEXIV” systems can be controlled remotely by using “Remote Control SDK” (optional), enabling centralized management and distribution of measurement programs and results in one place. By controlling “NEXIV” and measurement programs from a remote location away from the production line, such as a control room or office, man power can be streamlined productivity improved.
5. Realizing Automatic Loading and Measurement by Integrating “NEXIV” with Automated Carrier System
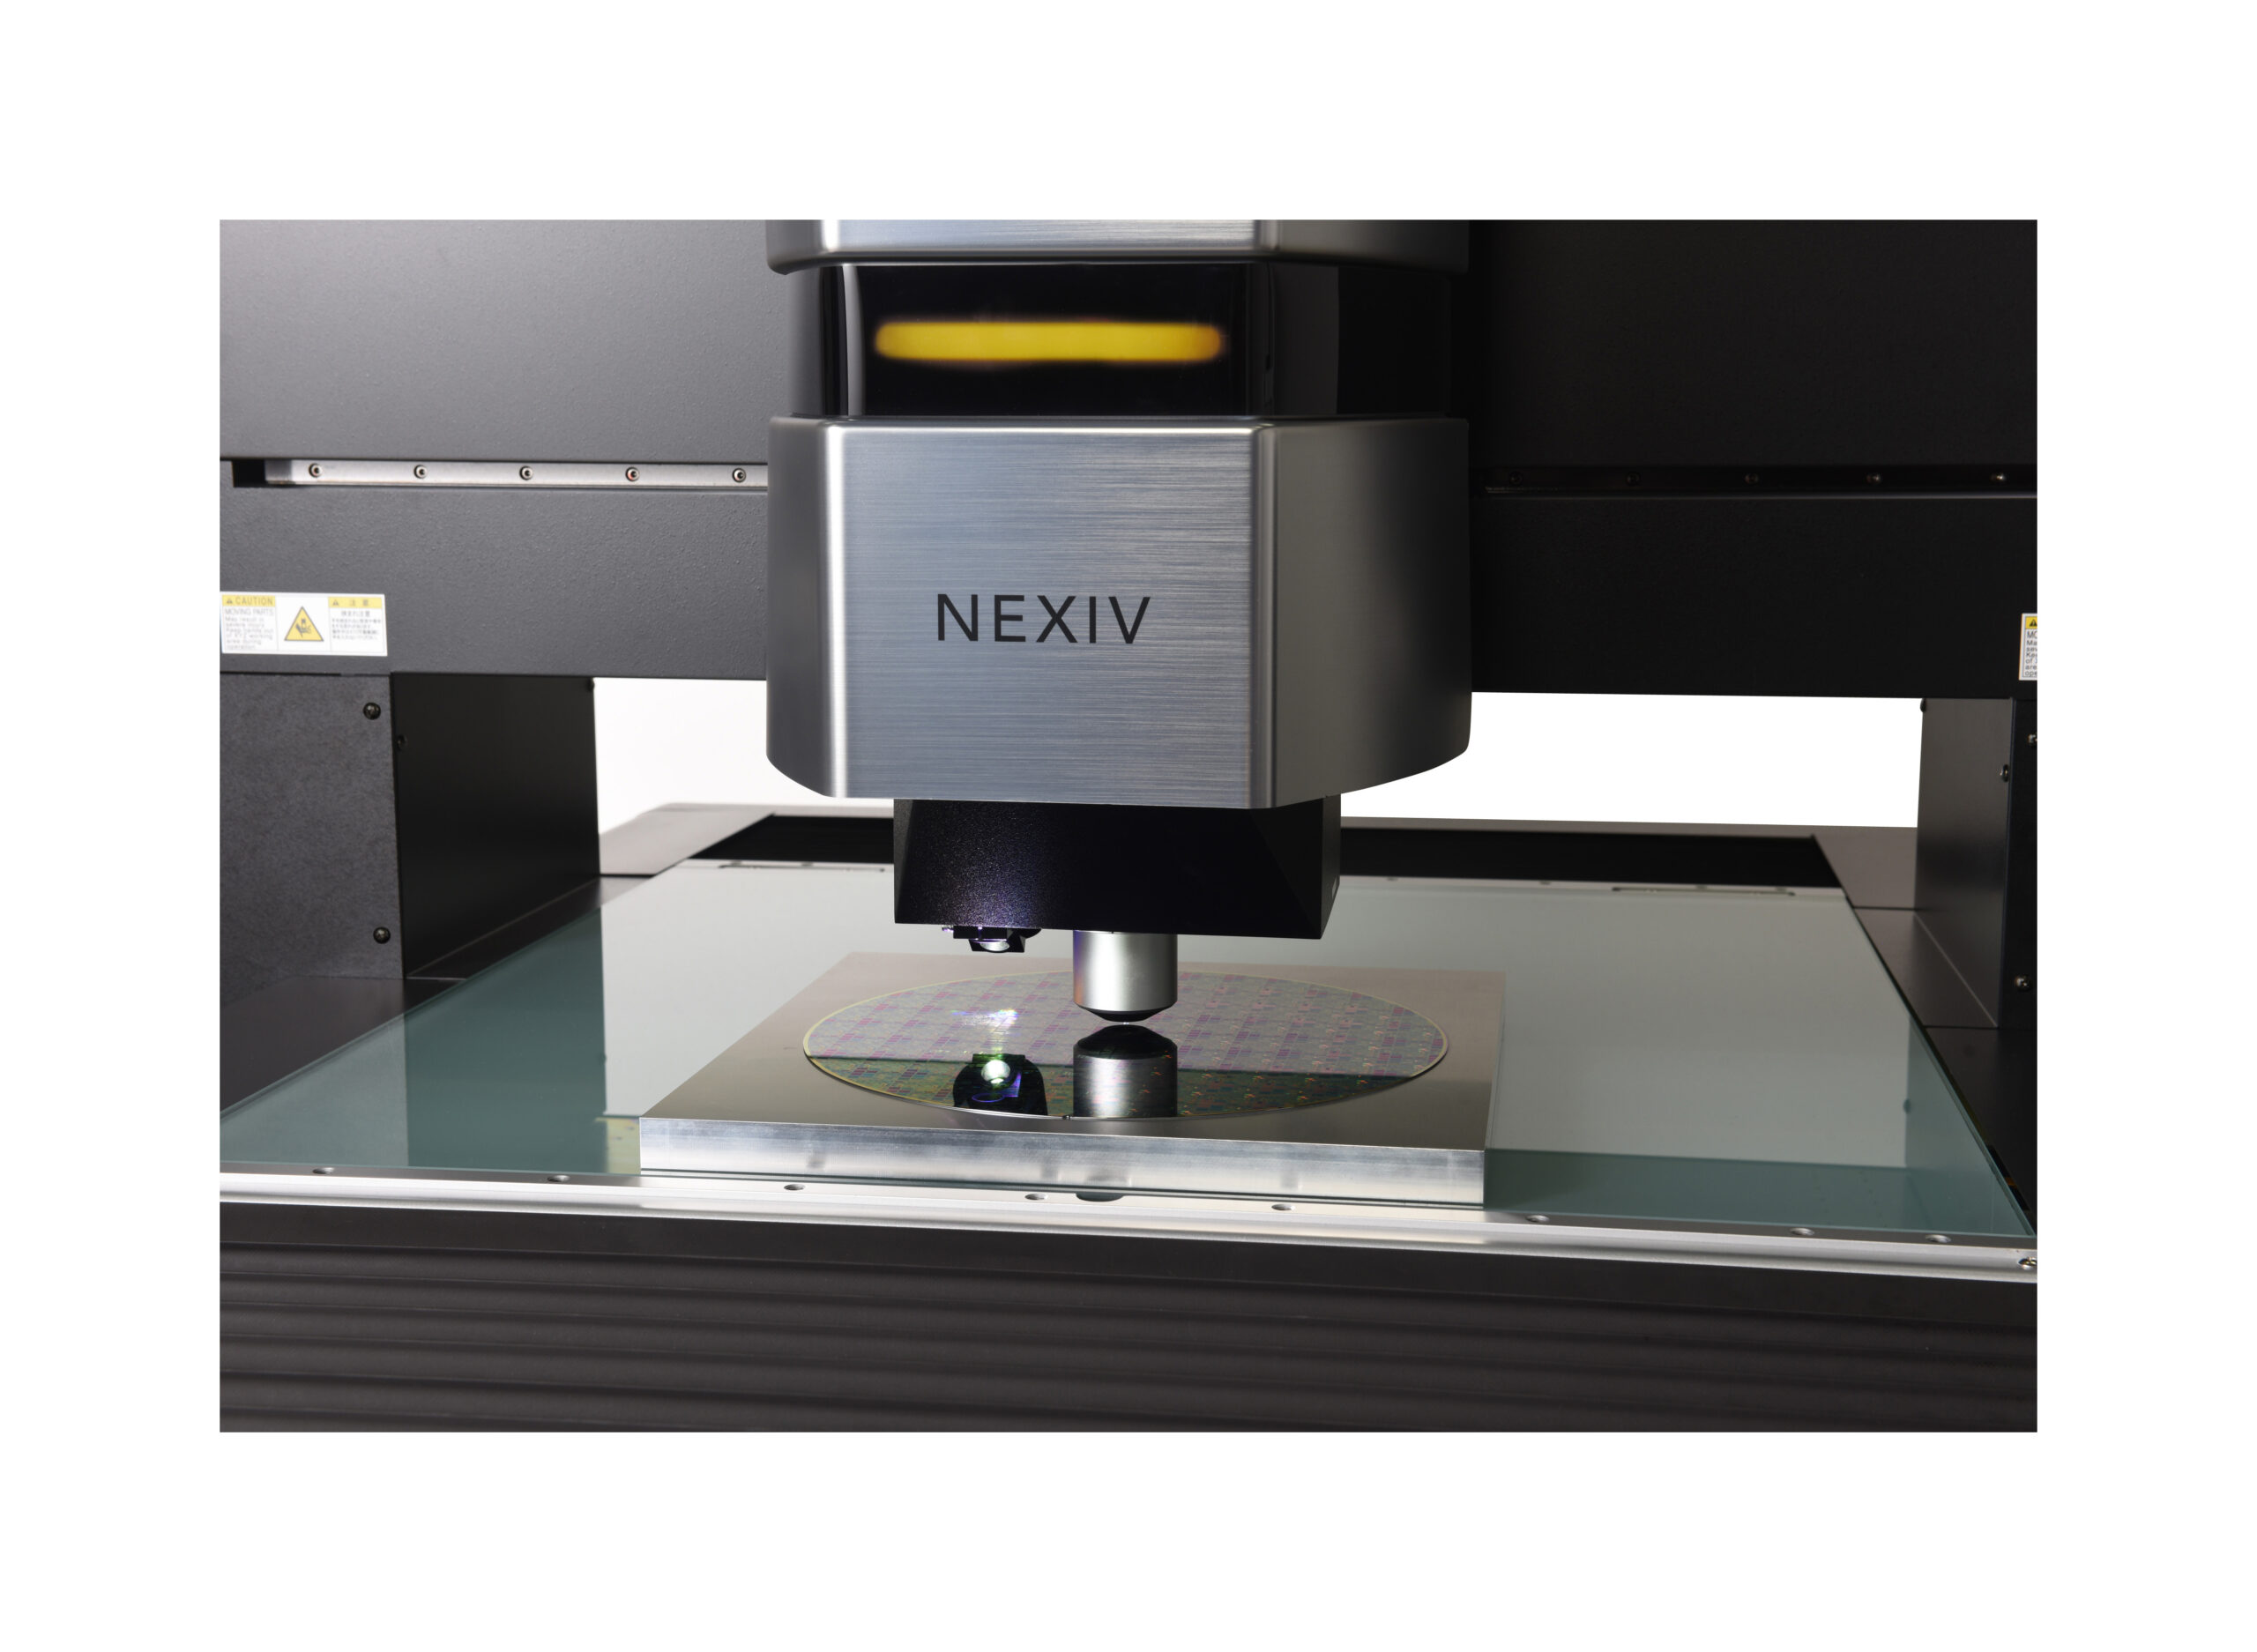
With the increasing demand for full automation of the production line especially within the semiconductor industry, the need for automated measurement solution is also increasing. By combining “NEXIV VMZ-S” series with in-house or 3rdparty automatic wafer loader system, the process of loading wafers and measurement can be automated.
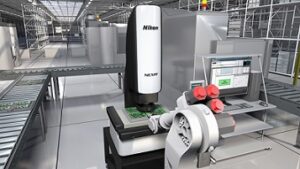
Illustrative example of “NEXIV” operation using “Remote Control SDK”
