New features optimize the illumination automatically and guide the user through the programming sequence
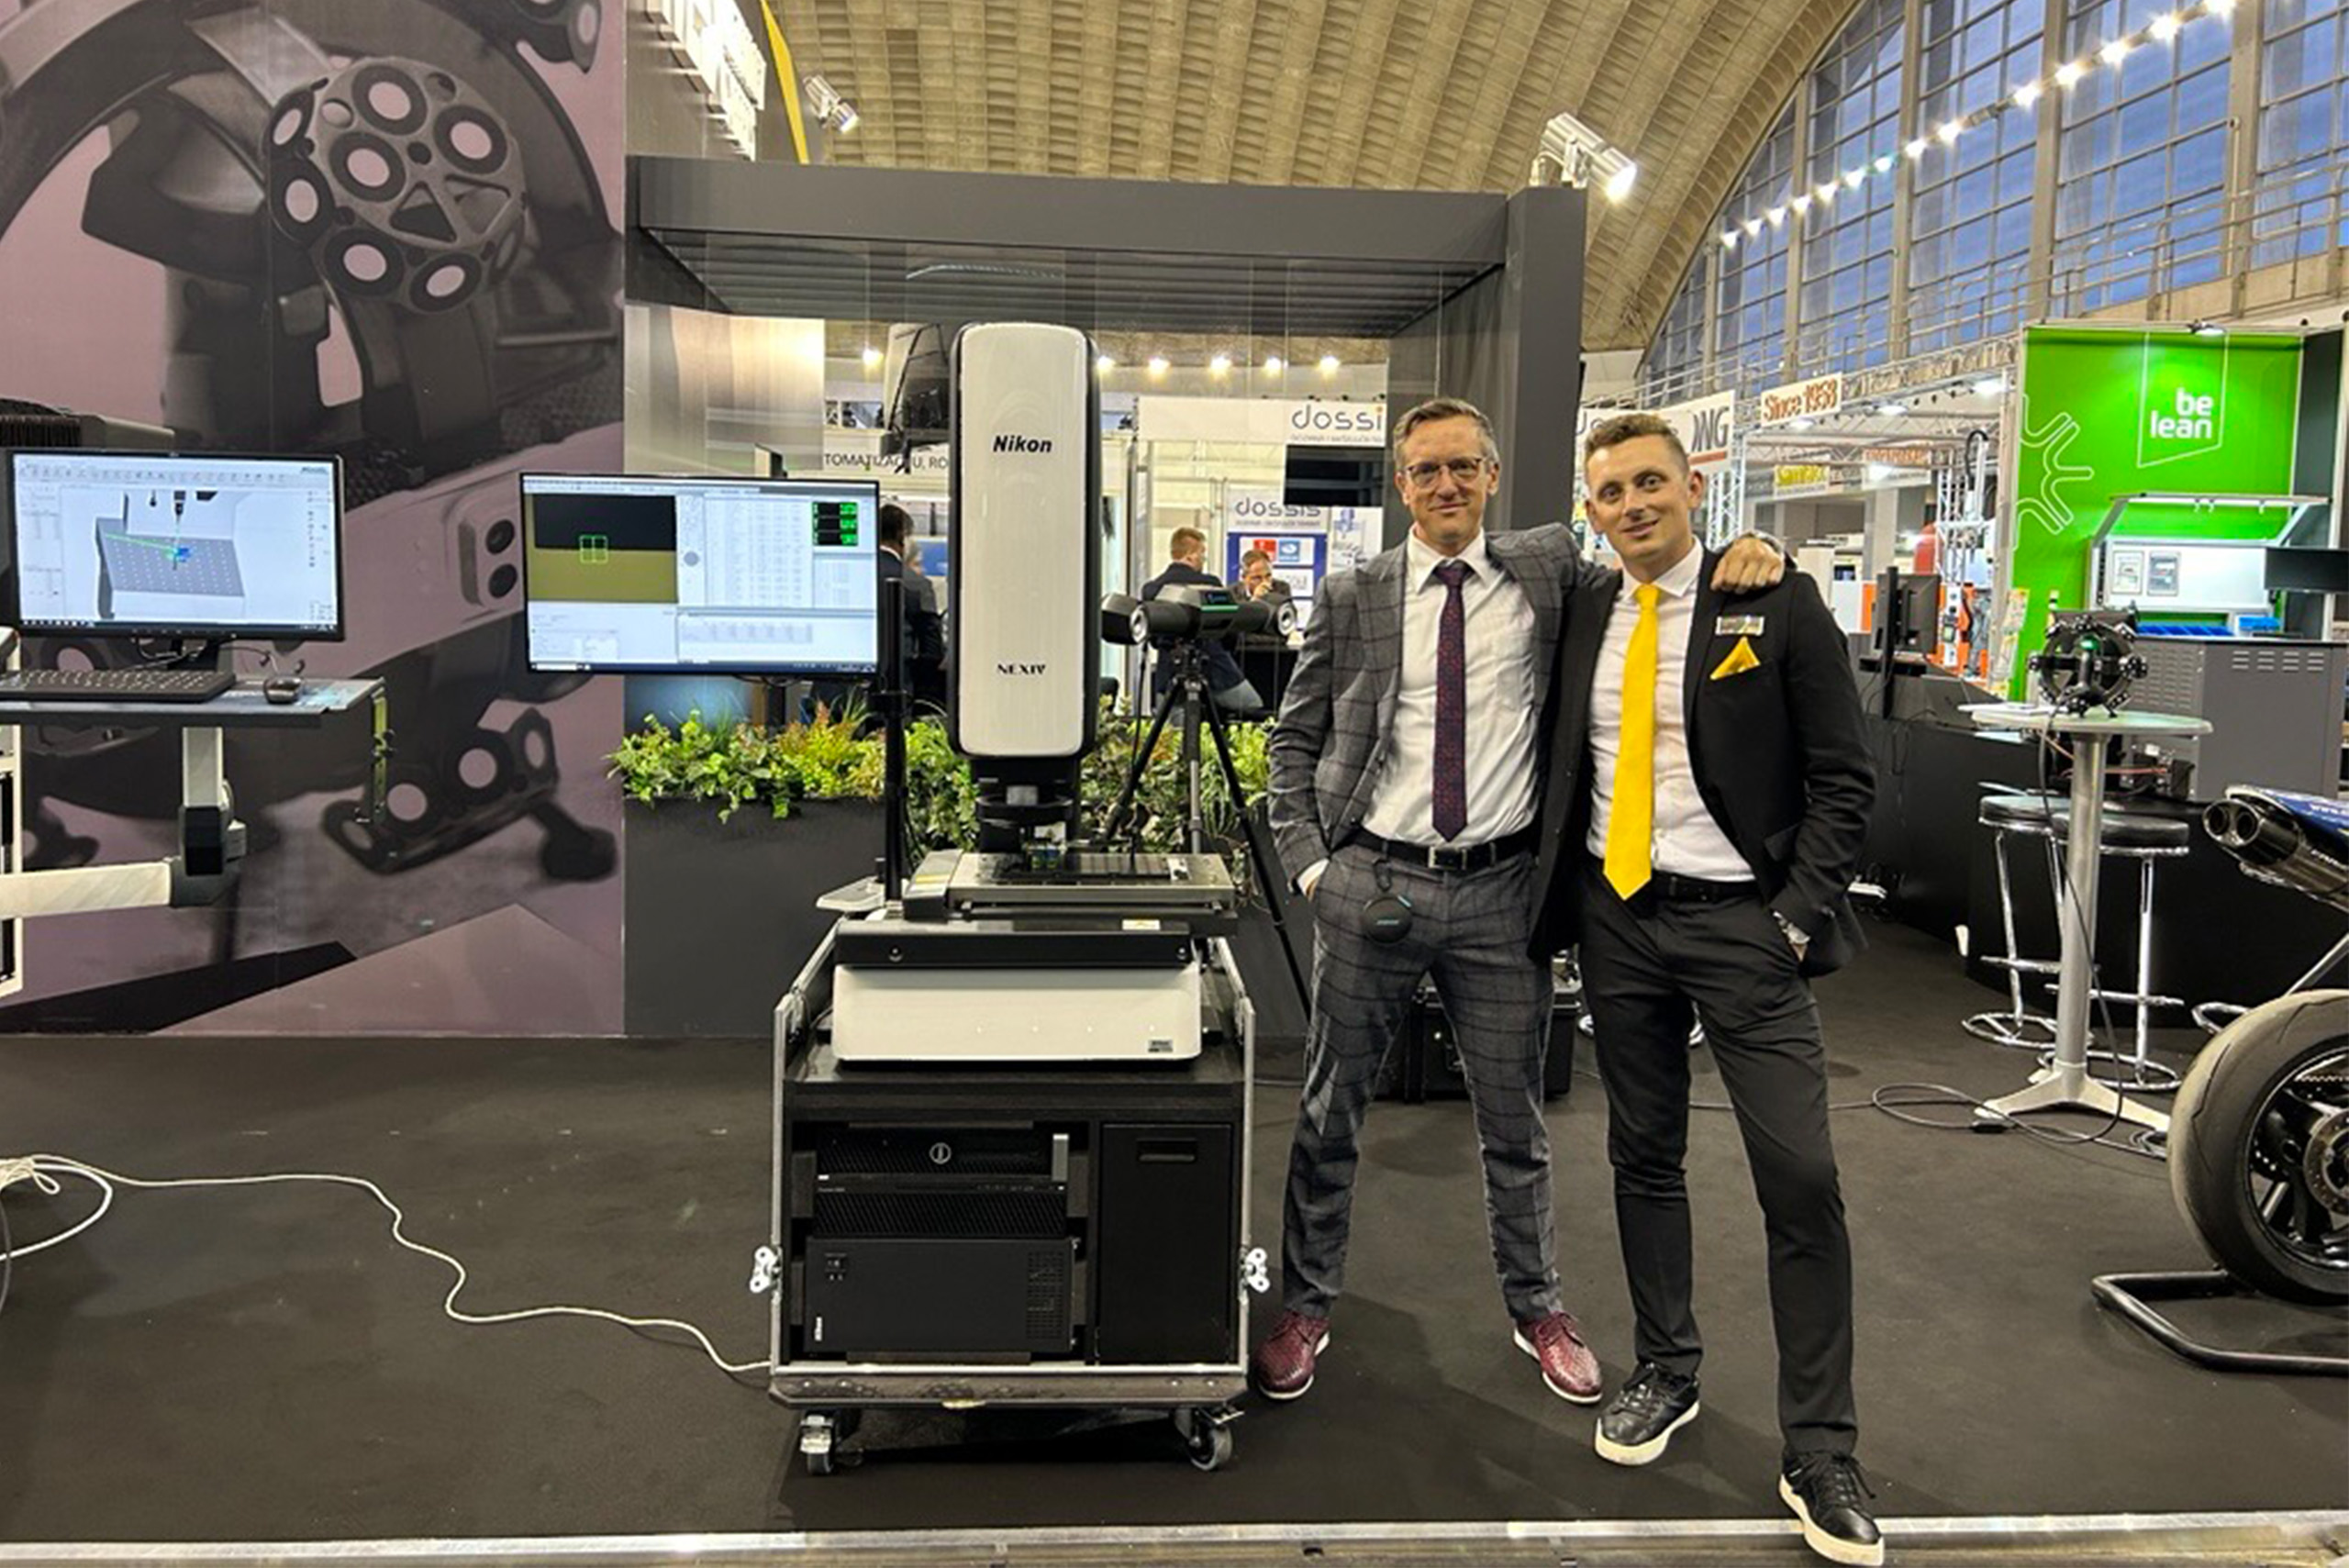
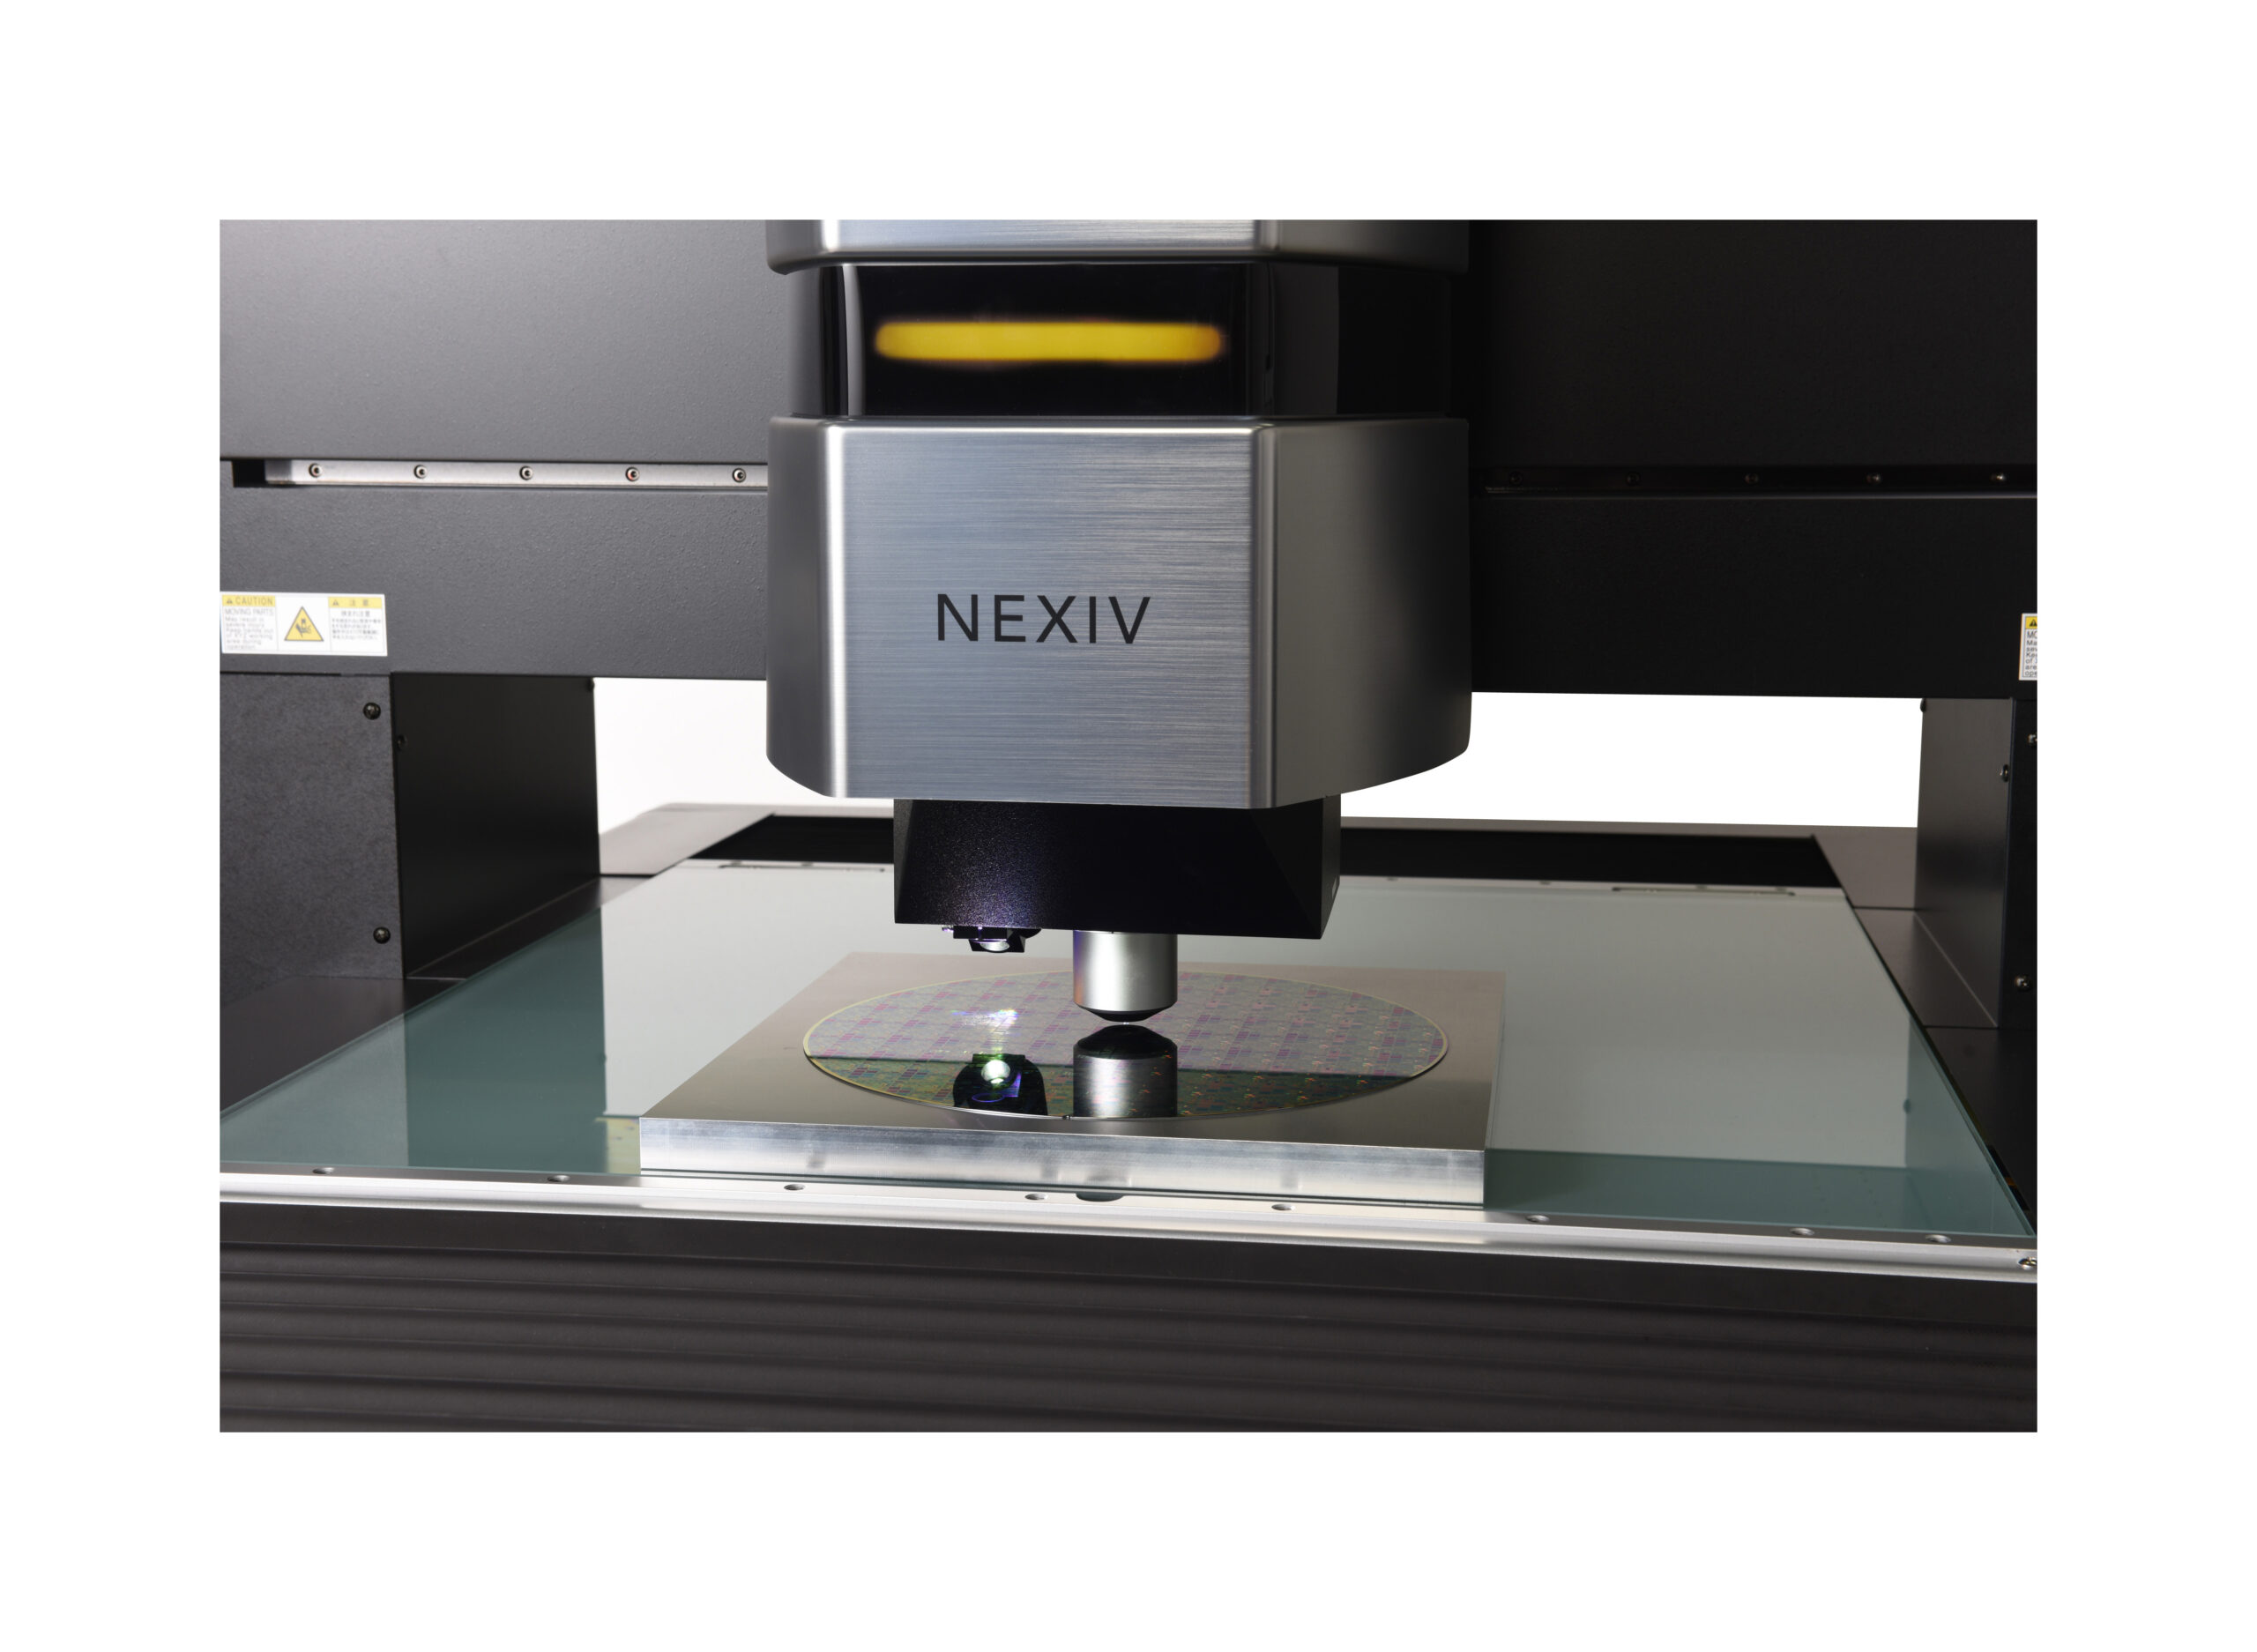
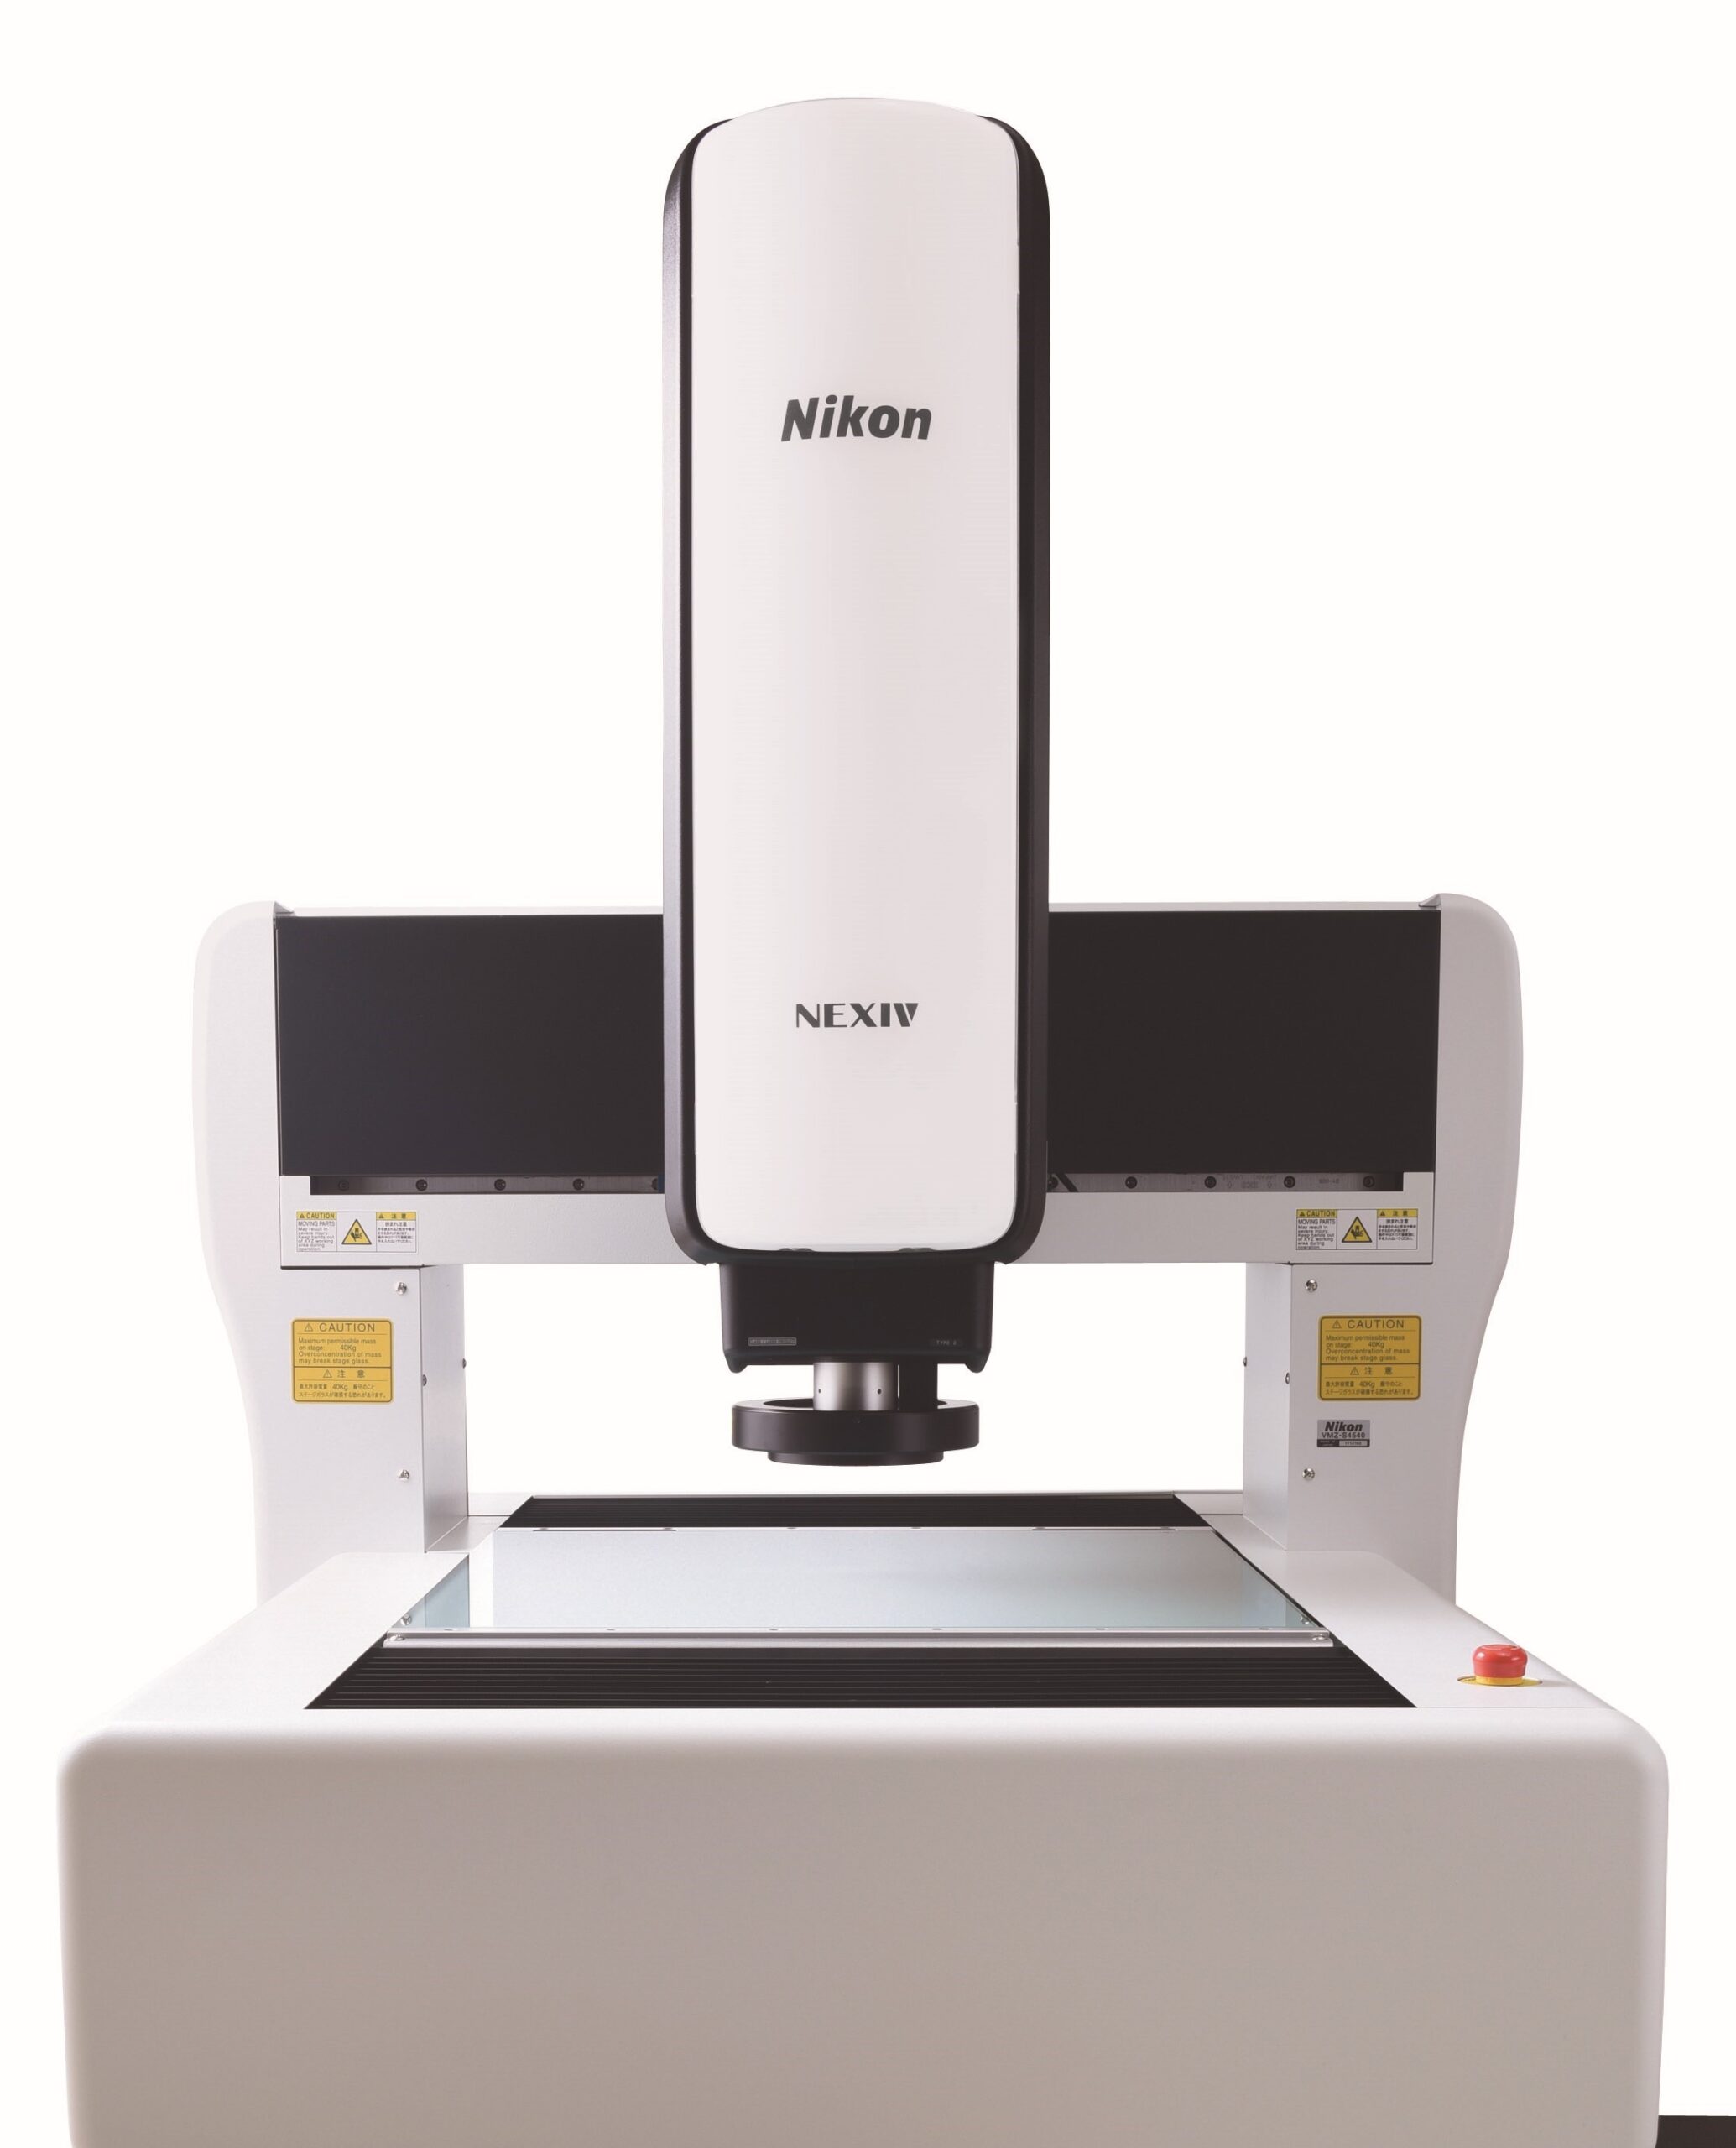
Operators of Nikon Metrology’s NEXIV range of video (optical image) measuring machines have for many years been able to harness the power of the manufacturer’s AutoMeasure programming and reporting software, which includes the ability to compare inspection results automatically against CAD models.
In the latest version of the software, AutoMeasure version 13, two features have been added that allow even novice operators to extract the best performance from the systems. They reduce operational costs and raise productivity, leading to competitive advantage for a manufacturing company or inspection bureau.
First, for the CNC video measuring system to recognise the shape of the target under investigation correctly, it is necessary to set appropriate illumination conditions. Optimum illumination depends on selecting a combination of multiple lighting mechanisms, requiring a high level of skill. In AutoMeasure version 13, the appropriate lighting conditions for the target shape are set automatically. It avoids the time-consuming process of trying to optimise them and delivers uniform, stable, repeatable measurement and data acquisition for quality control, whether on the shop floor or in an inspection room.
Second, since many steps are required in the preparation of measurement programs and there is considerable flexibility in the method an operator can adopt to create an inspection cycle, variability often arises especially for novice operators, sometimes it may not be clear how to proceed at all. The latest version of AutoMeasure has a navigation function that guides the operator through to completion of the inspection program in an easy-to-understand, interactive manner by showing the necessary operation at each step of the way. Not only is the process standardised and simplified, but programming time is also significantly reduced.
