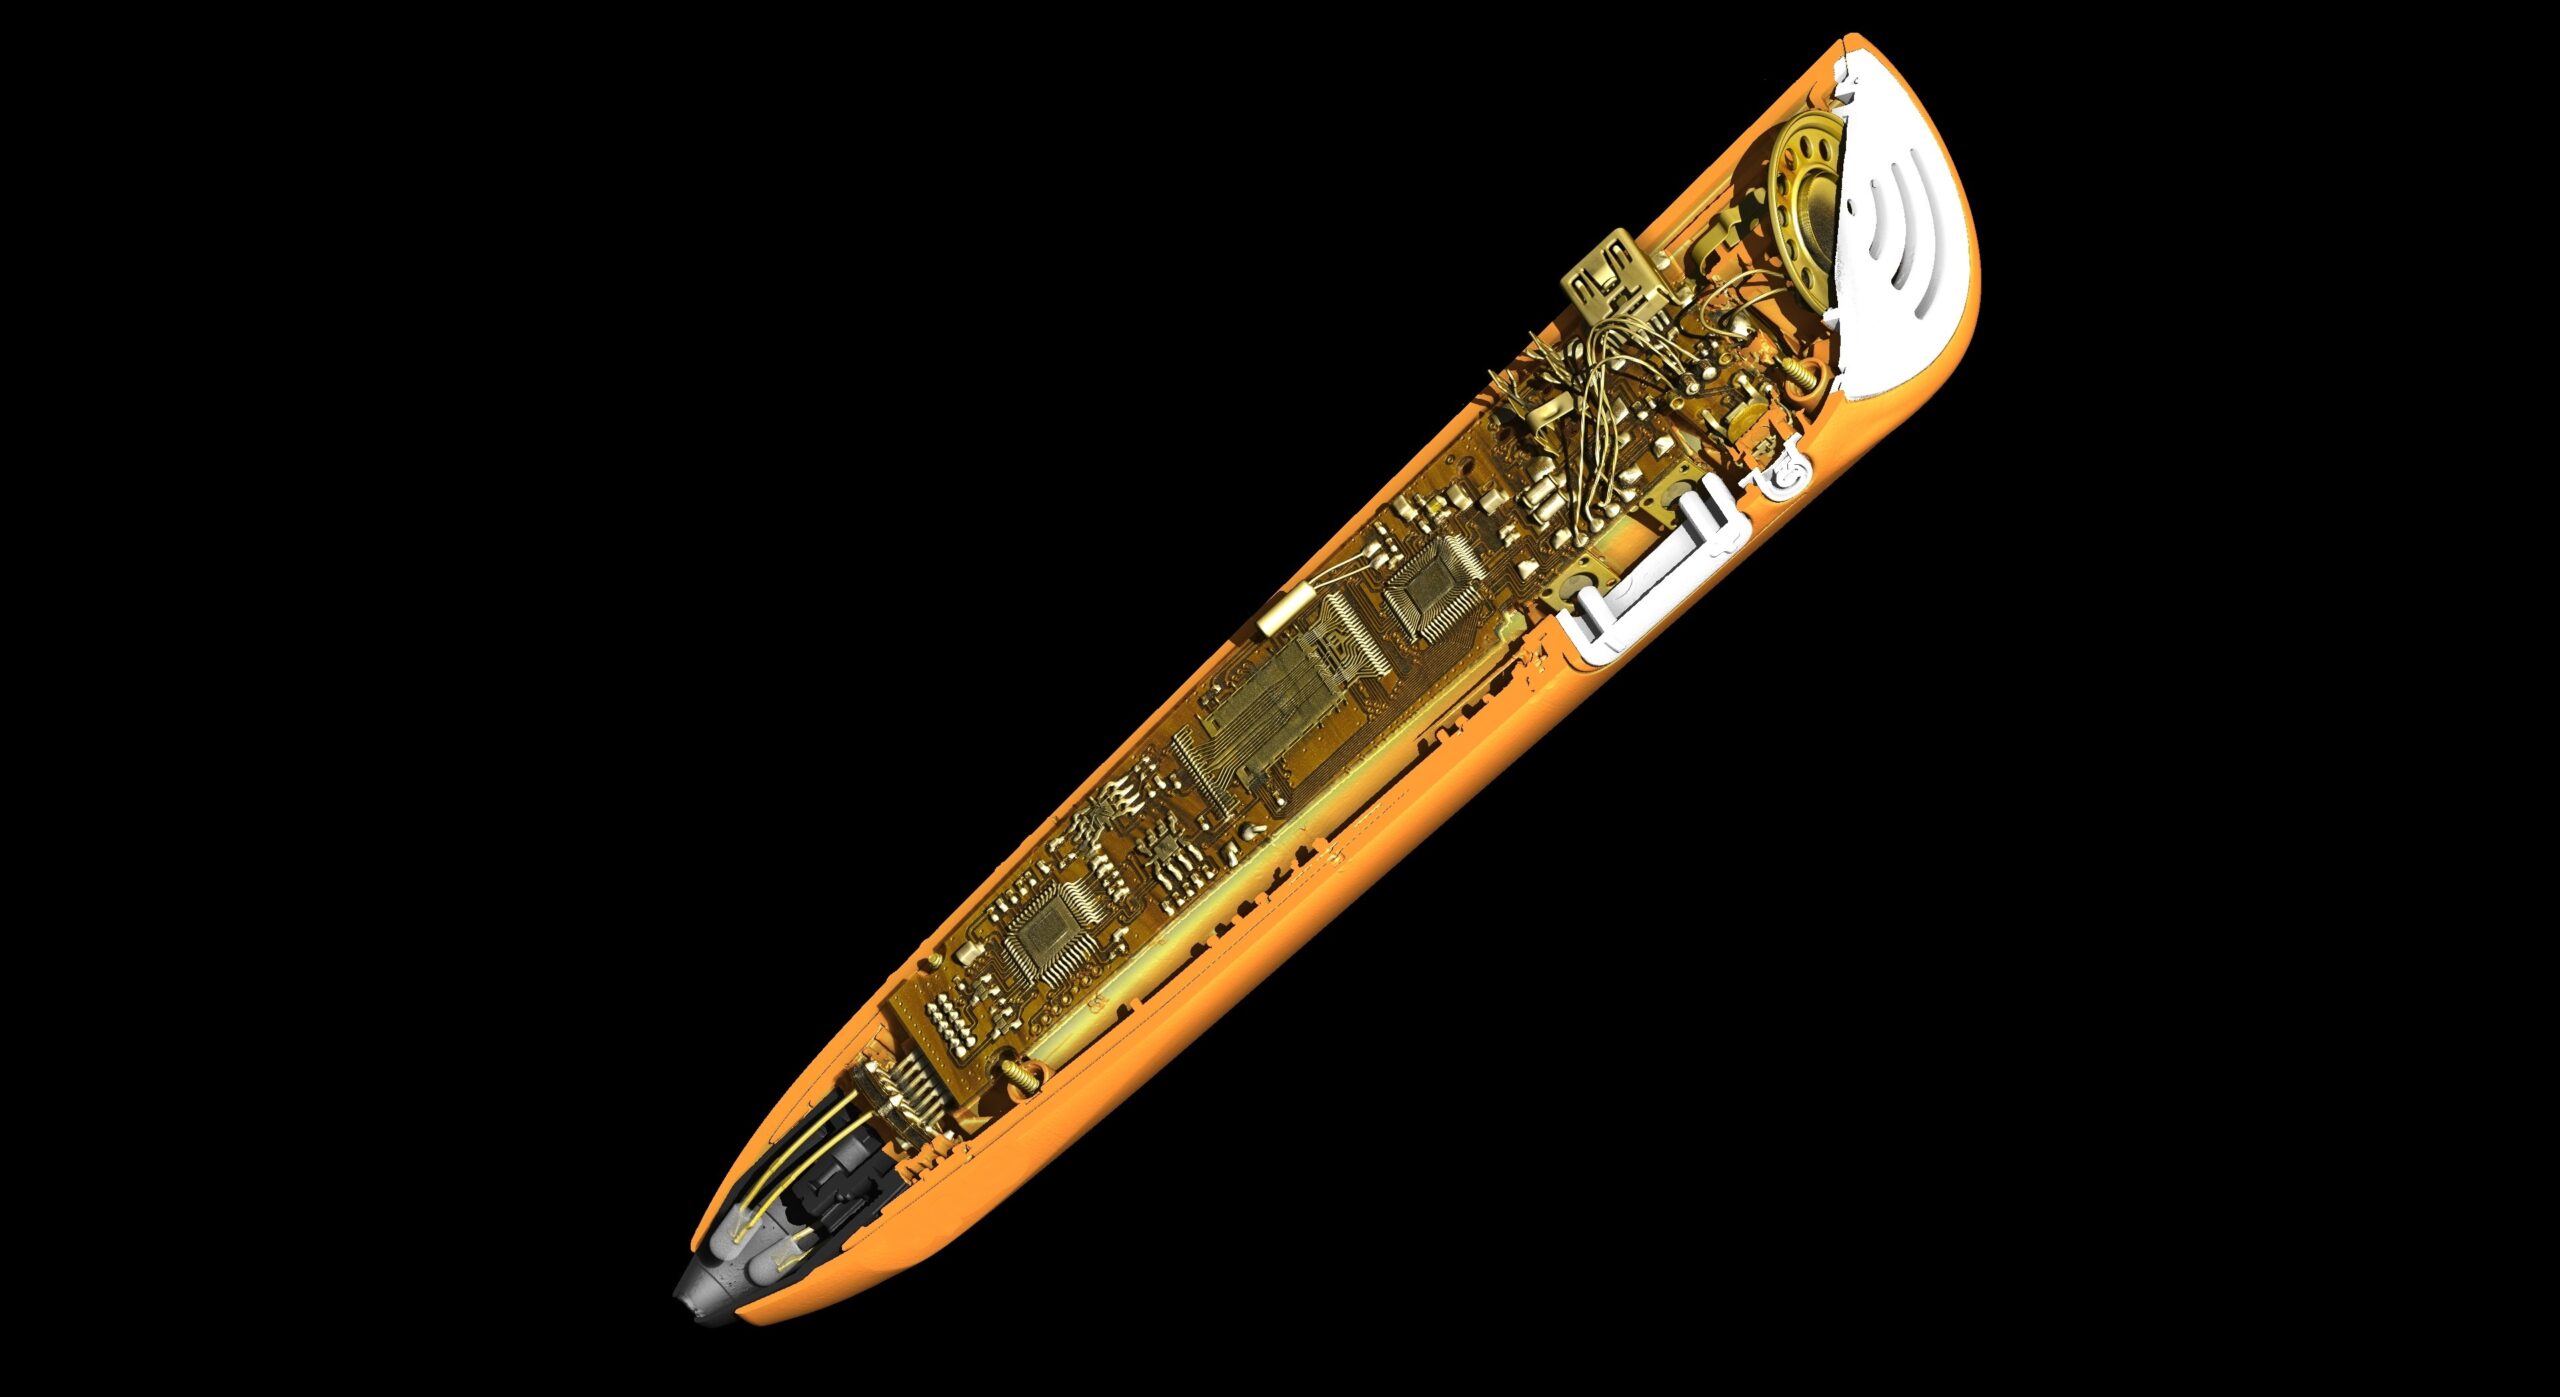
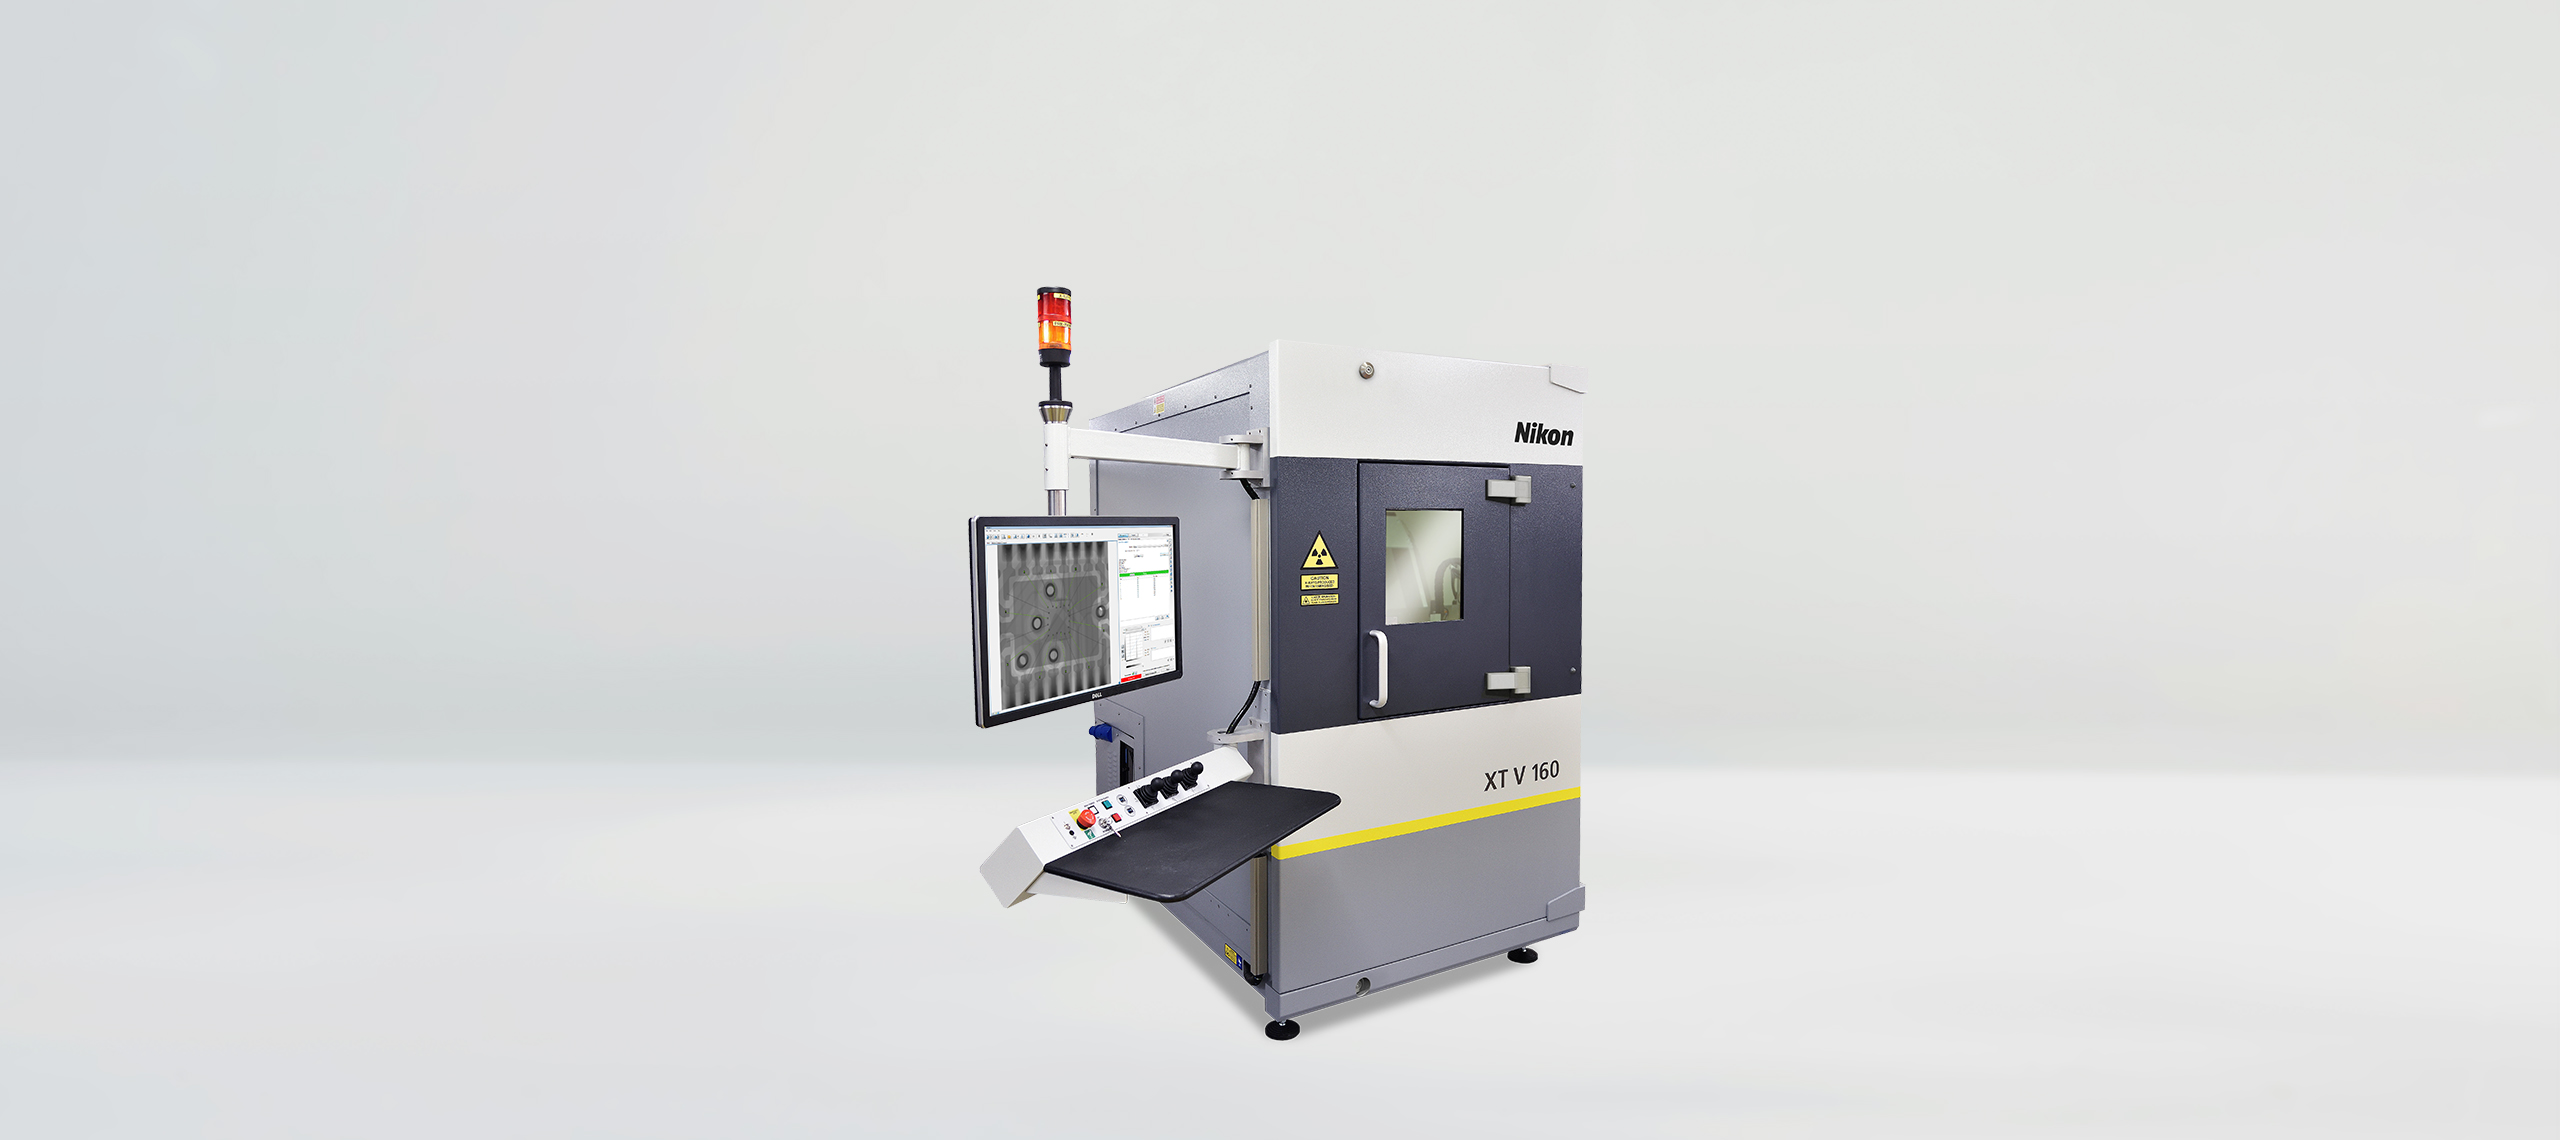
Nikon Metrology’s industrial microfocus X-ray CT inspection solutions now enhanced with a new offset CT reconstruction algorithm to deliver unrivalled scan speed and image resolution.
When using X-ray CT (computed tomography) for non-destructive quality control of larger components like aluminium castings or battery modules for electrical vehicles, the challenge is to shorten inspection cycle times without compromising resolution. One prerequisite for achieving this is high X-ray intensity, or flux.
In Nikon Metrology’s range of X-ray CT systems, a rotating target can already triple the flux for a given focal spot size and the flux can be further increased by motorised FID (focal spot to imager distance), which brings the detector closer to the source at the push of a button.
With the release of a new offset CT reconstruction algorithm in the latest version of the manufacturer’s Inspect-X software, not only can larger components be scanned but it can also be performed at higher geometric magnification. The Offset.CT module is available on all Nikon Metrology X-ray CT systems from 180kV through to 450kV.
With this unique combination of the latest Rotating.Target 2.0, adjustable FID and Offset.CT, which cannot be found in any competitive industrial CT system, cycle times are significantly reduced and better resolution is achieved, even when processing large and complex components.
Offset.CT scanning improves resolution when imaging small or large parts
Offset.CT is a scanning method that allows small or large components to be inspected fully while only part of the sample is within the field of view (FOV) during rotation. The component is placed such that only just over half of the object lies within the X-ray cone beam, allowing a much wider FOV and reconstruction volume.
Compared with traditional CT, this has two main benefits for component inspection. First, larger components, even those wider than the detector itself, can be scanned without having to use a larger CT machine. Secondly, it allows the component to be placed much closer to the X-ray source, allowing higher magnification and therefore significantly increased voxel resolution. Consequently, a broader range of sample sizes can be scanned at high resolution.
It is therefore easier to perform a wide range of critical inspection tasks including identification of small internal defects, measuring features in the interior of complex components, or detecting deviations from a nominal CAD model, even when dealing with large components.
Advantages of source to detector distance adjustment
Adjustable FID is a standard feature in Nikon Metrology 225kV XT H systems and Large Envelope CT systems up to 450kV. The benefit of shortening the distance between the source and the detector using motorised FID functionality is that the X-ray flux is increased. It serves to improve the signal-to-noise (SNR) ratio and the image quality of digital radiographs and 3D voxel data, in addition to allowing increased scanning speed.
Rotating the target trebles the power
Nikon Metrology’s proprietary Rotating.Target 2.0 is able to generate X-rays that are three times more powerful for a given microfocus spot size, without reducing image resolution. Scan times are consequently shorter and/or denser samples can be penetrated. Rotating.Target 2.0 features a maximum voltage of 225kV and a maximum power of 450W, but for larger and denser components a microfocus 450kV rotating target X-ray source is available. Both versions of the X-ray source are unique to Nikon Metrology and provide unrivalled resolution for complex component inspection.
Conclusion
The combination of the three features, Rotating.Target 2.0, motorised adjustable FID and Offset.CT, which is not offered by any other supplier, makes it possible for a user to find the perfect balance between scan speed and resolution when implementing X-ray CT for quality control in automotive plants and their supply chains, as well as in other manufacturing industries.
Bigger parts having complex geometry, such as castings and additively manufactured components, some of which have become much larger in recent years, benefit in particular from industrial X-ray CT solutions from Nikon Metrology. Inspection of battery modules for electric vehicles, in which individual battery cells requiring high resolution imaging are encapsulated in a larger protective unit, is a particularly good fit for the inspection technique.
The 3D data acquired by these CT systems can help save costs, reduce scrap and decrease failure rates throughout the lifecycle of a product. This applies in the product development phase as well as the pre-series phase, where parts are scanned to optimise production parameters. Moreover, the solutions are able to deliver these benefits at scale, supporting series inspection in the production environment for improved process control.
