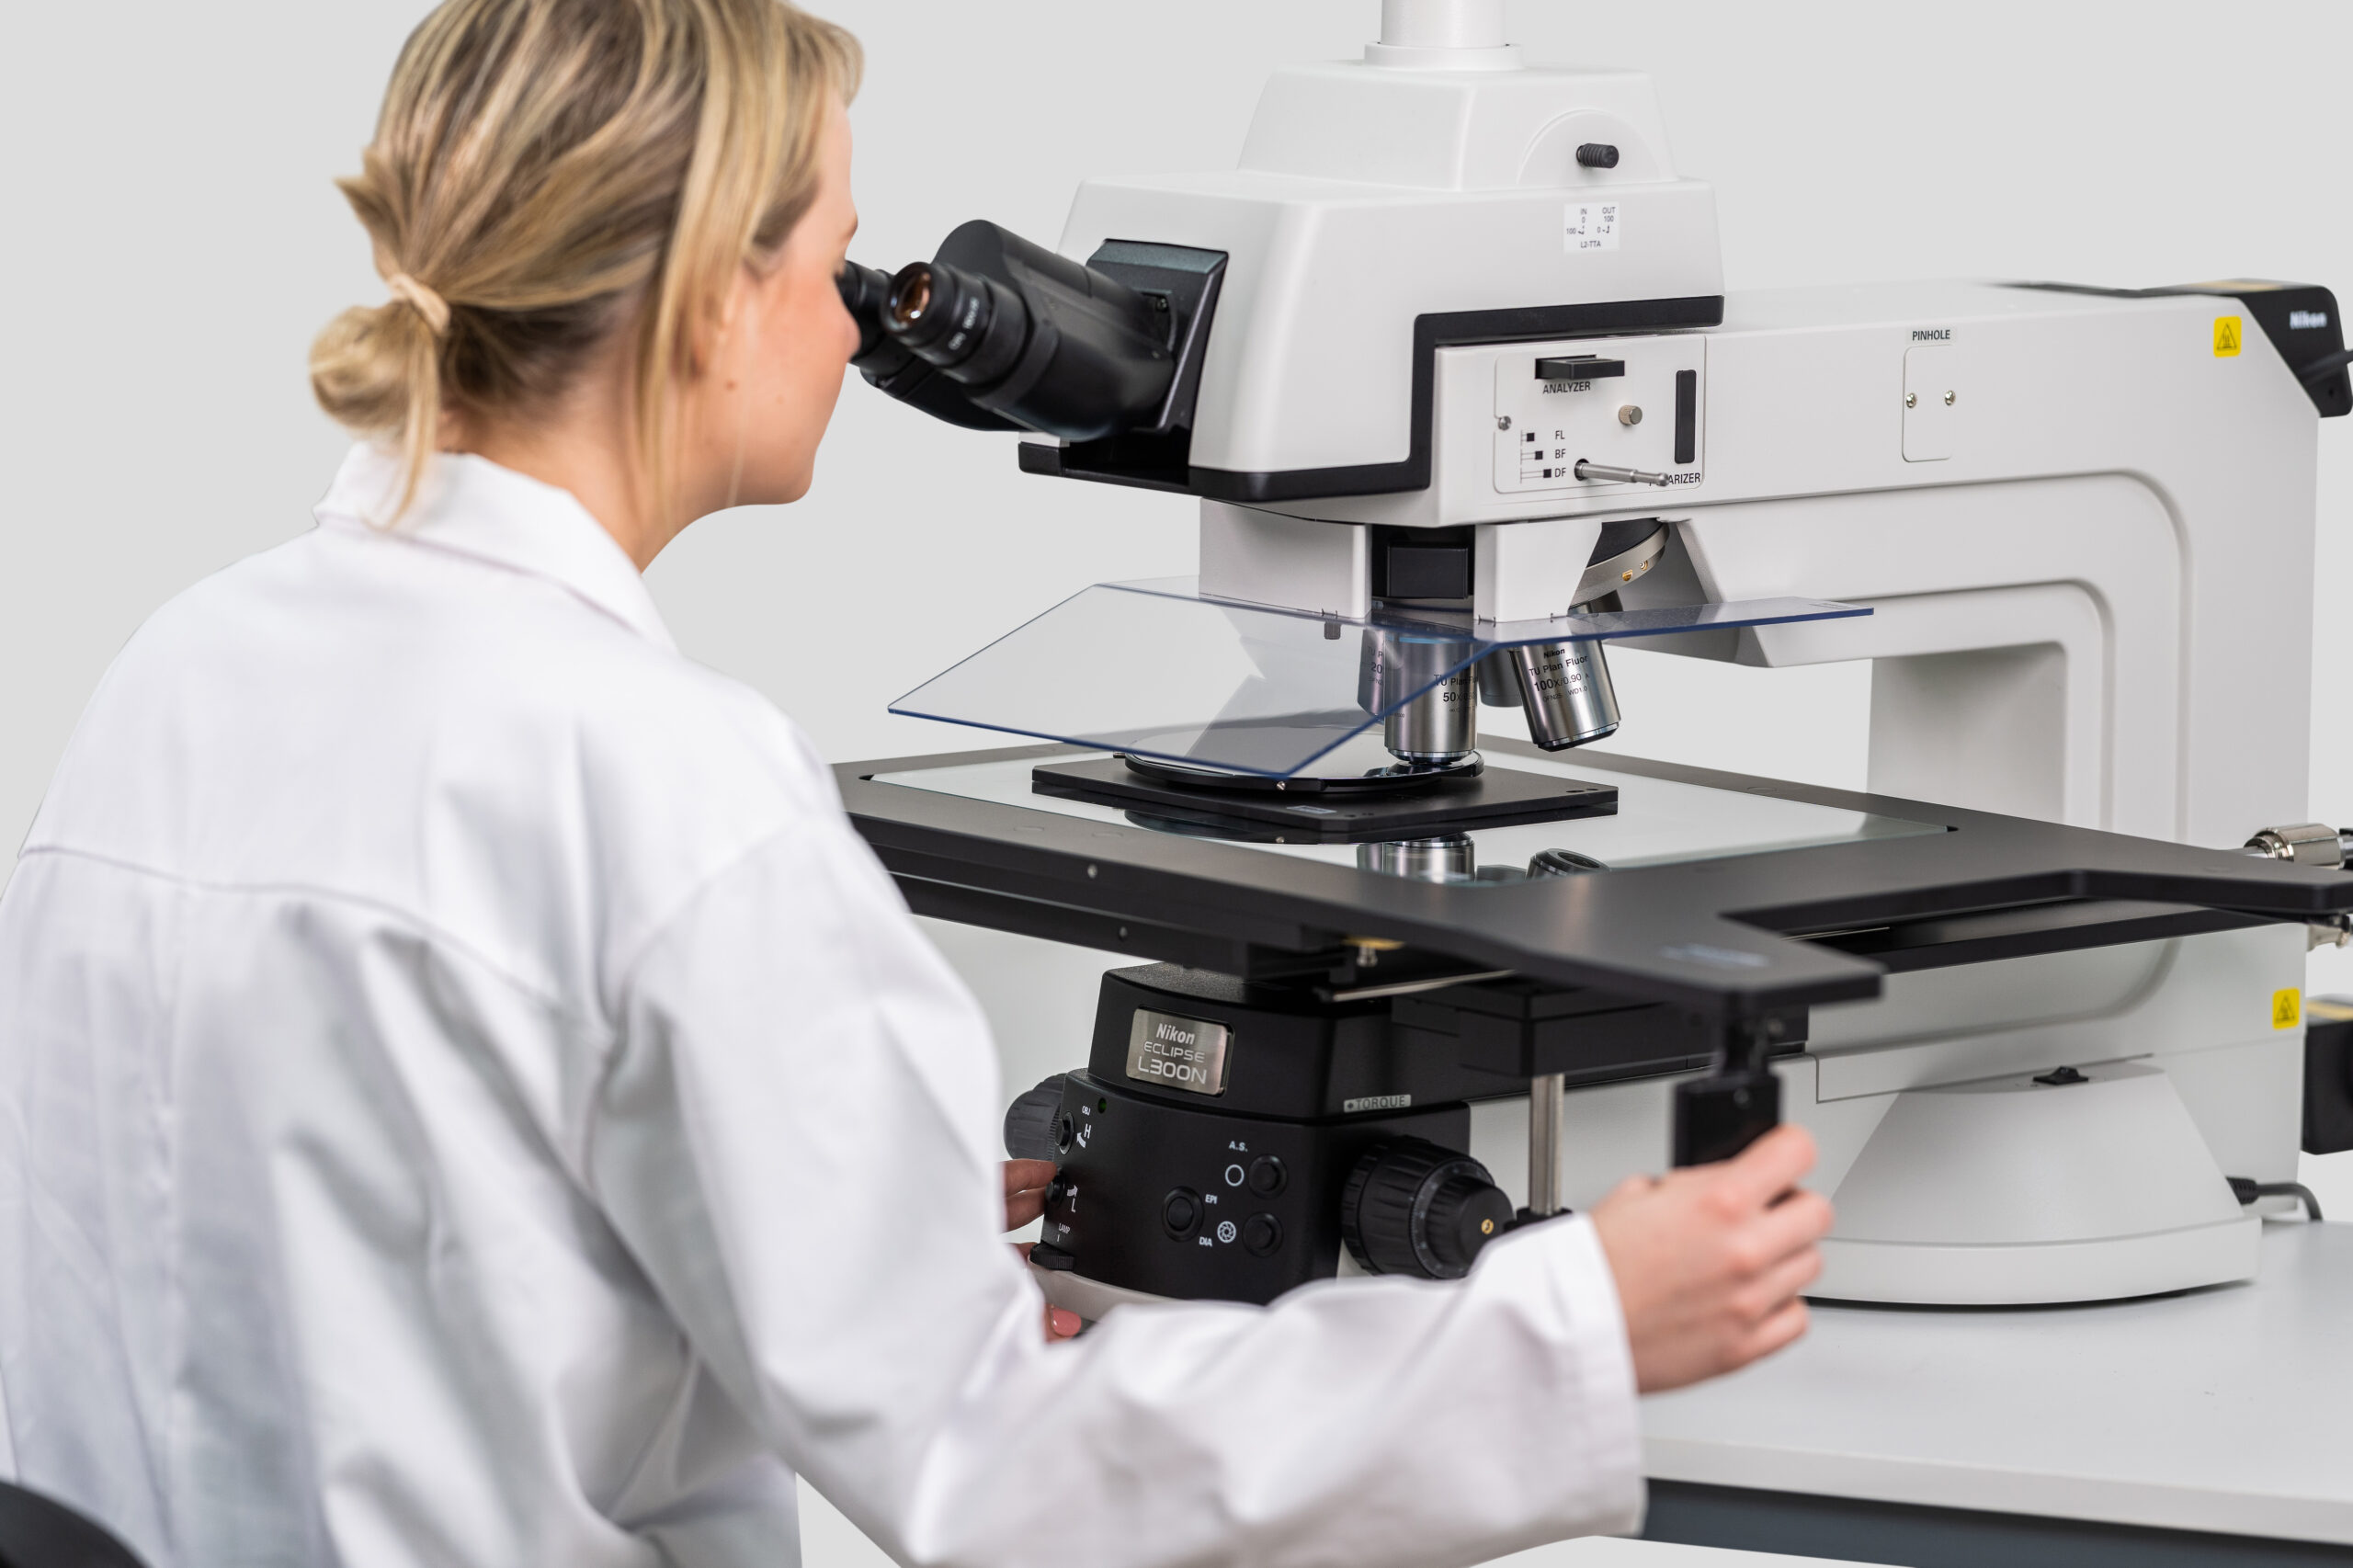
In North American auto racing circles, any discussion about horsepower must include Roush Yates Engines, which will soon celebrate its 20th year in business. A formidable partnership between the legendary Jack Roush, Robert Yates, and the Ford Motor Company, Roush Yates Engines is the exclusive engine builder for all of Ford’s NASCAR Cup and Xfinity Series teams. Together, Roush Yates Engines and Ford Performance are responsible for the horsepower that has secured more than 440 combined victories (since 2004) as well as the three NASCAR Cup Series championship. That dedication to success is why Roush Yates Engines turned to Nikon Metrology to perfect its products on and off the track—and to take that same level of excellence into other areas of contract manufacturing for motorsports, defense, and space.
Developing a reliable process for inspecting parts, understanding how and why parts wear out or fail, and cataloging those parts is of the utmost importance when you supply and build engines for as many racing teams as Roush Yates Engines does. That’s why the company turned to Nikon’s iNEXIV VMA-4540 video measuring system to improve and perfect their measurement and inspection processes.
Going Faster
Speed is the hallmark of Roush Yates Engines when they hit the racetrack. But before engines are installed into race cars, a team of technicians and engineers disassemble, inspect, and reassemble more than 100,000 components to build over 1,000 engines per year. To ensure success, close-tolerance inspection of engine components is a crucial but often time-consuming task. Measurement speed, along with repeatability, accuracy, and reliability, has become as important in the shop as racing speed is on the track.
Since 2016, we have leveraged the assets of Nikon to have accurate, repeatable, and faster data so we can reduce development time and increase our speed to market,
says Todd English, Vice President of Strategic Partnerships and Marketing with Roush Yates Engines, specifically referring to the iNEXIV VMA-4540.
Roush Yates selected Nikon Metrology’s iNEXIV video measuring system to provide the radii, taper, and other measurements necessary to get that kind of rapid and insightful data. The system had numerous additional benefits, including increased accuracy and repeatability while reducing the cost of the inspection, and noticeable improvements in the speed of the inspection process.
One such example is in measuring the diameter of small holes with a pin gauge. Before utilizing the Nikon Metrology system, inspecting 100 pieces would have taken 20–30 minutes and required checking by hand, which had to be done before the next inspection steps could be performed. With the iNEXIV, this process takes 12–14 minutes, during which other inspection steps are performed simultaneously—a 50-percent reduction in inspection time and a 97-percent reduction in labor time. The added benefit is the iNEXIV also records measurement data on each hole.
The iNEXIV really shines and saves Roush Yates Engines lots of time when measuring parts with tapered shapes or complex radii—for example, pushrods used in NASCAR engines. Previously, these parts were measured using both contour equipment and a microscope, with inspection of one component taking three minutes. With the iNEXIV, that same process can be done in just one minute, with the added benefit of not only measuring the components but also recording the data and capturing photos of the radii.
The speed and size of the iNEXIV enables fast and reliable inspection of larger engine parts as well, as the VMA-4540 travels the length of the stage in approximately three seconds. An example of this is in the inspection of parts such as head gaskets or intake gaskets, which are checked to verify minimum widths and bore sizes before they are installed in engines. The accuracy, repeatability, and reliability of the inspection process for these parts was greatly improved through use of the iNEXIV, with an 80-percent reduction in the inspection time while at the same time recording all the dimensions of the parts that were inspected.
In summary, “there are a lot of components that we measure on the engine side, such as gaskets,” English says. “We’ve been able to find information quickly so our engineers can make better decisions and allow us to continue to develop and push these high-performance engines.”
Adapting and racing in a changing world
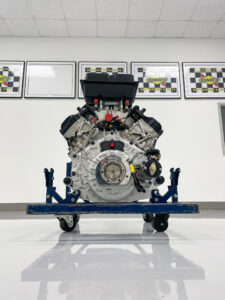 When NASCAR racing resumed in May of 2020 after stopping for a few months due to the Covid-19 pandemic, it brought a different set of organizational demands to the teams. The primary difference was a radical change of the race weekend format, which did away with practice and qualifying. Teams unloaded the car from the trailer and straight into the race—placing an extra emphasis on perfecting the engine package back at the Roush Yates Engines shop.
However, even before Covid-19, the ground underneath the feet of the engine builders was constantly changing. NASCAR rule changes which have dramatic effects on the engine performance are common and can often come quickly. Those rule changes may include parts provided by NASCAR that the teams are forced to use.
When NASCAR or internal engineers design or supply a new part that they may use, the iNEXIV video measuring system fulfills a critical role by rapidly inspecting those parts and generating dimensional information that may be used to determine how it will affect the flow of air into the engine. That data is provided to the engineers within minutes so they can begin calibrating and maximizing the engine performance.
Lessons learned for the broader industry
As we’ve seen, accuracy, speed, efficiency, and adaptability to changing requirements often mean the difference between winning and losing for Ford Performance and Roush Yates Engines on race day. But the lessons learned from working at the extreme end of performance specifications on world-class racing engines applies equally well to production cars built in manufacturing facilities across the world.
 Nikon’s iNEXIV video measuring systems line, particularly the VMA-4540, offers some unique features and benefits that make it an invaluable dimensional measurement and inspection tool for OEMs in the automotive space. Built on the base of Nikon’s renowned optics, the iNEXIV VMA-4540 offers high speed and exceptional accuracies along with a remarkably wide field of view and a long 73.5 mm working distance that minimizes the possibility of contact between the objective lens and the inspected part.
This and other unique features, such as a particularly robust measuring range, a wide variety of illumination methods, and the ability to work as a touch probe or strictly as a video measuring system, make the iNEXIV VMA-4540 a tool of choice for automotive manufacturers. Whether the part under inspection is short or tall, smooth, or uneven, composed of deep holes or surface mounts, the iNEXIV VMA-4540 can measure it and capture that measurement, easily, accurately, and repeatably.
Looking ahead
When Roush Yates Engines turned to Nikon Metrology for a way to speed up their inspection process, they achieved the original objective with some additional benefits—greater accuracy and adaptability chief among them. Over the course of six racing seasons, the Nikon Metrology iNEXIV VMA-4540 video measuring system has become foundational to the work done in the Roush Yates Engines shop, playing a part in on-track and off-track success for the business. No less important, the lessons learned from this partnership have provided great insights for Nikon in the company’s never-ending quest for improved quality and throughput in the consumer automotive industry.
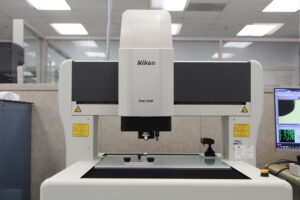
As the requirements for cost- and time-efficient production grow ever tighter, customers like Roush Yates, and automotive OEMs will continue to rely on the iNEXIV VMA-4540 to respond to the most challenging inspection and measurement environments. Speed and accuracy are an unbeatable combination, whether speeding along hairpin turns at 200 miles per hour or measuring complex engine components. In all cases, Nikon Metrology has proven itself as an invaluable partner for the industry, both now and in the future.
