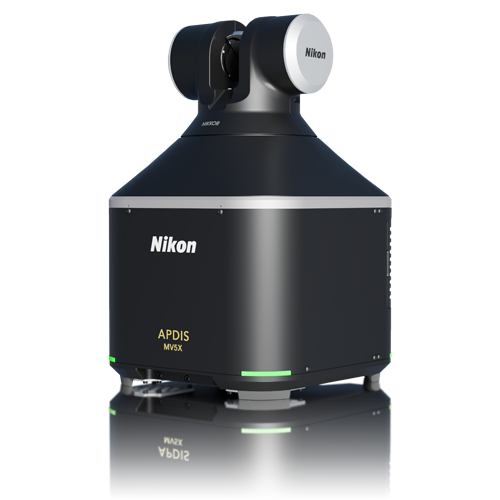
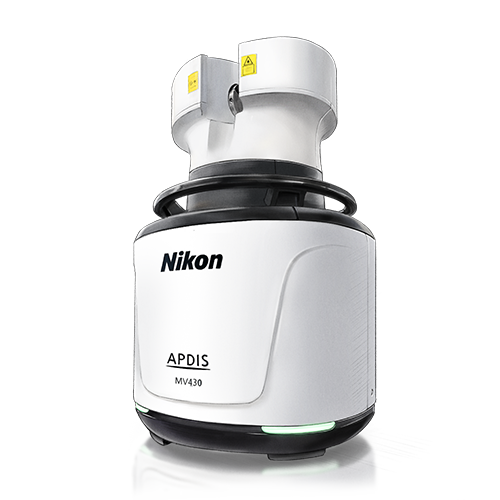
APDIS Automotive Laser Measuring & Inspection System

Nikon’s APDIS Laser Radar brings absolute, accurate and fast measurement to the shop floor, allowing true process control in automotive body shops and enabling Quality 4.0.

A Paradigm Shift in Shop Floor Inspection

The APDIS MV430E provides the fastest feature measurement of any Laser Radar to date, allowing inspection of critical features in the takt time of the line, or a sampling strategy to cover more features over a set of car bodies for true process control.

Enhanced Productivity

See how the enhanced ADPIS MV430E system has created the fastest ever Laser Radar.

Revolutionising Quality Control

See how the APDIS Laser Radar is revolutionising quality control in the automotive sector.

Benefits for Automotive

APDIS-10_nikon-metrology-3dmetrology-shopfloor-cmm-absolute-accuracy

Direct comparison to CAD

Using the APDIS system within a fully automated robotic measurement solution introduces an innovative approach to body-in-white (BIW) inspection.

APDIS-13_nikon-metrology-3dmetrology-shopfloor-cmm-cmm-quality-data

Robot independent accuracy

The robot positions the Laser Radar to provide line of sight to the required features. The Laser Radar then automatically realigns to the part by measuring tooling balls on the fixture.

APDIS-12_nikon-metrology-3dmetrology-shopfloor-cmm-frost-sullivan

Boost inspection productivity

With the ability to measure over 6 times as fast as a traditional CMM, an APDIS Laser Radar solution can greatly increase measurement throughput.

Core Features

Driving Quality 4.0

As body-in-white inspection moves in the direction of Quality 4.0, it will become a fully automated, non-contact, absolute measurement process integrated into the production line. Traditional inspection approaches, such as horizontal arm CMMs, are being replaced by newer, automated approaches like Laser Radar systems.

Boost inspection productivity in the metrology room

Using APDIS in the metrology room as a replacement for traditional CMMs, the off-line facility ceases to be a bottleneck due to faster measurement, allowing quicker investigation of problems. APDIS can be used for inspecting a range of part sizes, from components to full chassis and BiW depending on the configuration, offering many benefits.

APDIS Laser Radar

APDIS Automotive

APDIS Gap & Flush

MV430E
Range0.5m~30 m
Data Range4,000 Hz
Scanning Speed*1000pts/sec
2 sec/cm2
Feature MeasurementEnhanced Feature Scan**
Vibration Measurement2000Hz Max ; 1µm/m sensitivity
EnvironmentalIP54

*Default settings – stacking 4, points spacing 0.1mm, line spacing 1mm.
**Feature measurement up to twice as fast as standard variant. Exact speed depends on settings.

RangeAzimuthElevation
Working Limit0.5m - 30m / 50m± 180°± 45°
Accuracy (MPE)20µm + 5µm/m13.6µm/m
2 Point Length Measurement Accuracy* MPE(µm) = √(2(20 + 5RAve)2 + (13.6RAve)2)
Average Range (m)0.5125102030
MPE (µm) 334057115216420625
Typical (µm)17202858108210313

* Accuracy given as Maximum Permissible Error (MPE) in accordance with ASME B89.4.19 – 2006 verified in vertical orientation at 20°C. Typical accuracy shown is half MPE. All measurements taken in stable environment with ½” grade 25 or better tooling ball.

Related Products

Speak To Us About This Product

If you would like further details on this product or a more in-depth description, our expert team will provide you with additional information and, if required, arrange an on-site visit.

Talk to us in detail about your project and our experts will advise you on the best inspection system to meet your requirements.

Please fill out the form opposite and we will get in touch with you shortly.