Products and promotions may differ based on your selected region.
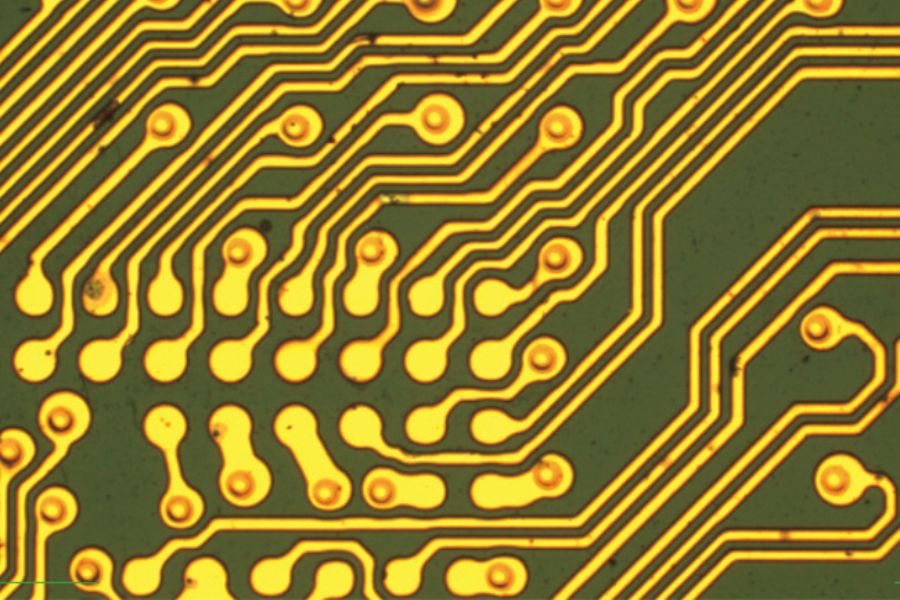
Nikon's NEXIV VMZ-S series of video measuring systems delivers high accuracy, speed and usability for inspection applications down to the micro level.
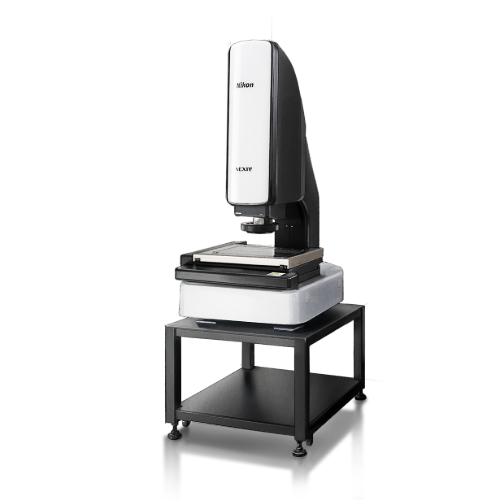
The VMZ-S series provides three types of measuring envelope together with a range of high quality optics, complete with a TTL (through the lens) scanning laser as standard.
Capable of high-accuracy, high-speed measurement for fulfilling increasingly demanding inspection applications, the VMZ-S series is used in a wide range of industries.
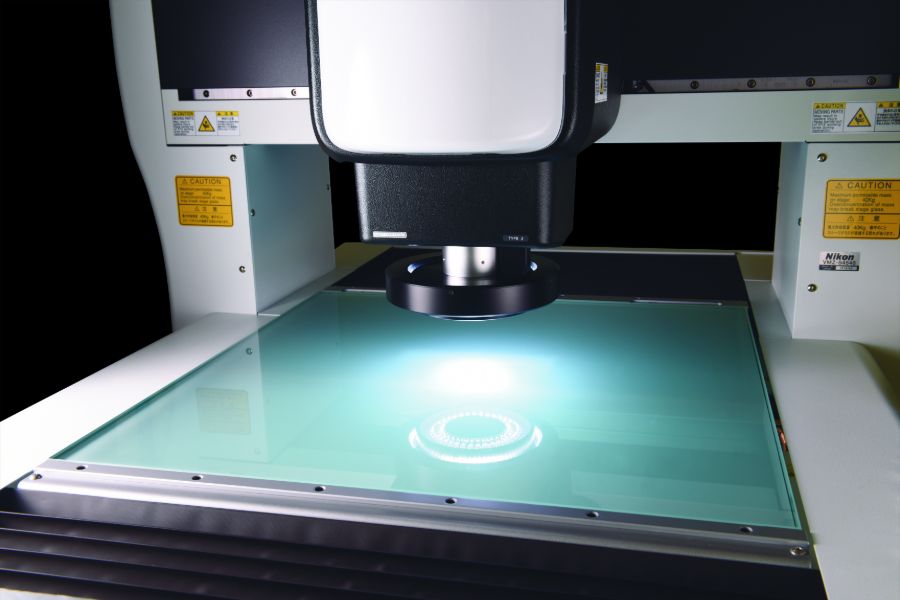
The system has been designed from the ground up, utilising specially designed Nikon optics to deliver high accuracy measurements.
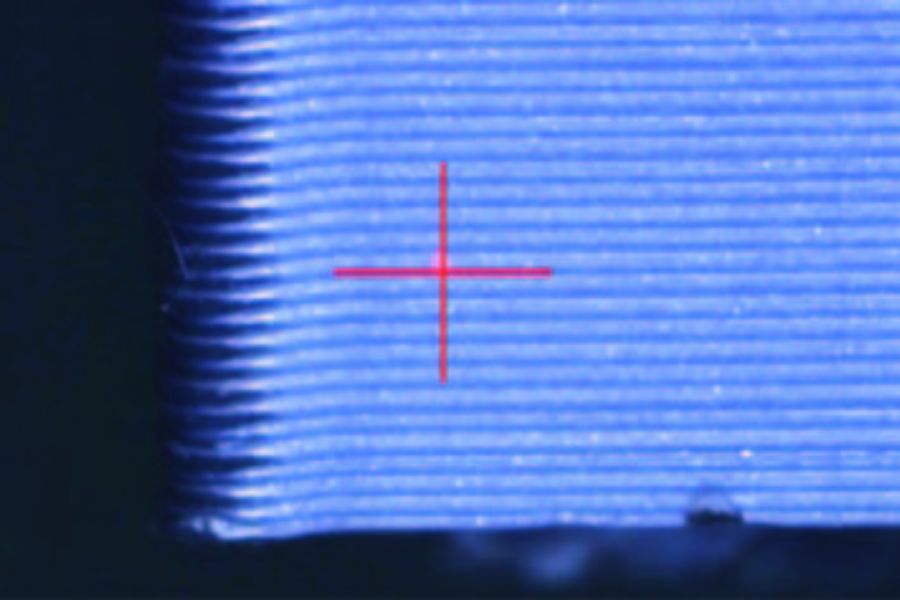
Highly accurate, high-speed height measurement is made possible by accurate through-the-lens laser autofocus, capable of high-speed scanning at 1,000 points per second.
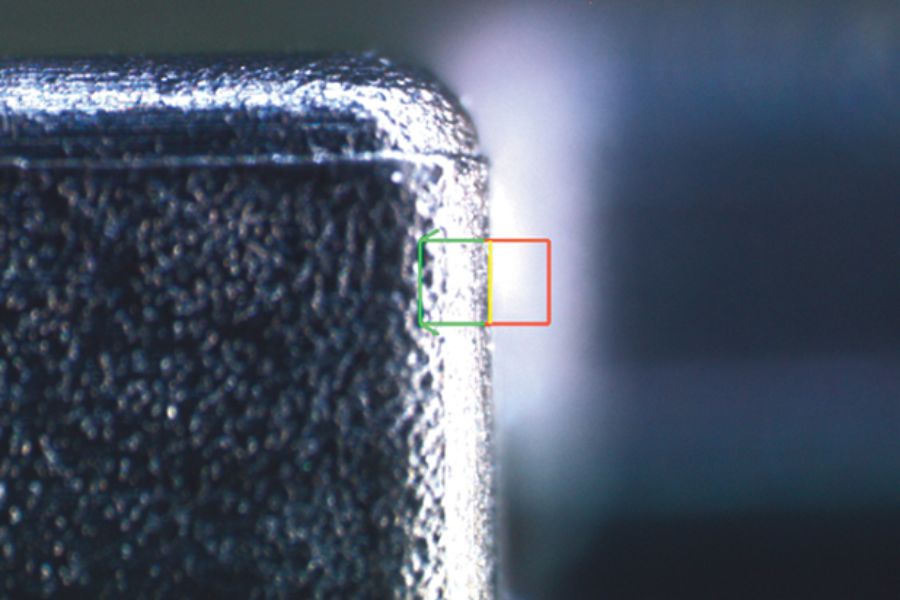
Difficult edges and features can be easily measured due to Nikon’s unique illumination options.
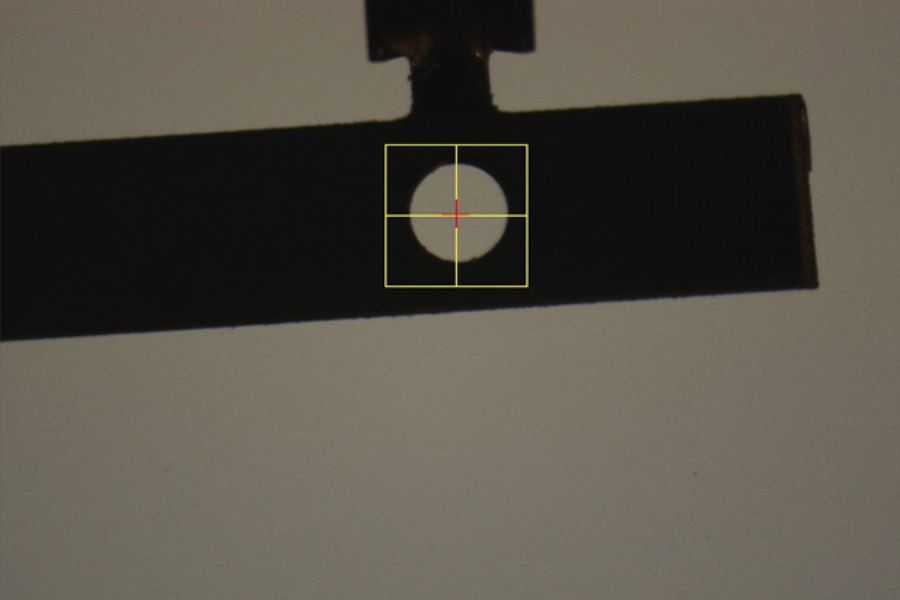
Accurate measurement can be achieved despite variation in component positioning.


Designed to detect the surface of thin, transparent materials, the through-the-lens laser autofocus offers reliable measurement at high speed.
*Not available for Type A

| Model | VMZ-S3020 | VMZ-S4540 | VMZ-S6555 |
| XYZ Strokes | 300×200×200 mm *Type TZ with low magnification lens: 250×200×200 mm | 450x400x200 mm *Type TZ with low magnification lens: 400x400x200mm | 650x550x200 mm *Type TZ with low magnification lens: 600x550x200mm |
| Minimum Readout | 0.01 μm | ||
| Maximum Sample Weight | 20 kg (Accuracy guaranteed: 5 kg) | 40 kg (Accuracy guaranteed: 20 kg) | 50 kg (Accuracy guaranteed: 30 kg) |
| Maximum Permissible Error (L: Length in mm) | EUX, MPE EUY, MPE 1.2 + 4L / 1000 µm EUXY, MPE 2.0 + 4L / 1000 µm EUZ, MPE1.2 + 5L / 1000 µm |
||
| Probing error 1),2): PF2D,MPE 0.8 µm Probing error of the imaging probe 1),2): PFV2D,MPE 0.3 µm |
|||
| Camera | Black and White / Color 1/3 CMOS Camera | ||
| Working Distance | Type 1,2 and 3: 50mm Type 4: 30mm Type TZ: (High-mag.) 11 mm / (Low-mag.) 32 mm Type A: 73.5 mm (63 mm with Laser AF) |
||
| Laser AF Repeatability Range 1),3) | 2σ ≦ 0.5 µm | ||
| Illumination | Type 1, 2, 3, and 4 : Episcopic, diascopic, and 8-segment ring with 3 angles *All white LED/Type 4 has only 1 angle Type TZ: Left objective lens: Episcopic, darkfield ; Right objective lens: Episcopic, diascopic, darkfield Type A: Episcopic, diascopic, and 8-segment ring with 1 angle *All white LED |
||
| Power Source, Power Consumption | AC100 V-240 V, 50/60 Hz / 4 A − 2 A | ||
| Dimensions & Weight | Main body with table (W×D×H): 700×730×1793 mm / approx. 265 kg Controller: 190×450×450 mm / approx. 12 kg | Main body with table (W×D×H): 1000×1340×1818 mm / approx. 510 kg Controller: 190×450×450 mm / approx. 12 kg | Main body with table (W×D×H): 1200×1640×1818 mm / approx. 740 kg Controller: 190×450×450 mm / approx. 12 kg |
| Footprint (W×D) 4) | 2700×2400 mm | 3000×3000 mm | 3200×3300 mm |
If you would like further details on this product or a more in-depth description, our expert team will provide you with additional information and, if required, arrange an on-site visit.
Talk to us in detail about your project and our experts will advise you on the best inspection system to meet your requirements.
Please fill out the form opposite and we will get in touch with you shortly.