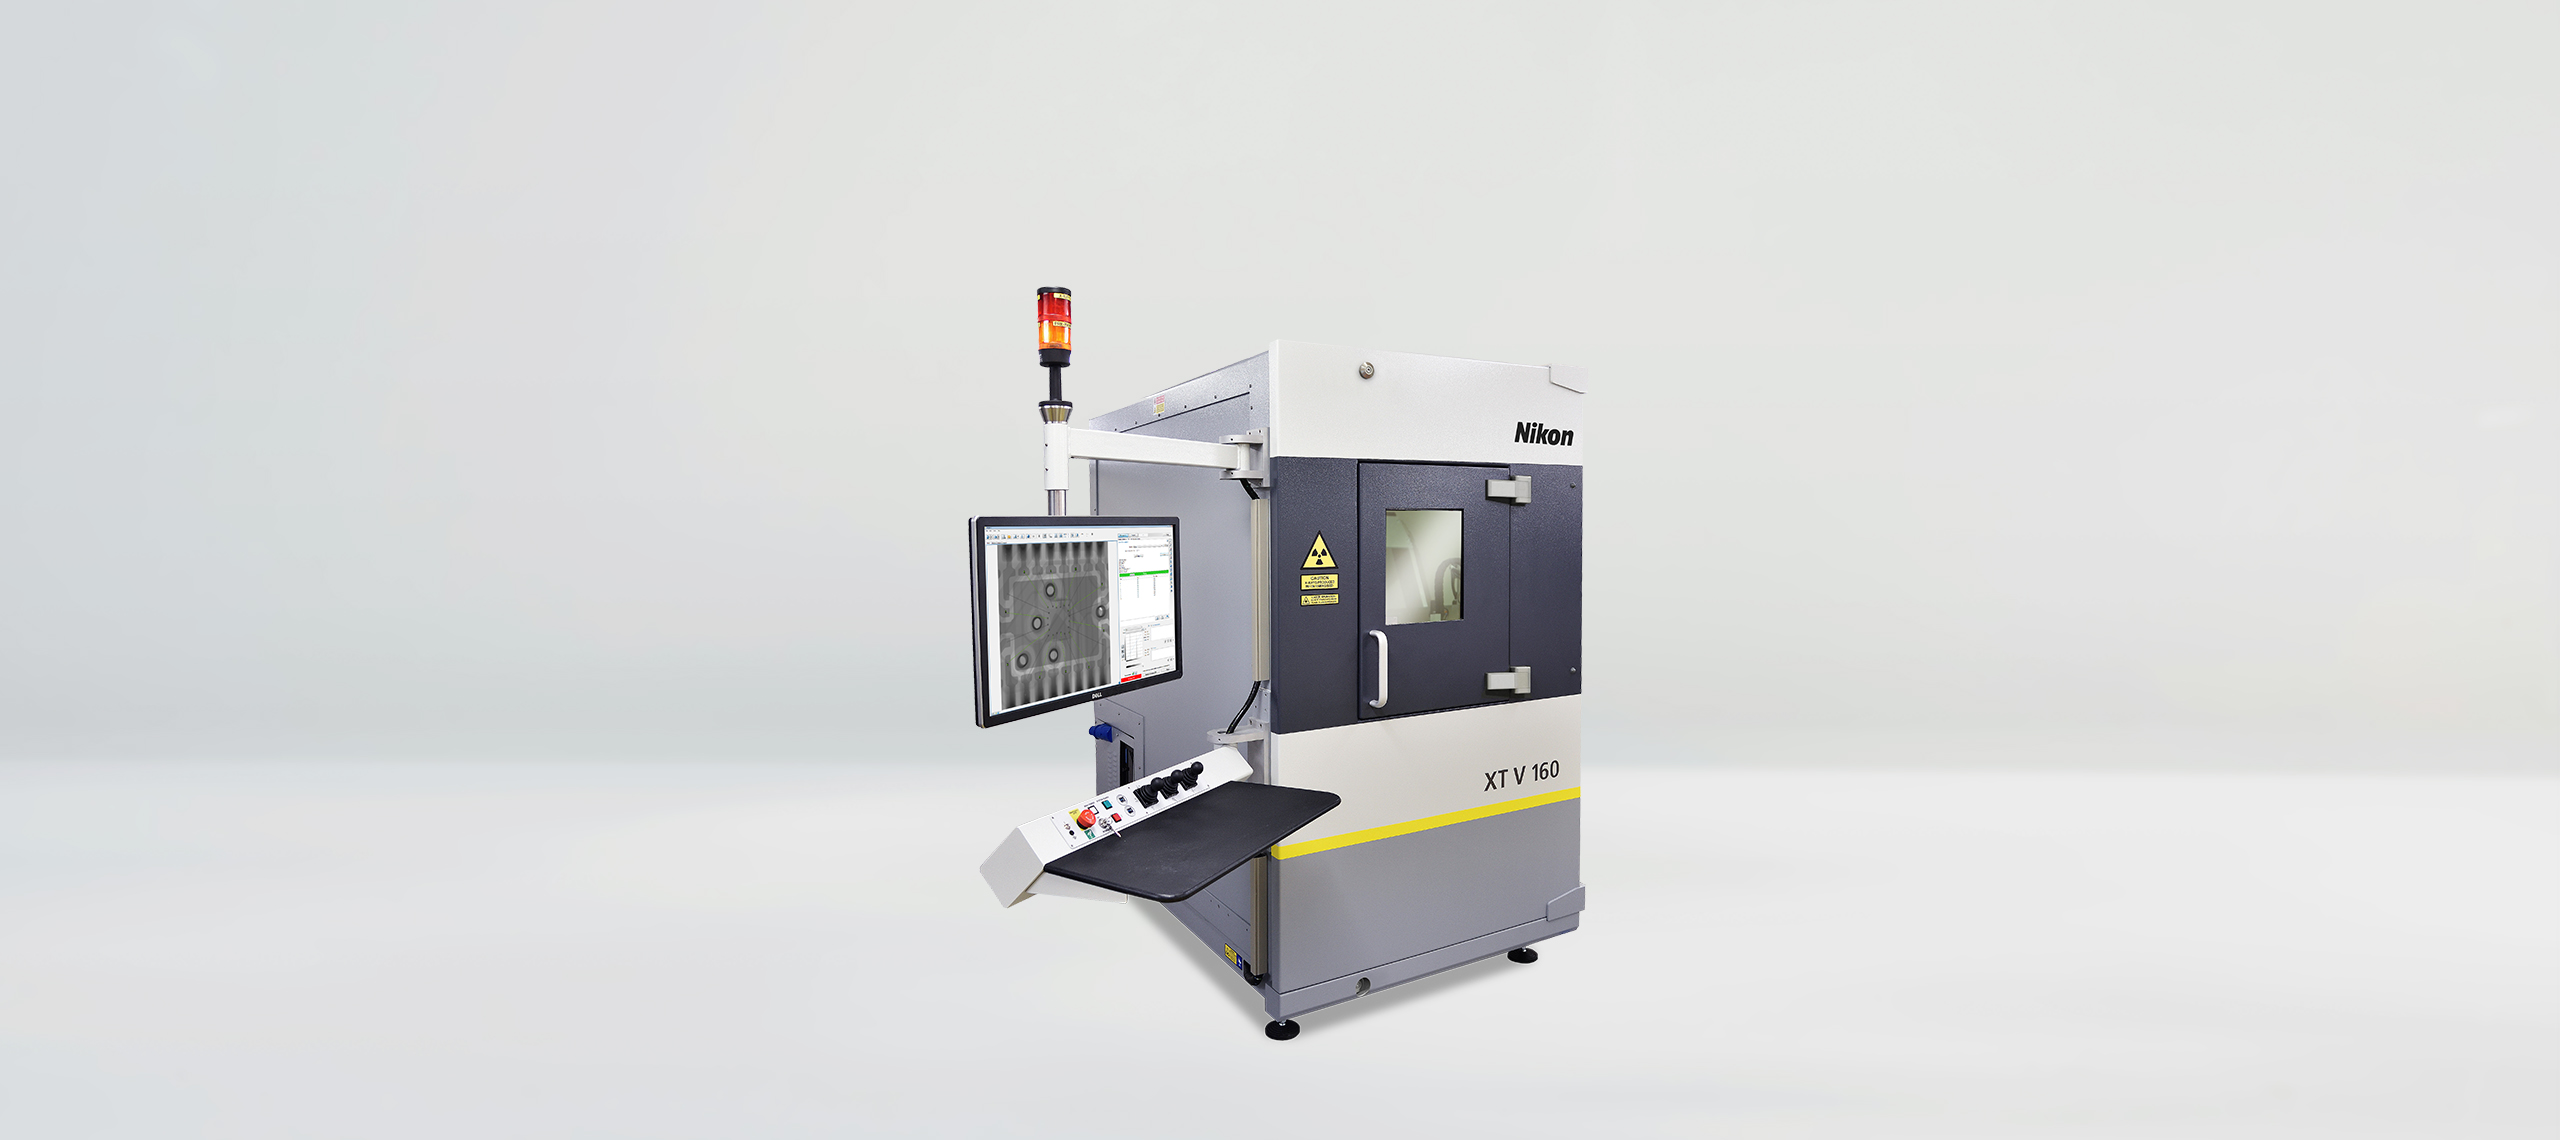
A pioneering X-ray computed laminography (CL) technique has been introduced by the Industrial Metrology Business Unit of Nikon Corporation (https://industry.nikon.com) for non-destructively inspecting challenging components using the computed tomography (CT) systems it manufactures. Called Tilted CT, available now, the new method greatly improves voxel resolution when examining flat, high aspect ratio components. It also enhances quality control by producing clearer images of samples of any shape in which dense areas can mask those that are less dense.
When scanning flat components, which may have a small area of interest in the centre that needs to be inspected, conventional 3D CT has limitations in terms of resolution because the axis of rotation of the item under investigation is at 90 degrees to the X-ray beam. It is therefore not feasible to position the component closer to the source to increase the magnification of the area of interest and improve resolution, because the sample as it turns would collide with the source.
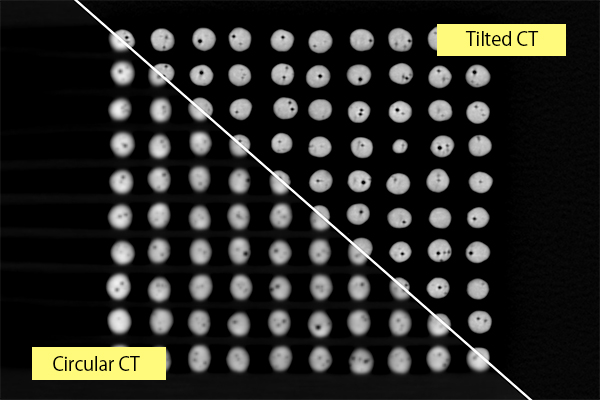
Innovative CL data acquisition using Tilted CT avoids the problem by allowing the axis of rotation to be adjusted by up to 30 degrees, which means the sample can fully rotate beneath the X-ray source. Higher magnification and enhanced image clarity are achieved in faster scan times when examining, for example, printed circuit board assemblies or probe cards used in automated wafer testing. In one comparative test, a scan that took more than seven hours using an X-ray microscope was completed in less than one hour with Tilted CT on a SEMI S2/S8 compliant XT H 225 ST 2x system.
The other principal advantage of the technique is its ability to eliminate artefacts caused by high-density features in a specimen obscuring areas where X-ray attenuation is lower. By tilting the axis of rotation, areas of high attenuation can be positioned so that they rotate beneath or above a lower-density area of interest, rather than in front of it.
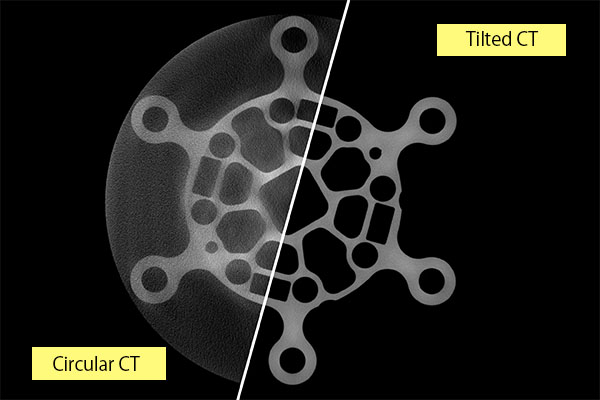
This can prove valuable, for instance, when inspecting additively manufactured metal parts while they are still attached to their support plate. It is possible to scan components in their entirety, even the lower portion, by tilting the whole structure so that the dense build plate rotates at the same angle as the X-ray cone beam, effectively eliminating the obstruction.
Tilted CT is currently available for use with Nikon’s XT H 225, XT H 225 ST 2x and large-envelope M2 X-ray CT systems. The company remains committed to pushing the boundaries of the technology to deliver unprecedented imaging capabilities and open doors to new possibilities in quality control. Tilted CT, along with a host of other recently introduced X-ray data acquisition methods and reconstruction algorithms, are testament to that intention.
About Nikon Industrial Metrology
Nikon provides a variety of products, services, and solutions worldwide, based on advanced opto-electronics and precision technologies cultivated during the company’s more than 100 years of history. The group continues to create new values that contribute to improvement of quality of life and manufacturing in a wide variety of forms. Nikon’s Industrial Metrology Business Unit (IMBU) delivers integrated, optimised, ultra-high precision solutions that are not only customised and cost-effective but also work extremely well as soon as they are implemented. A recent development under Nikon’s Digital Manufacturing banner is closer cooperation between IMBU and the corporation’s Digital Solutions Business Unit (DSBU), which has launched a series of optical additive and subtractive manufacturing solutions for processing a wide variety of materials to sub-micron surface finish. www.industry.nikon.com

