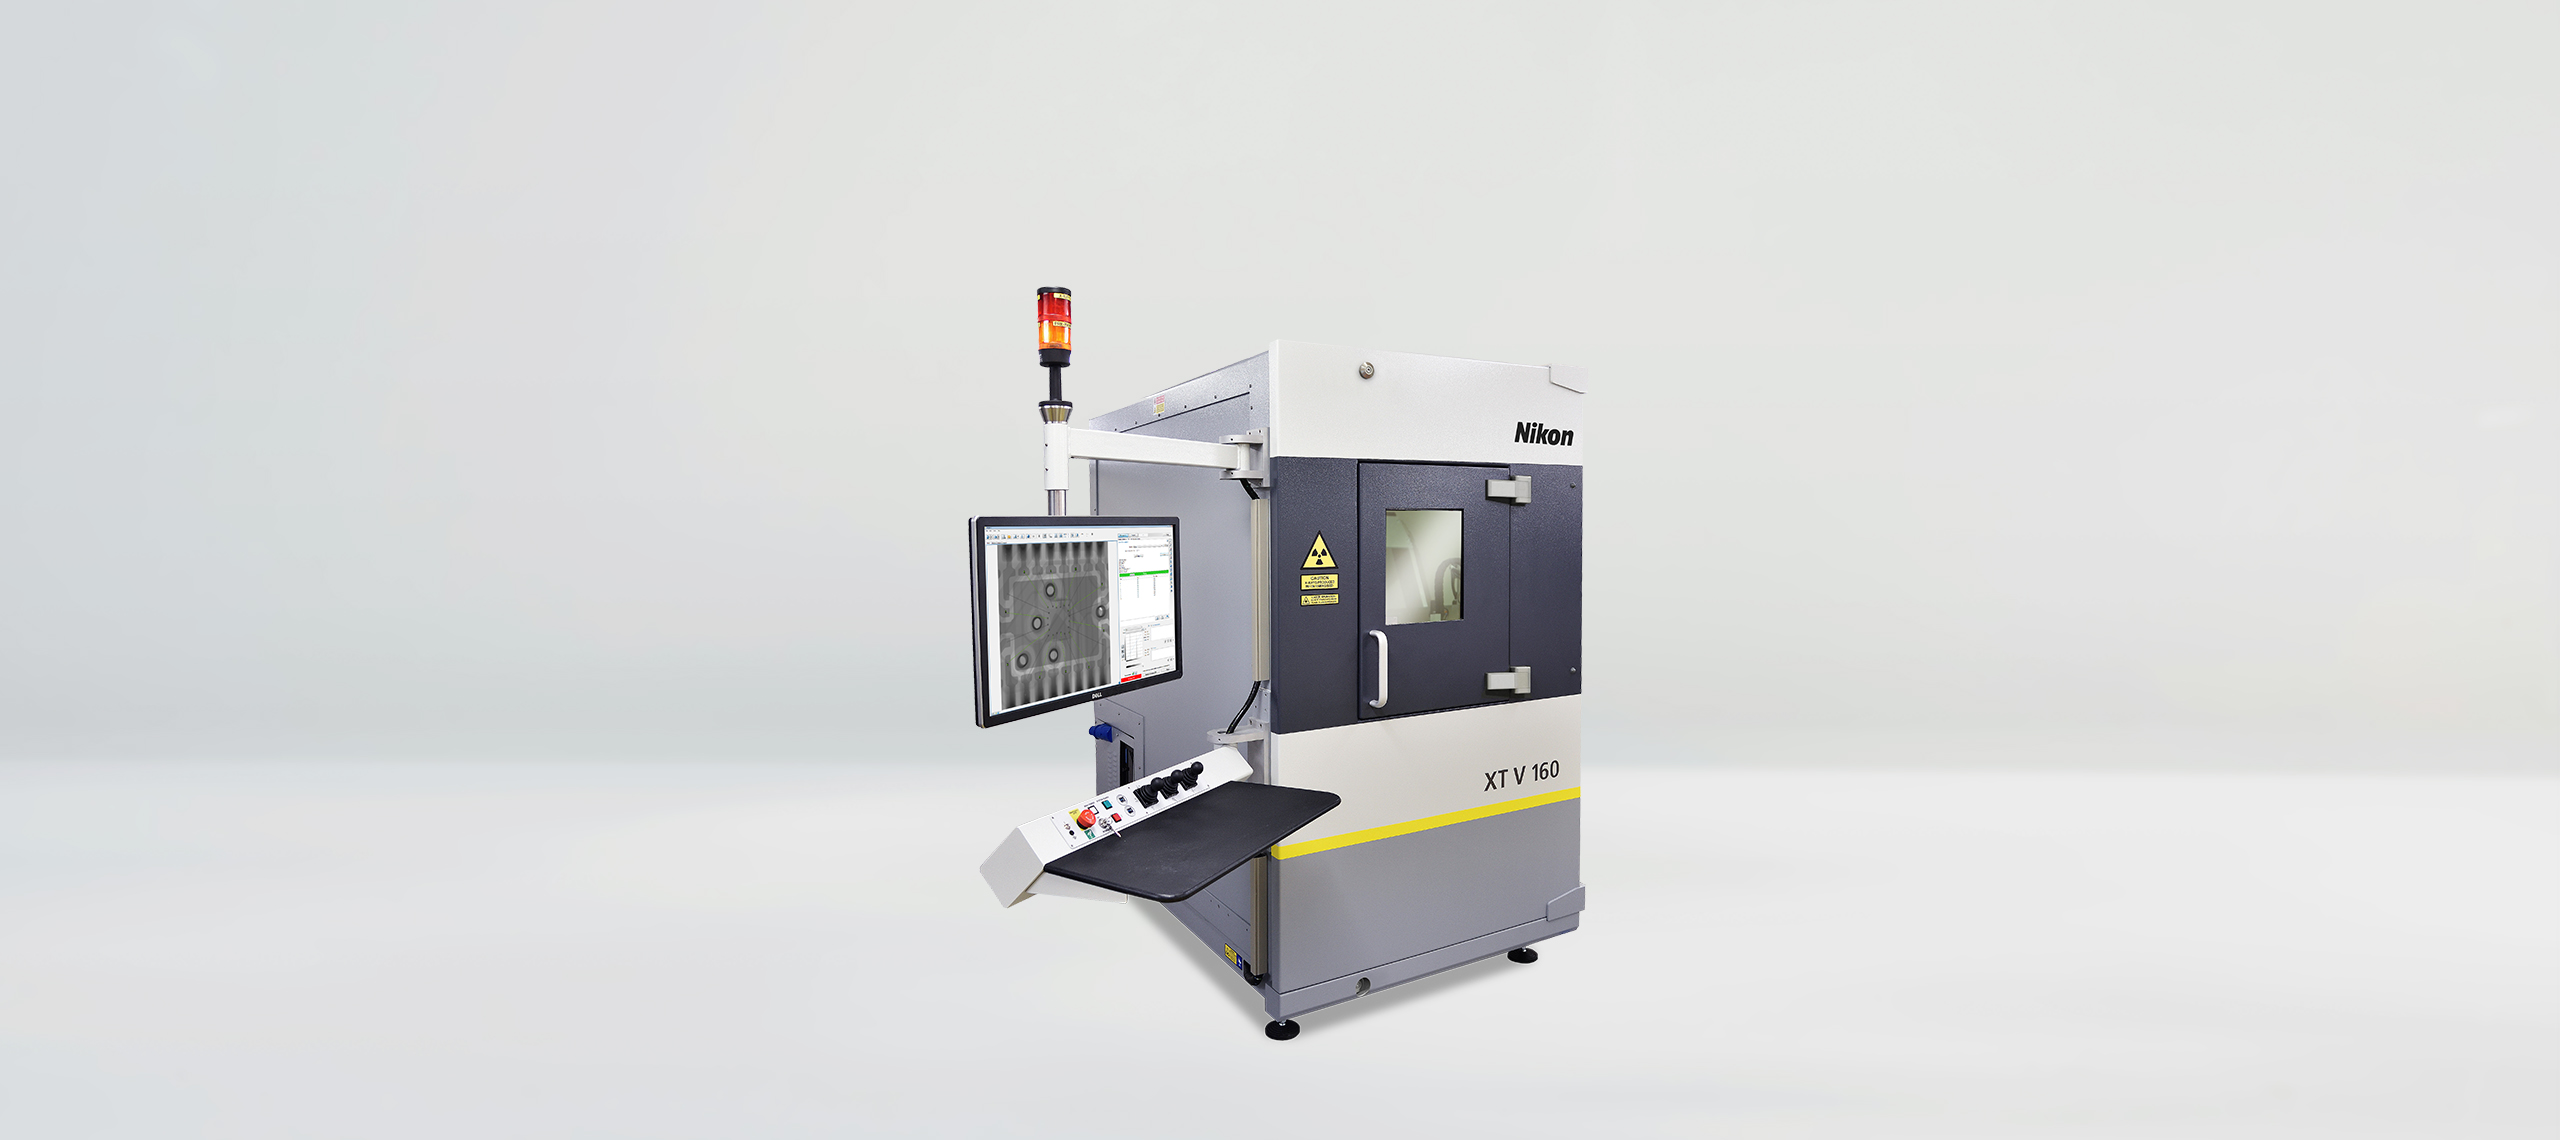
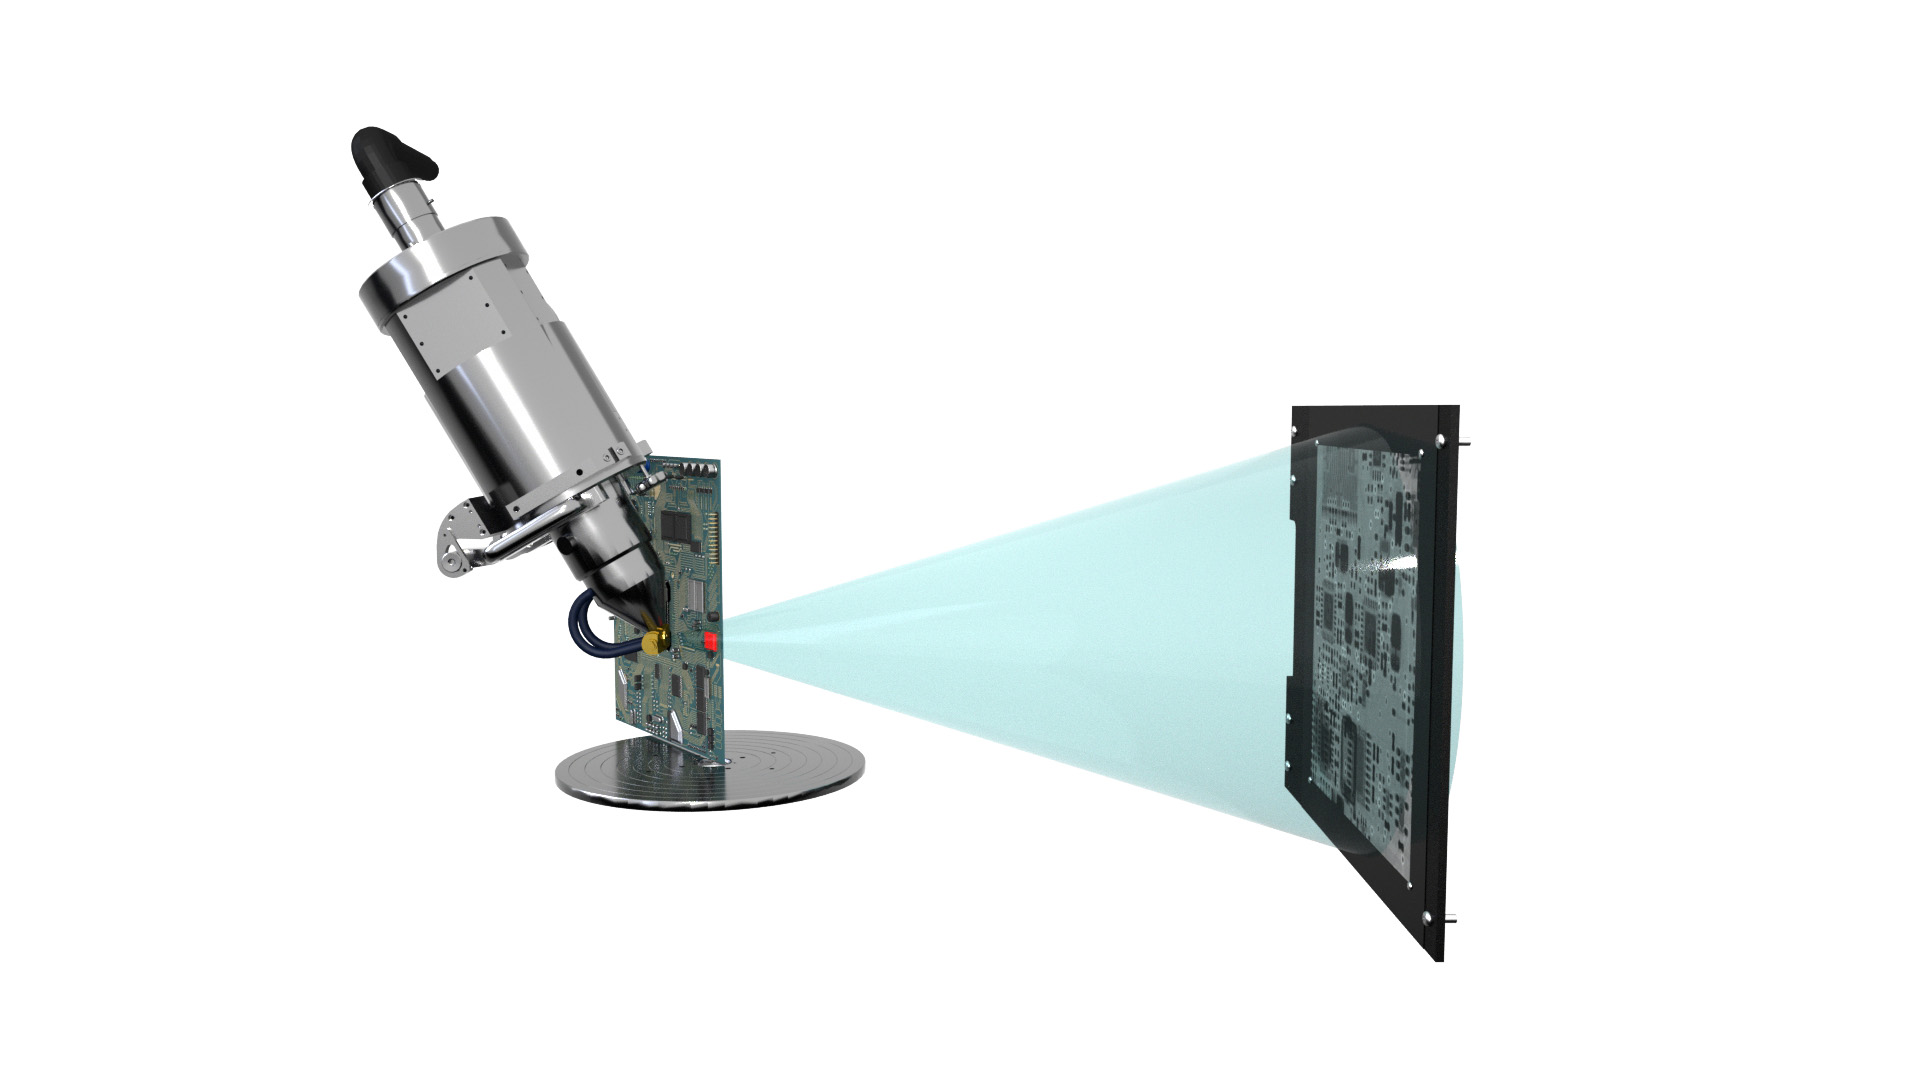
The benefits of X-ray CT (computed tomography) for non-destructive inspection and measurement of both the interior and exterior of components are well known. Traditionally however, CT scanning of assemblies made from two materials such as metal and plastic, which is common in industry, is unsuited to quality control (QC) in a production environment.
This is because a long scan time is required to generate datasets that are sufficiently clear to be processed, which is contrary to the requirements for real-time inspection. Alternatively, if scanning speed is raised, manual post-processing by highly skilled operators is needed to remove artefacts that appear in the images to achieve accurate results. Again, this slows the procedure and introduces variability due to human intervention.
To address these difficulties in employing the technology for such Industry 4.0 applications, the Industrial Metrology Business Unit of Nikon Corporation has introduced a new reconstruction algorithm allowing scanning times to be reduced by typically 10-fold. It depends on the size and complexity of the component, but pre-launch trials demonstrated that the software performed an order of magnitude faster on a typical metal and plastic connector, making production line integration on the shop floor a possibility alongside sample inspection.
Dual.Material CT, as its name implies, achieves this dramatic increase in efficiency on assemblies comprising two materials of different densities. It significantly improves the ability to distinguish between the two materials in the voxel (3D pixel) image reconstructed from 2D X-rays taken as the component rotates in the chamber of a Nikon X-ray CT machine. Core applications will be found in factories producing over-moulded connectors, for example, or medical assemblies such as inhalers or adrenaline pens. Dual.Material CT is also likely to find uses in non-industrial environments, such as research.
During each image reconstruction, the software engine reduces the degree to which streak artefacts, caused by the higher-density material, obscure the lower-density areas. Typical systems on the market use reconstruction engines that assume the X-rays are monochromatic, whereas in fact they are polychromatic. This means they must use X-ray filtration, which lengthens exposures and slows image capture. Nikon’s reconstruction engine overcomes the effects of a polychromatic X-ray beam by determining and adjusting the attenuation for the different material combinations in dual-material assemblies, greatly improving the contrast-to-noise ratio. Consequently, the X-ray source with a Dual.Material CT scan does not require filtration, so the detector can be used at much shorter exposures, resulting in faster frame rates and scan times.
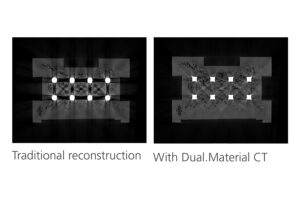
As it is automated, reconstruction by Dual.Material CT is highly repeatable from component to component, and does not require advanced knowledge of scanning techniques when inspecting assemblies comprising two materials of different densities. QC productivity is raised by enabling better visualisation and more accurate definition of defects (on the surface or inside a component) in a fraction of the time taken by traditional CT image reconstruction. The high-speed scanning, and the fact that no manual data editing is required thanks to the new software and automated part handling, enables fast and automated quality control of dual material assemblies in a production environment, consistent with the requirements of Quality 4.0.
Written by Nikon engineers, the Dual.Material CT algorithm is specifically designed to operate seamlessly with the company’s range of X-ray CT machines, which are built in-house. The option is available for all new installations or may be retrofitted to existing equipment in the field, irrespective of the machine configuration and its power. For more information, click here.
About Nikon Industrial Metrology Business Unit
Nikon provides a variety of products, services, and solutions worldwide, based on advanced opto-electronics and precision technologies cultivated during the company’s more than 100 years of history. The group continues to create new values that contribute to improvement of quality of life and manufacturing in a wide variety of forms. Nikon’s Industrial Metrology Business Unit (IMBU) delivers integrated, optimised, ultra-high precision solutions that are not only customised and cost-effective but also work extremely well as soon as they are implemented. A recent development under Nikon’s Digital Manufacturing banner is closer cooperation between IMBU and the corporation’s Digital Solutions Business Unit (DSBU), which has launched a series of optical additive and subtractive manufacturing solutions for processing a wide variety of materials to sub-micron surface finish. www.industry.nikon.com
On behalf of:
Nikon Metrology
Building 424, Argosy Road, East Midlands Airport, Castle Donnington, Derby
Contact: Ghislaine Burmeister
Email: [email protected]
Web: www.industry.nikon.com
Issued by:
The Right Image Ltd
PO Box 42, Twickenham, TW1 1BQ
Tel: +44 (0)20 8891 0603
Contact: Chris Wright
Email: [email protected]
Web: www.therightimage.net
