Products and promotions may differ based on your selected region.
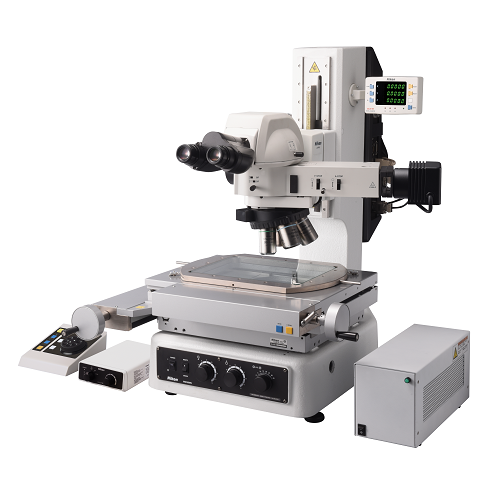
MM-400N and MM-800N Series microscopes operate within a digital control system, providing excellent measurement accuracy for industrial in-line and quality assurance applications. The instruments are ideal for inspecting, measuring and verifying both 2D and 3D features across a wide range of components.
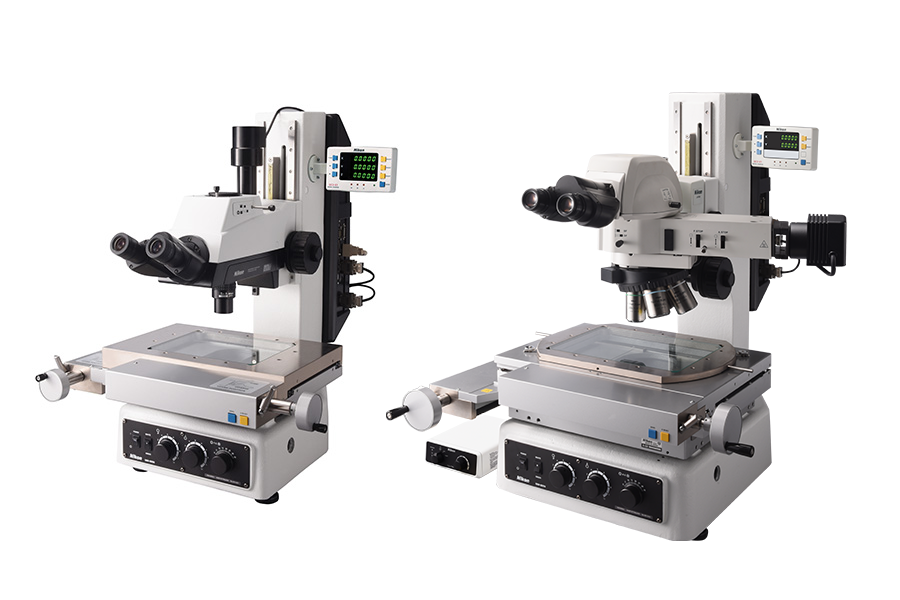
The MM-400N and MM-800N Series measures components across many industries, including these examples: electronics, wire-bond wire heights, connector pins and sockets.
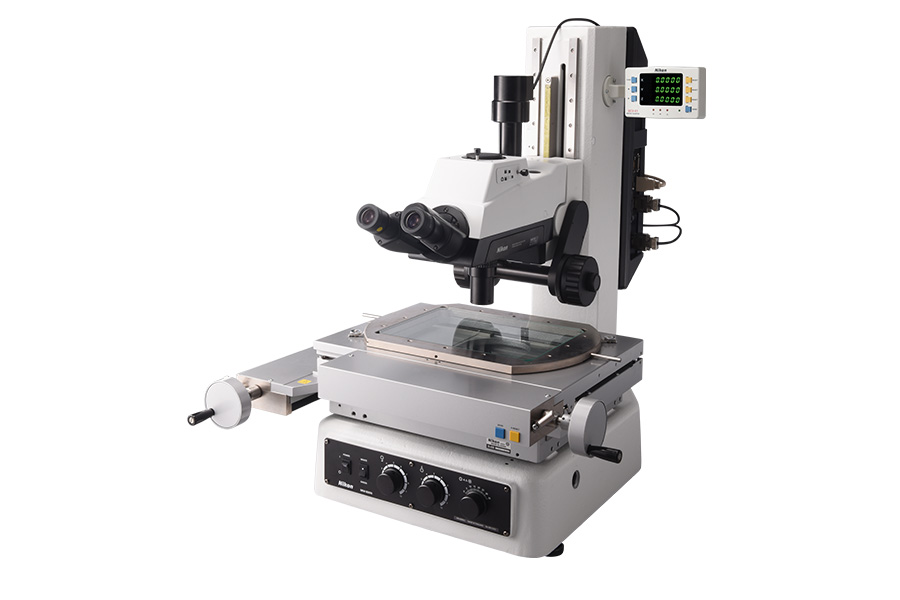
Nikon’s lenses offer superior performance with very long working distances, excellent high-contrast, flat-field images and reduced errors due to their telecentric design.
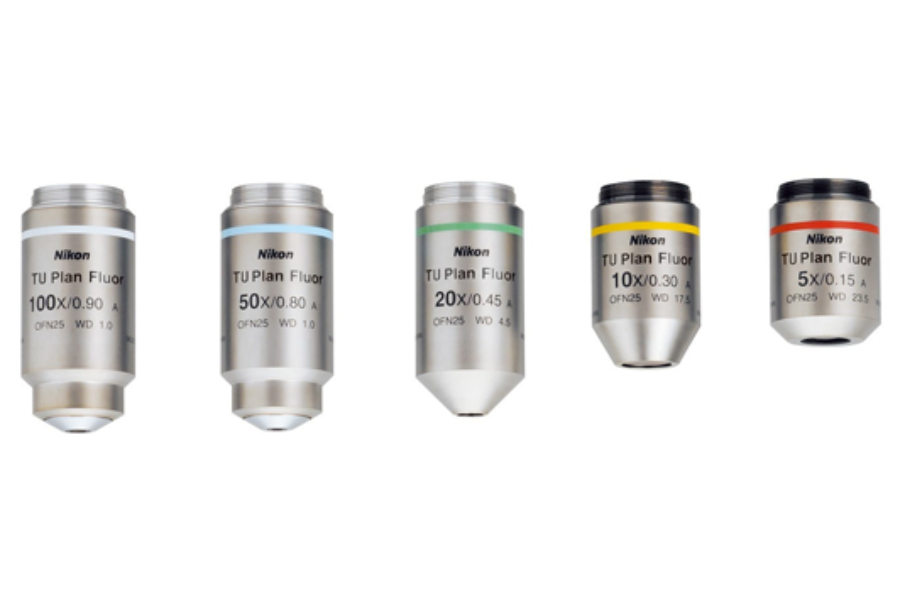
Nikon’s innovative optics enable clear, high-contrast brightfield, darkfield, polarised (POL) and differential interference contrast (DIC) images for precise, accurate measurement of low contrast features.
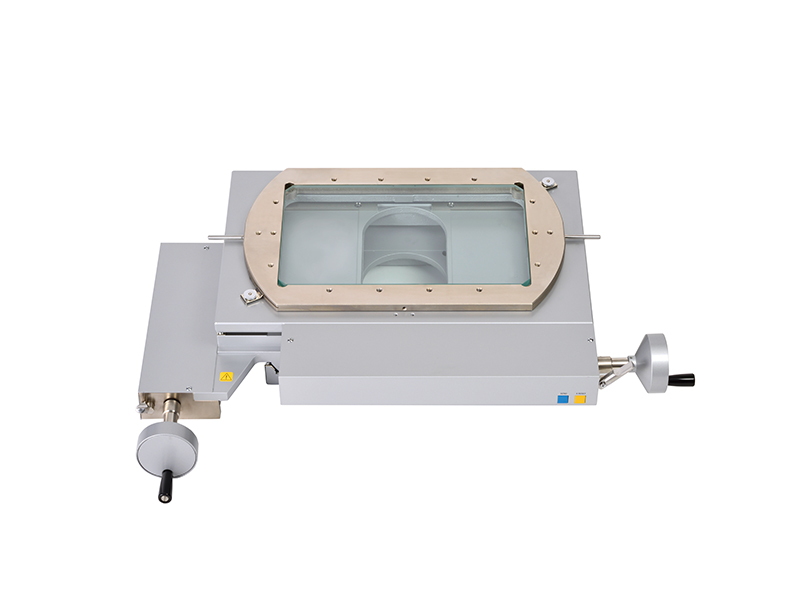
Six robust stages are available for the MM-800N, ranging from 12” x 8” (300 mm x 200 mm) down to 2” x 2” (50 mm x 50 mm), of which the three smaller stages up to 6″ x 4″ (150 mm x 100 mm) are compatible with the MM-400N.
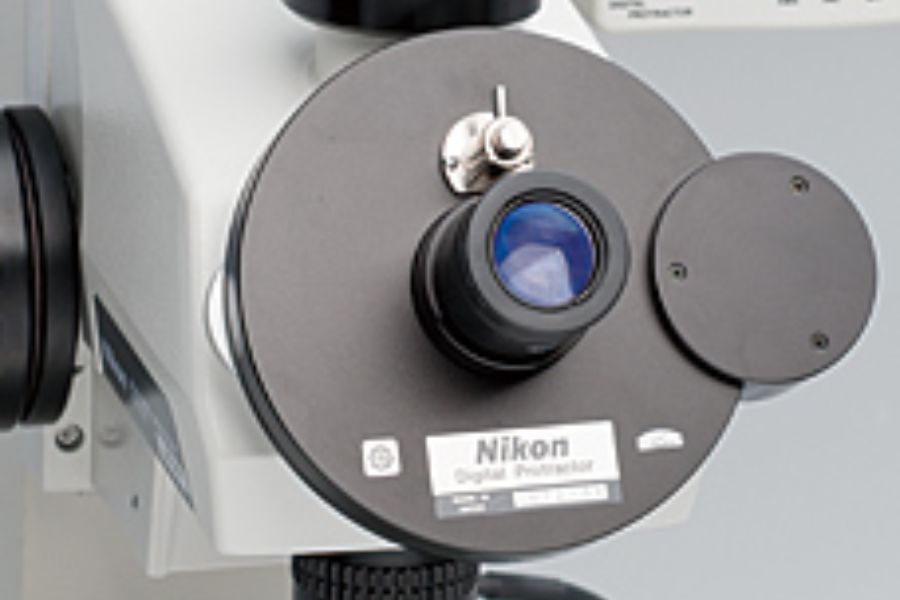
High precision and repeatability as well as accurate results are guaranteed throughout the long service life of the instruments, supported by an extensive range of optical components and accessories.

The outstanding modular range allows the user to optimise measurement performance by configuring exactly the right accessories to achieve an efficient and effective inspection process.
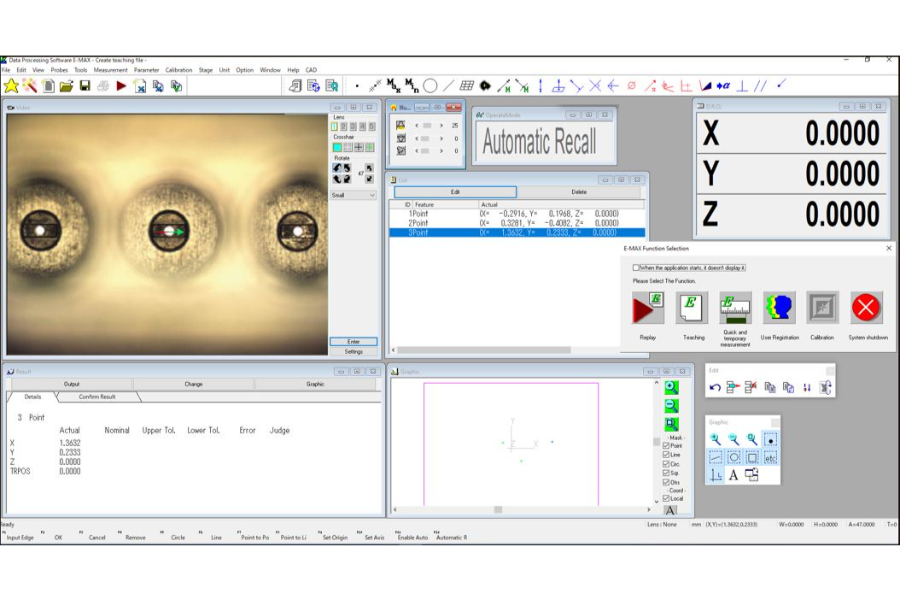
LED illumination settings, XY-stage co-ordinates and Z-axis data are transferred to the MM controller and Nikon’s E-MAX software on a PC for full data processing and system control.
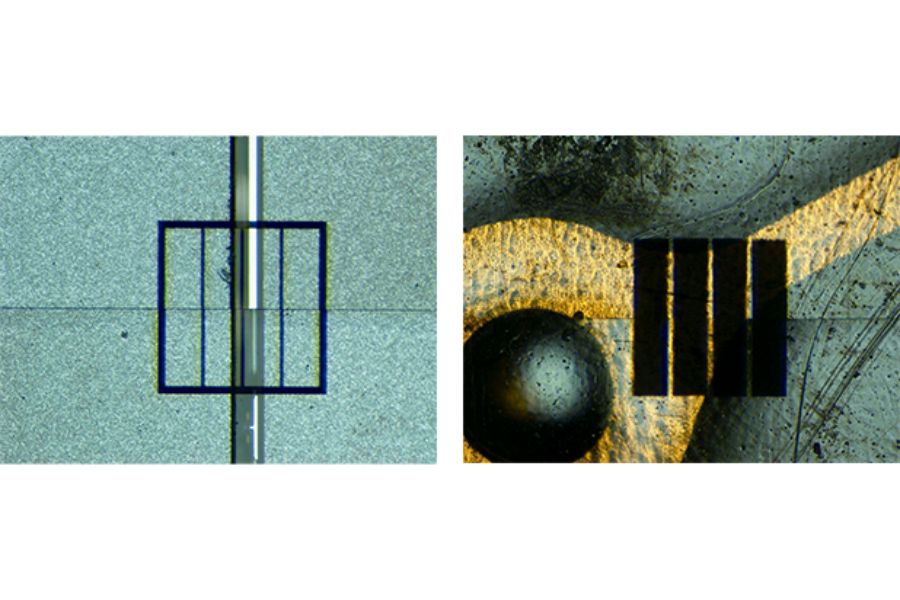
Projected patterns enable accurate, repeatable focusing for excellent Z-axis measurement. Errors due to depth of focus variations are minimised and multiple operators achieve the same results.


Nikon's DP-E1A unit combines accuracy with ease of use. Teaching and measurement files can be exported by USB stick.
Nikon's E-MAX software provides measuring support tools by a common GUI, processing measurement data, exporting results.

From the complete range, the three largest stages have a rotation function .
Achieving precise component alignment over long measuring distances even when measuring samples up to 20kgs, enabling faster and more efficient measuring.

If you would like further details on this product or a more in-depth description, our expert team will provide you with additional information and, if required, arrange an on-site visit.
Talk to us in detail about your project and our experts will advise you on the best inspection system to meet your requirements.
Please fill out the form opposite and we will get in touch with you shortly.