The breakthrough of Additive Manufacturing (also known as 3D printing) came in mainstream commercial/consumer products, but since then the technology has evolved significantly and now important sectors including the automotive, aerospace, and medical industries have discovered the many varied benefits of additive manufacturing. In these industries, where safety and integrity of components is life-critical, companies adopt Computed Tomography (CT) as the peerless quality assurance tool.
For this Scan of January, we have scanned 3D printed samples from a material collection provided by POLYVIA, the French trade association for the Plastics and Composites industry. These samples made with Polyamide and Carbon fiber have been scanned with different resolutions (51 µm, 41 µm, 17 µm and 5 µm) in order to present the CT capacities for AM.
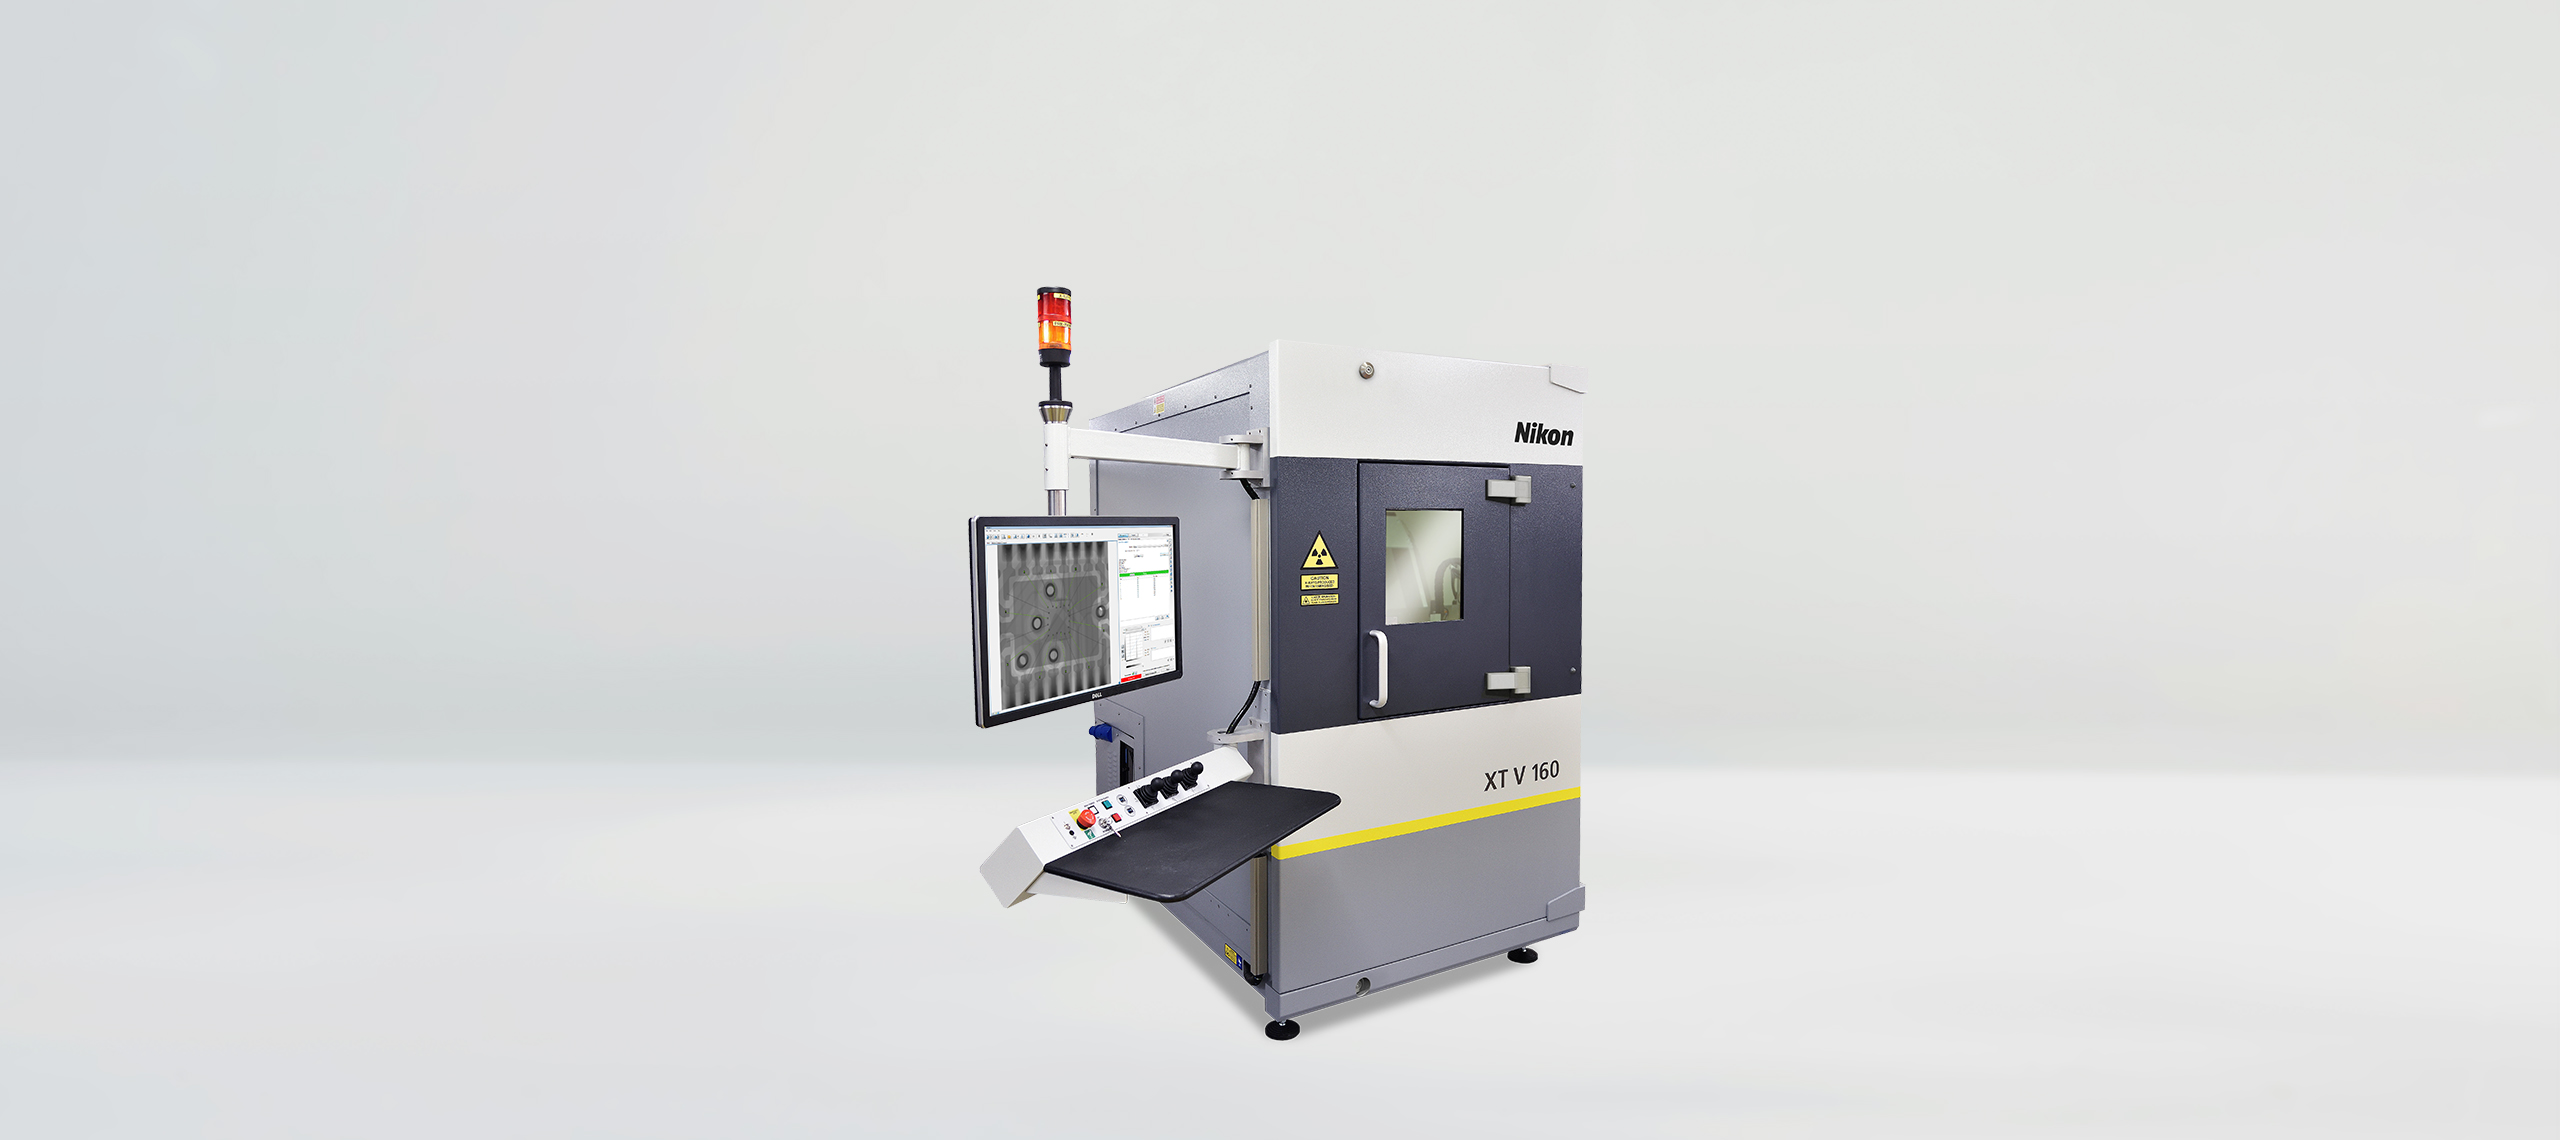
These scans were performed by Lauren Enghien (Applications engineering manager X-ray & CT). The X-ray CT scans were acquired at a combined X-ray power between 7 and 50 Watts and a voxel resolutions between 5 and 51 µm, using a Nikon XT H 225 ST 2x. This system comes equipped with up to three different Nikon microfocus X-ray sources: a 180 kV, 20 W transmission target, a 225 kV, 225 W reflection target and a 225 kV, 450 W Rotating.Target 2.0. The scans were performed using the 225 kV reflection target coupled with a Varex XRD 4343CT flat panel detector. For these scans the detector acquired more than 4000 projections (individual radiographs) at an exposure time between 125 and 354 ms, resulting in a total scan time between 9 minutes and 26 minutes.
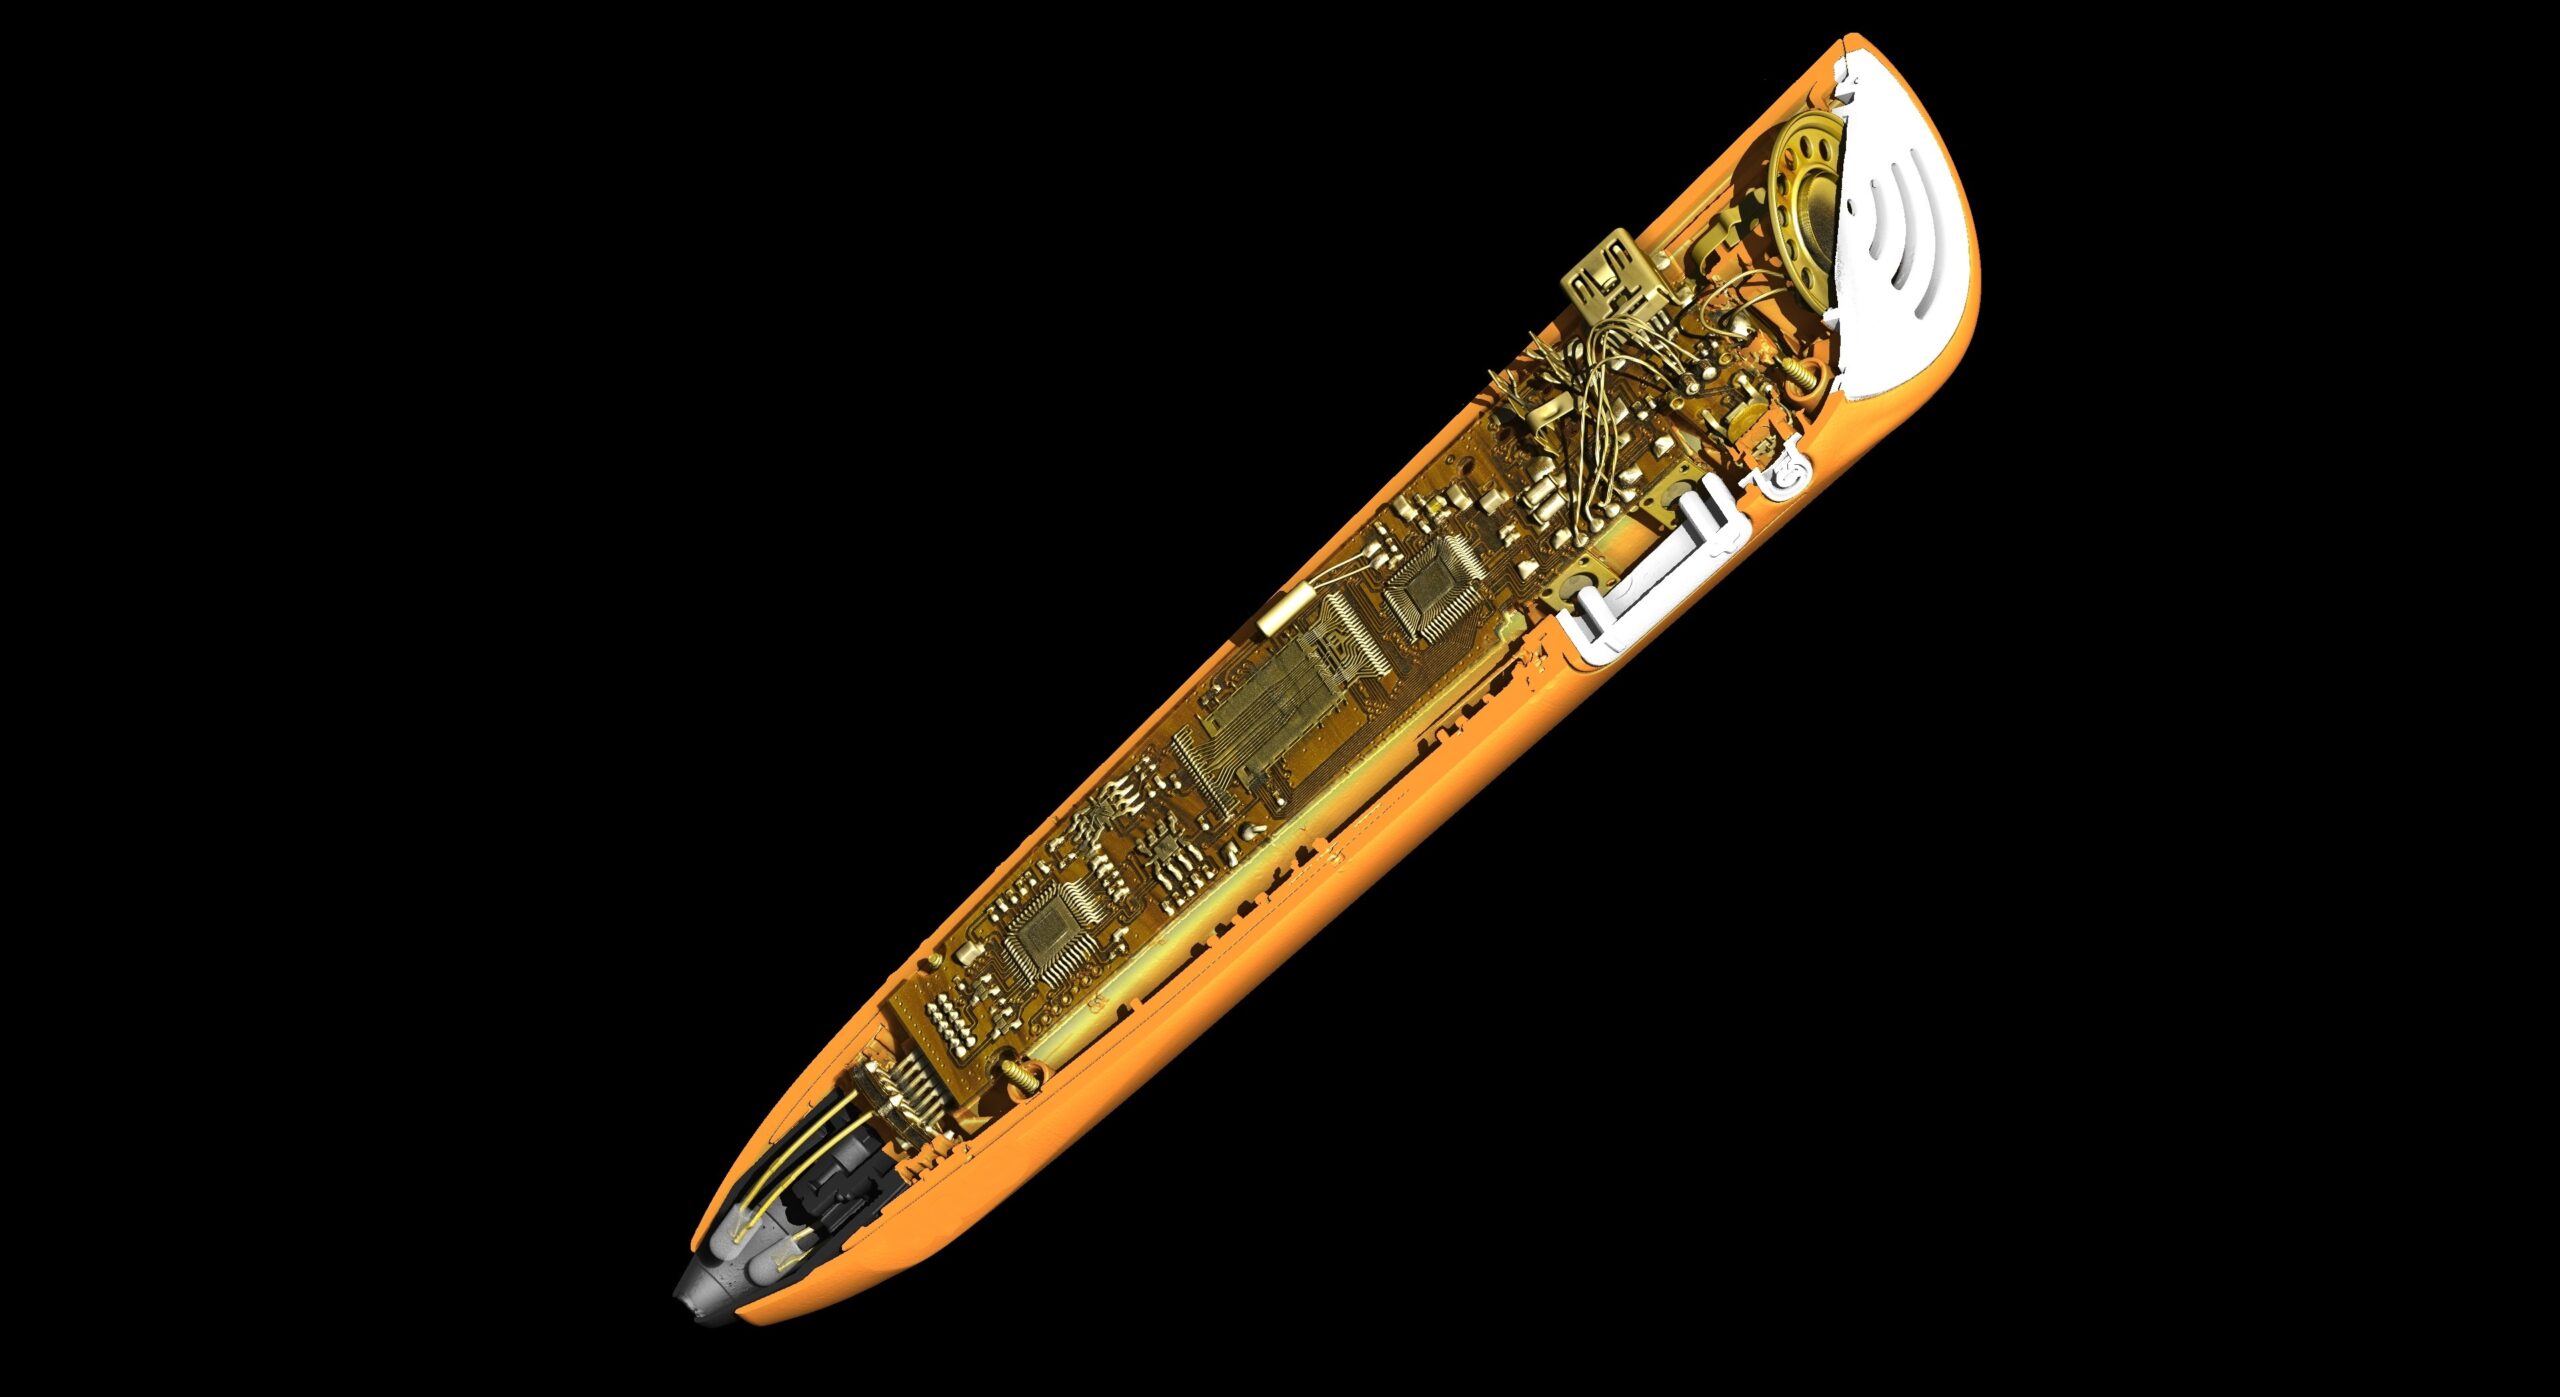
X-ray CT not only offer the evaluation of discontinuities and flaws in prototypes, but it also delivers a comprehensive evaluation of complex inner health and a whole dimensional control. That’s why many manufacturers have already integrated CT in their additive manufacturing process to get a faster optimization of AM prototyping production parameters and processes.
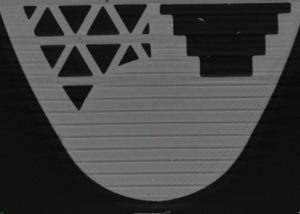
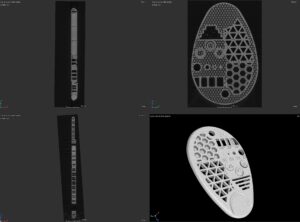
The inclusions and a lack of fulfilling are visible with a resolution of 41 µm
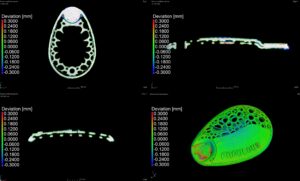
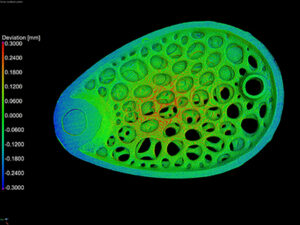 An acquisition done with a resolution of 51 µm allows the 3D mapping of dimensional gaps with reference and wall thicknesses.
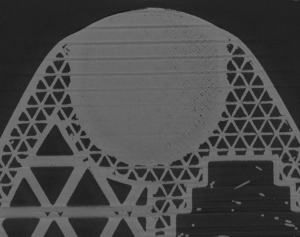
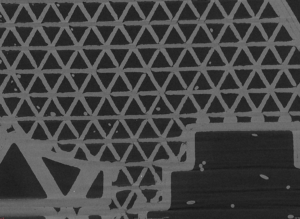
Thanks to a 17 µm acquisition, we can see much more details, porosities, and smaller inclusions.
To conclude, X-ray CT provides a non-destructive measure of complex internal shapes and features, and it enables the evaluation of defects, inclusions and voids in metal or plastic 3D printed parts with high accuracy and detail.
