Metrology professionals in the automotive sector are often confronted with harsh “speed limits” in terms of measurement setup and execution that tend to constrain throughput. Speed and precision rule side-by-side for carmakers, and operators cannot afford to be forced into choosing one or the other. Yet many pieces of measurement equipment do just that, and technicians struggle to reconcile the need for the speed represented by in-line sensors with the superior accuracy of off-line fixed CMMs.
Today, Laser Radar (LR) technology is changing that equation. Nikon Metrology’s new APDIS Laser Radar solution is a particularly effective tool for a wide variety of metrology applications within the automotive sectors. APDIS combines ease of use, speed, accuracy, and flexibility to unlock peerless value for manufacturing engineers. The result is better measurement efficiency that drives improvement and allows work to flow more easily across the factory floor.
Lasers and Mirrors
An LR system provides exceptional support for large-volume, close-tolerance manufacturing, inspection, and assembly applications. The system employs an eye-safe coherent, frequency-modulated laser beam steered by a high-precision pointing mirror onto the tested part. As the light from the laser travels to and from the target, the phase shift is detected as part of a heterodyne interferometer producing the most sensitive radar possible. An onboard reference signal maintains the high accuracy of this distance measurement. The precise measurement of the returning laser signal coupled with the mirror position is how the LR system assesses the three-dimensional characteristics of the part under test.
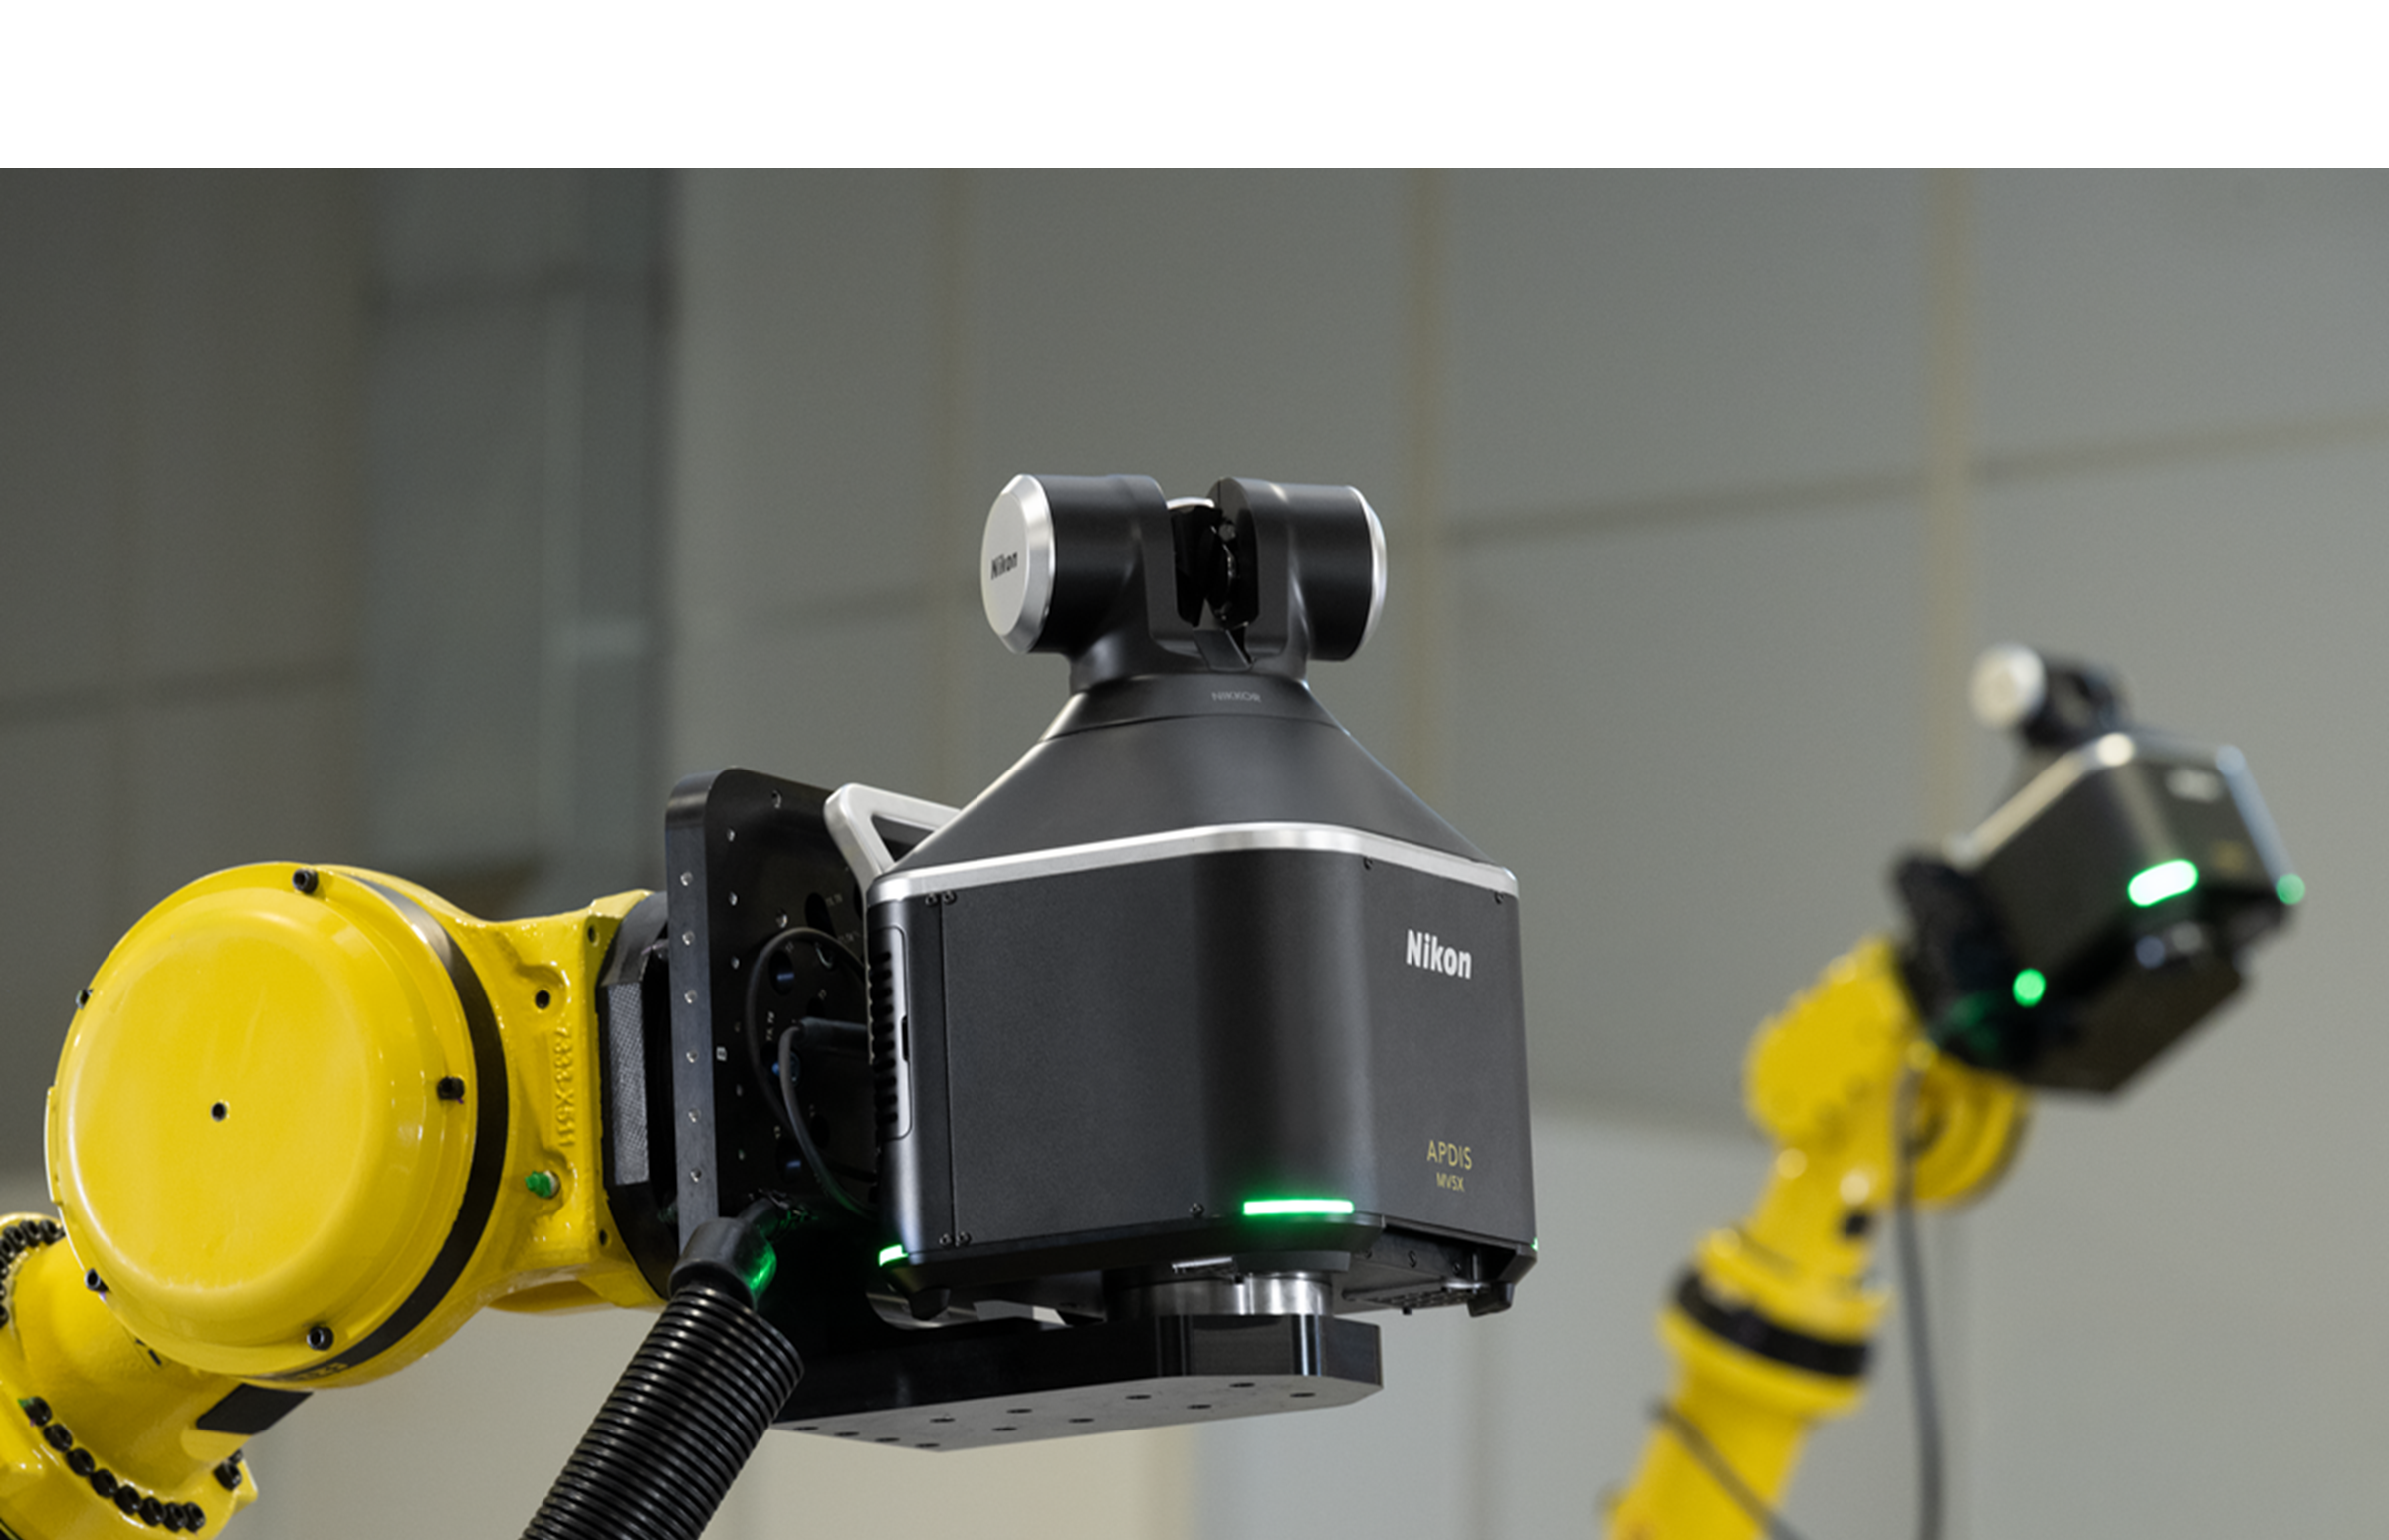
The nature of LR means that these compact systems are particularly well-suited to large-volume measurement applications. LR is a noncontact form of measurement and, given appropriate line-of-sight, it has few limitations in terms of the size of parts to be inspected. It also accommodates measurement either on or off the production line due to a wide working temperature range and IP-54 protection. Another notable advantage of LR is that it integrates nicely with the robotics that power the efficiency and throughput requirements that define the modern manufacturing industry, and it can run completely automatically—another big plus from the standpoint of efficiency and time savings.
APDIS – Enhanced Metrology
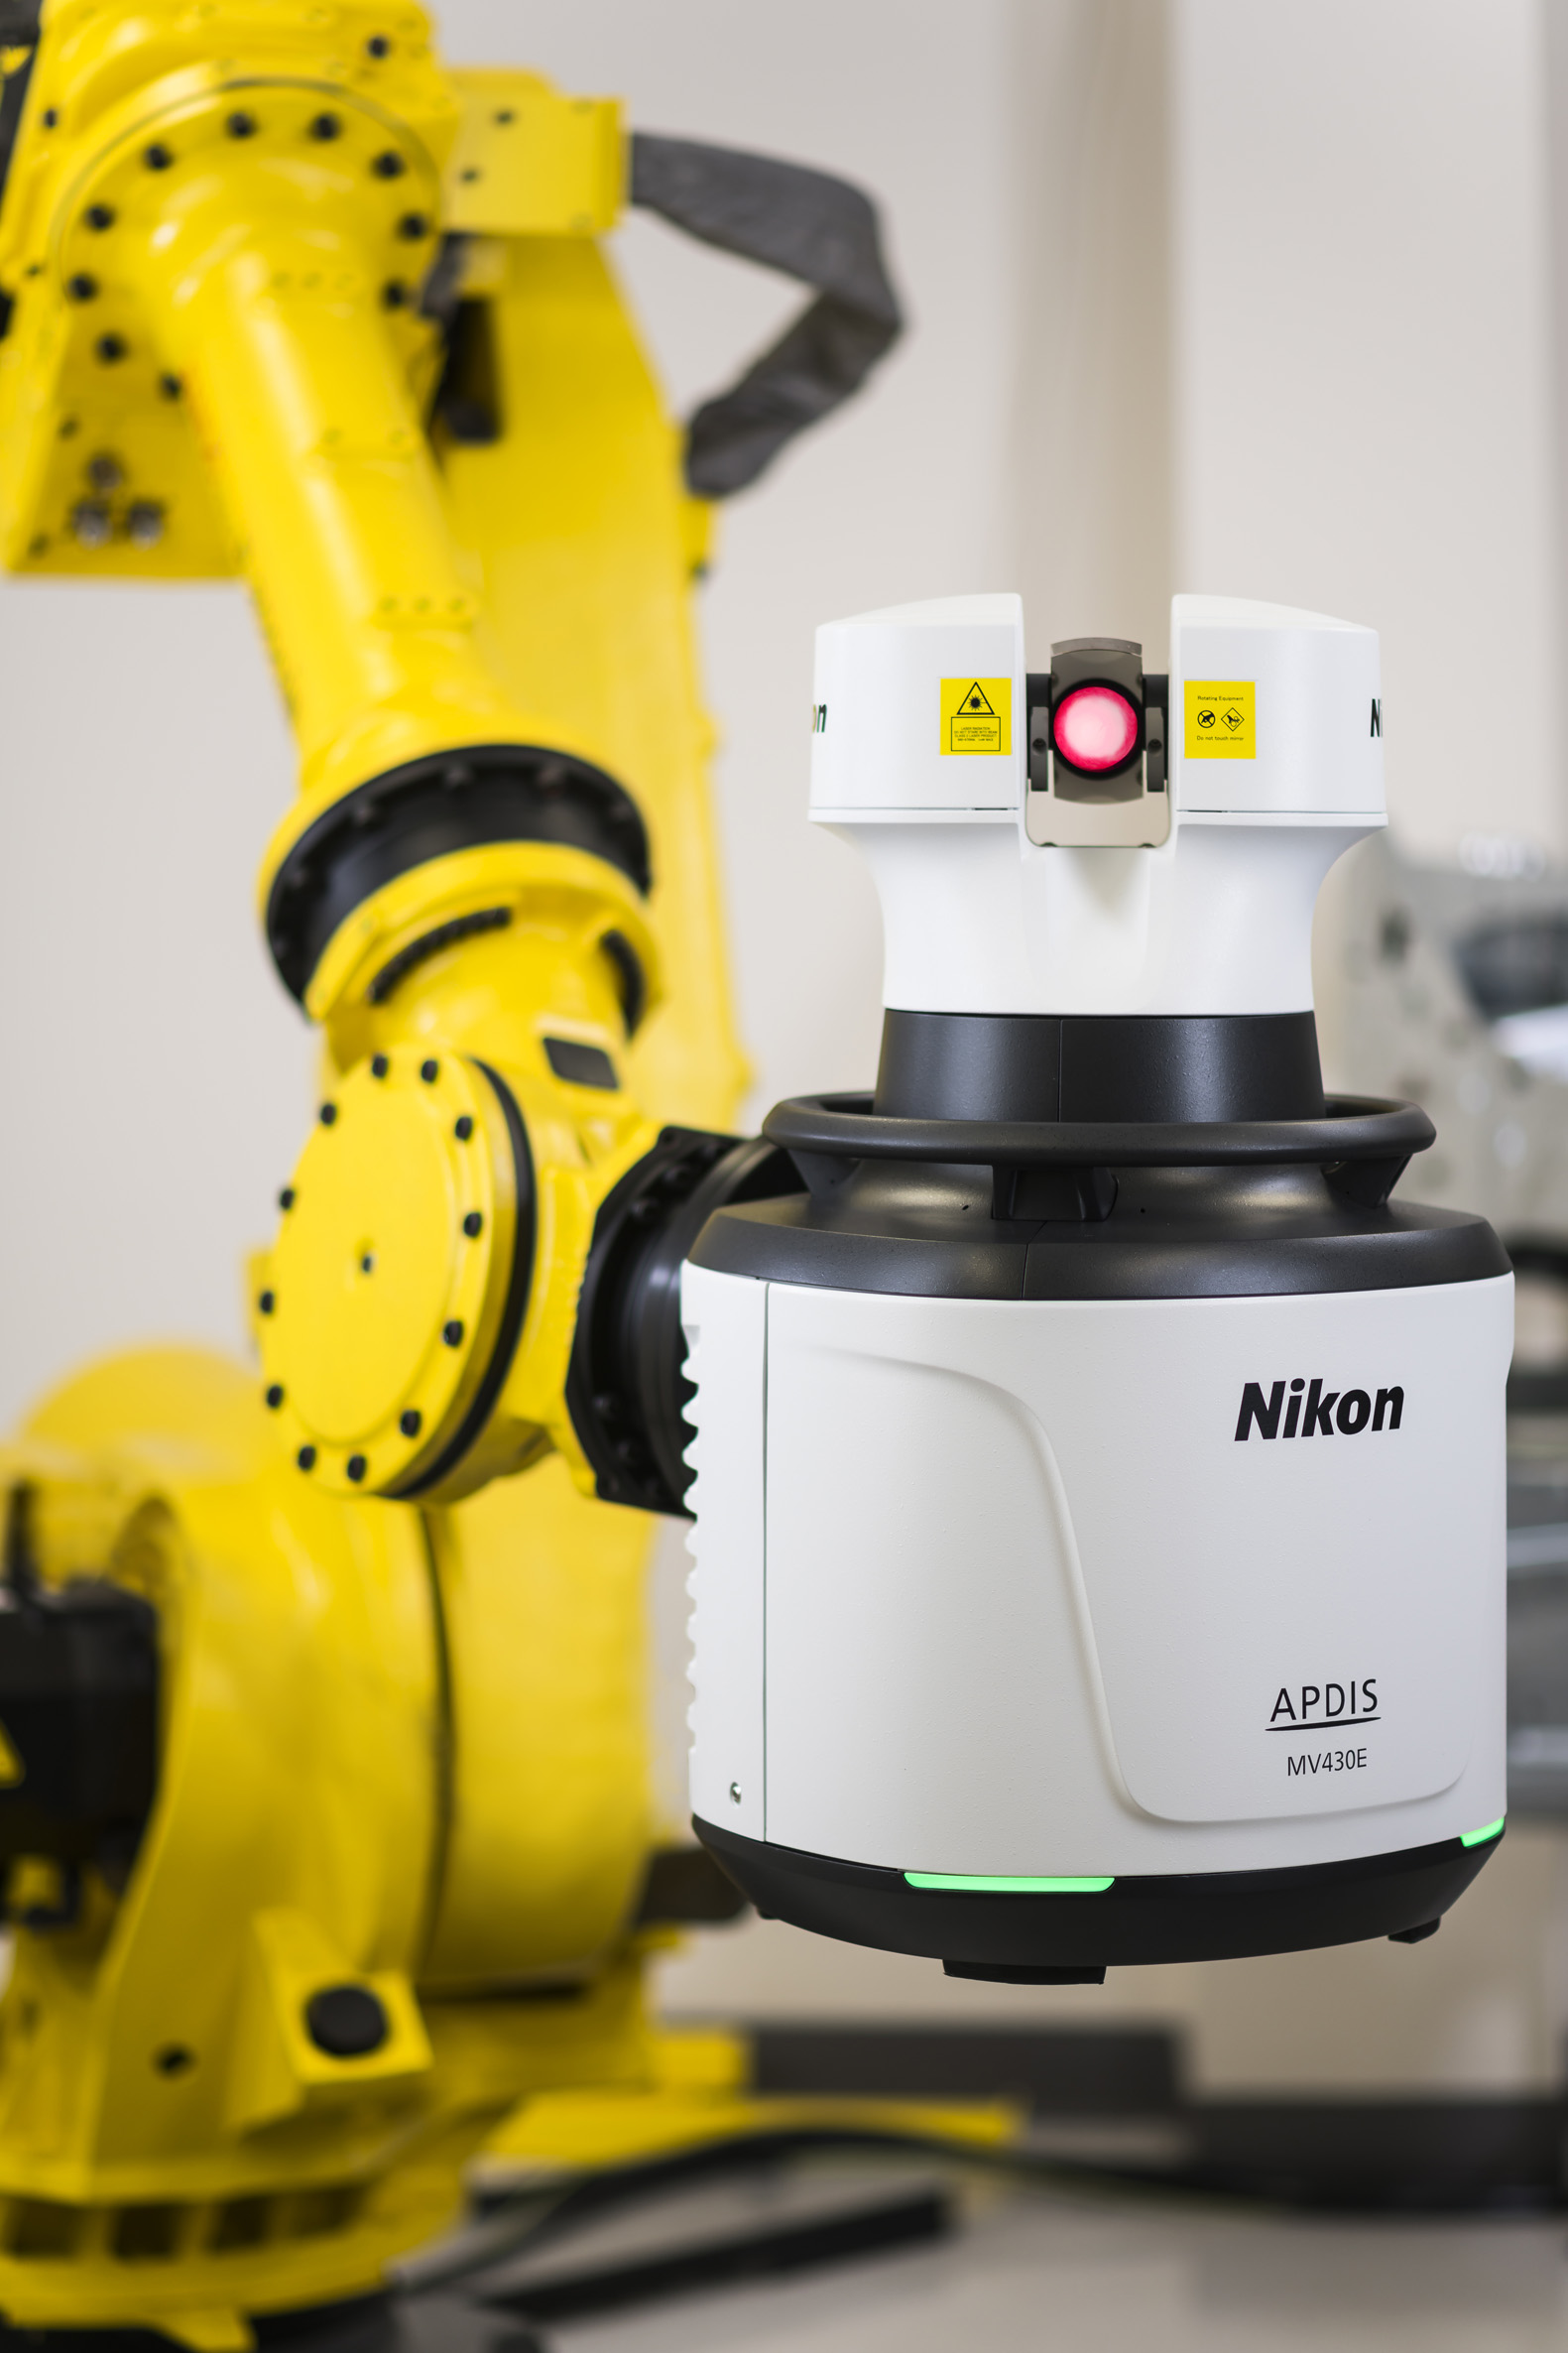
APDIS offers best-in-class LR functionality. From a physical perspective, it is 25 percent shorter and 40 percent lighter than previous Nikon Metrology LR systems. APDIS includes standard 3.5-in. threaded mounts to interface with off-the-shelf stand designs, and improved robot-mounting functionality, too. For automated and shop floor environments, indicator lights give system feedback from all directions. It has been redesigned internally as well, starting with Nikon optics, which permits improved focus performance and up to four times better video resolution. This gives the operator a much clearer view of the parts being measured.
A major change in APDIS vs. earlier Nikon Metrology LR models is the Enhanced Feature Scan technology, which permits up to doubling of the measuring speed and advances in measurement sequencing. This yields considerable productivity increases, better throughput, and more data acquisition in a similar amount of time. It all means productivity improvement as well as enhanced overall data quality for users.
Finally, APDIS nicely interfaces with a wide variety of third-party data-analysis software, allowing operators to work in a software environment to which they have become accustomed. The amount of acquired raw data is robust (up to 1,000 points per second typically) yet is easily analyzed within these platforms.
APDIS in Automotive
Nikon Metrology developed APDIS in large part to address the needs of metrologists within the automotive sector. Many of their measurement applications require the kind of fast, automated, in-line inspection for which APDIS is particularly well suited.
“The automotive industry is looking at moving metrology to the production line,” says Paul Lightowler, Nikon Metrology’s Global Product Manager for Laser Radar. “To do that, they need good, high-quality metrology data, and they need it fast.
“Metrologists need to be able to measure the cars as they come down the production line to make sure that all of the welding, all of the fixturing, and everything else needed to put that car together is correct,” continues Lightowler. “Now, traditionally, the only way to do that at high accuracy, would be to take the car out of the line and move it to the metrology room. A complete measurement might take a full shift, and then they must look at the acquired data and feed it back into the line to make any necessary changes. Now, by installing APDIS directly on the line, that high-accuracy data is available right from the start; you can take those measurements as you’re making the cars, which allows you to go from measuring perhaps five full car bodies to measuring as many as 50 as you commission the line. And the more data you acquire, the faster you can fine-tune your process. We have customers who have implemented this system and shaved months off their launch time. That’s a huge return on investment.”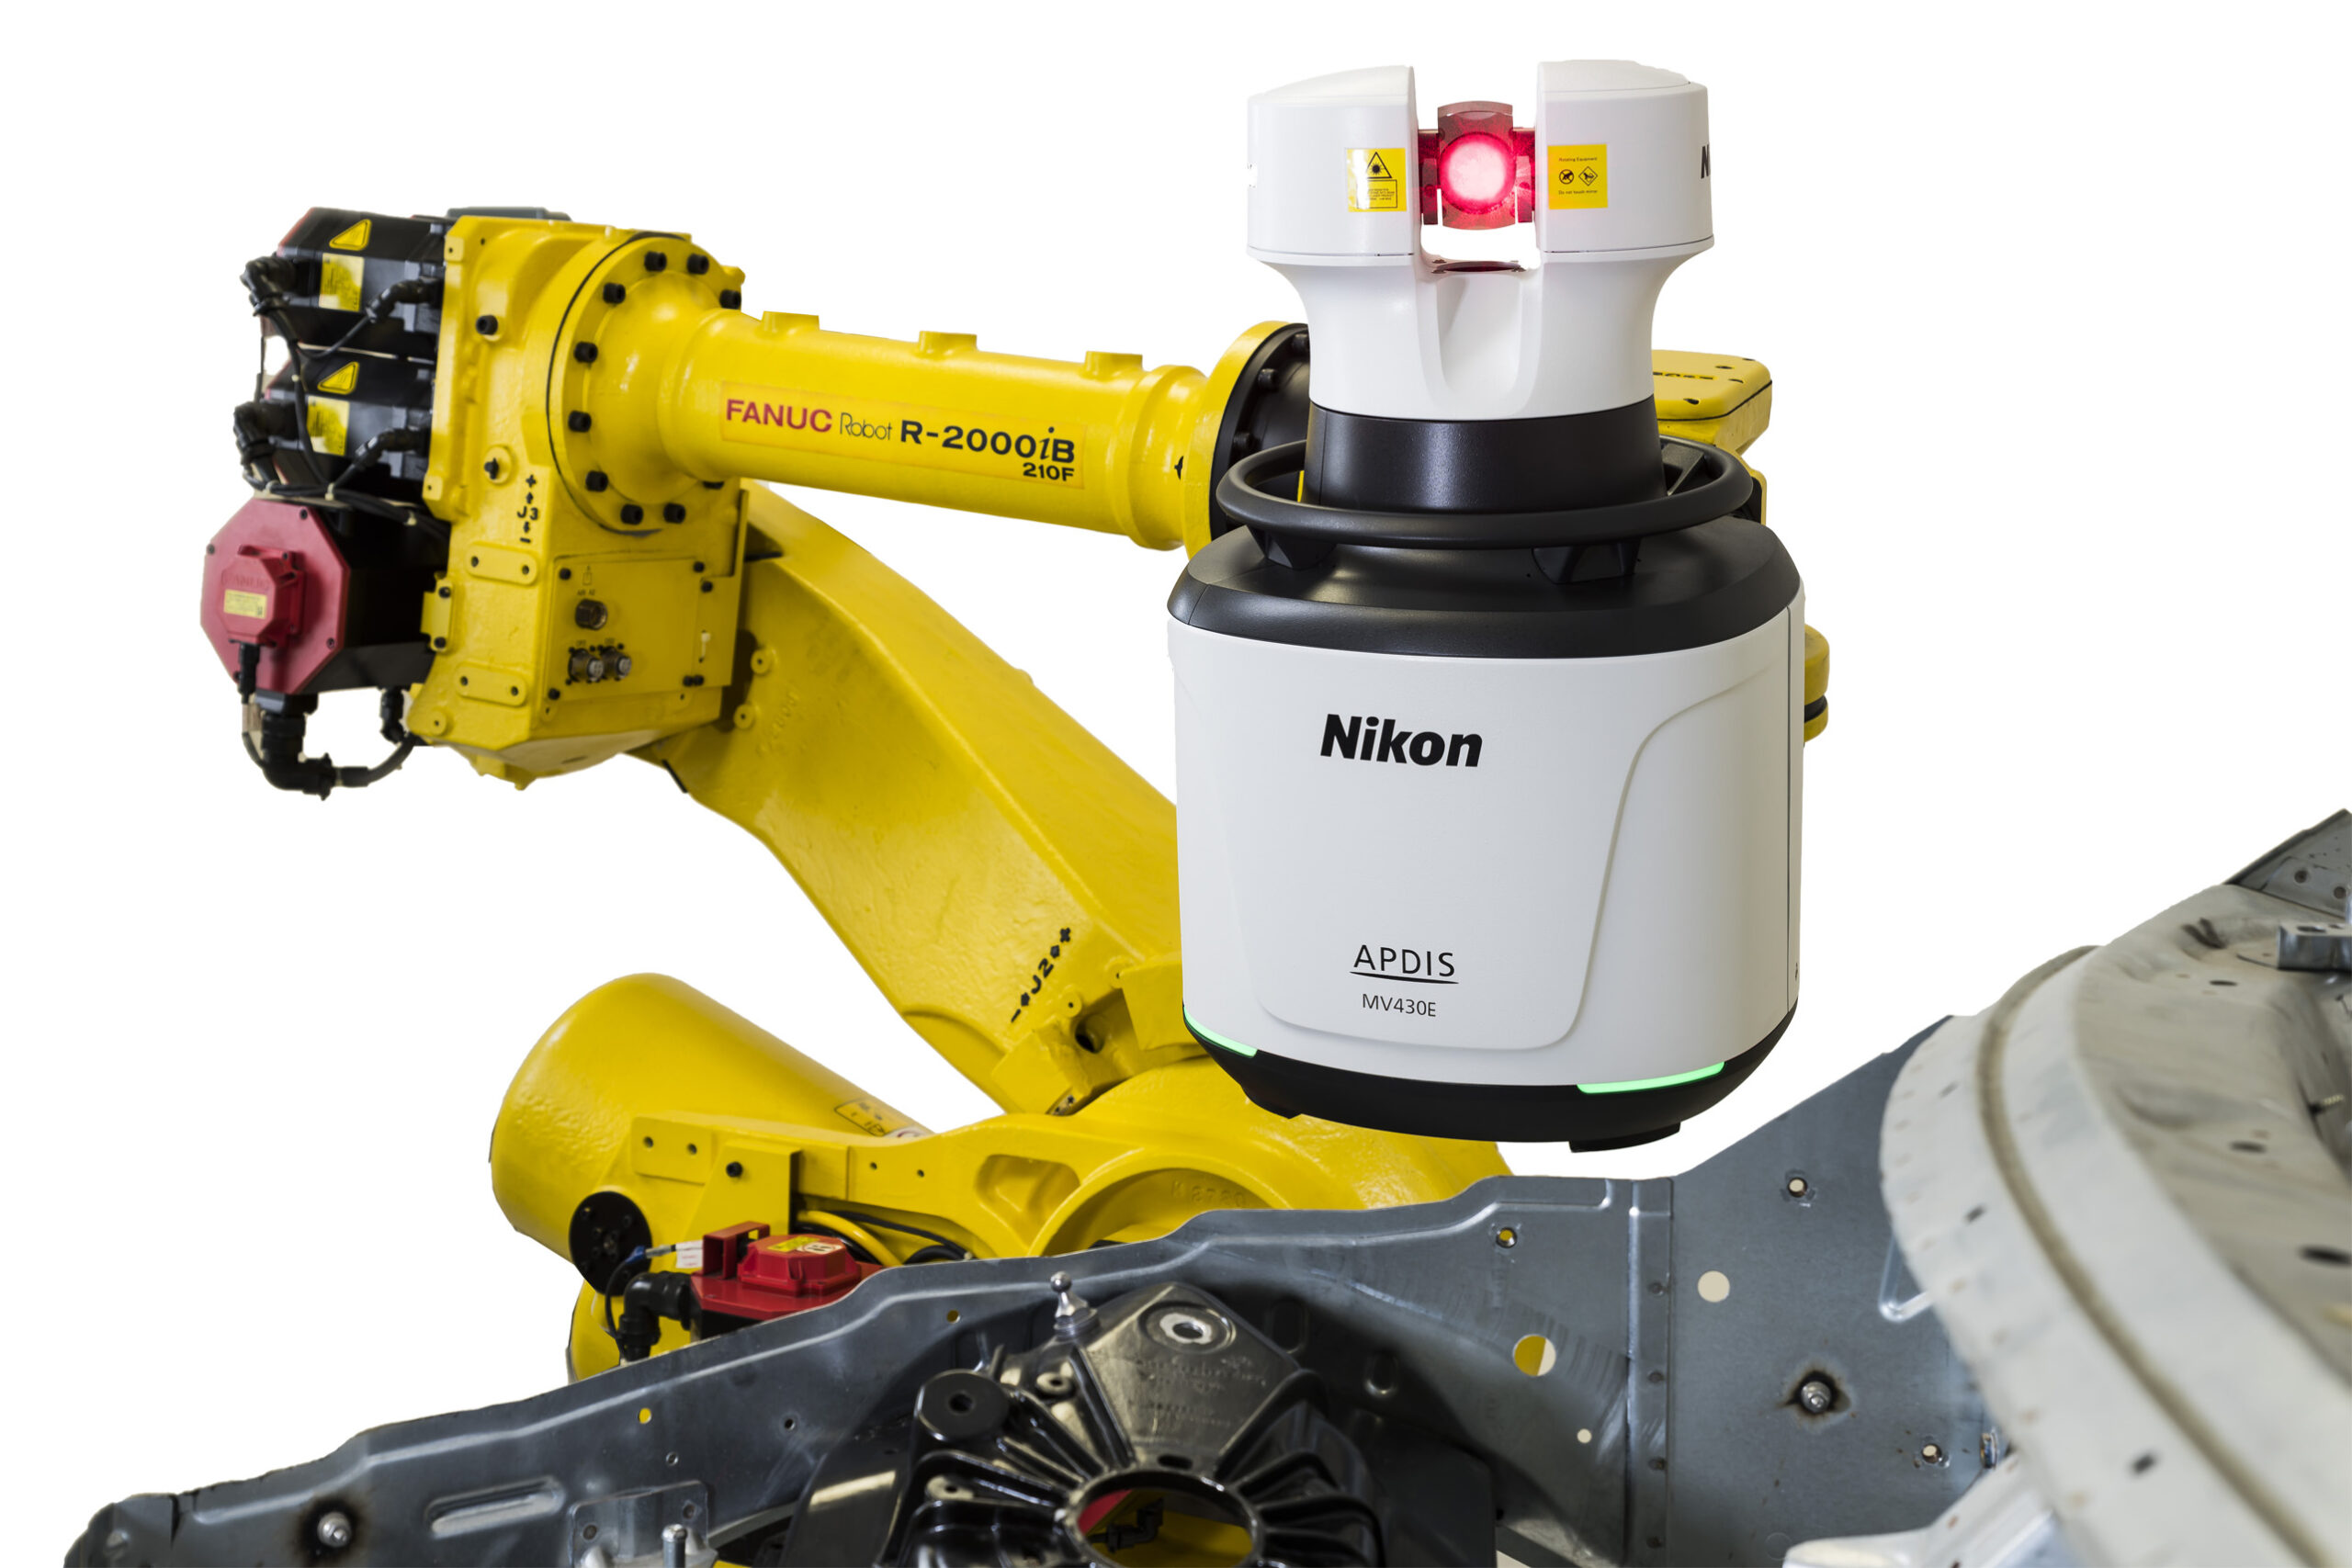
Removing the Bottleneck
Automotive manufacturers simply cannot afford their metrology systems to become bottlenecks in their processes. Because of these needs for efficiency and throughput, sensor-based in-line systems have proliferated within the sector. The problem with many of those systems are their limitations in terms of accuracy. They are sophisticated enough to tell that a feature may have moved, but it’s difficult if not impossible to tell if a feature is in the right place as compared to another feature. Fixed CMMs, on the other hand, offer great accuracy but that is largely negated in many applications by the time it takes to complete the measurements.
A cutting-edge LR system like APDIS is built for exactly this situation by offering high speed, great mobility, and superior accuracy. It’s like a CMM with the flexibility to be placed where needed on the production line, and it also happens to be far faster than a CMM. In addition, the measuring range for APDIS starts from half a meter, which allows for compact installations while maintaining a large standoff, minimizing the risk of accidental collisions with the part.
Another important upgrade in APDIS which should be reiterated is its IP-54 rating. This offers protection against dust, chips, or moisture that may be found in rugged manufacturing environments improving reliability. This is another example of how this cutting-edge LR solution has been redesigned from the ground up with the needs of the user in mind. That applies to all sectors, but automotive most particularly.
Lessons Learned
Metrology advancements within automotive—really, within any sector—are always built on the shoulders of the technologies that have come before. Nikon Metrology’s MV 331 Laser Radar, for example, was a well-received product that functioned effectively for in-line automotive applications and which demonstrated the ability to integrate nicely with robots. But APDIS offers upgrades in speed, reliability, and usability over the MV 331 that built on its already significant advantages.
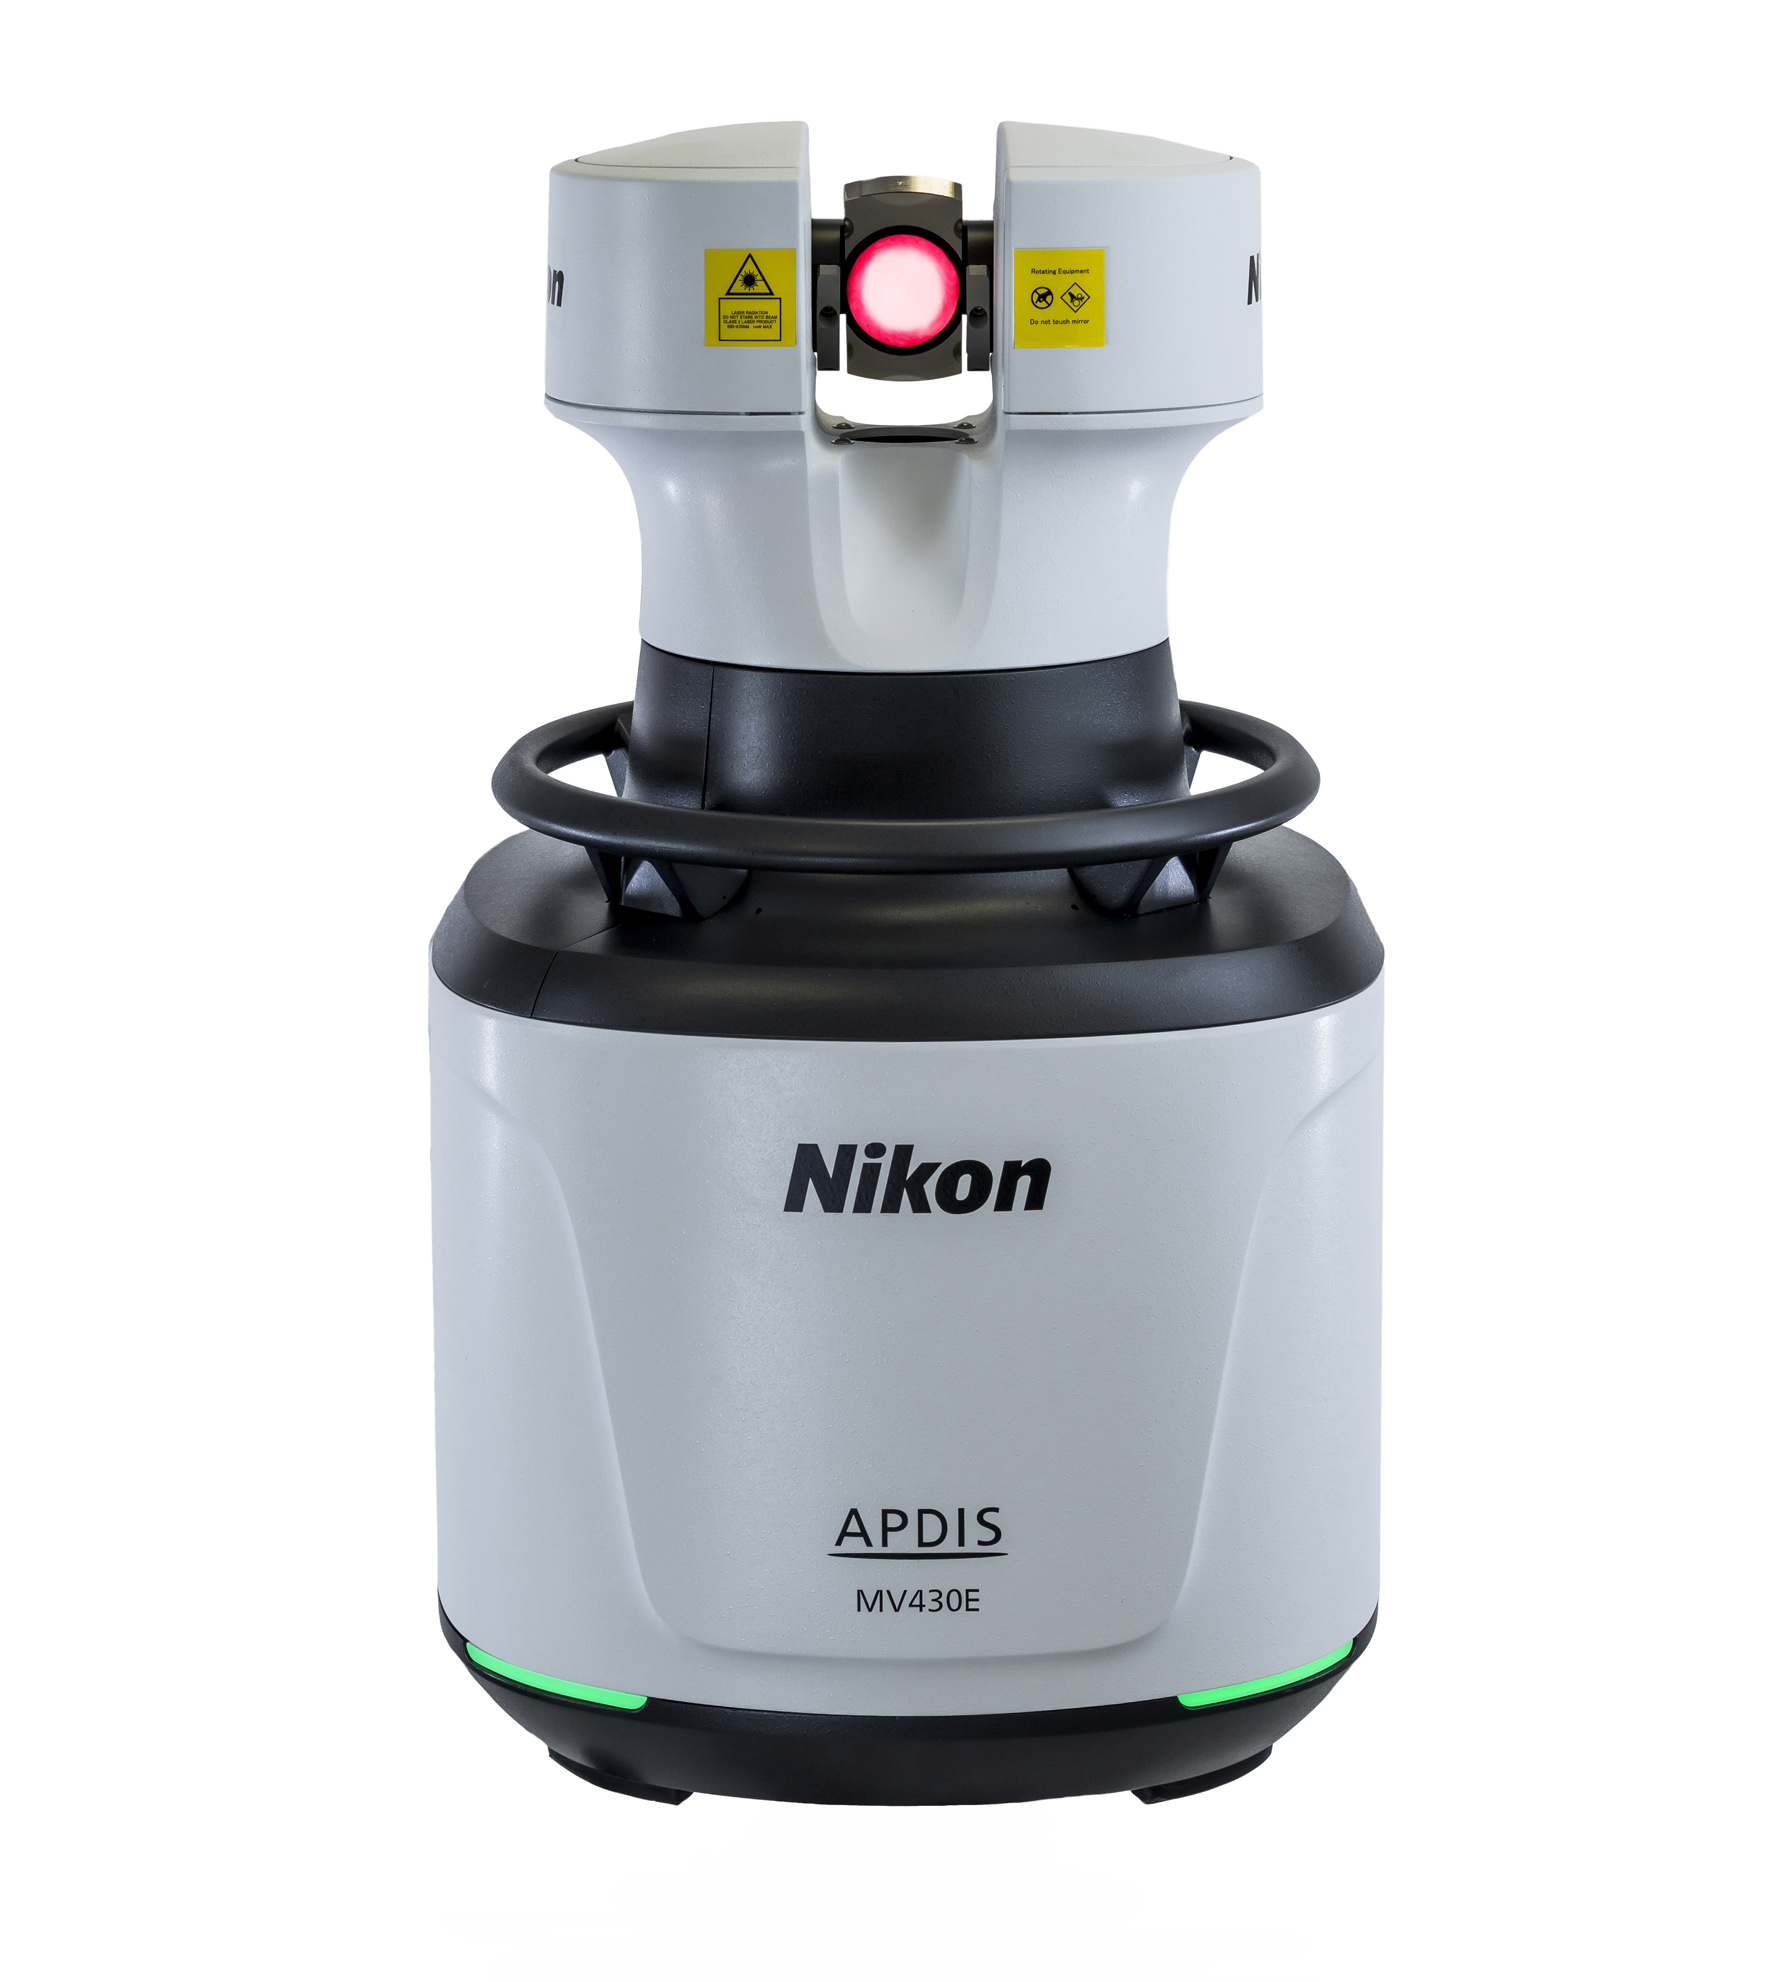
Many of the lessons learned about automation and its integration on the shop floor have long-term implications for industry, especially within automotive. There are many critical automated measurement functions that can be integrated into APDIS, including flush-and-gap analysis, body systems, and off-line panel machines. This is a multifunctional system that can be adapted within these systems that are already in place within the automotive industry.
Learning can never stop within industry. One new feature of the enhanced model of APDIS is a vibration measurement mode that measures surface vibration from a distance from half a meter to as many as 50 meters away. That’s an application that many users are still discovering and for which new applications are being uncovered.
“There are just so many different applications for APDIS,” concludes Lightowler. “That’s the point: It’s a flexible system that works on the shop floor, in metrology rooms, in different industries, in-line, and automated. Users are constantly finding new things to do with it. This is an exciting time for us, and we’re pleased that we can use this as a springboard to expand the customer base and find new applications. We’re just going to continue talking to people and discovering what their problems and challenges are so that we can investigate how to best solve them.”
