Thank you all for joining the second session of the Laser Radar Webinar Series with a focus on APDIS as a CMM Replacement: A Paradigm Shift in Absolute Measurement. Watch the recording here and find some frequently asked questions.
Traditional CMMs are a well-established technology in automotive quality control. They are usually installed with touch-probes and generate accurate and repeatable data. One downside is the location of a CMM: they need a dedicated room with temperature, pressure and humidity control, an extensive foundation and utilise certain materials (ceramics & granite etc.) to achieve accuracy.
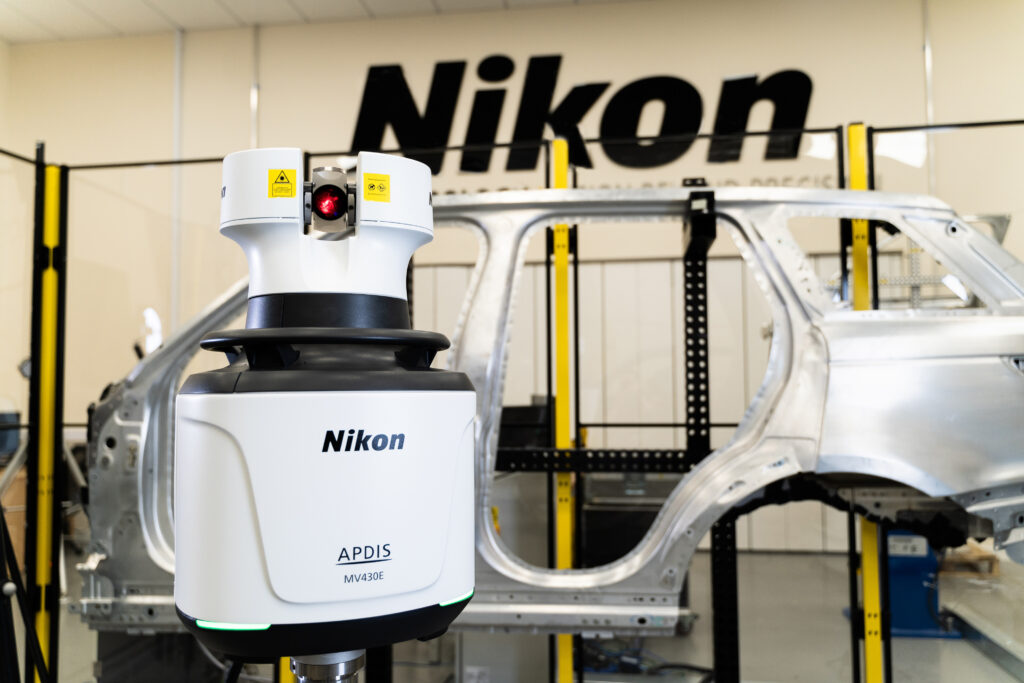
Installing the APDIS Laser Radar set up on rails with turntables is as accurate as HA CMM – direct comparison has seen APDIS is more accurate. The system can be installed directly on the shop floor, close to the assembly process where it is needed and increases the measurement throughput.
Find a short FAQ session below and watch the recording if you missed the live webinar: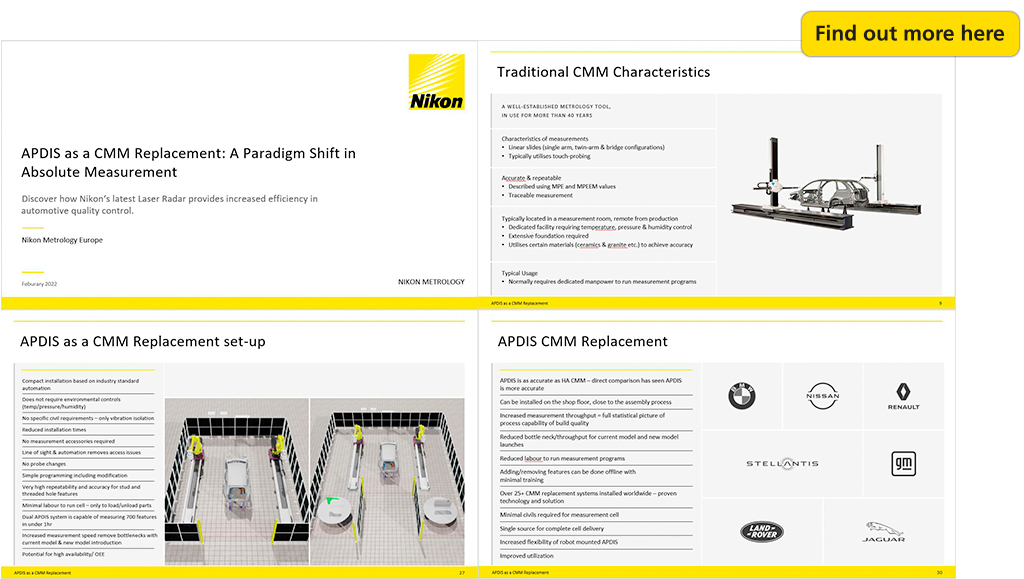
1. Is it possible to measure displacement, for example temperature increase?
We can measure ambient temperature where the Laser Radar is measuring. This is logged in a file and can be called via a macro in the measurement software to determine ambient temperature at the time of measurement.
2. Can you connect to two laser radars with one computer/client?
This is possible. It requires 2 instances of Polyworks running on the same PC. At this point the cost of a machine capable of running 2 instances of Polyworks with full CAD models can be cost prohibitive.
3. How many reference balls do you need for a body in white?
A minimum of 3 tooling balls is required for each measurement position. For a BIW, this can vary from 30 to 60 – depending on the size of the part, number of features, placement of features, etc..
4. How many robot poses are required for a typical full BIW inspection that compares with full CMM inspection?
During the design phase, the number of measurement positions (robot poses) will be determined – again this is based on size of part, number of features, location of features, etc..
Typically, we will find between 8 to 14 positions required, but this is completely dependent on the points above.
5. How is the data managed, stored for run data, trend analysis, does Nikon provide software for this?
Polyworks is the primary measurement software used with the Laser Radar. Polyworks can store raw scans, export txt or csv (any many other) formats into the customers database, export PDF reports in customer formats, etc..
6. Is real-time robot tracking an alternative to robot pose calibration using the tooling balls?
It is possible to track the robot with an external device. This has not been developed together with a Laser Radar application. By using the Laser Radar to create the alignment, no accuracy is lost due to an external device – if the accuracy of the external tracking device is not as accurate as the Laser Radar.
