Spencer Smith is the Sales Manager for the UK within the Microscopy Business Unit. He has over 21 years of experience working with Nikon microscopes in the materials and metrology sectors. Today we spoke to him about Nikon’s range of Measuring Microscopes and the many benefits they provide for customers.
Hi Spencer, what is a Measuring Microscope?
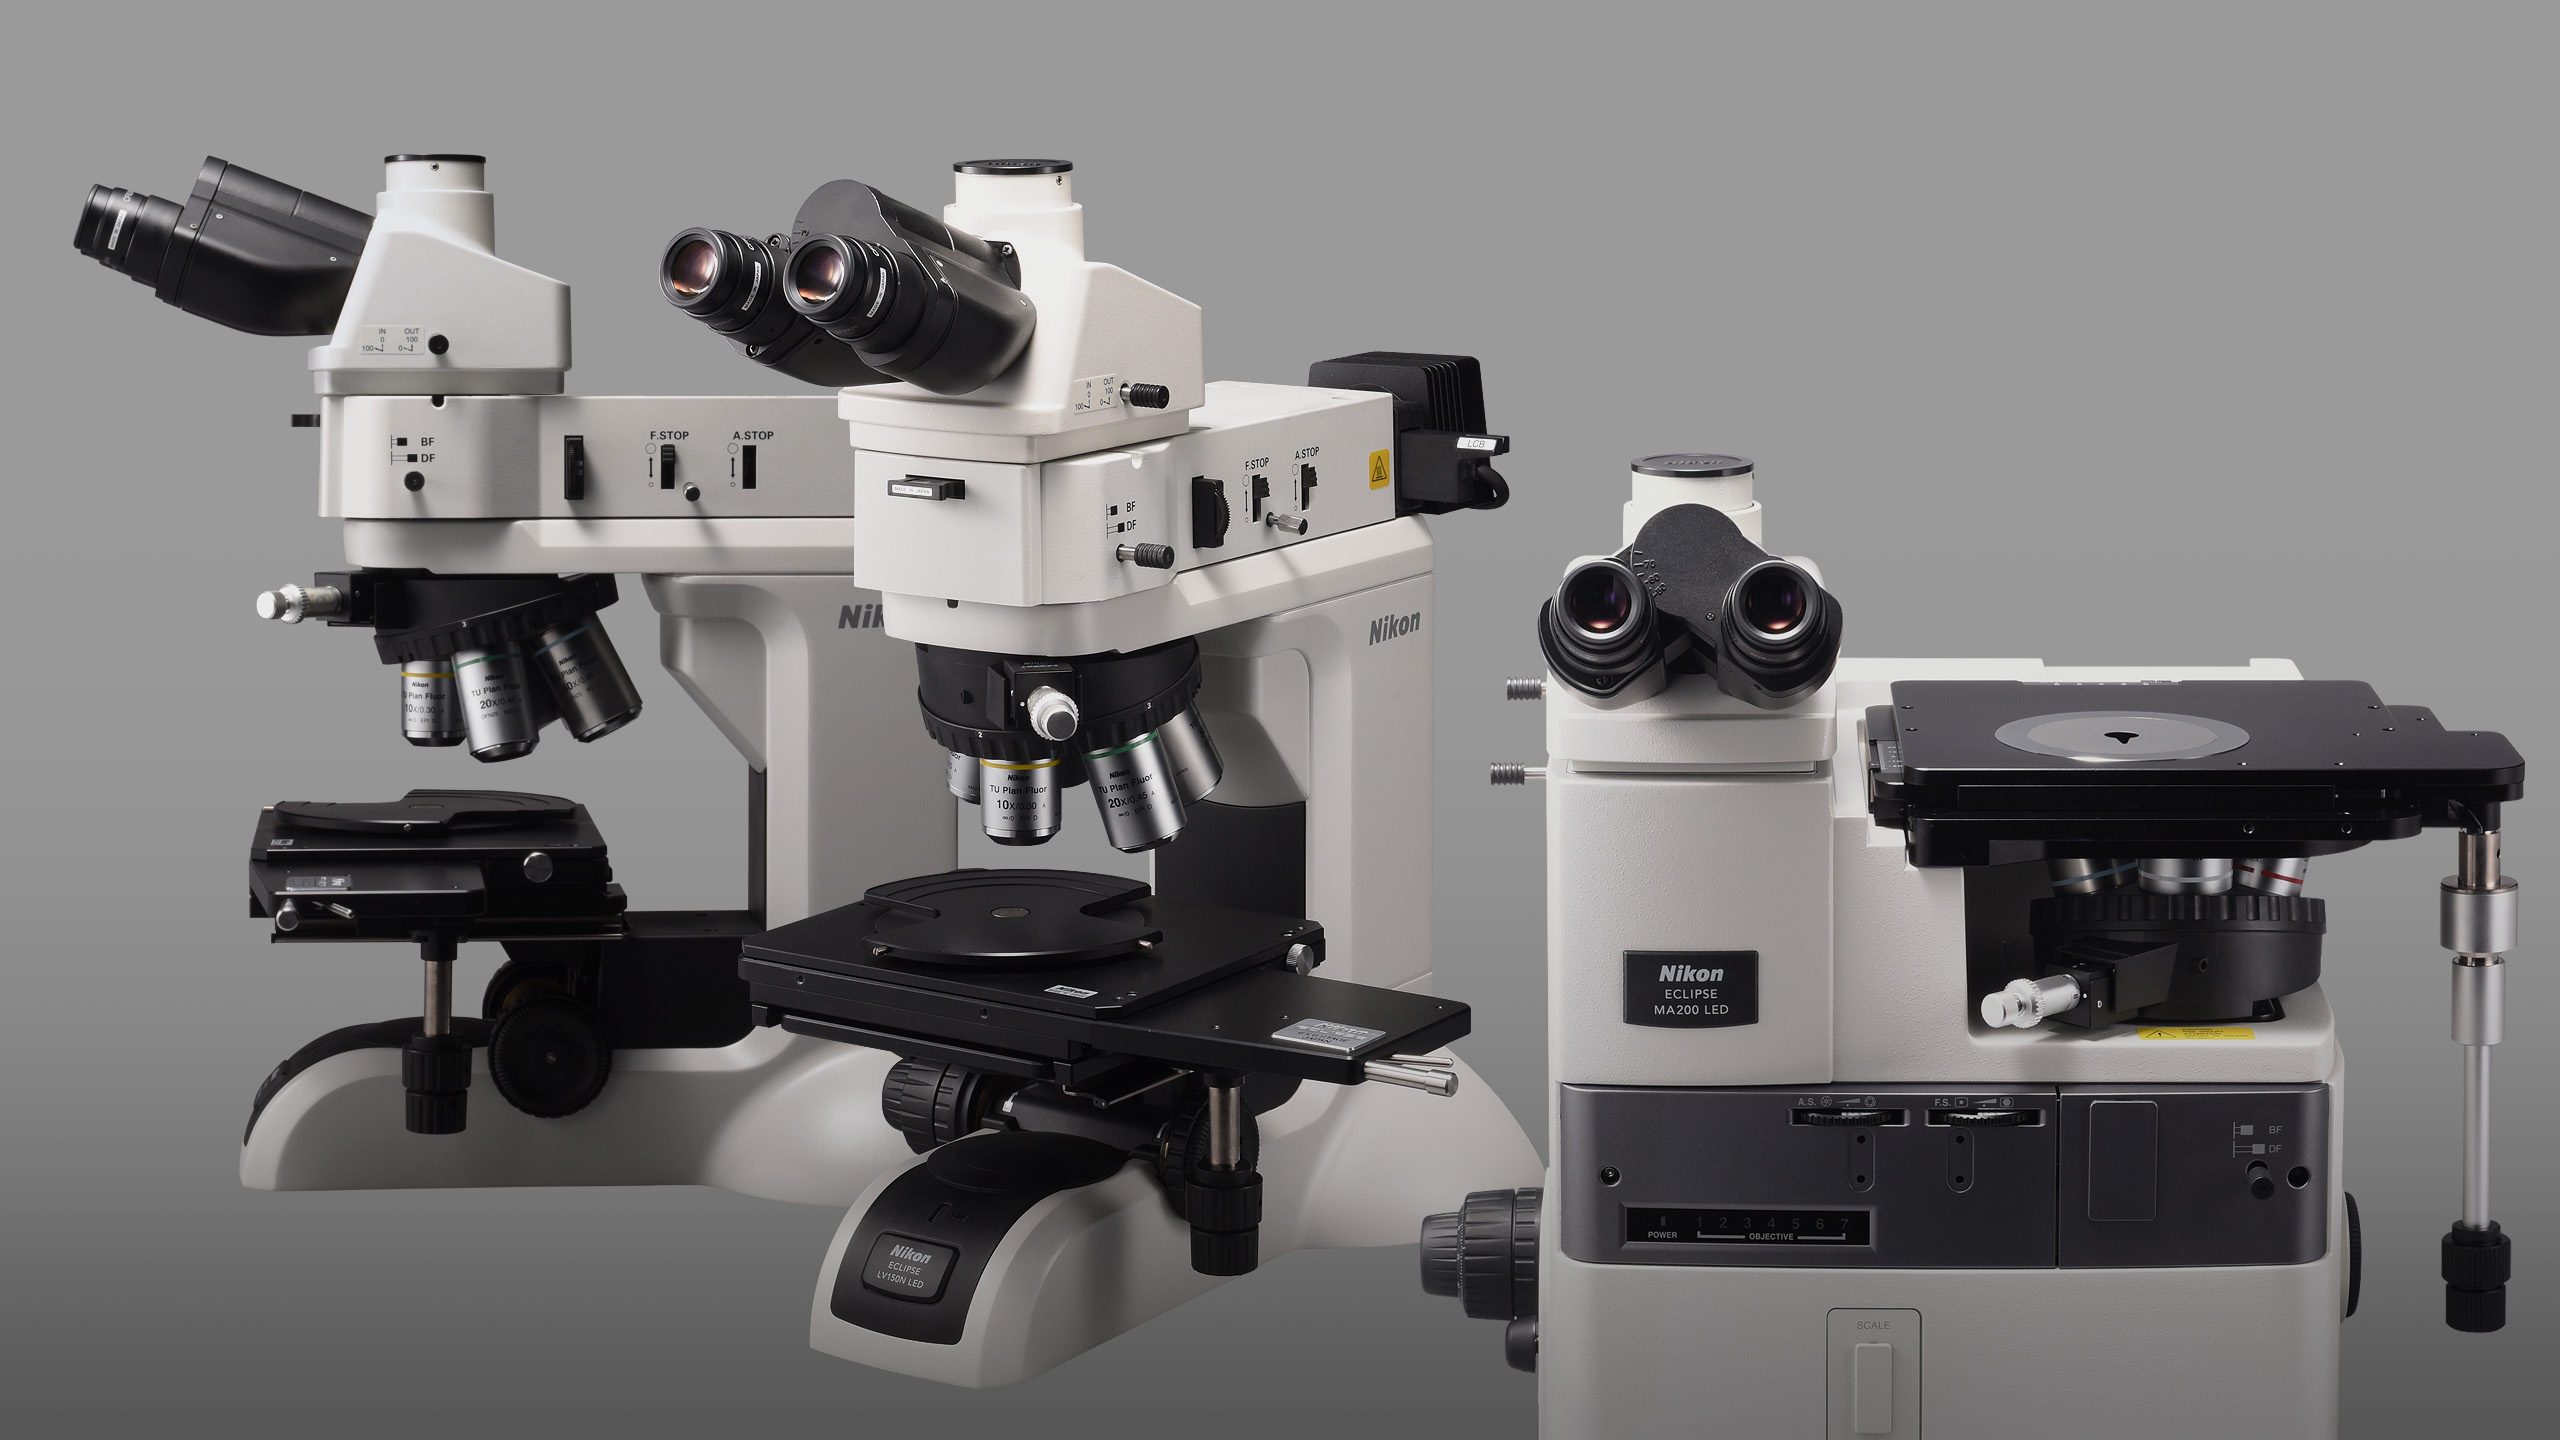
A measuring microscope is just like a conventional metallurgical microscope, it is for examining samples but with the added ability to measure these samples too. A measuring microscope provides highly accurate measurement capabilities by combining a stage system complete with encoders to be able to precisely measure the X, Y and Z of samples without the need to touch them.

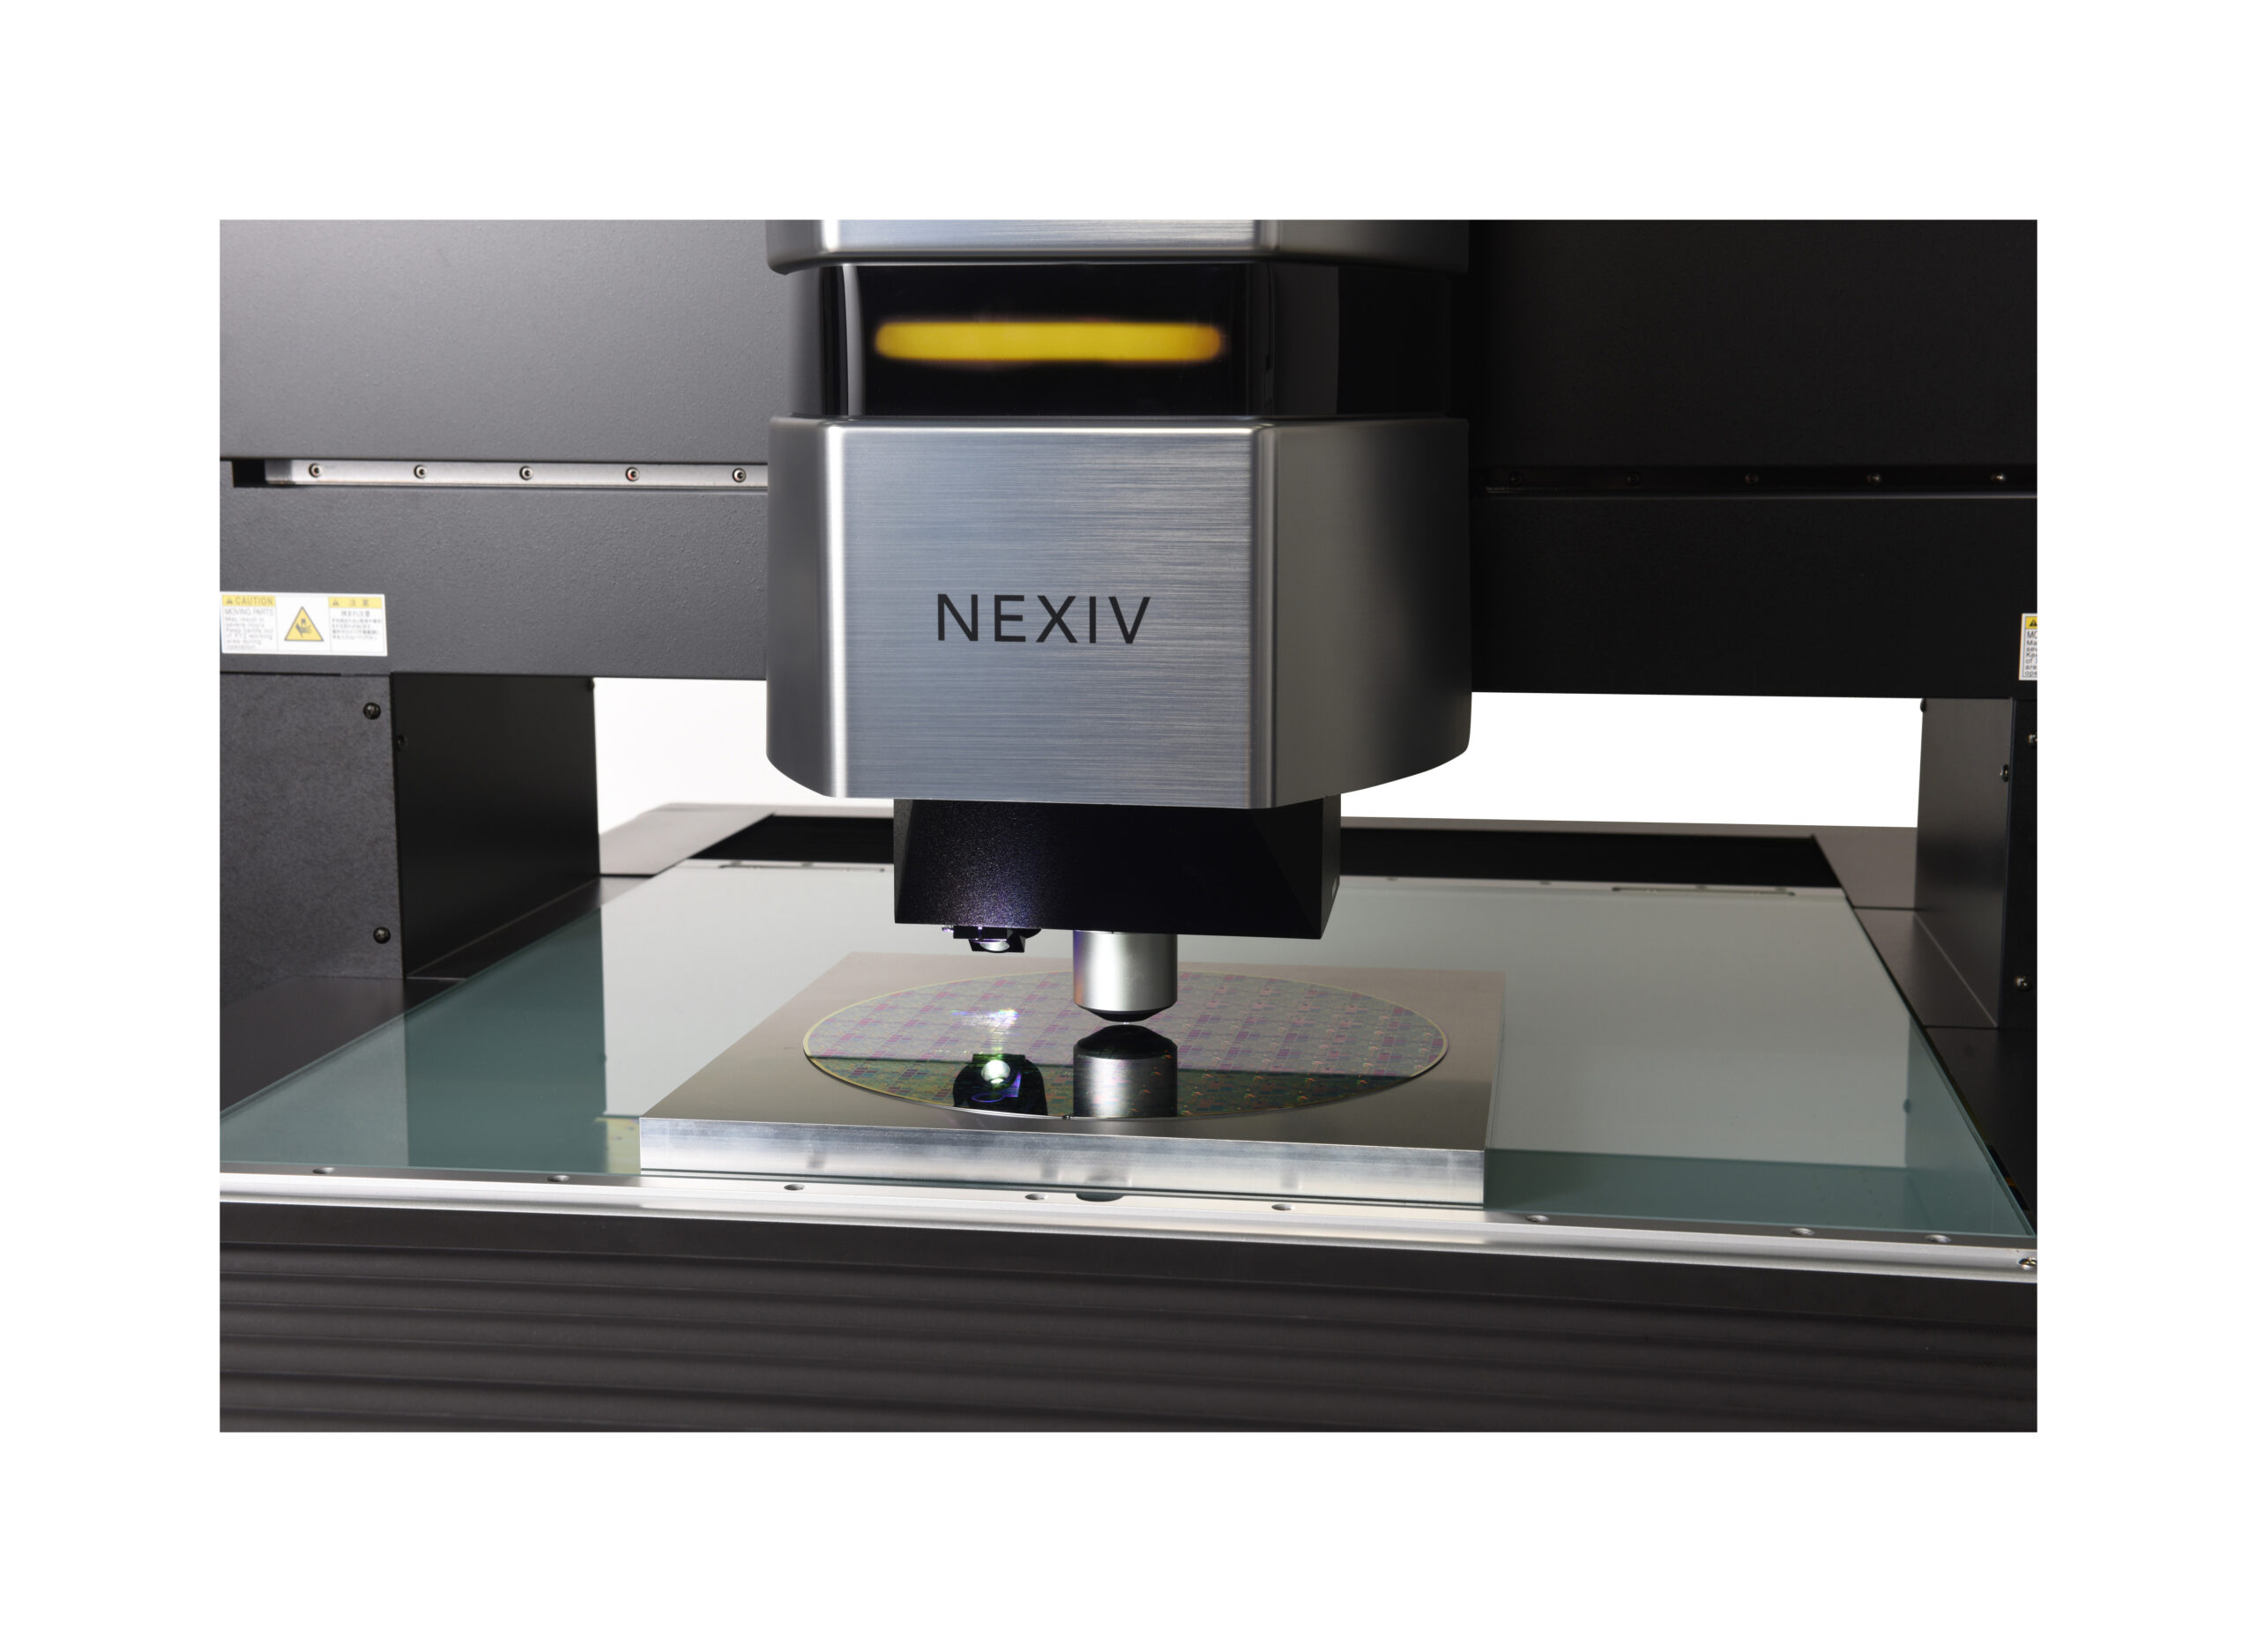
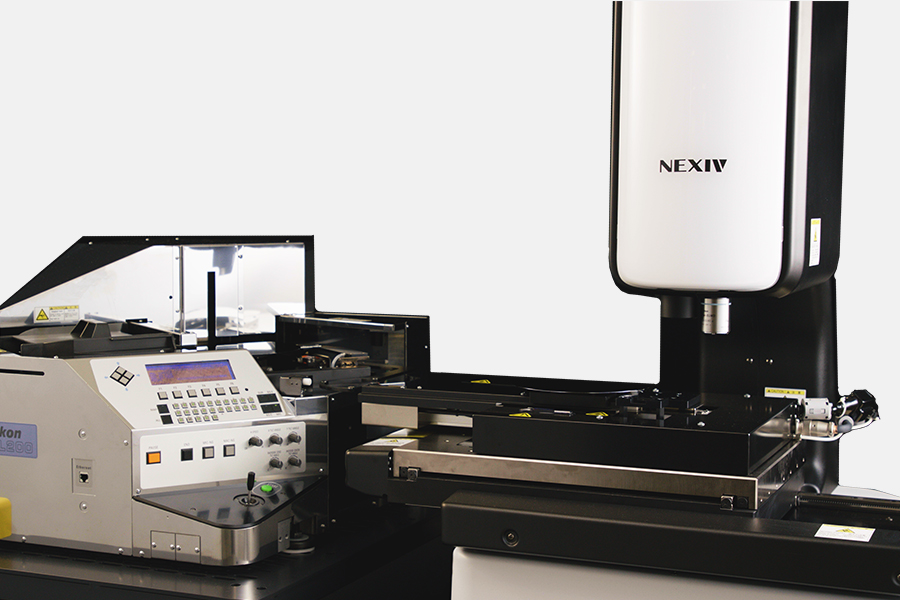
Generally, a measuring microscope is used for conducting the measurement of flat samples which contains lots of features such as holes. They are an ideal piece of equipment for the semiconductor industry, where the samples need to be measured by width with no height such as wafers, providing measurement very accurately on the track of the wafer.
What benefits can customers expect when using one of the Nikons Measuring Microscope range?
The key benefit is the stability of the measuring microscope. The system itself is incredibly heavy and stable, so you really can expect a long life with a Nikon microscope. The system can also be upgraded at any time to include cameras, filters, polisations to name a few – which again increases the life of this microscope.
Another key benefit, of course, is the microscope is combined with Nikon’s renowned optics with high accuracy encoder stages and can be combined with digital imaging software for image analysis applications or data processing systems for full programmable X, Y and Z measurement.
The ‘MM series’ also utilises a single optic objective mount with quick and easy lens adaptors to provide long working distance and can be used with fibre optic or LED ring lights to complement the built in reflected and transmitted illumination, the system can also be fitted with the protractor eyepiece for quick optical angle measurement.
And lastly but by no means least! The MM series can accommodate sample up to 200mm in height (MM-800 model) and have a measuring range in X, Y right up to 300mm x 200mm.
What sectors & industries benefit from using the Nikon Measuring Microscope range?
The nice thing about Nikon’s Measuring Microscope range, and also what makes the ‘MM’ series stand out is the ‘Universal Type’ system.
The ‘MM’ types are used more for flat parts, tooling, rubber gaskets – that type of product.
But Nikon also has the ‘Universal Type’ – This type lets you utilise the optics normally found on a conventional metallurgical microscope, by giving the system the ability to utilise many of the techniques found on this microscope including a revolving nosepiece – so multiple objectives can be mounted, techniques such as polarisation can be used with differential interference contrast plus Darkfield. This makes the ‘Universal Type’ perfect for inspecting printed circuit boards and wafer inspection.
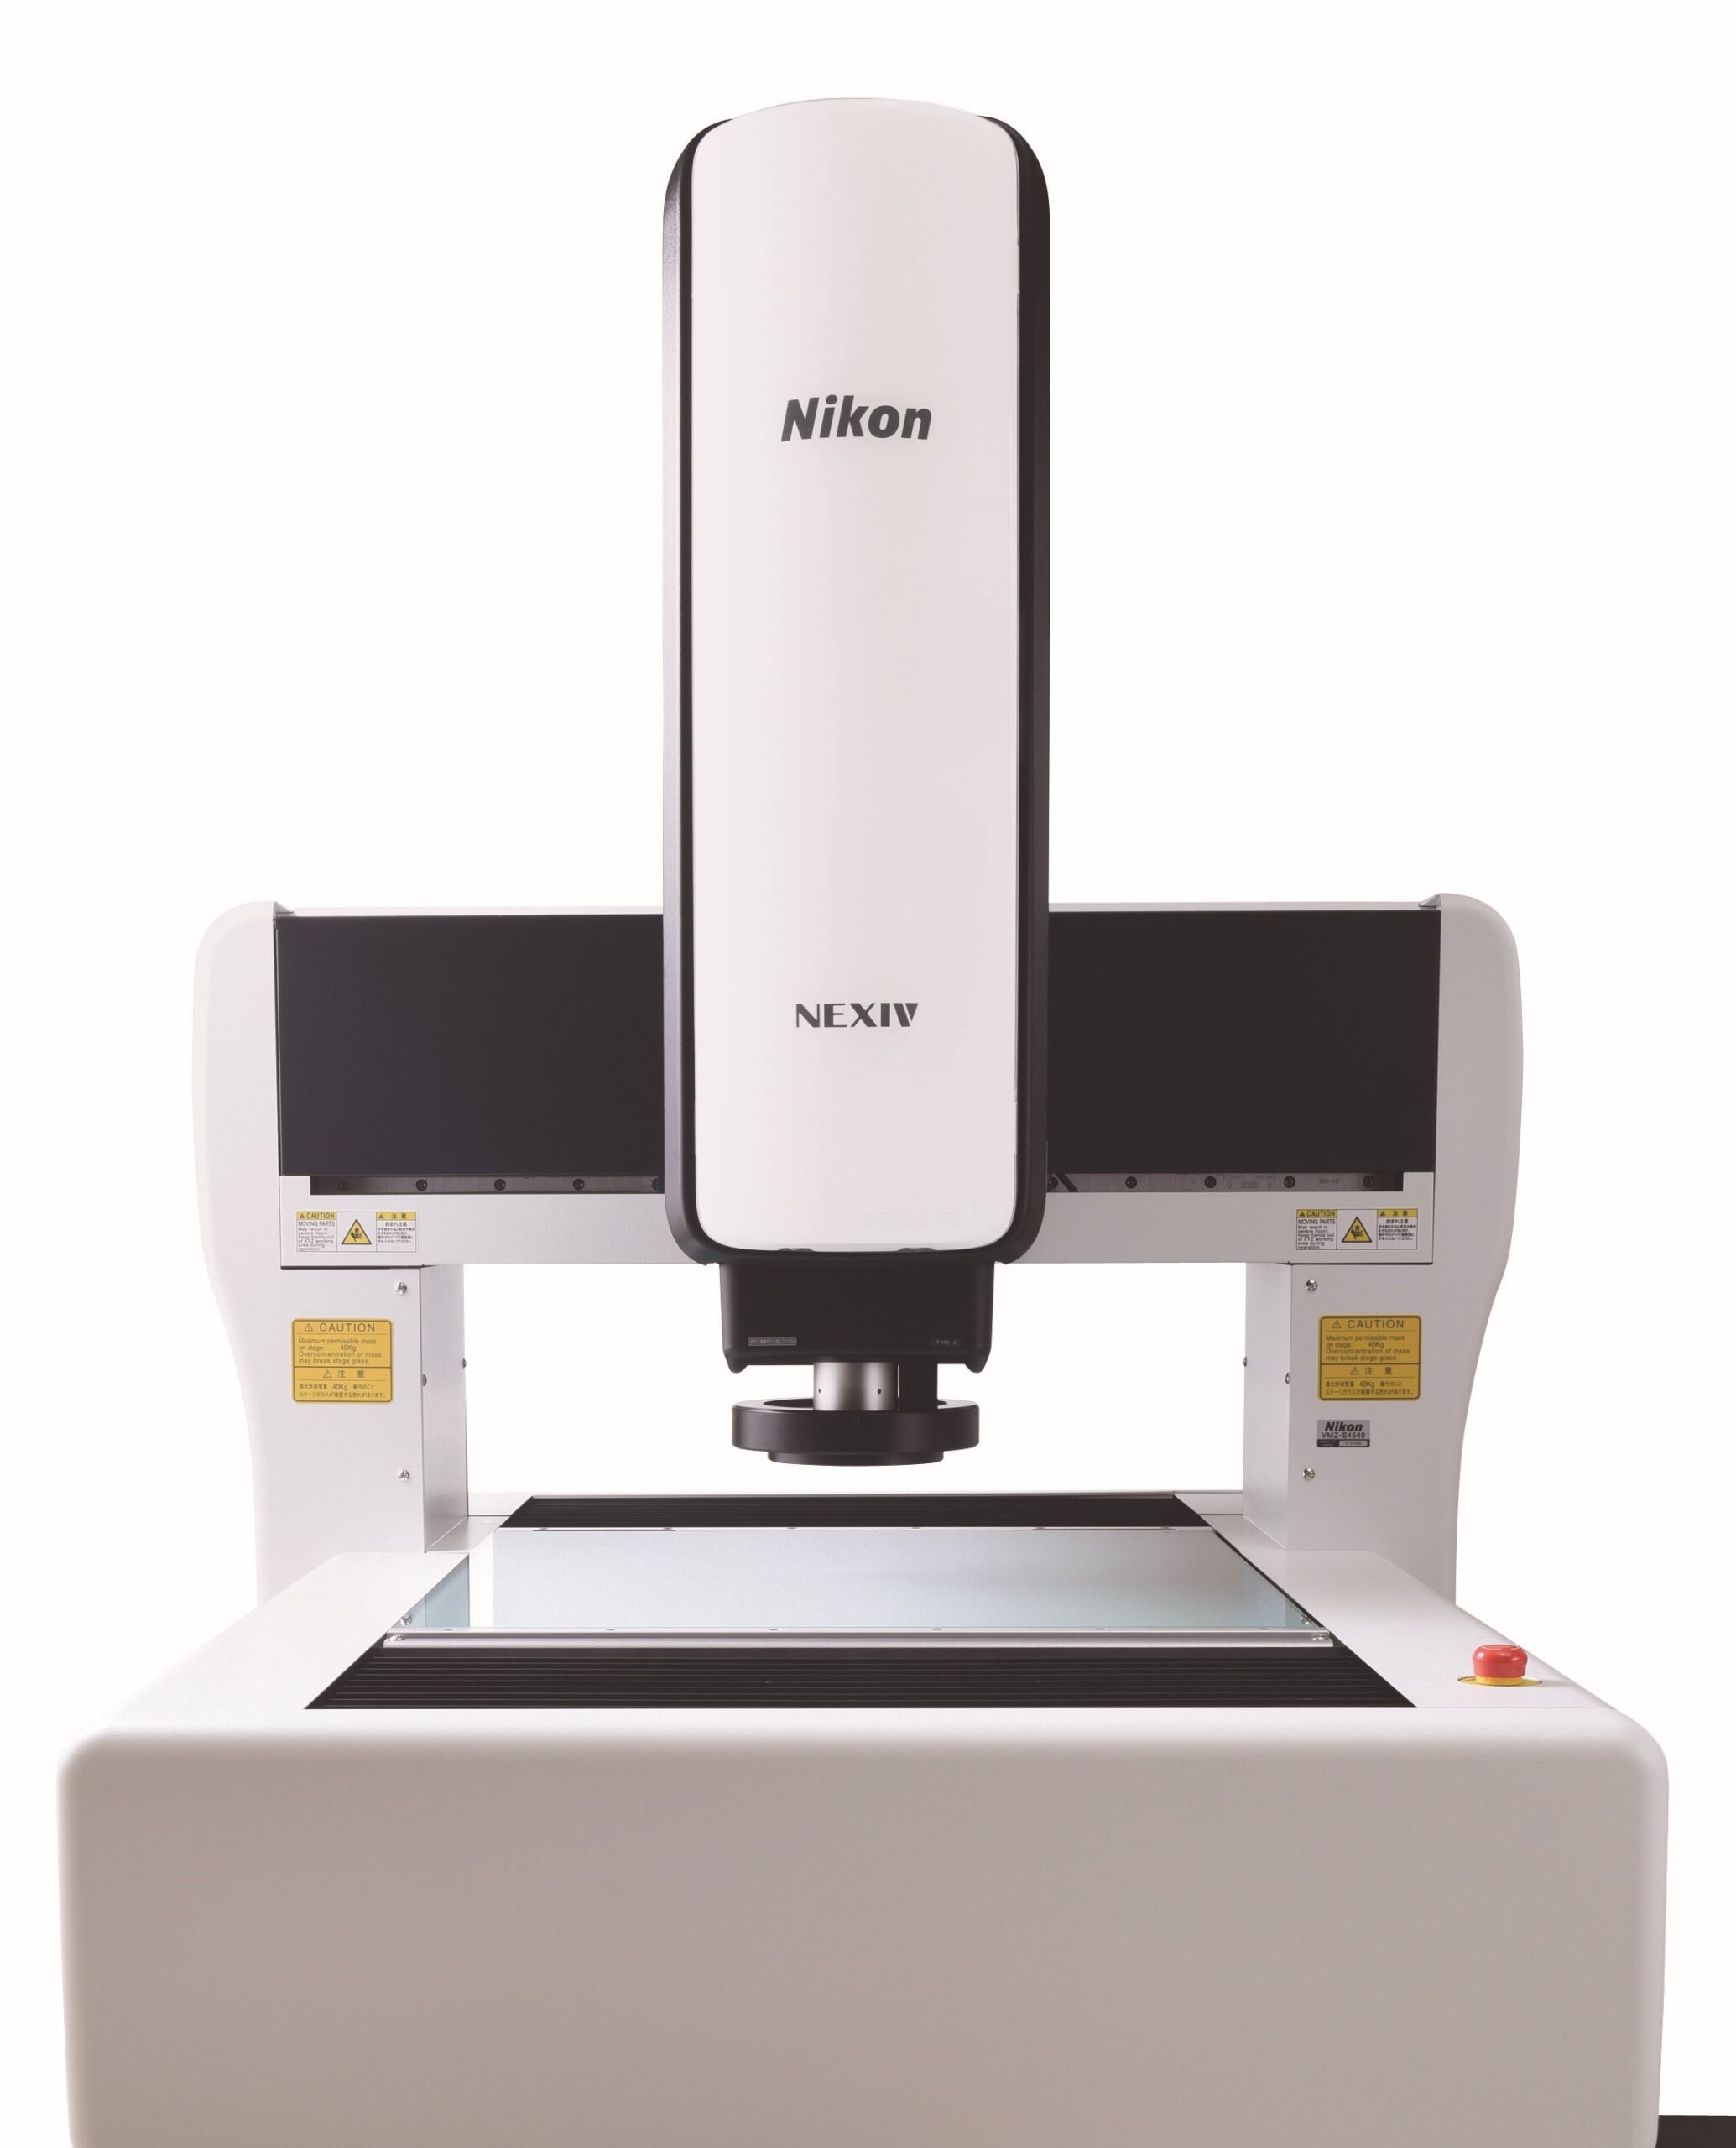
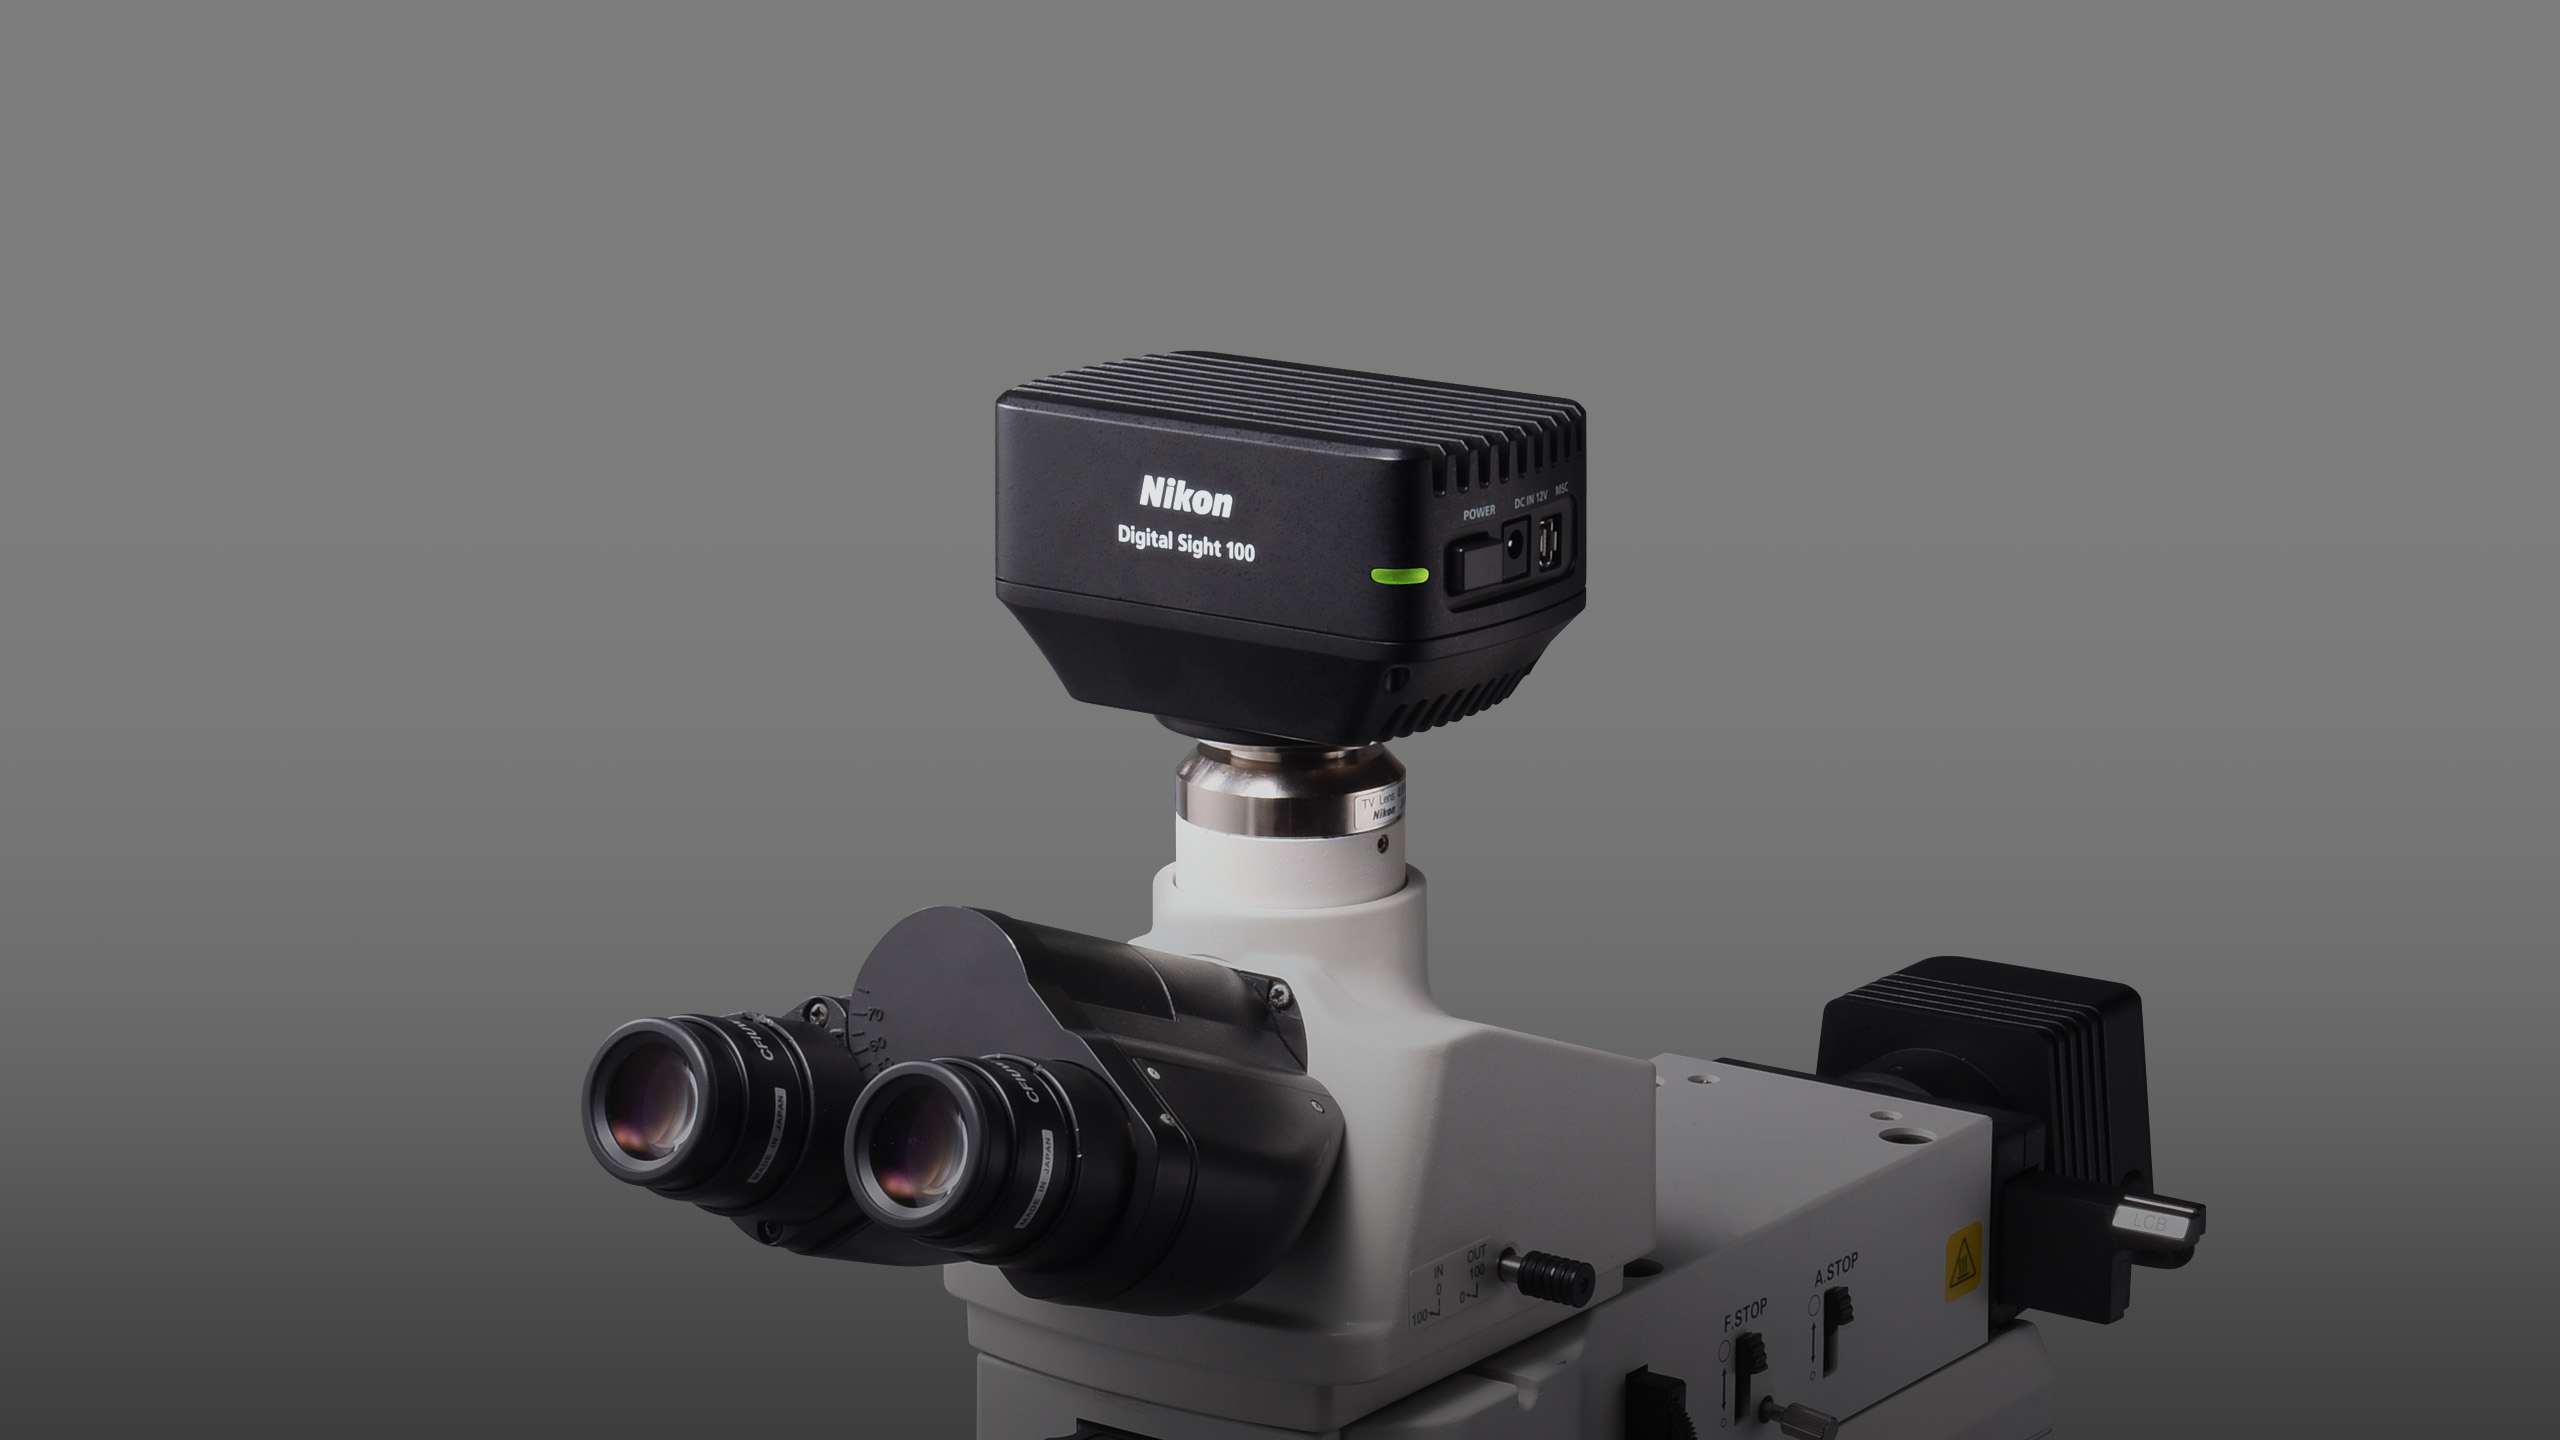
By adding a camera and Nikon NIS elements platform – this allows the system to be used for image analysis also including weld inspection, layer thickness measurements, cast iron analysis, particle and counting. If complex geometric measurements are required E-Max provides full edge detection measurement with sub-pixel processing.
How does the Nikon Measuring Microscope compare to other market competitors?
I think the key with all Nikon products is the quality and the build. Our largest system the ‘MM-800’ is complete with a large stage which can carry a 20kg sample, this allows us and our customers to load very sizeable samples onto this system and still maintain the high accuracy and efficiency you would expect.
Nikon’s Measuring Microscopes have the ability to adapt to any situation of the customer’s needs, this is because we do not provide a single ‘off the shelf product’ – we can configure the system to a customer’s requirements, which then results in allowing the product to become future proofed for additional functionality to save additional costs in the future.
As a Nikon Metrology expert from the Measuring Microscope range, what is your favourite feature & why?
The ability to adapt the system to meet a customer’s exact requirements means no costly features need to be included when configuring the system, adding a camera and Nikons E-max software transforms the system into a manual semi-automated video measurement system. This allows complex measurements to be performed and programs to include pass / fail data criteria, once this program is created the system shows the operator where to move on the sample and once complete displays the data with pass / fail results. Making the Measuring Microscope a true measuring and imaging system, combined.
