Inspection and analysis of anode overhang in lithium-ion battery (LiB) cells during their mass production may be carried out automatically, precisely and consistently by 3D X-ray scanning and computed tomography (CT) during mass production, where short inspection cycle times are key. It follows the introduction of LiB.Overhang Analysis software powered by artificial intelligence from the Industrial Metrology Business Unit of Nikon Corporation (https://industry.nikon.com).
The software enables high production yield to meet increasing market demand for batteries and results in fewer expensive warranty claims from users of electric vehicles, energy storage systems and other battery-powered equipment. The aim of LiB.Overhang Analysis is to encourage more in-line inspection earlier in the manufacturing process to improve product quality. Nikon provides a total solution by combining this new analysis approach with its innovative microfocus X-ray source, rotating target and half-turn CT technologies.
The anode in a LiB cell is larger than the cathode to prevent lithium plating and possible dendrite formation, so there are passive areas on the anode known as overhang regions that are not opposed by corresponding areas of cathode. Their dimensions must consistently be within close limits, otherwise battery performance may be reduced and in extreme cases it may spontaneously combust. It is therefore critically important to analyse anode overhang.
The problem with doing this by traditional 2D radiography inspection is that, although fast, it does not provide results that are sufficiently precise or repeatable, as it is extremely difficult to distinguish individual layers with a single cone-beam radiograph, especially when the sheets are not perfectly flat.
Automation of overhang analysis by 3D X-ray CT, which is relatively new to the market, eliminates all of the above difficulties. LiB.Overhang Analysis is fast enough to cope with the speed of production lines, as it is less sensitive to noise in 3D images acquired by high speed scanning.
That is because Nikon’s advanced machine learning AI model is able to use prior information to identify and classify anode overhang features and flaws in cells, regardless of the presence of typical noise and scan artefacts. Such scan data would confuse conventional methods of analysis and produce erroneous results when trying to segment the anode and cathode layers automatically. Much slower scanning would be needed to generate a higher quality image, compromising quality control (QC) productivity.
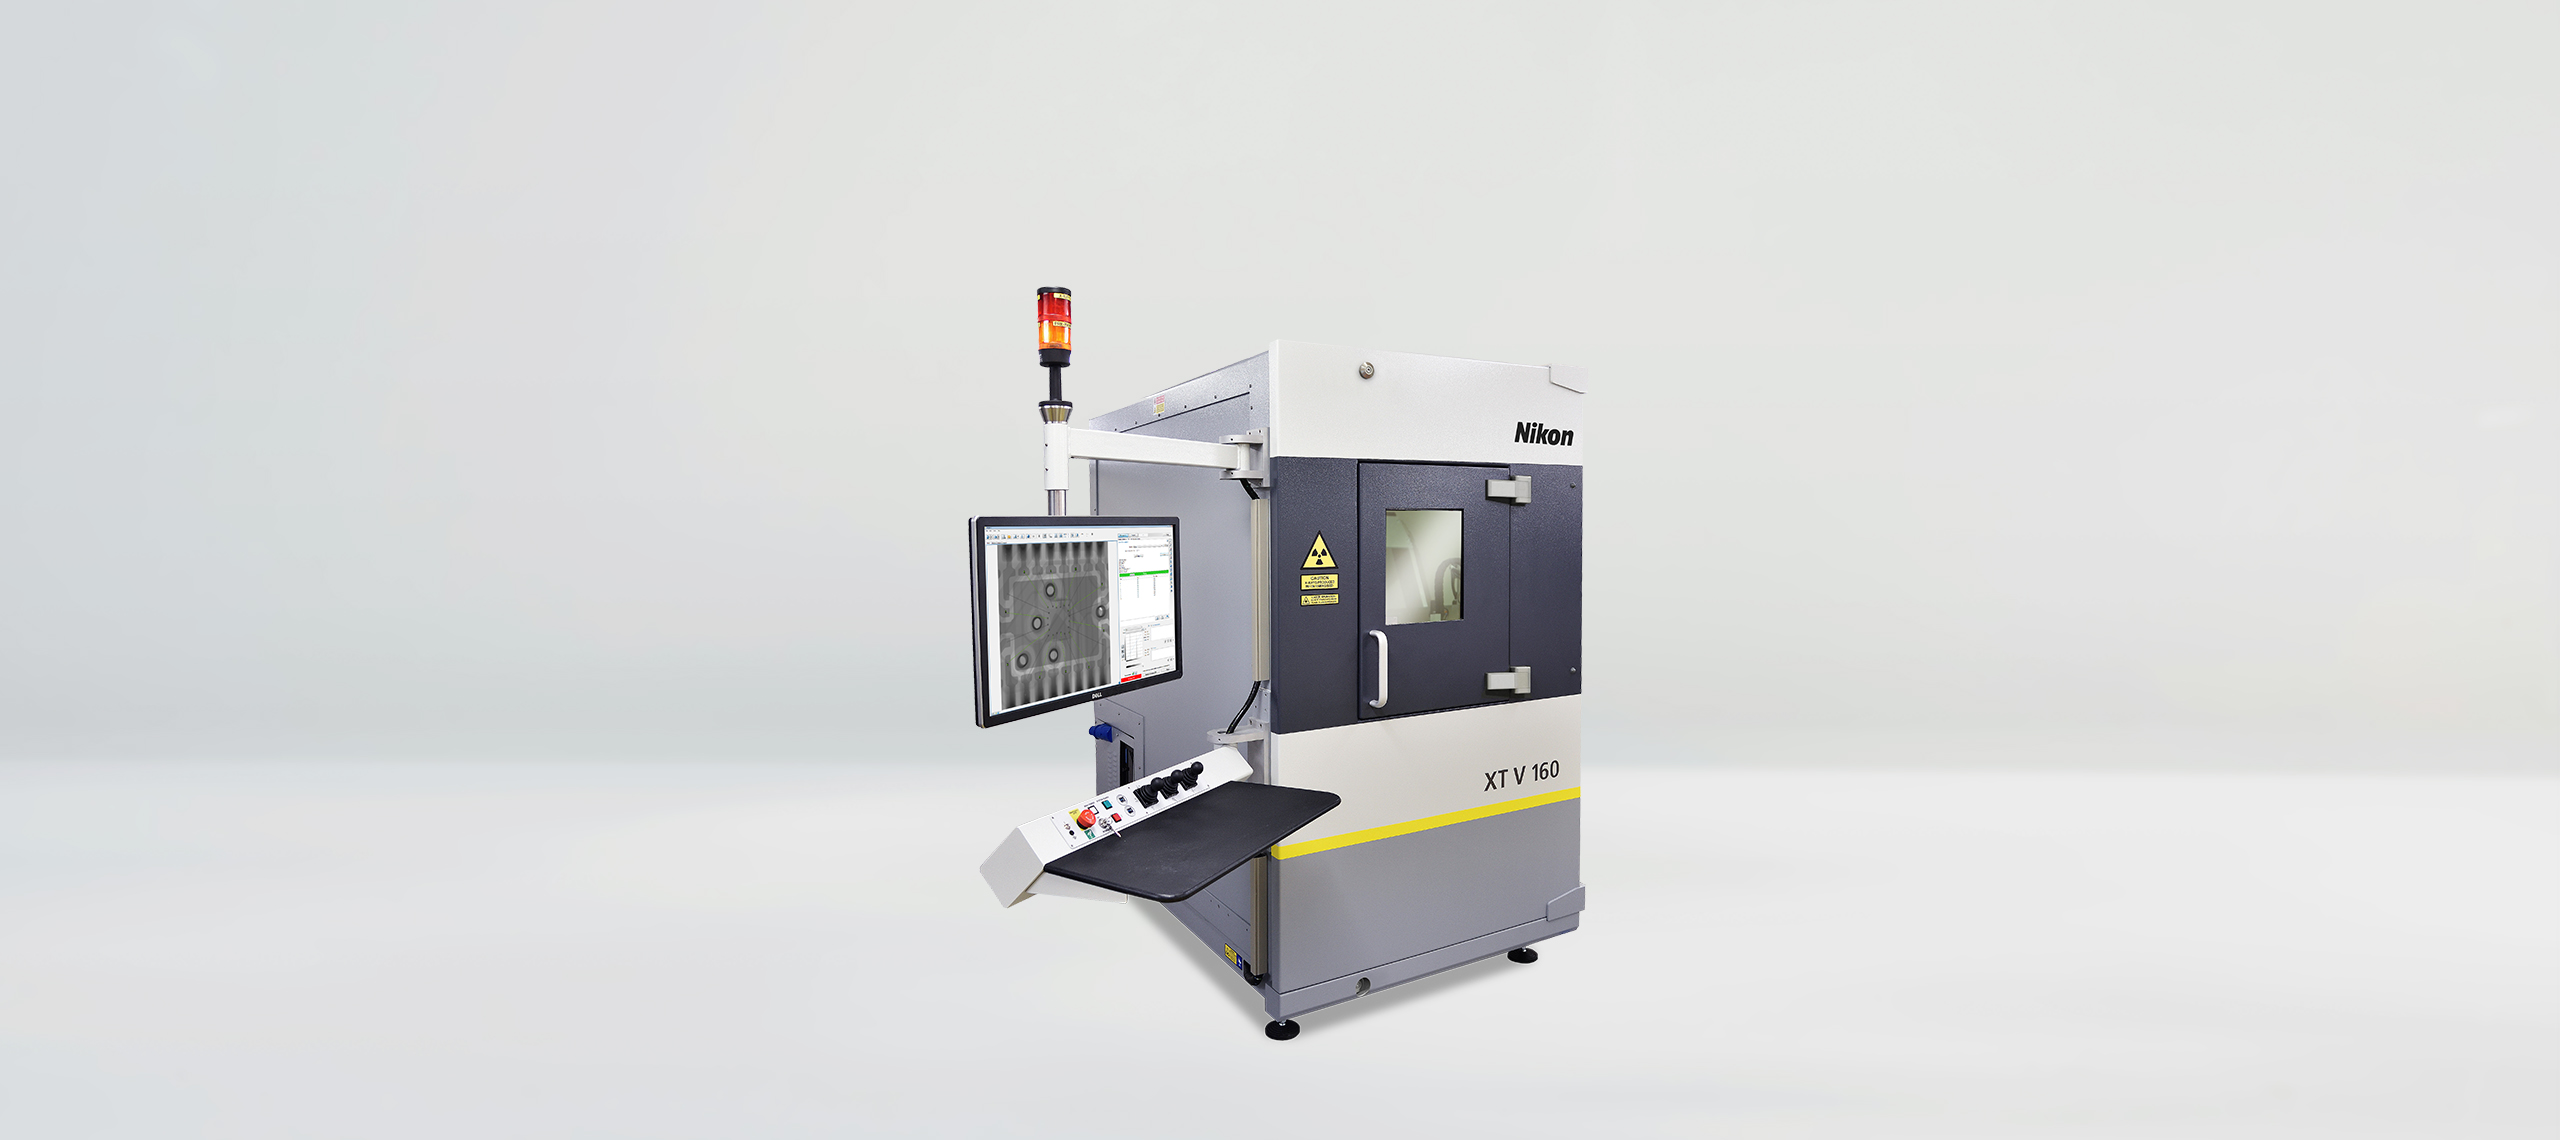
Written in-house specifically for the manufacturer’s own XT H-series of X-ray CT systems, LiB.Overhang Analysis software allows battery cells to be scanned quickly, accurately and reliably, either in-line or line-side in a factory. Nikon engineers fine-tune both the CT scanning parameters and LiB.Overhang Analysis set-up to optimise the system’s inspection speed and repeatability.
Anode overhangs are calculated automatically by Nikon’s new software for each layer in the anode/cathode stack, generating not a simple pass/fail result but instead numerical measurements of critical features, so customers can utilise the statistics most relevant to their needs. Either method allows assembly issues to be detected and quantified early so data can be fed back to optimise the production process, increasing throughput and reducing scrap. The inspection data can be stored in a manufacturing execution system database to allow full traceability of each individual cell, consistent with Quality 4.0 practices.
Other unique Nikon technologies play a crucial role in the success of this inspection application, without which the necessary high-speed data acquisition would not be possible. One is to harness the penetrating capability of the company’s powerful microfocus X-ray sources. Another is to opt for the unique Rotating.Target 2.0, which spins in order to swiftly dissipate the heat generated by the small spot of electrons impinging on the tungsten surface, again allowing higher power than is otherwise possible. Nikon’s Half.Turn CT may also be deployed, whereby instead of rotating the sample under investigation through 360 degrees during the X-ray cycle, it is only necessary to rotate it through just over 180 degrees to obtain sufficient data for an image of equivalent quality, doubling inspection efficiency. For more information, click here.
About Nikon Industrial Metrology Business Unit
Nikon provides a variety of products, services, and solutions worldwide, based on advanced opto-electronics and precision technologies cultivated during the company’s more than 100 years of history. The group continues to create new values that contribute to improvement of quality of life and manufacturing in a wide variety of forms. Nikon’s Industrial Metrology Business Unit (IMBU) delivers integrated, optimised, ultra-high precision solutions that are not only customised and cost-effective but also work extremely well as soon as they are implemented. A recent development under Nikon’s Digital Manufacturing banner is closer cooperation between IMBU and the corporation’s Digital Solutions Business Unit (DSBU), which has launched a series of optical additive and subtractive manufacturing solutions for processing a wide variety of materials to sub-micron surface finish. www.industry.nikon.com
On behalf of:
Nikon Metrology
Building 424, Argosy Road, East Midlands Airport, Castle Donnington, Derby
Contact: Ghislaine Burmeister
Email: [email protected]
Web: www.industry.nikon.com
Issued by:
The Right Image Ltd
PO Box 42, Twickenham, TW1 1BQ
Tel: +44 (0)20 8891 0603
Contact: Chris Wright
Email: [email protected]
Web: www.therightimage.net

